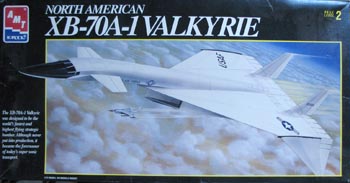
North American XB-70A Valkyrie
AMT/ERTL
Stated scale:
1/72
![]()
![]()
![]()
![]()
![]()
Actual scale:
unverified


Overall length:
huge
Material(s):
styrene
Number of parts:
50+
Stand included?
no
Decals included?
yes
My Source:
local store
Cost (w/o s&h):
|
North American XB-70A ValkyrieAMT/ERTL
|
|
|
Stated scale: |
1/72 |
|
Actual scale: |
unverified |
|
Overall length: |
huge |
|
Material(s): |
styrene |
|
Number of parts: |
50+ |
|
Stand included? |
no |
|
Decals included? |
yes |
|
My Source: |
local store |
|
Cost (w/o s&h): |
||

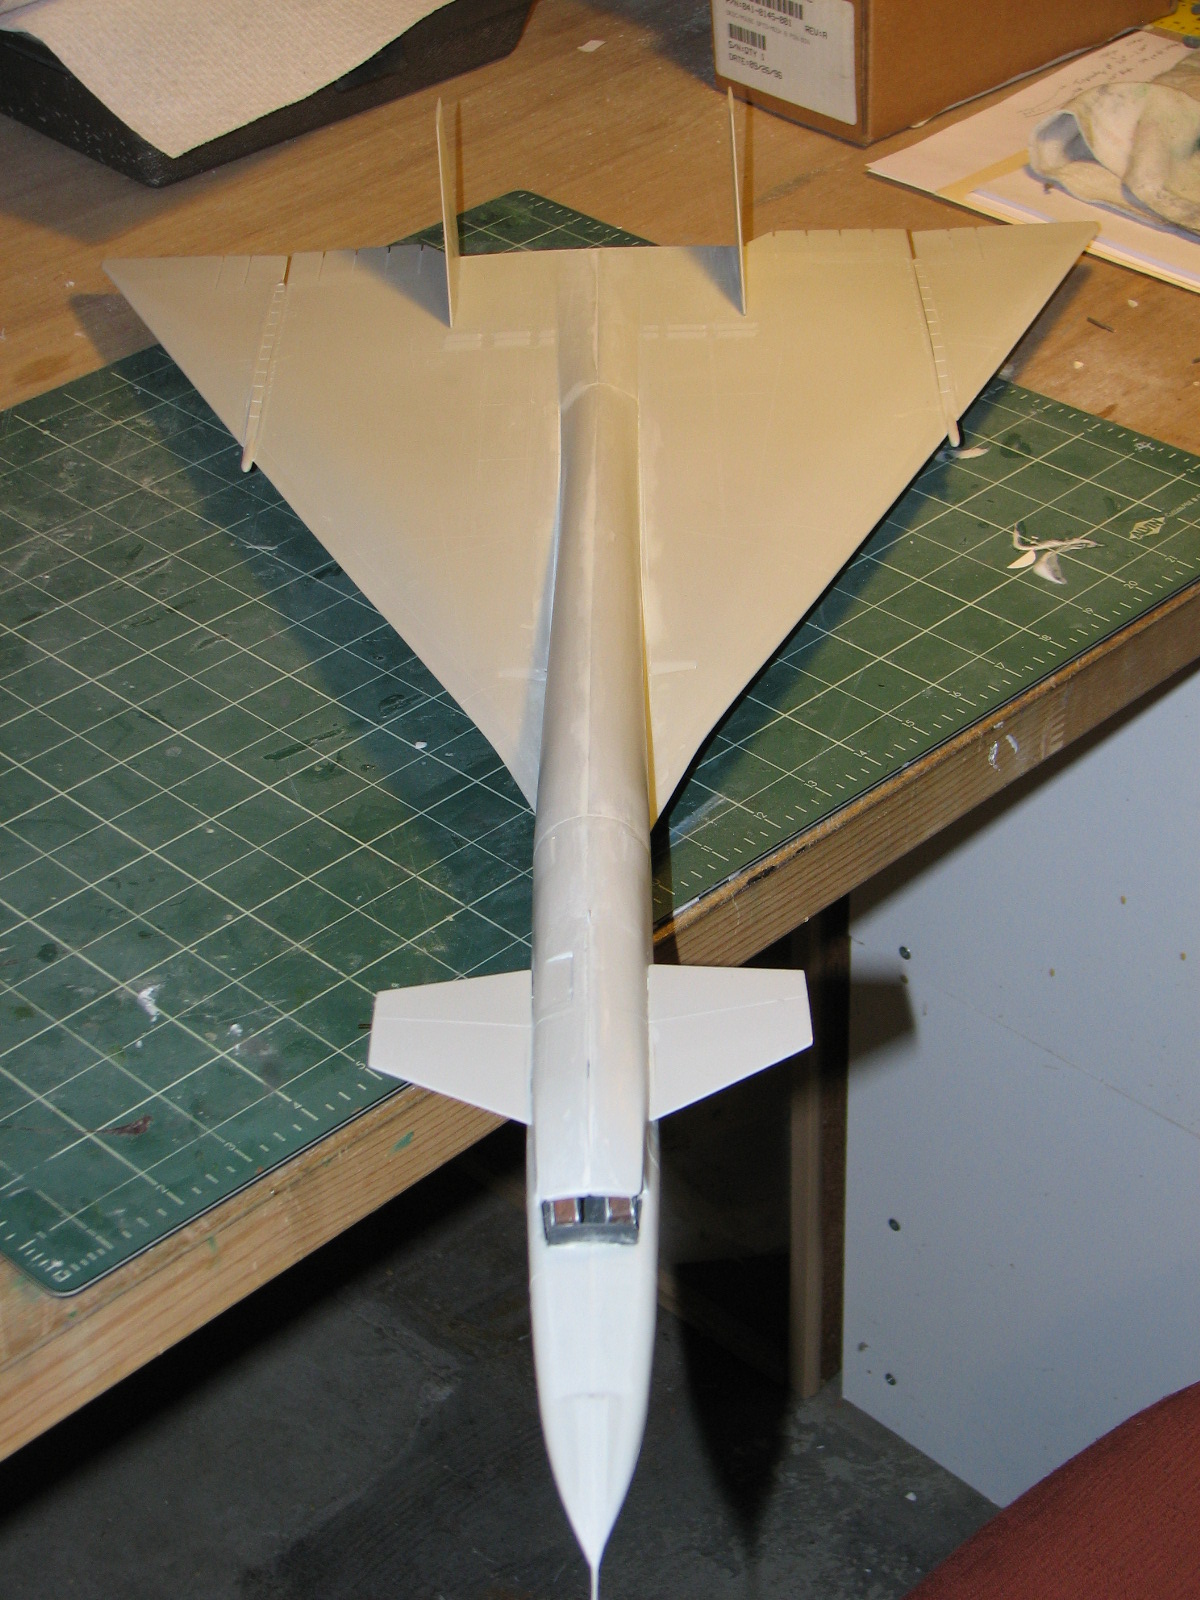
11/09 - Assembled, except for landing gear, and with a start on puttying. I'm using white putty, since I've had my fill of trying to get white paint to cover well over green putty.
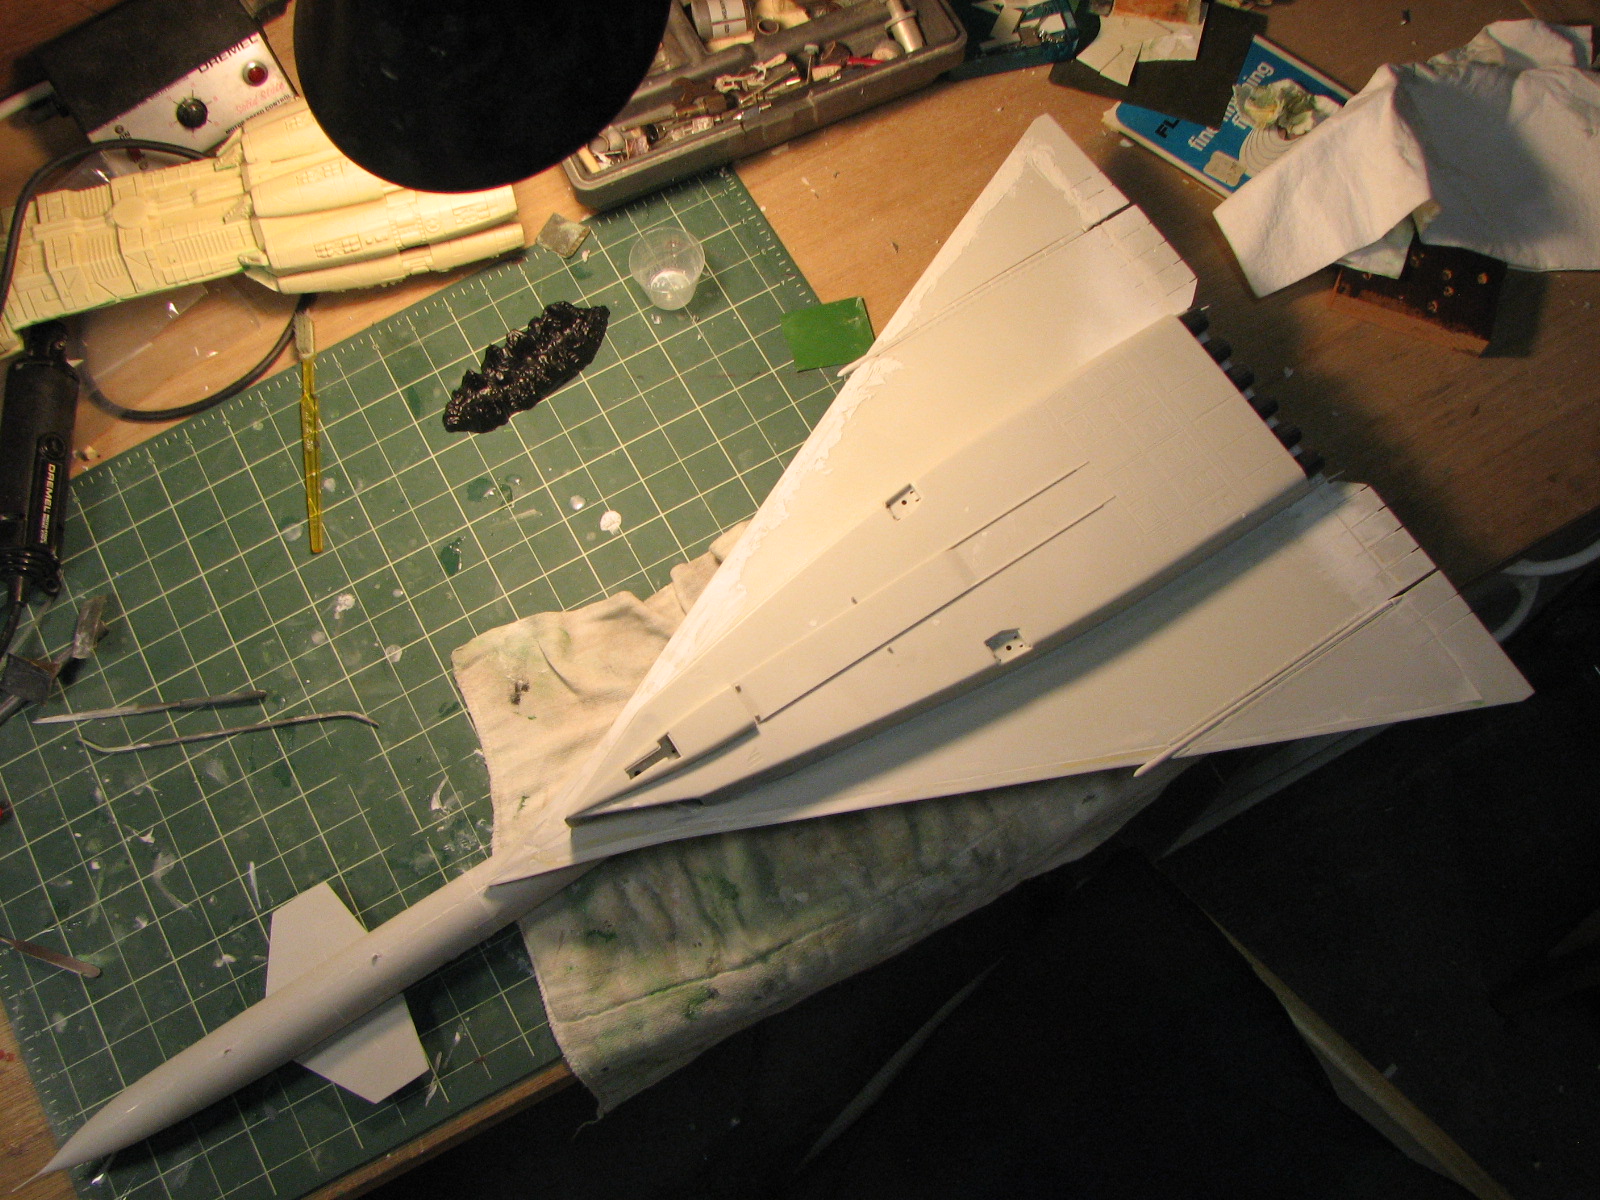

12/1/2009 - More puttying, this time around the cockpit and nose and down the wing undersides.
And then I found myself playing air-guitar with this. Heh.
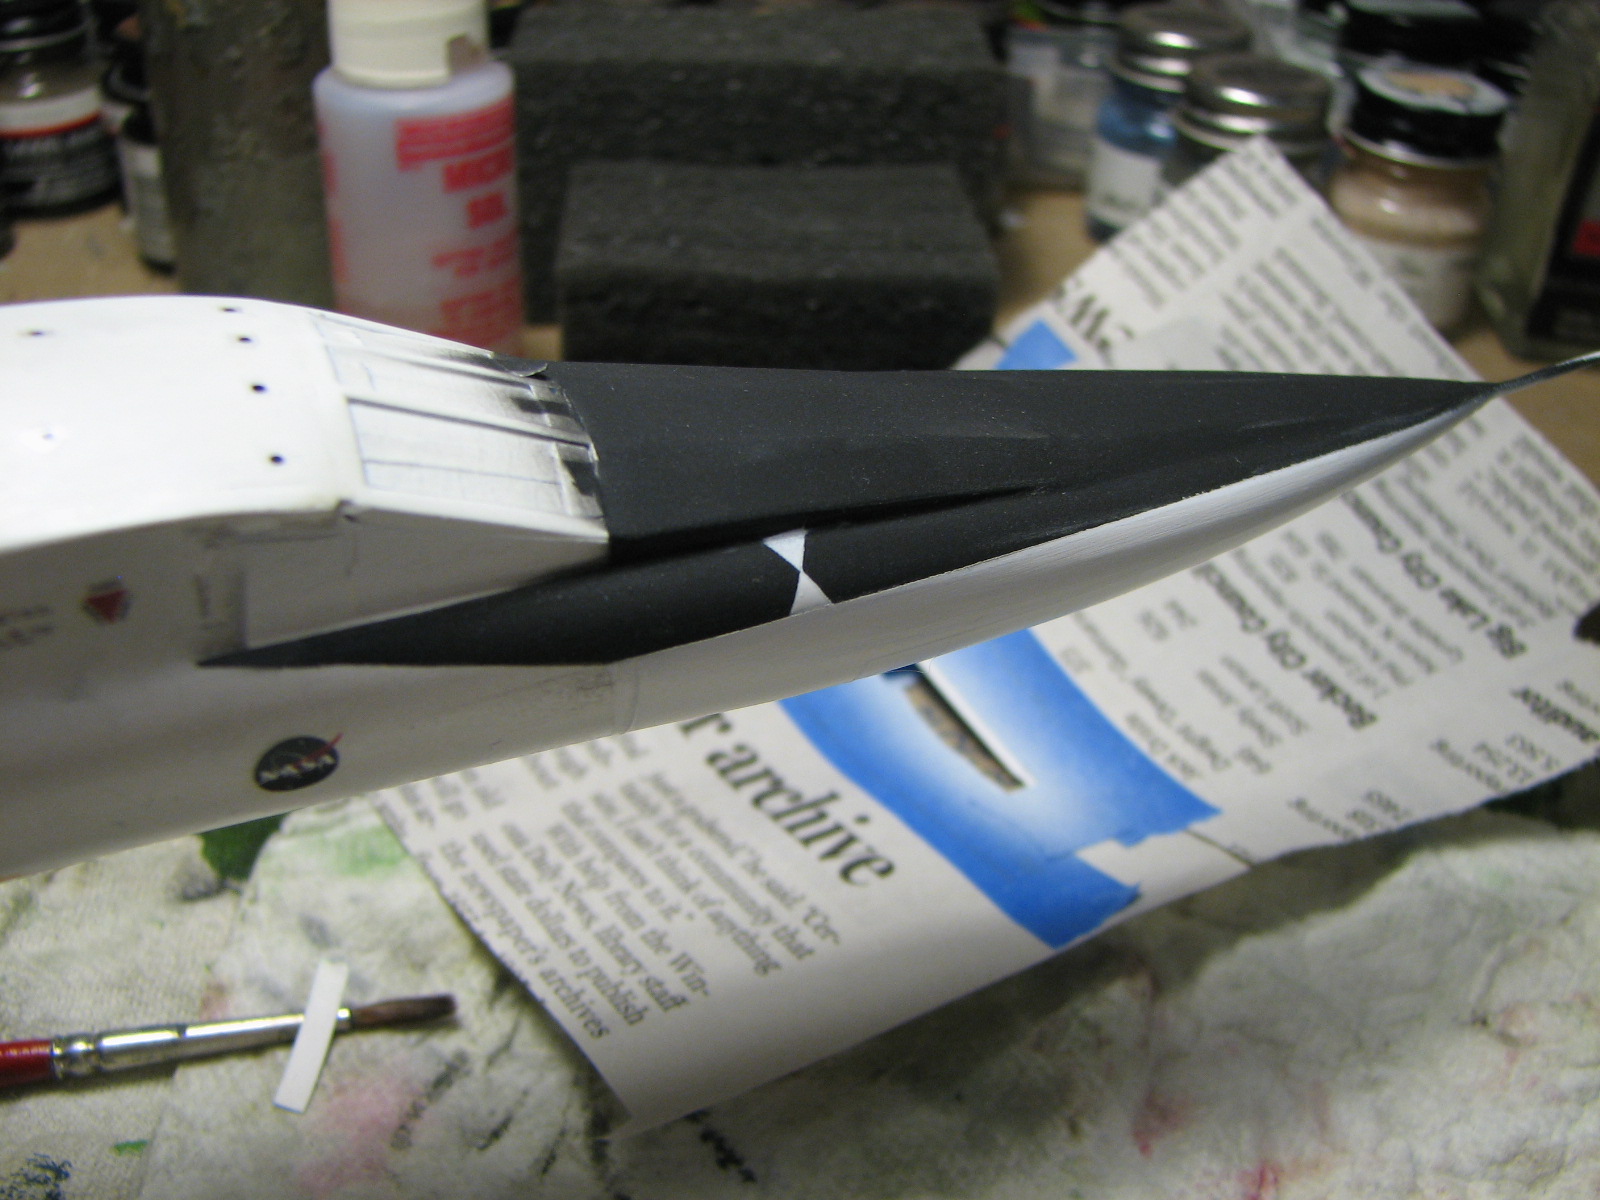
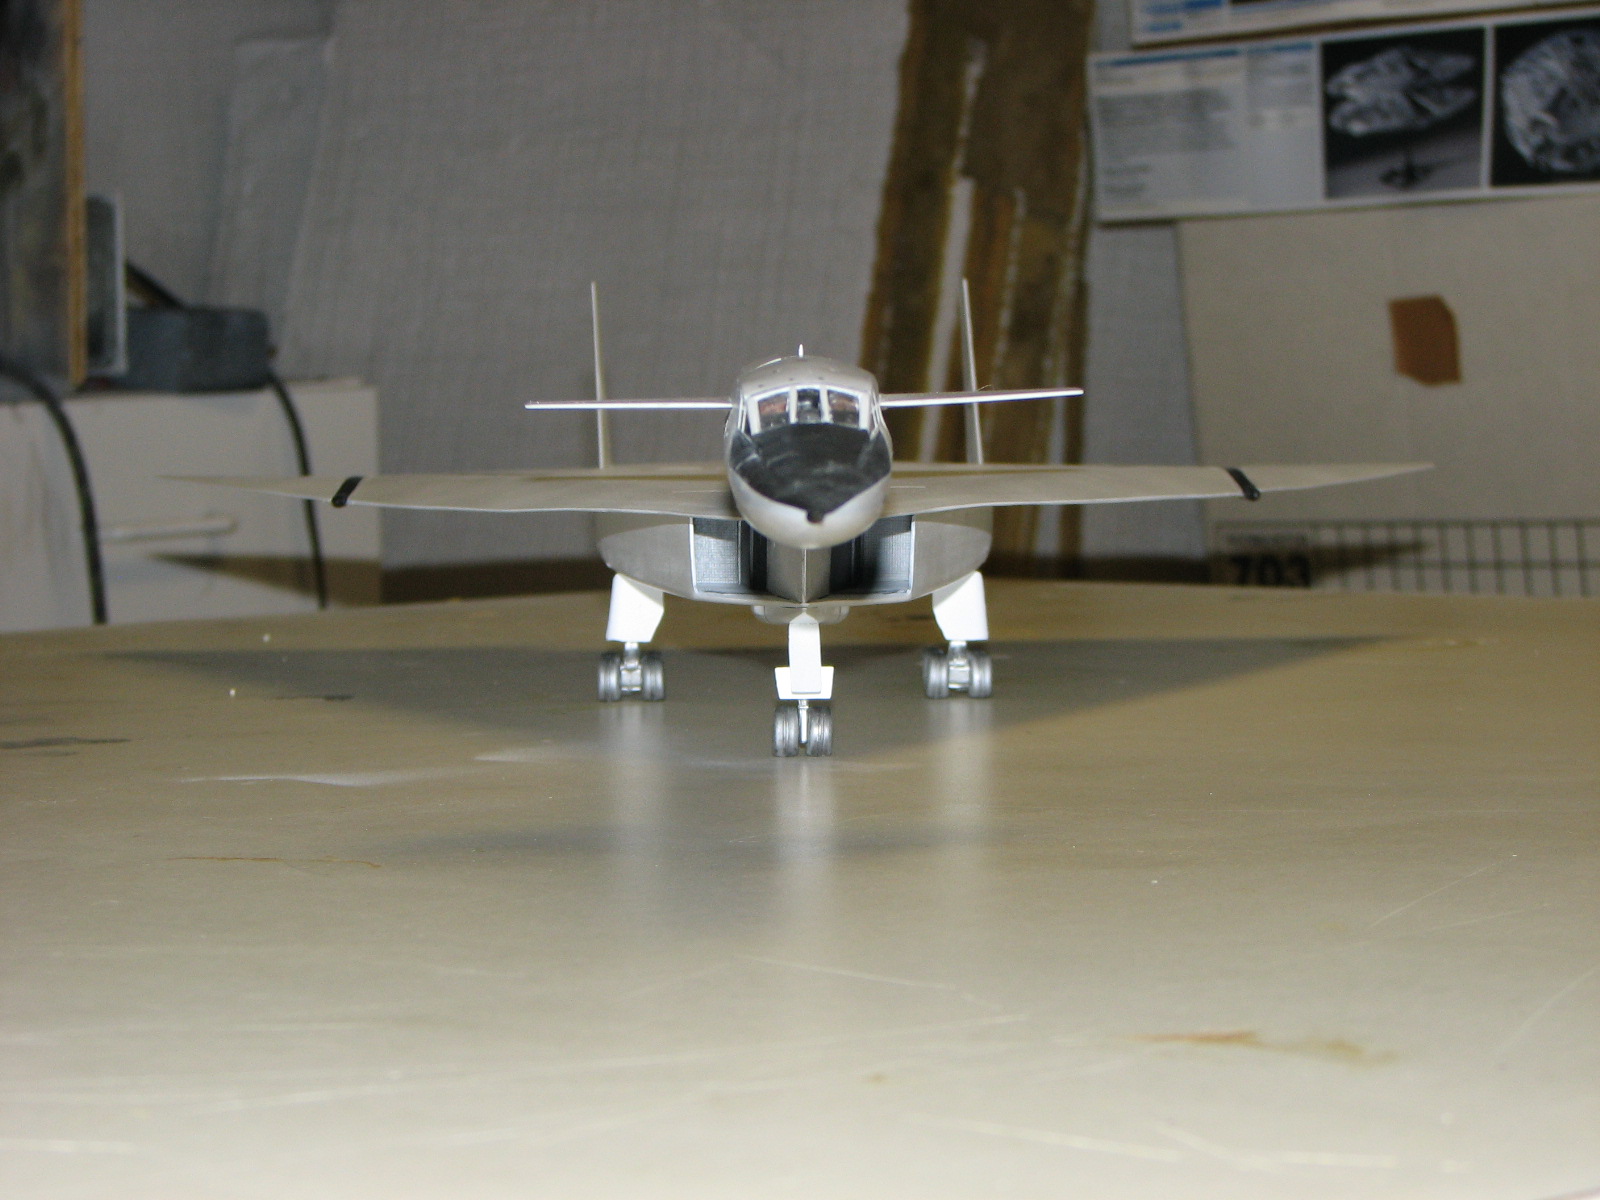
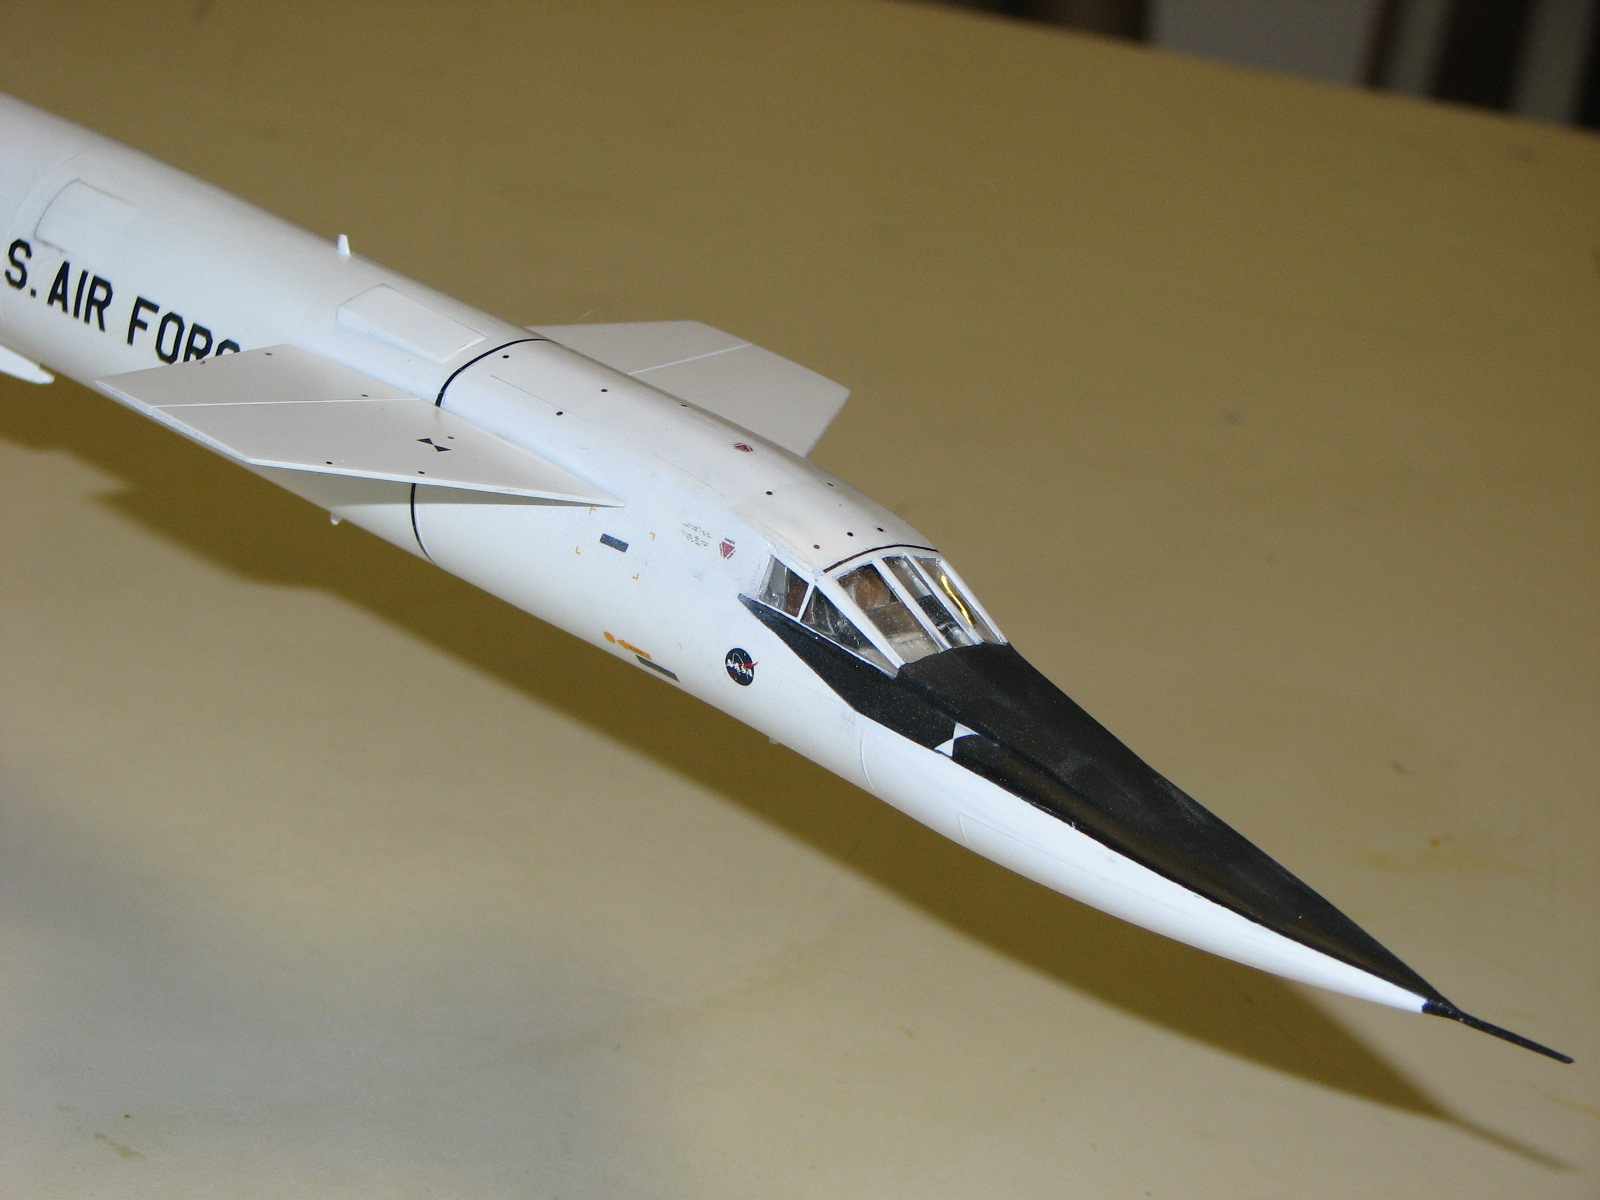
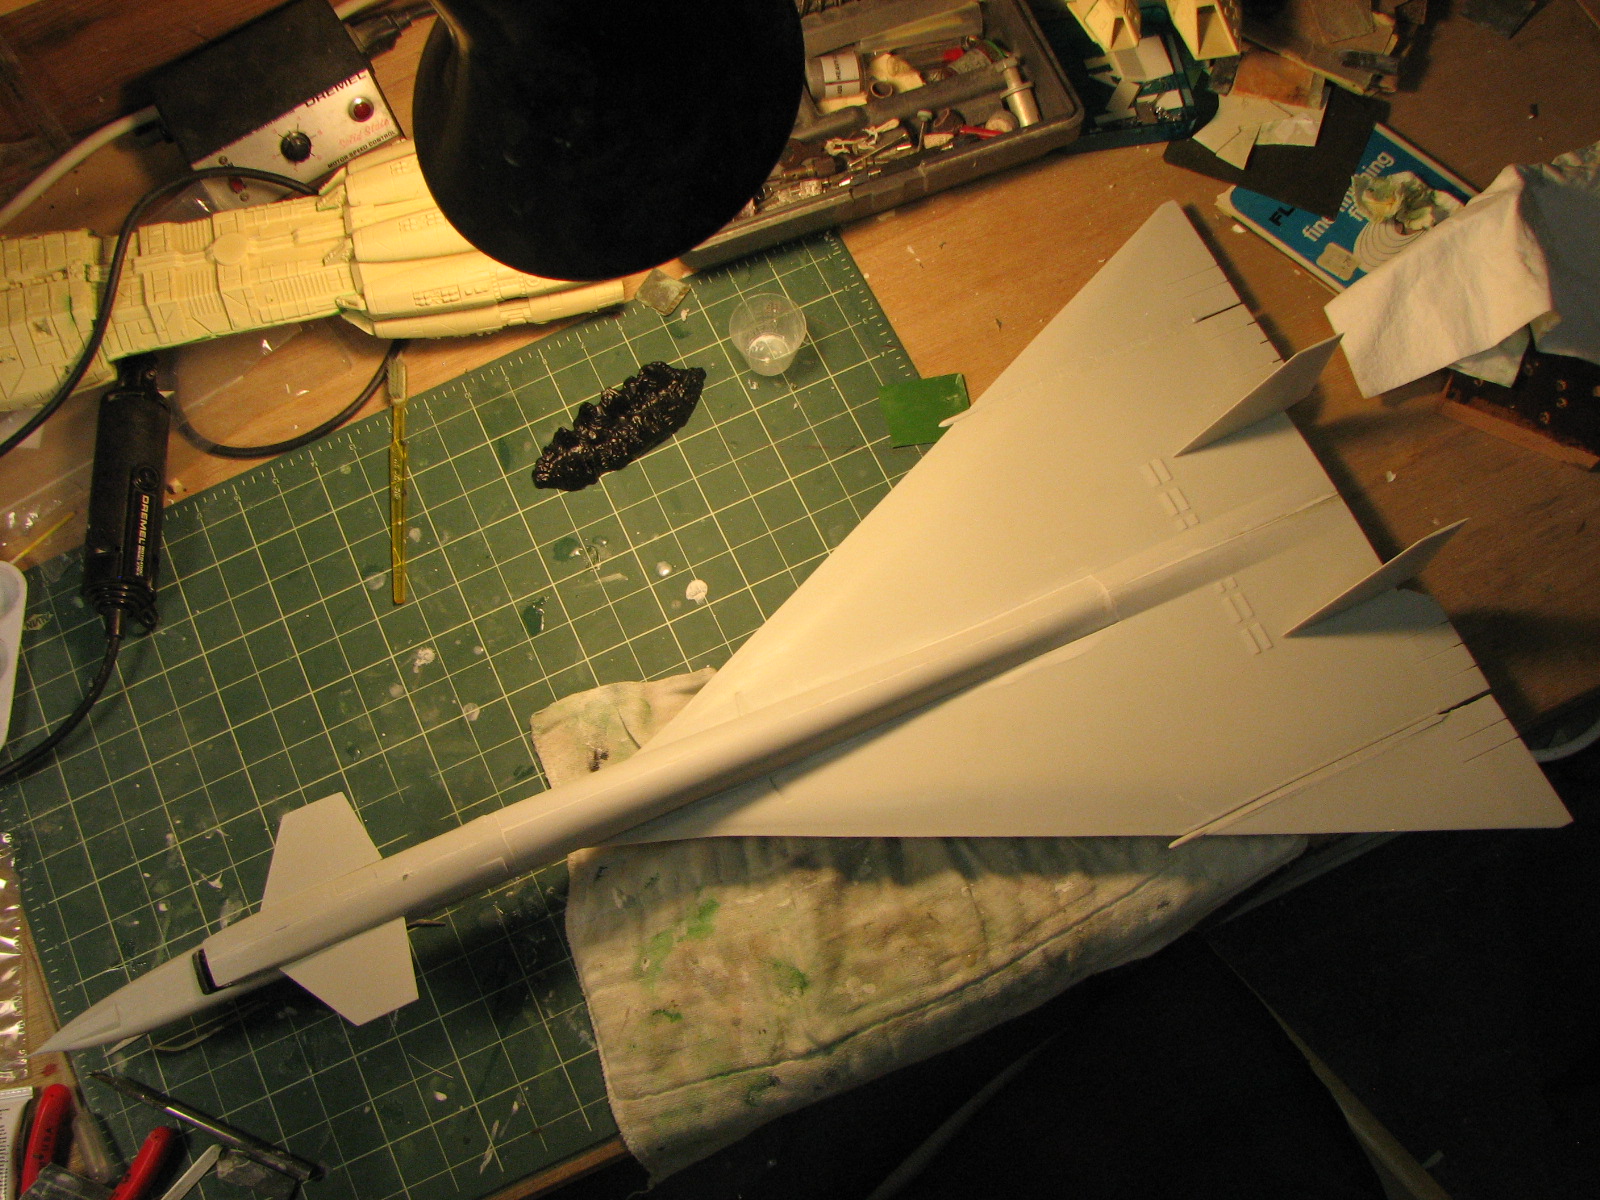
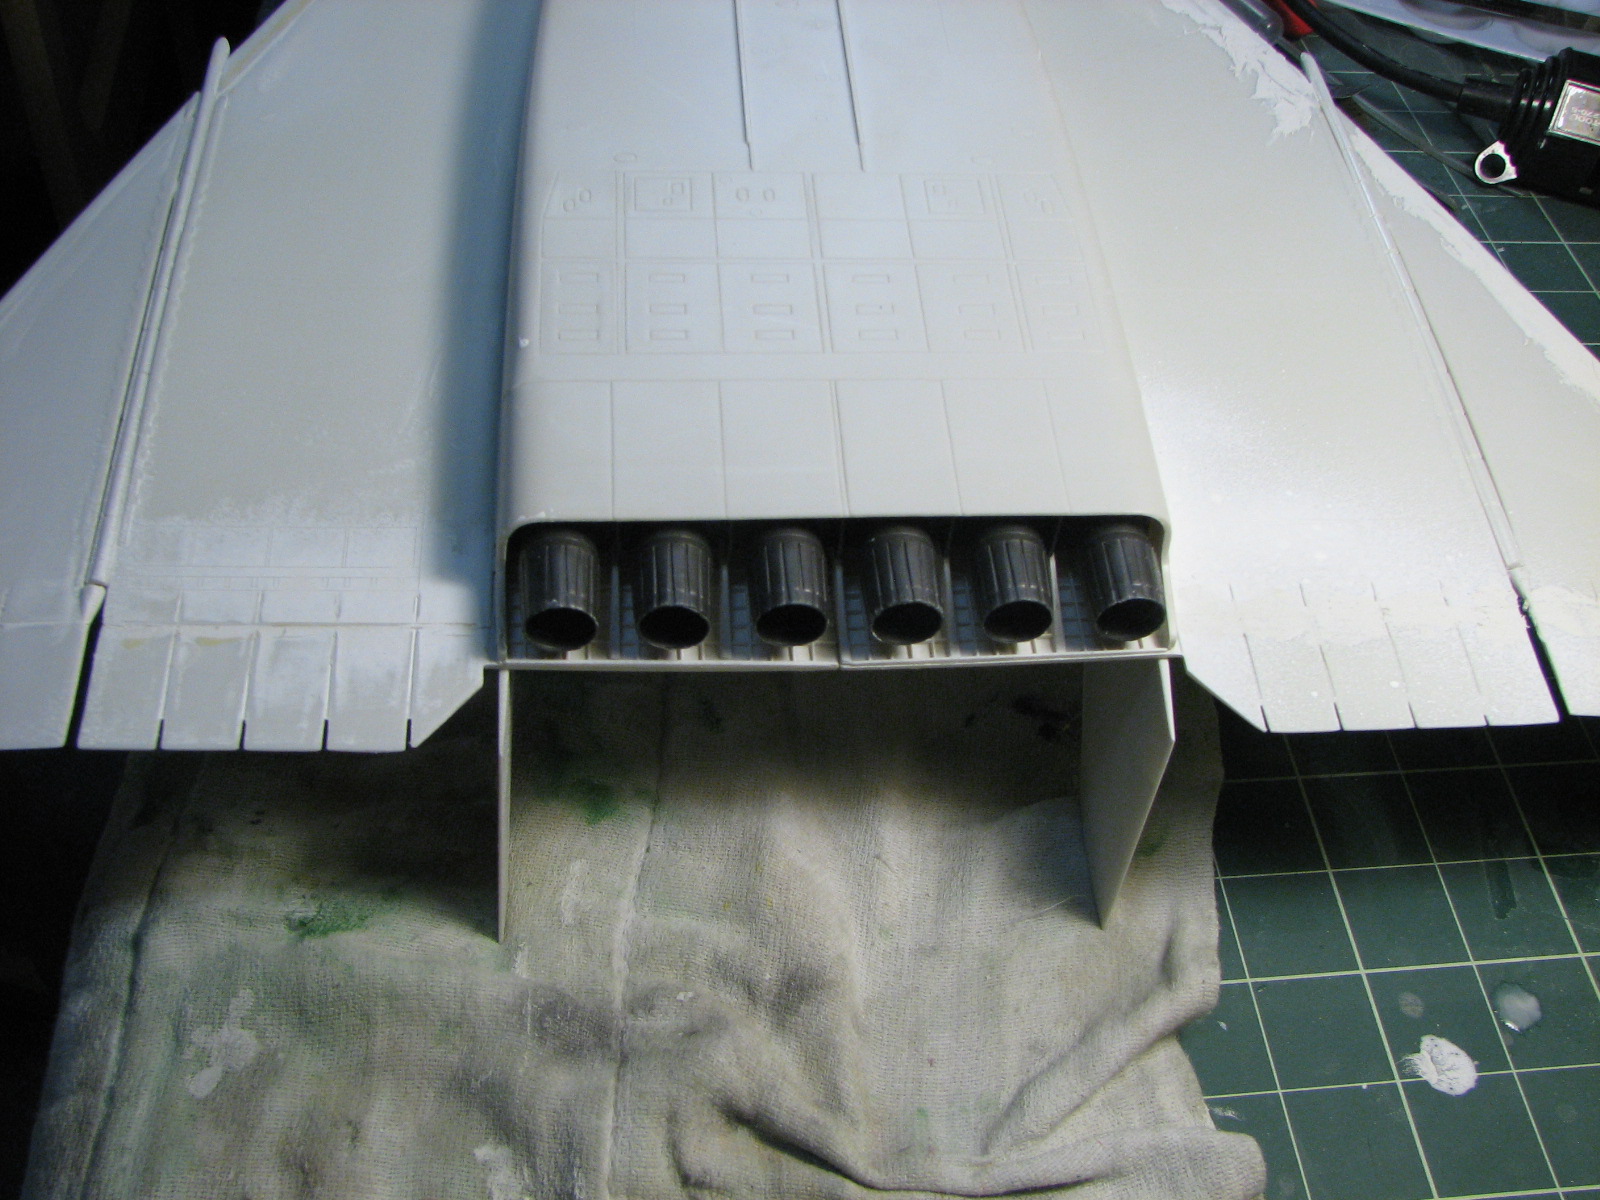
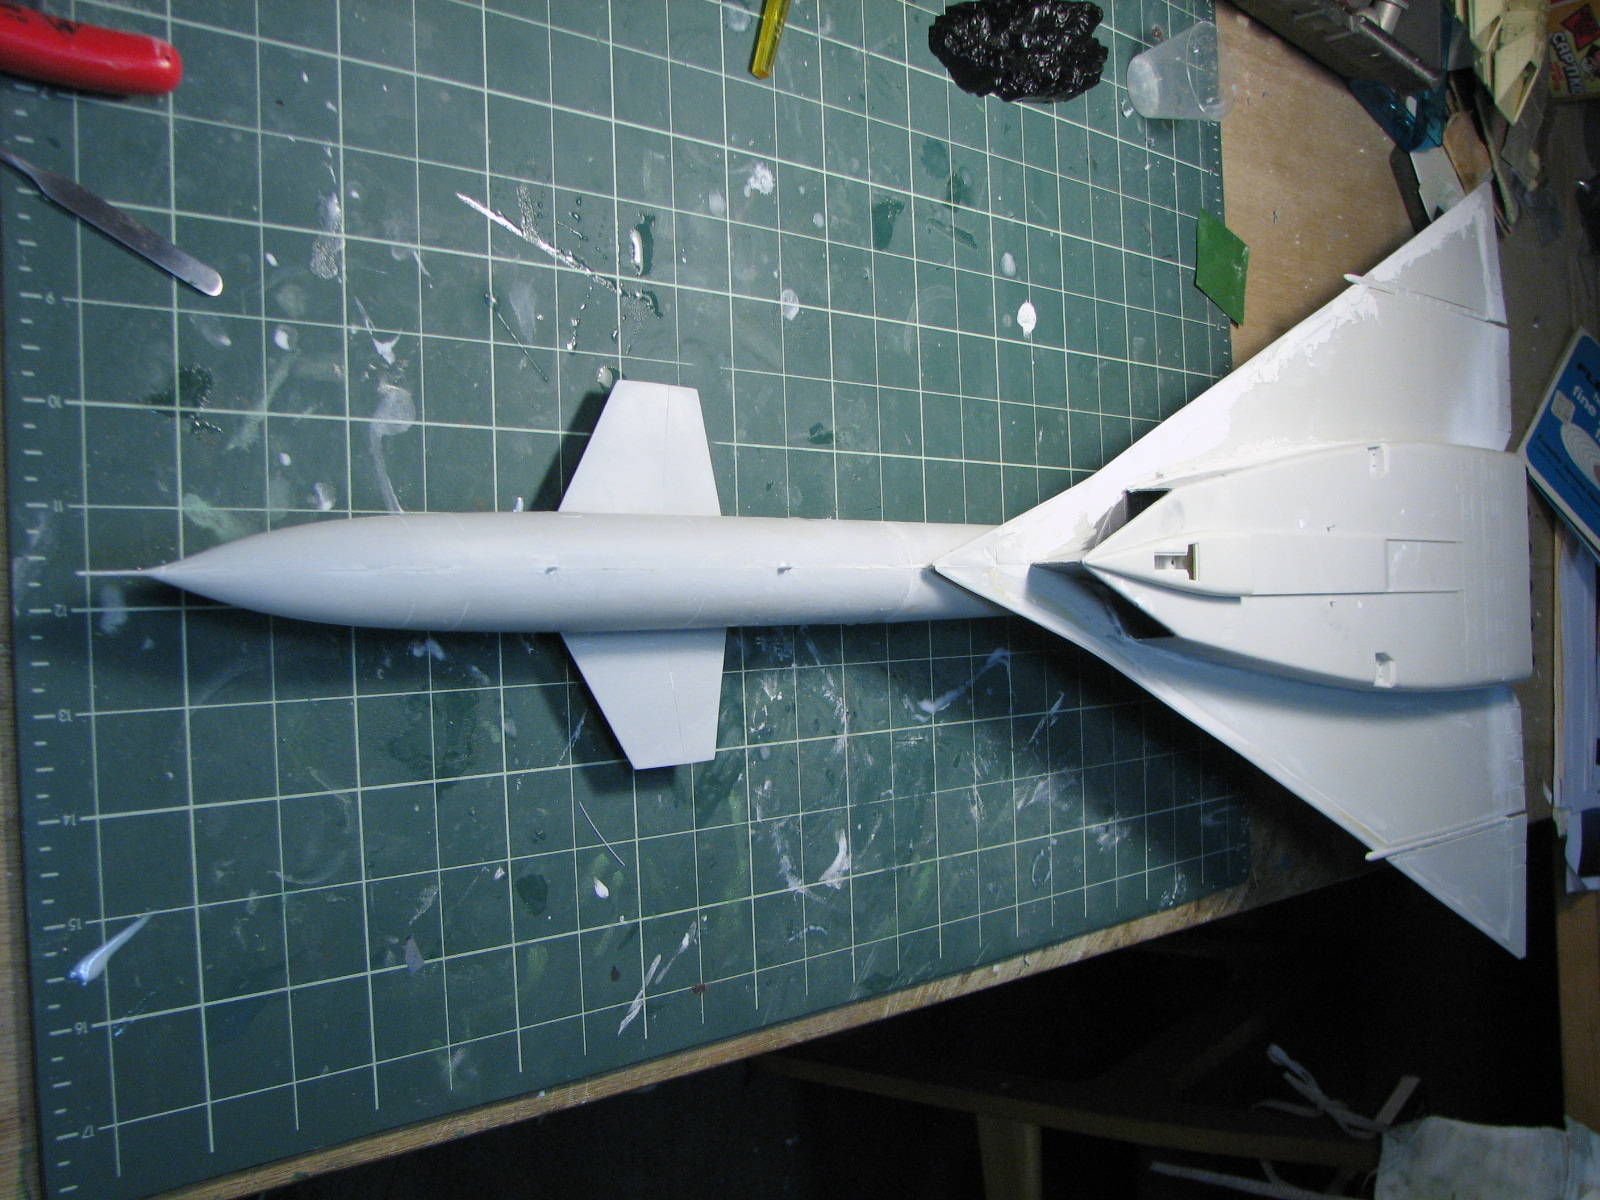
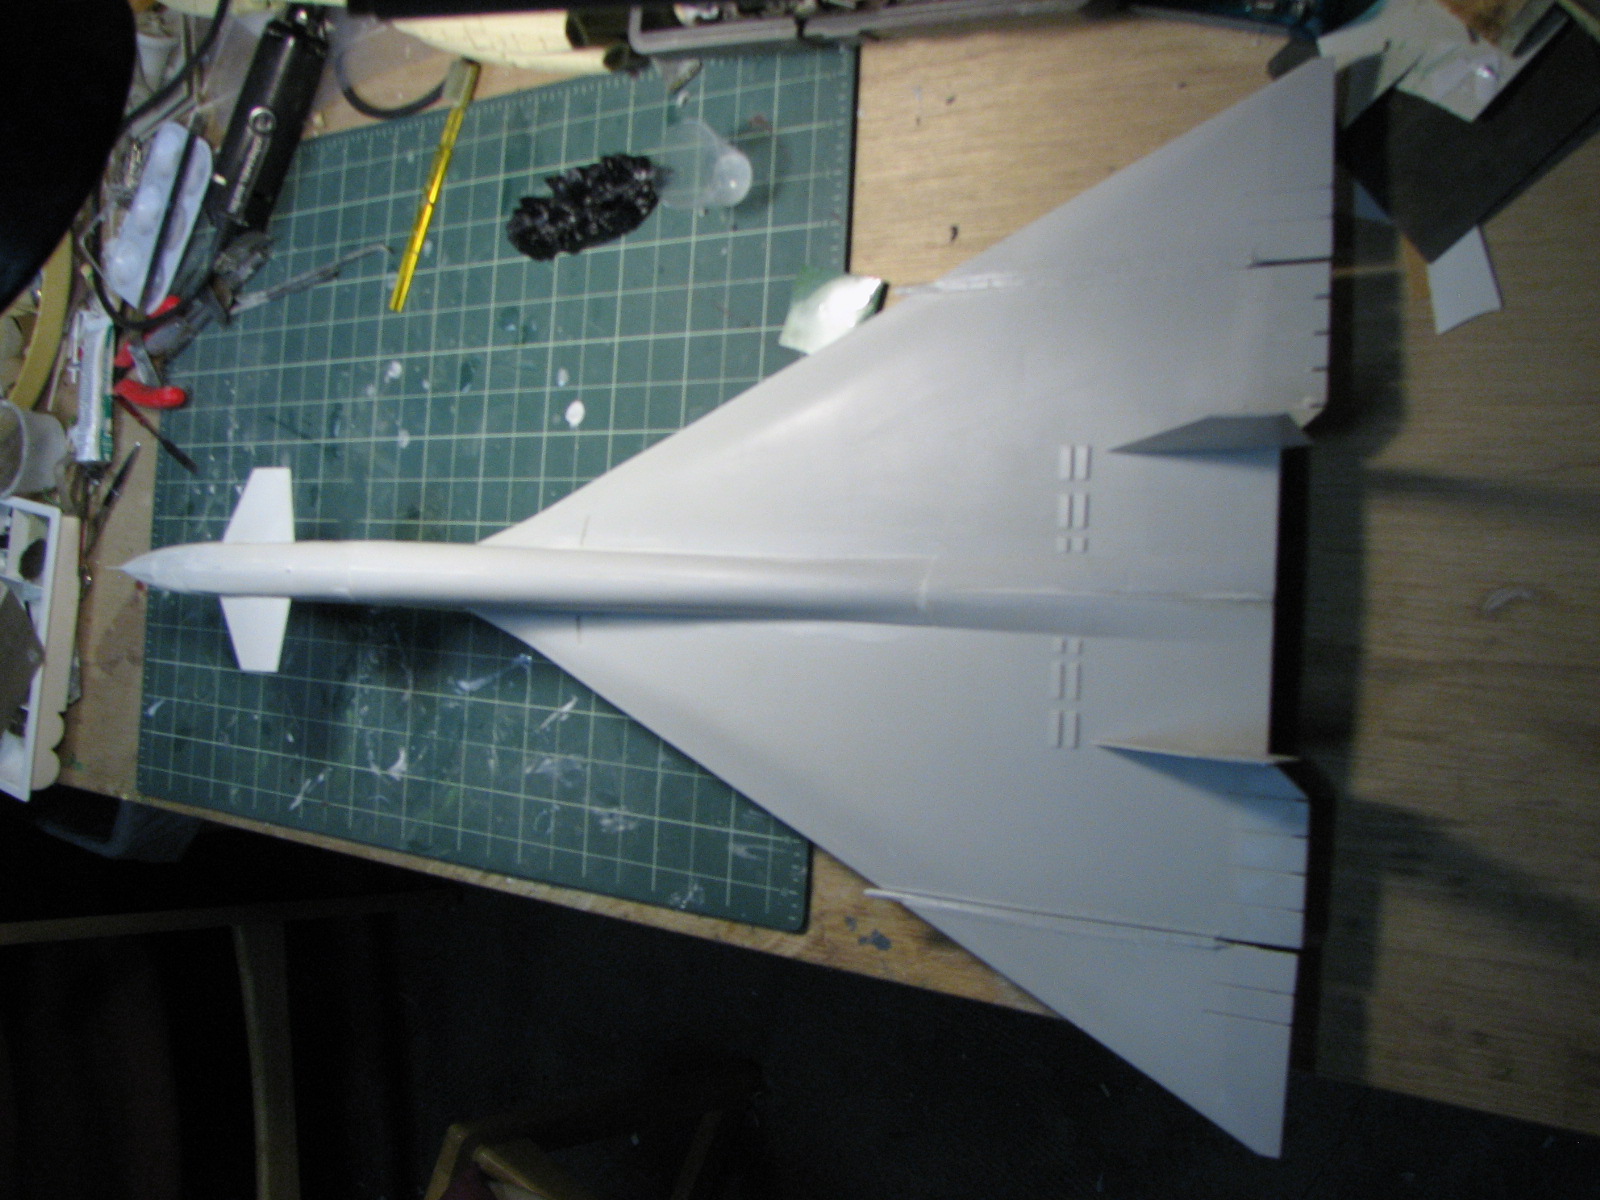
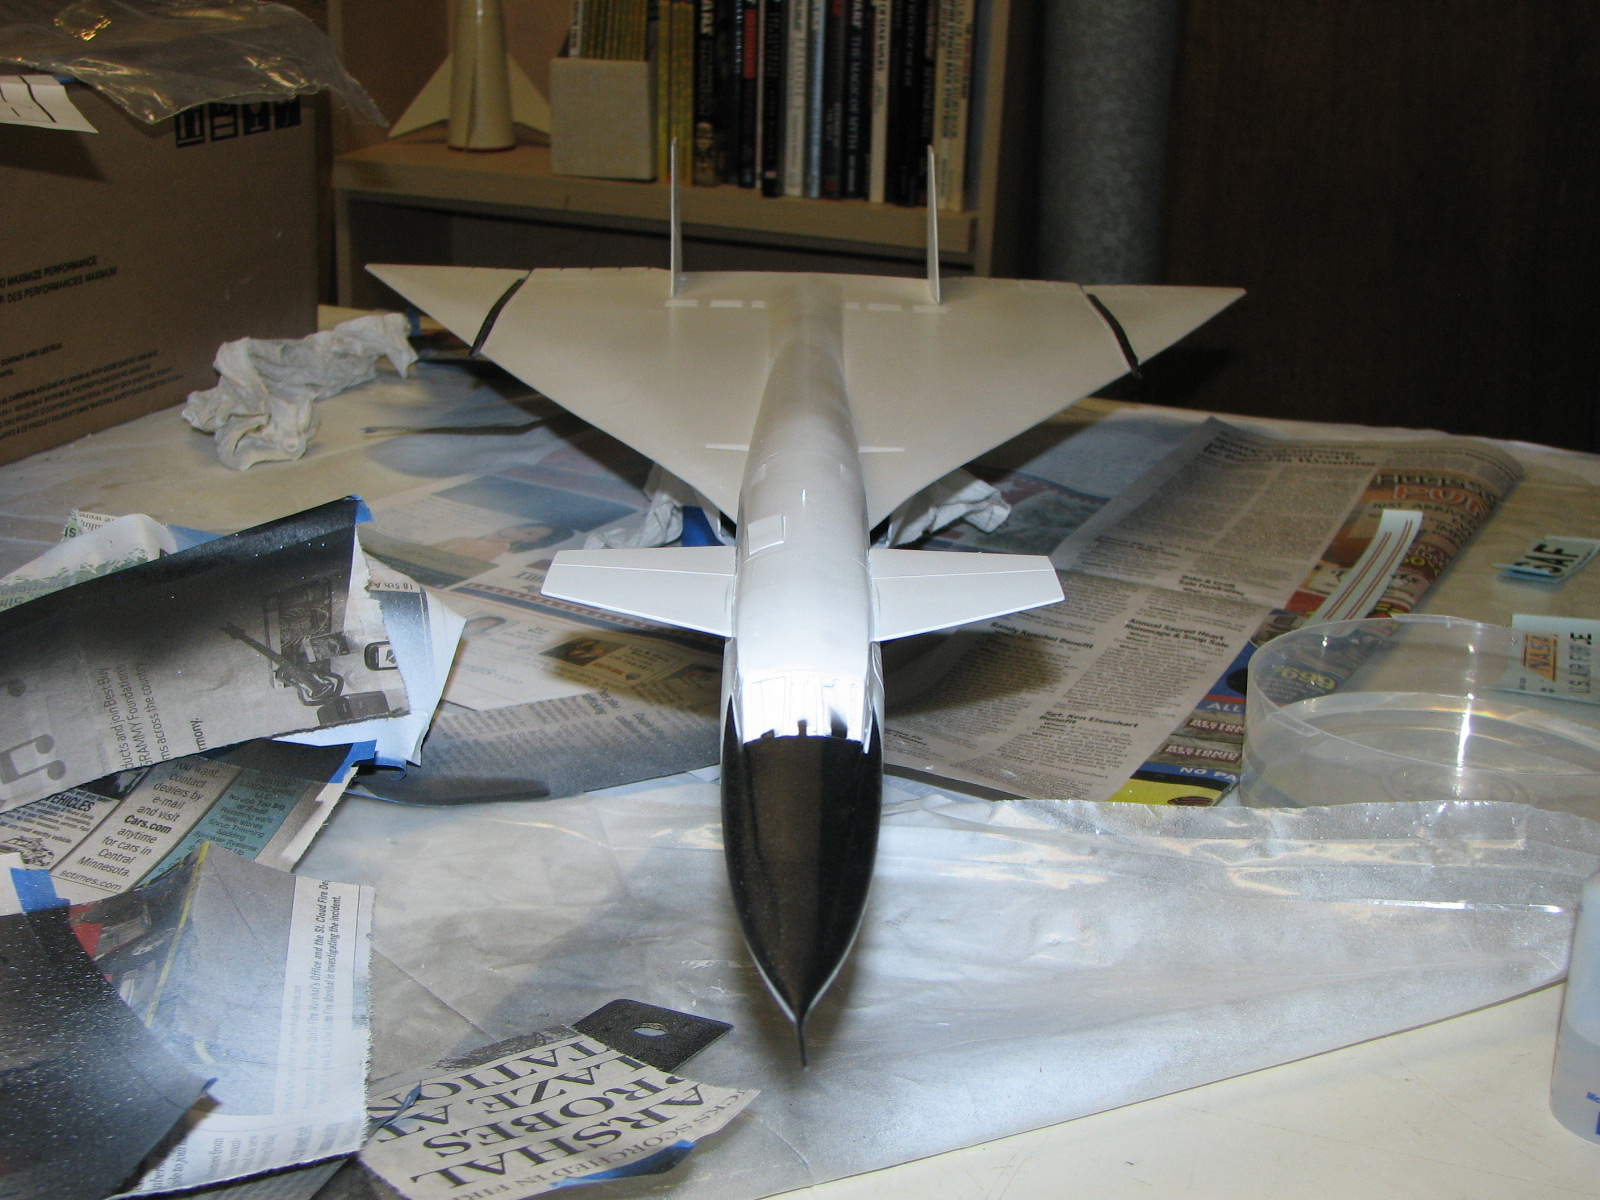
11/3/2010 - And yet more sanding and putty and sanding... and applying a few detail pieces and the canopy windshield. This one's ready for priming.

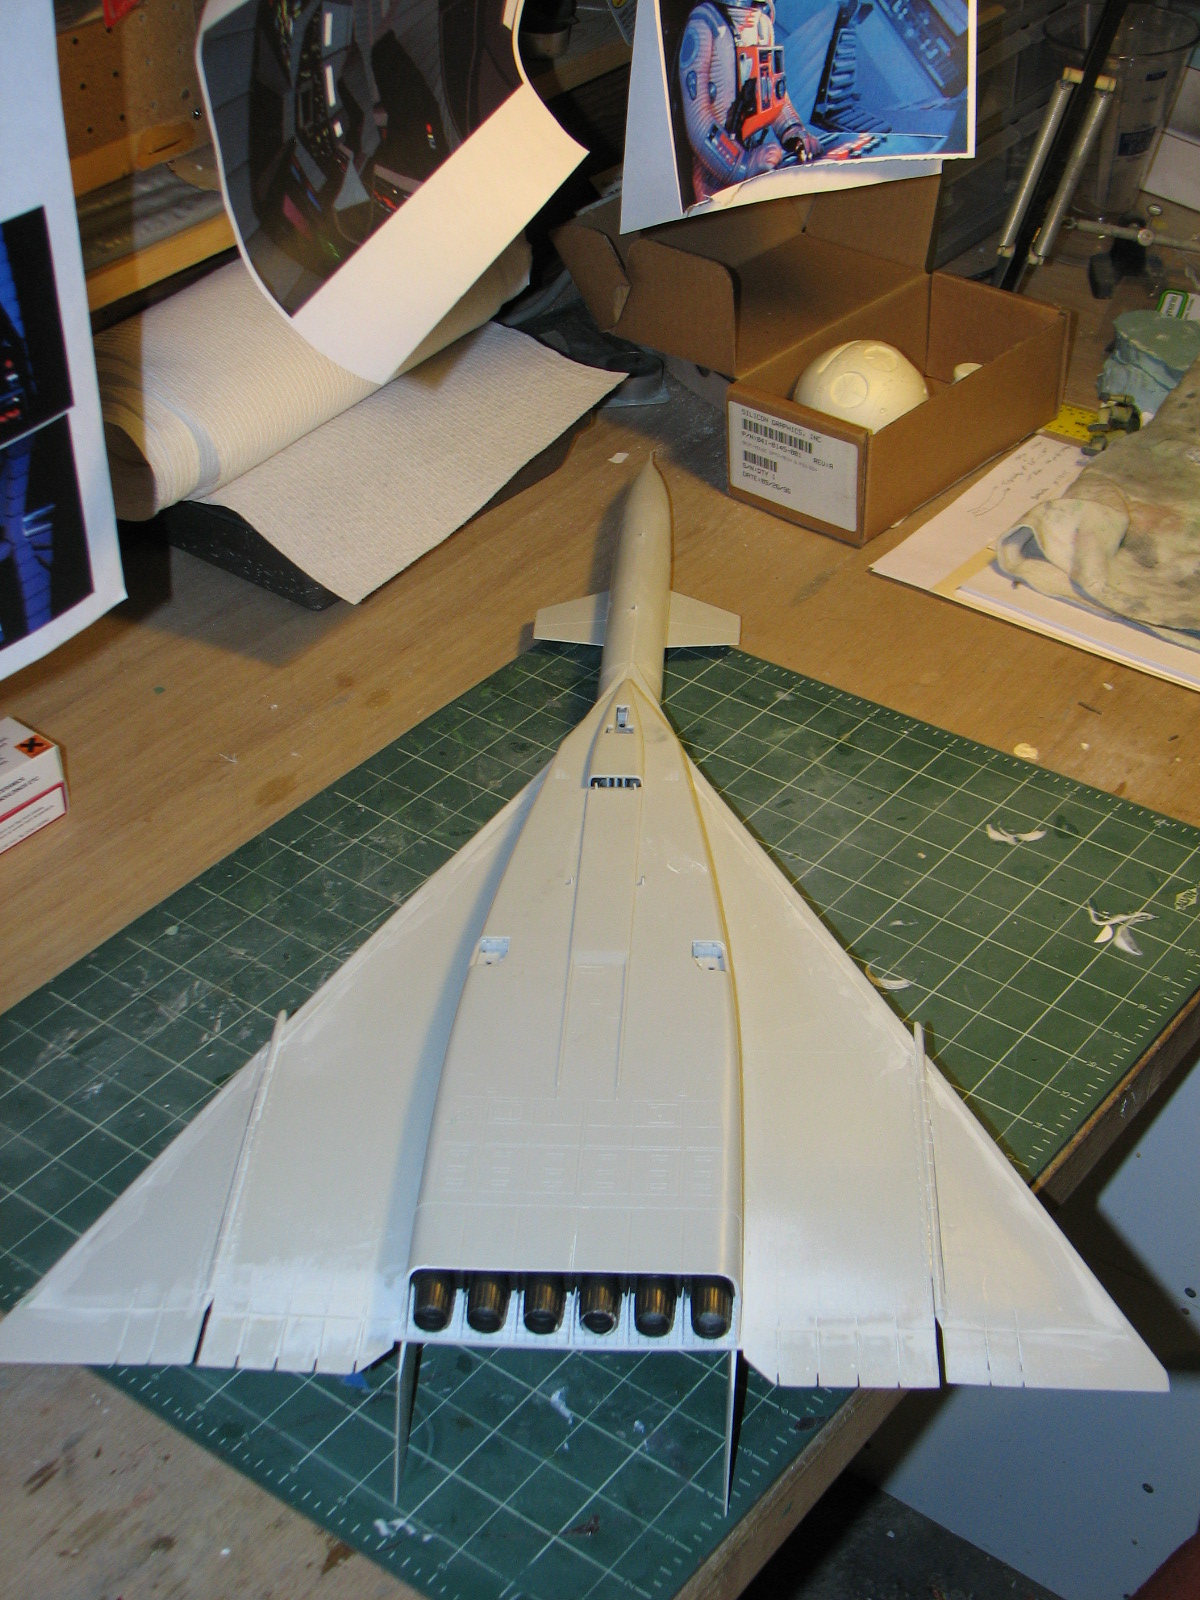
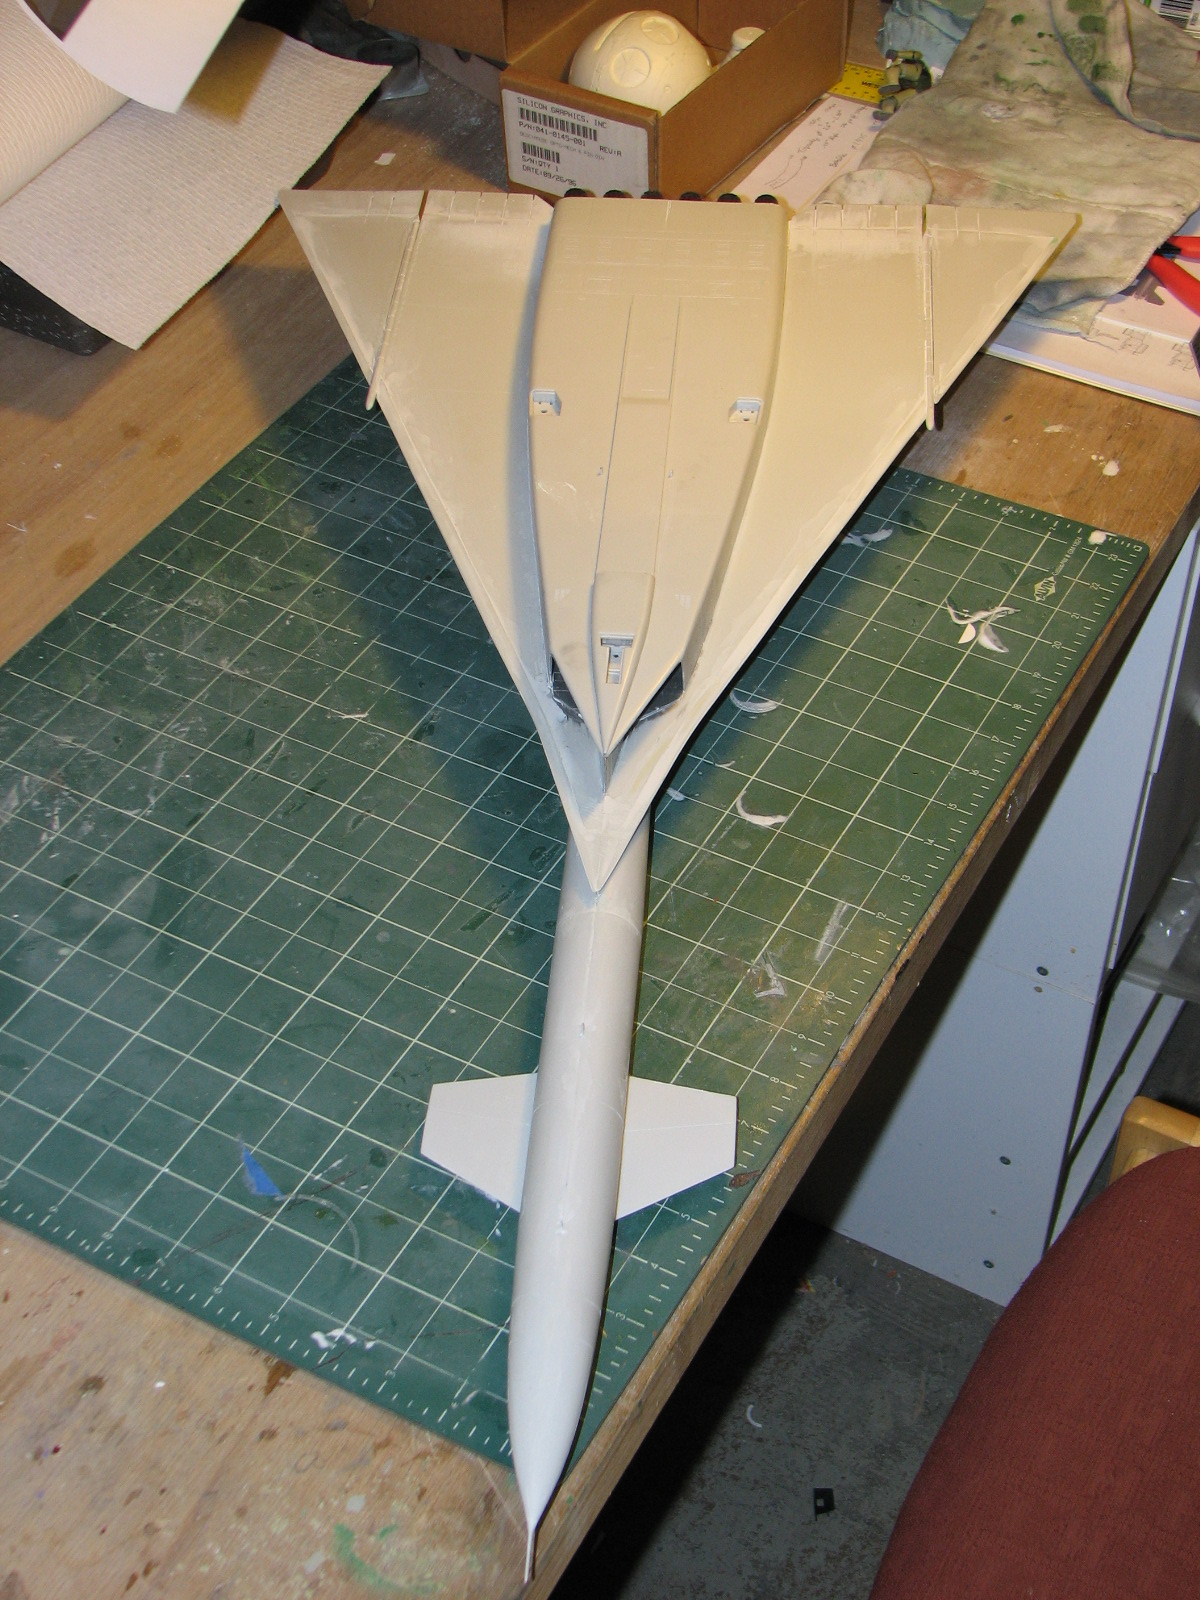
11/6/2010 - I masked off the windshield and puttied around the gaps between the canopy piece and the fuselage. When dry I filed and sanded down the putty and masked off the engines. And so finally, it's white primer time.
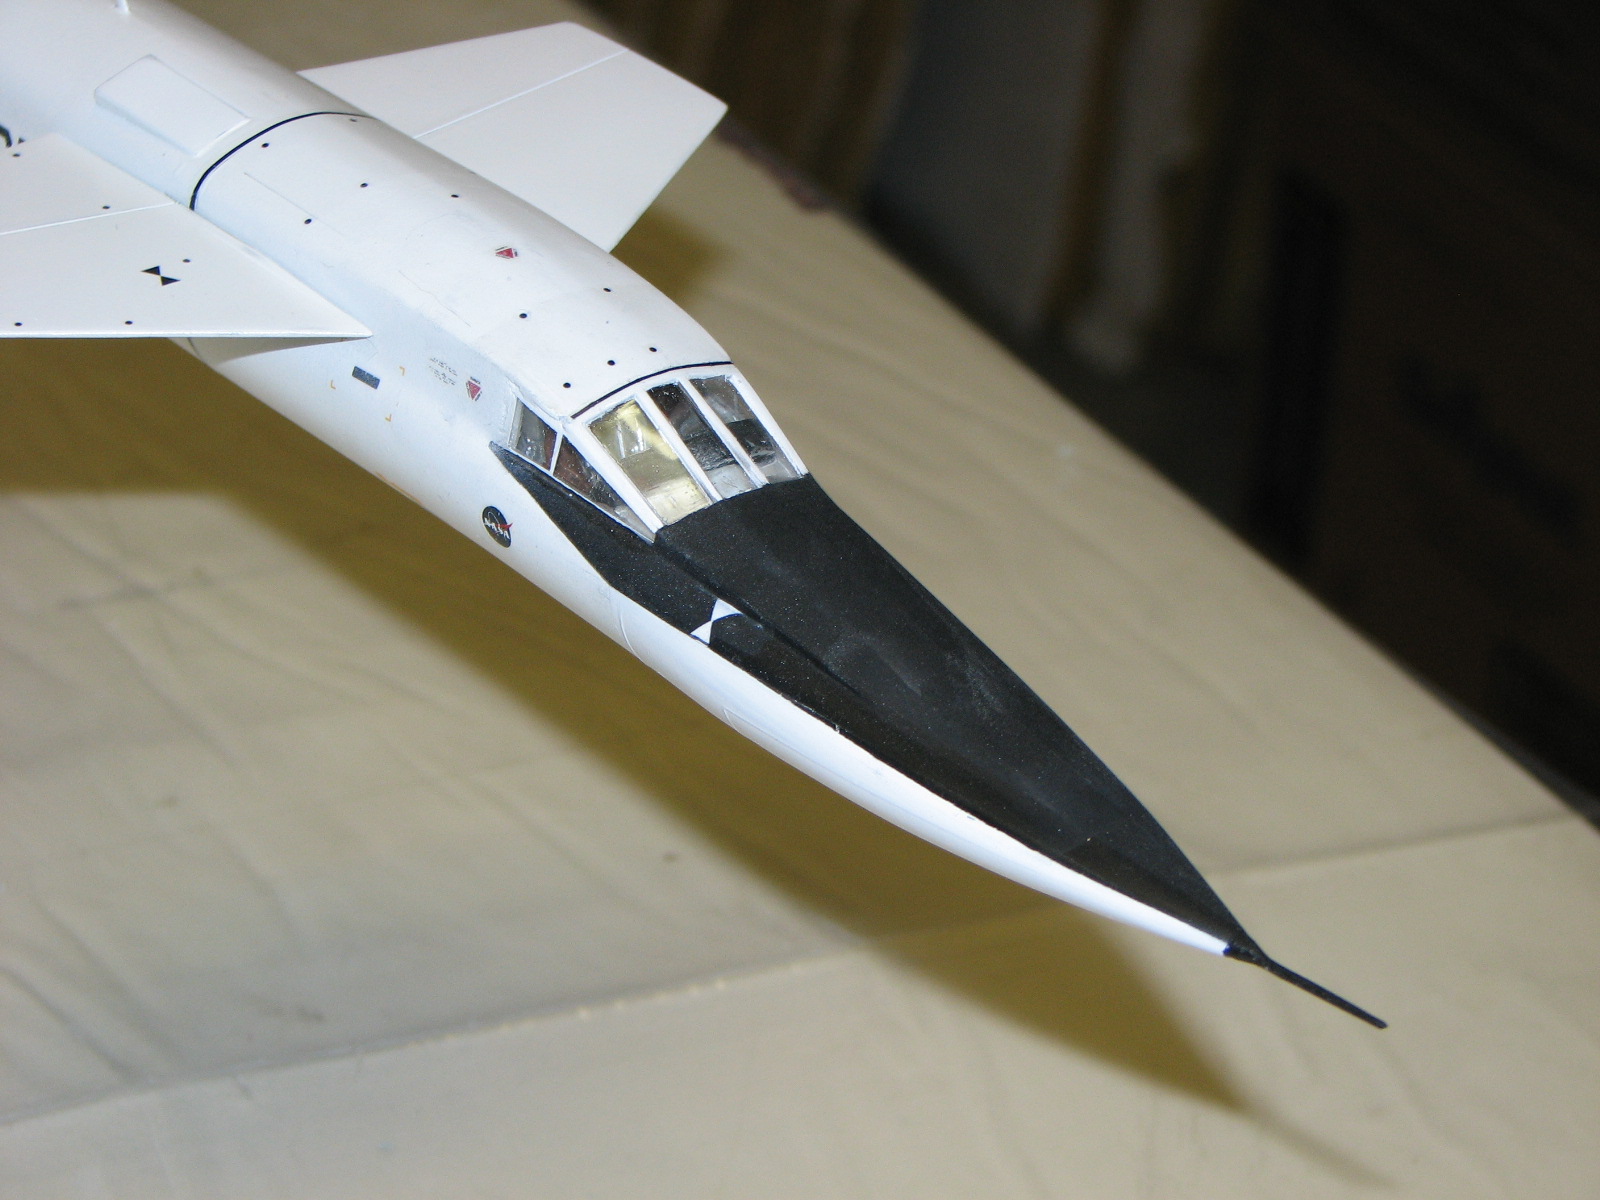
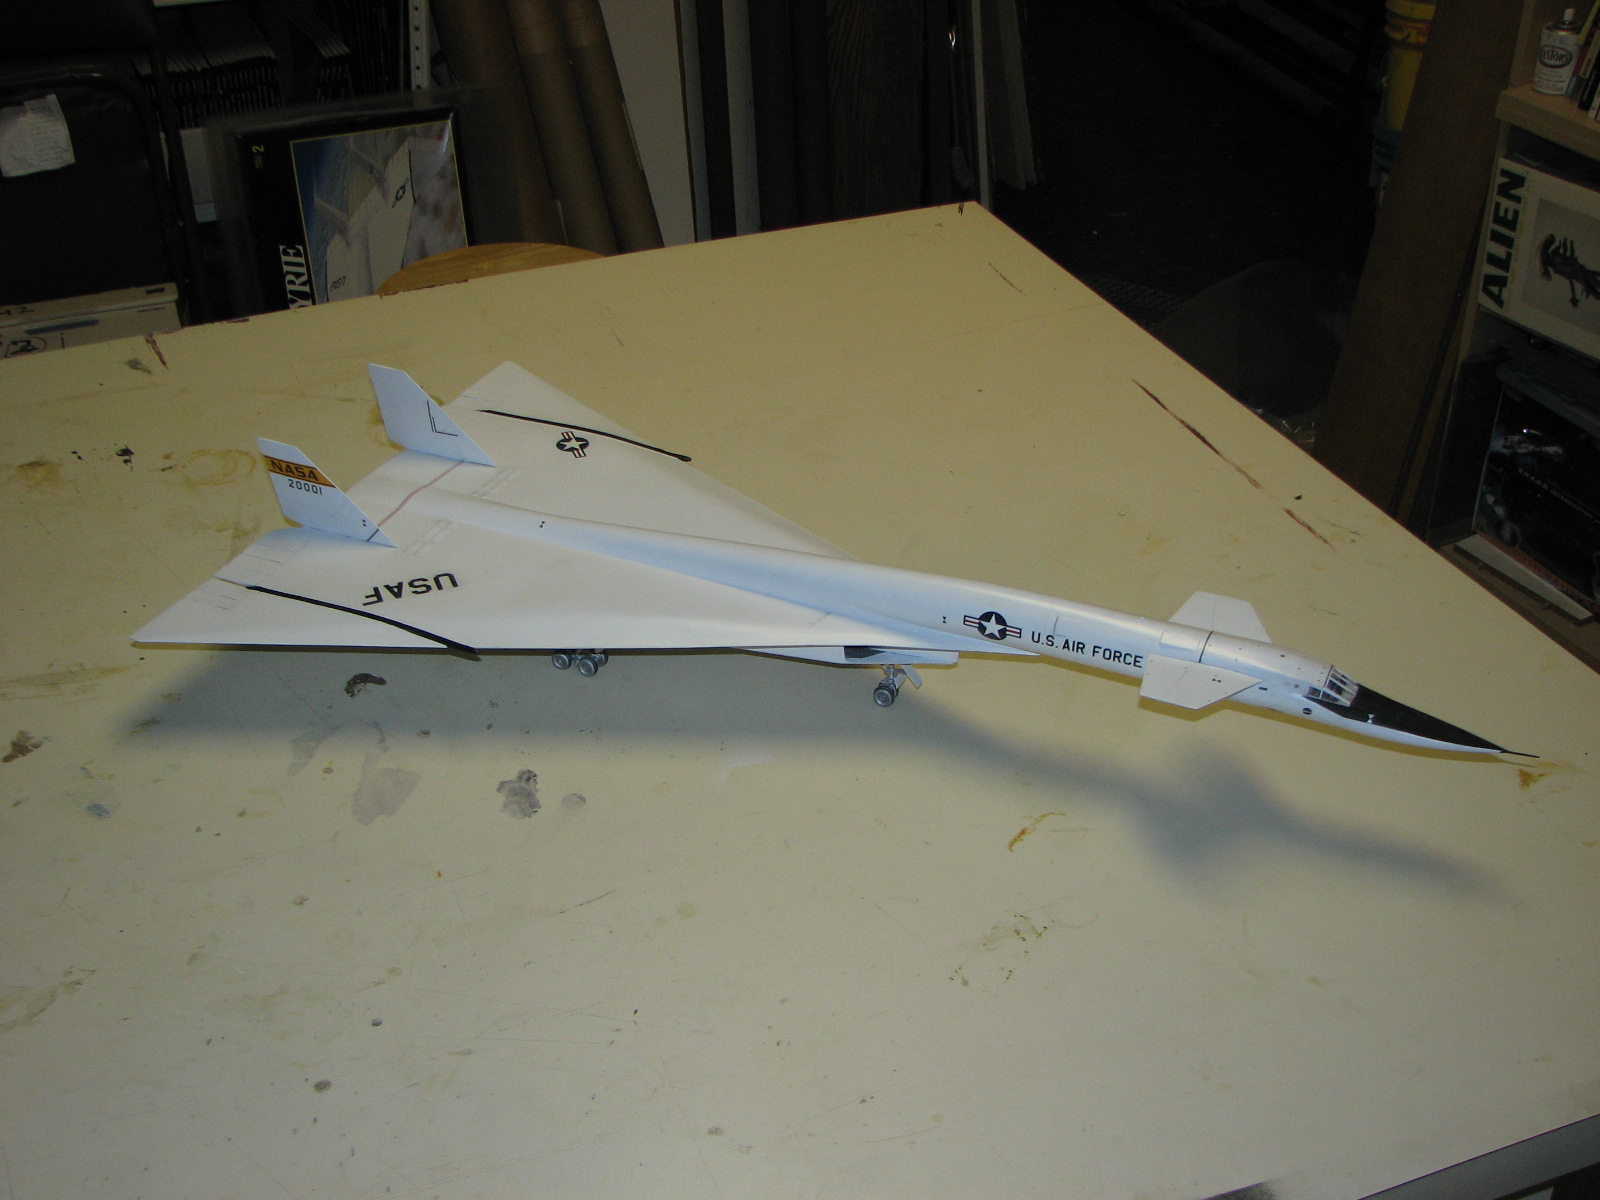
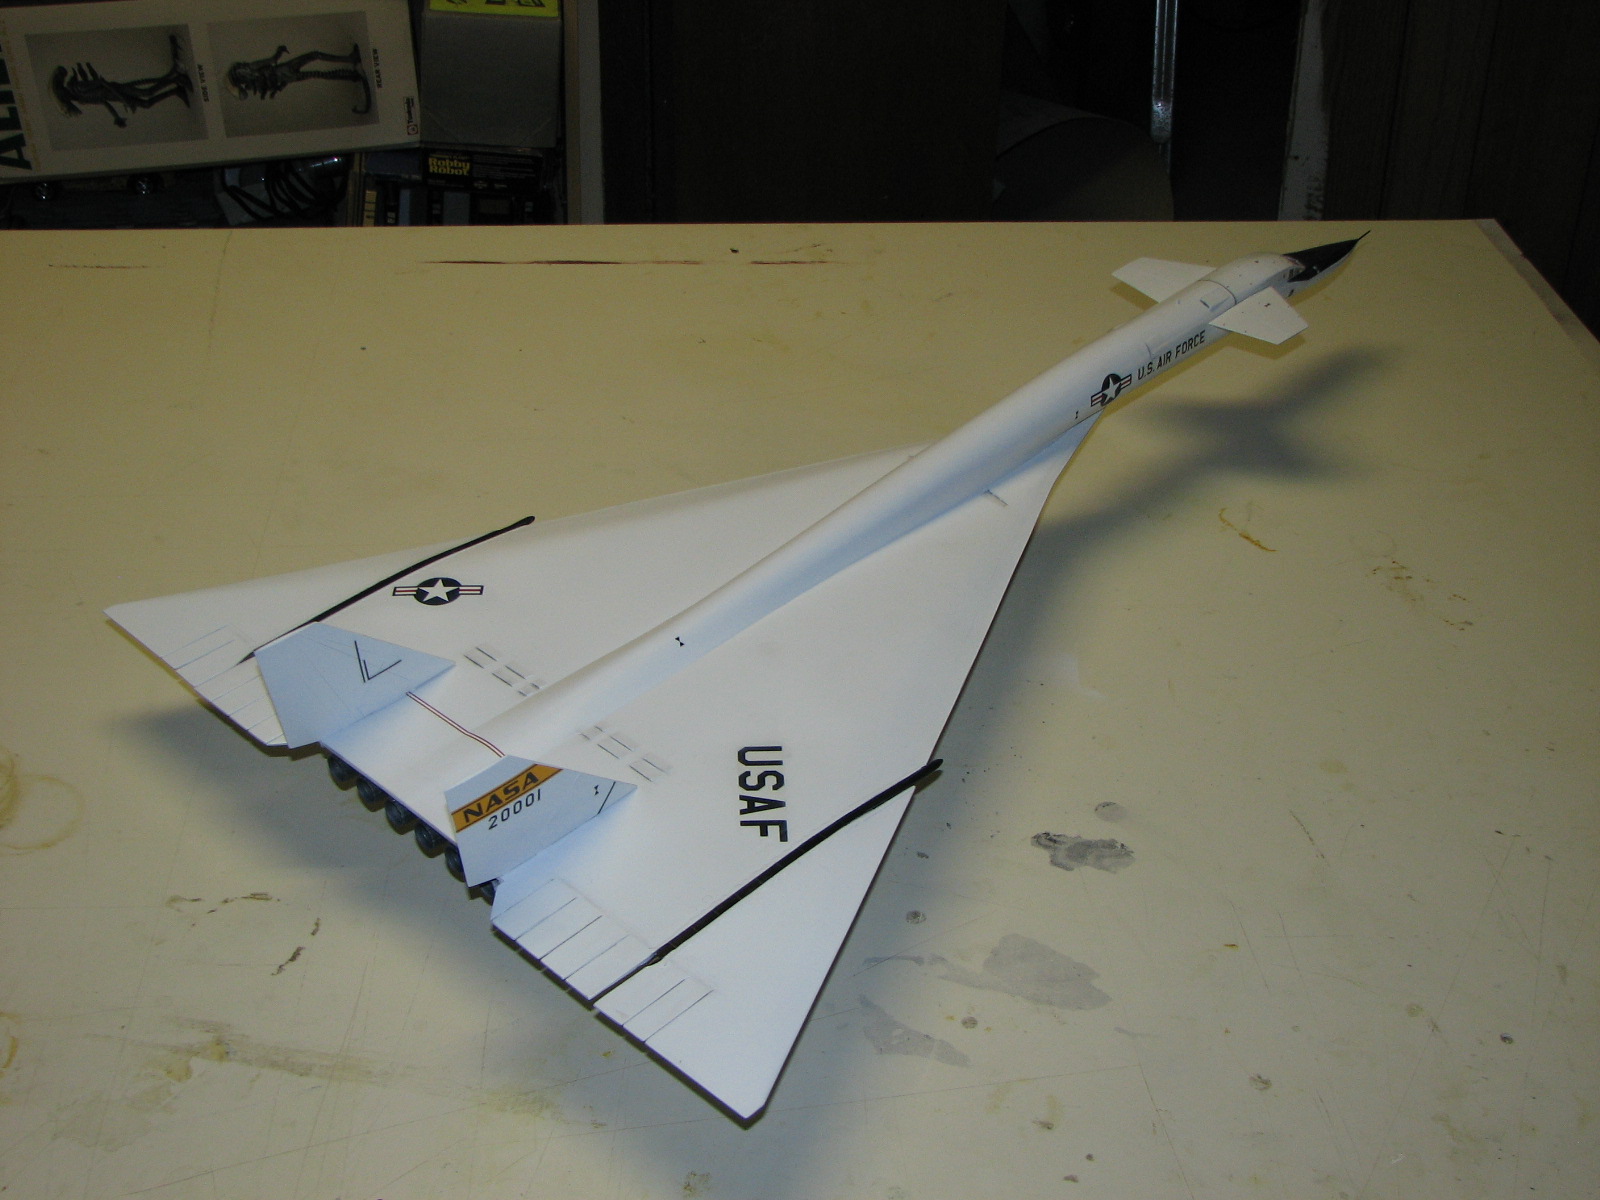
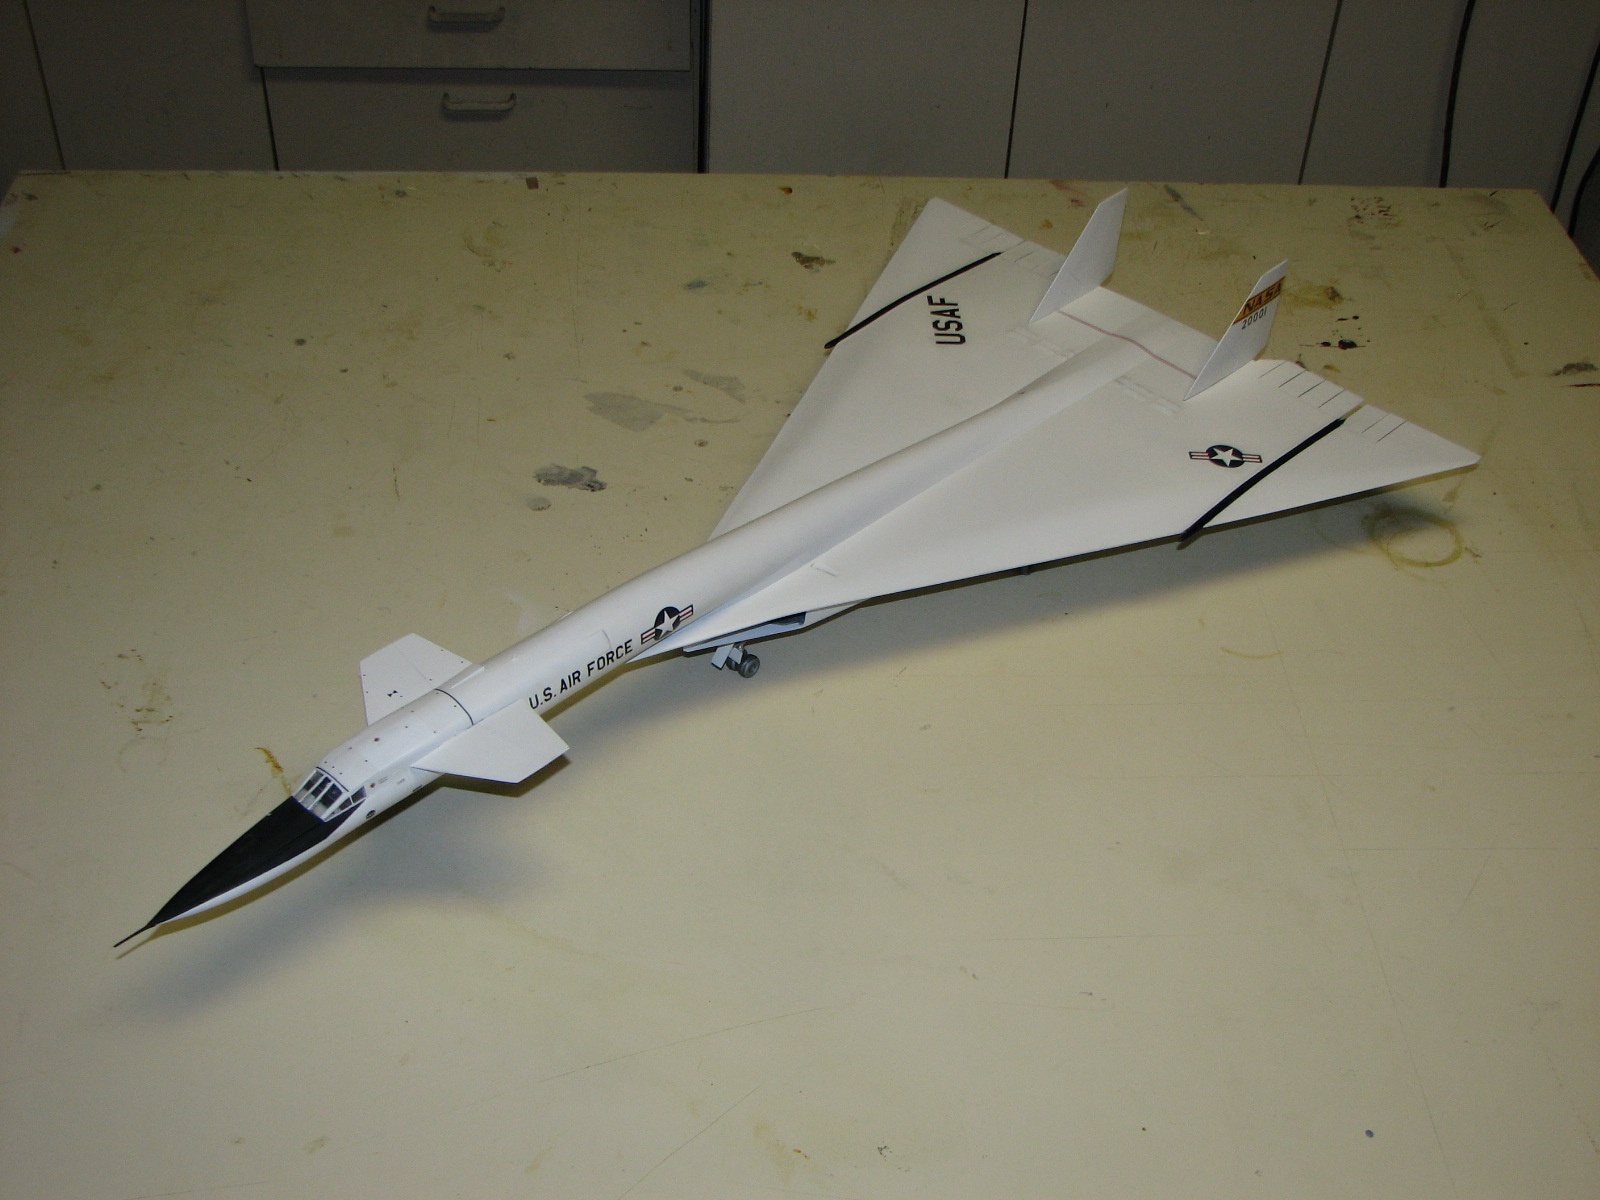
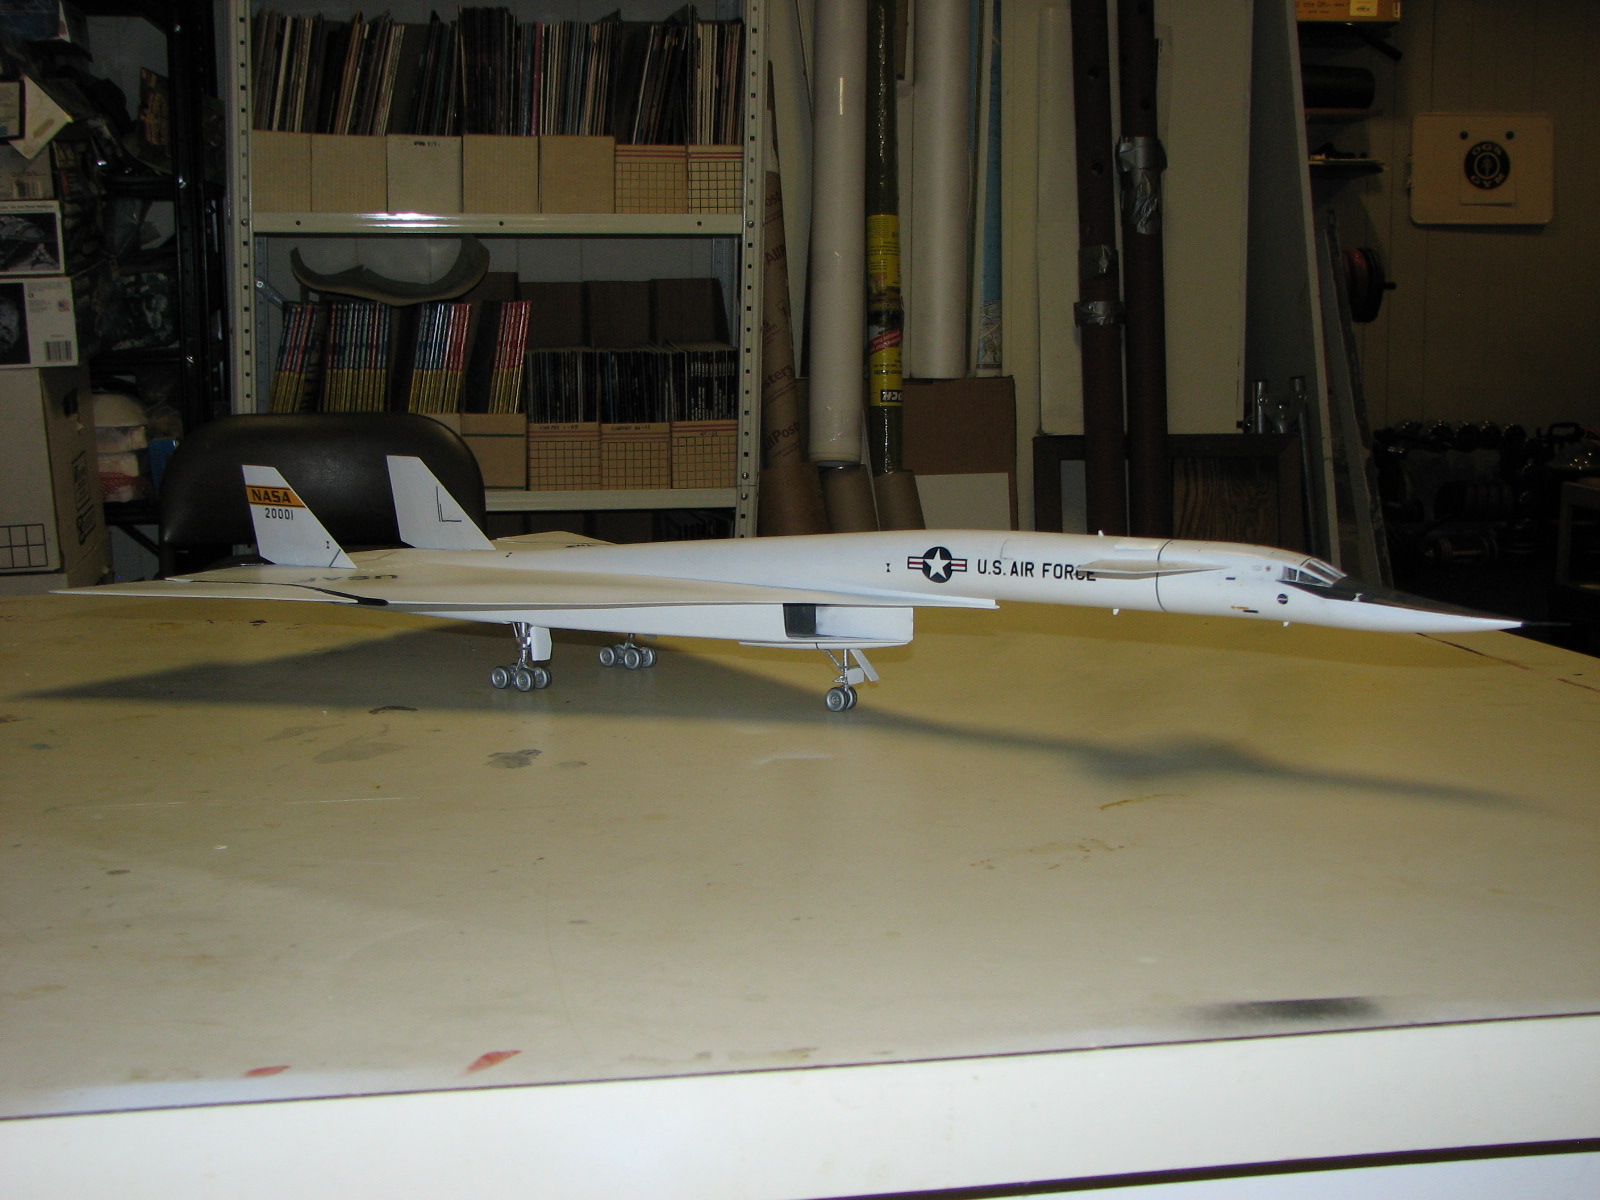
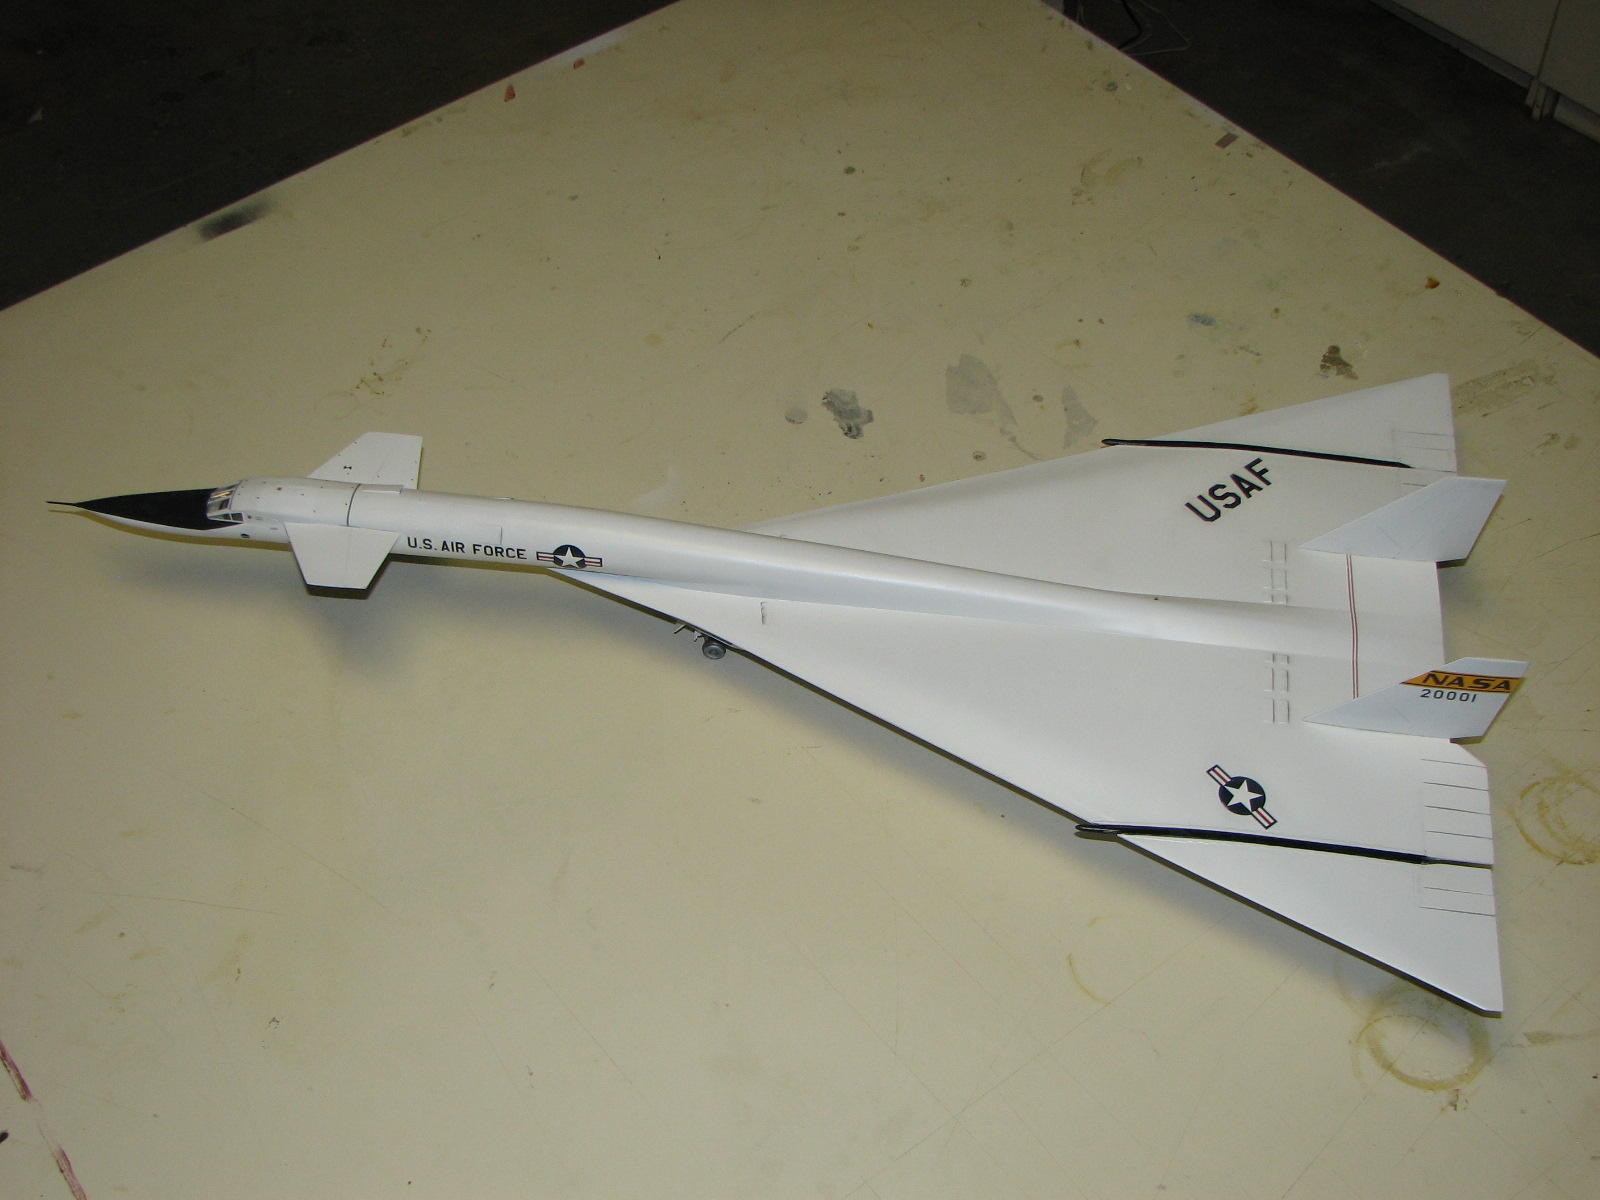
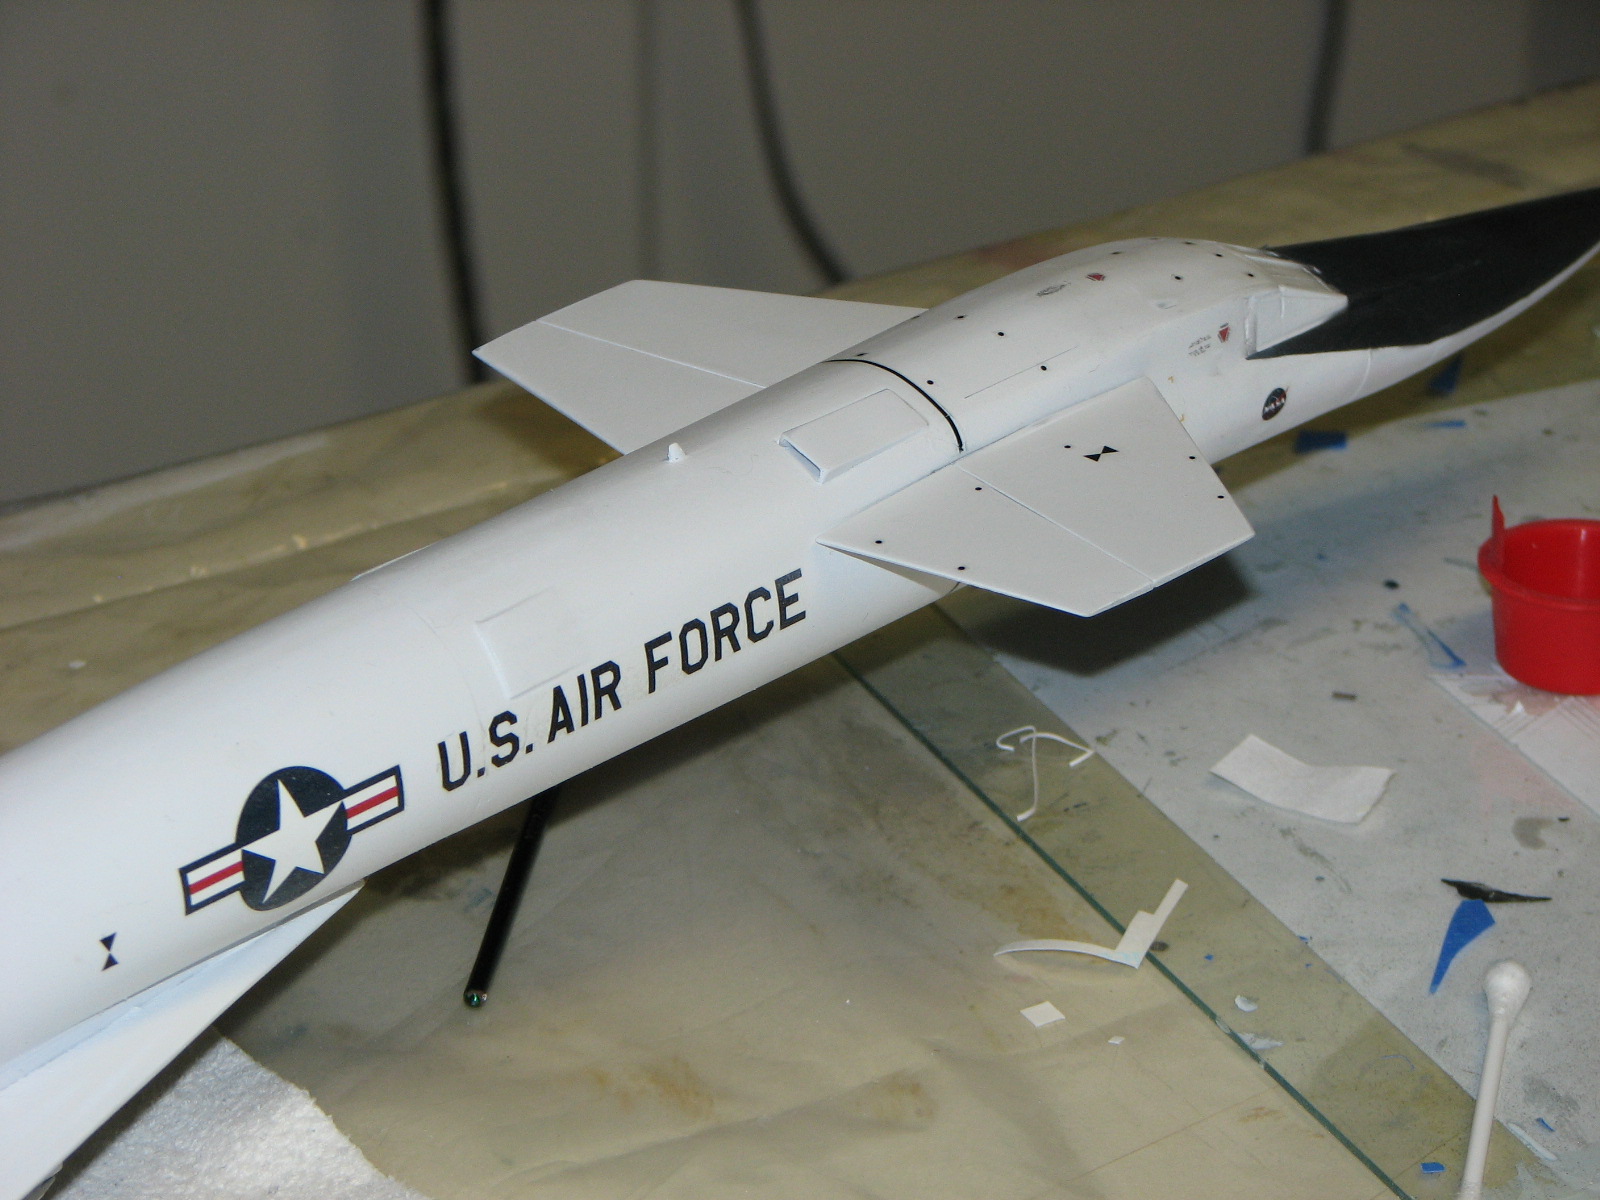
11/8/2010 - And after white primer time is, well, ah, heck it's a white aircraft. I masked off the anti-glare panel and wingtip hinges and airbrushed on flat black paint and touched up some of the white paint. Once all way dry I hit it with some gloss.

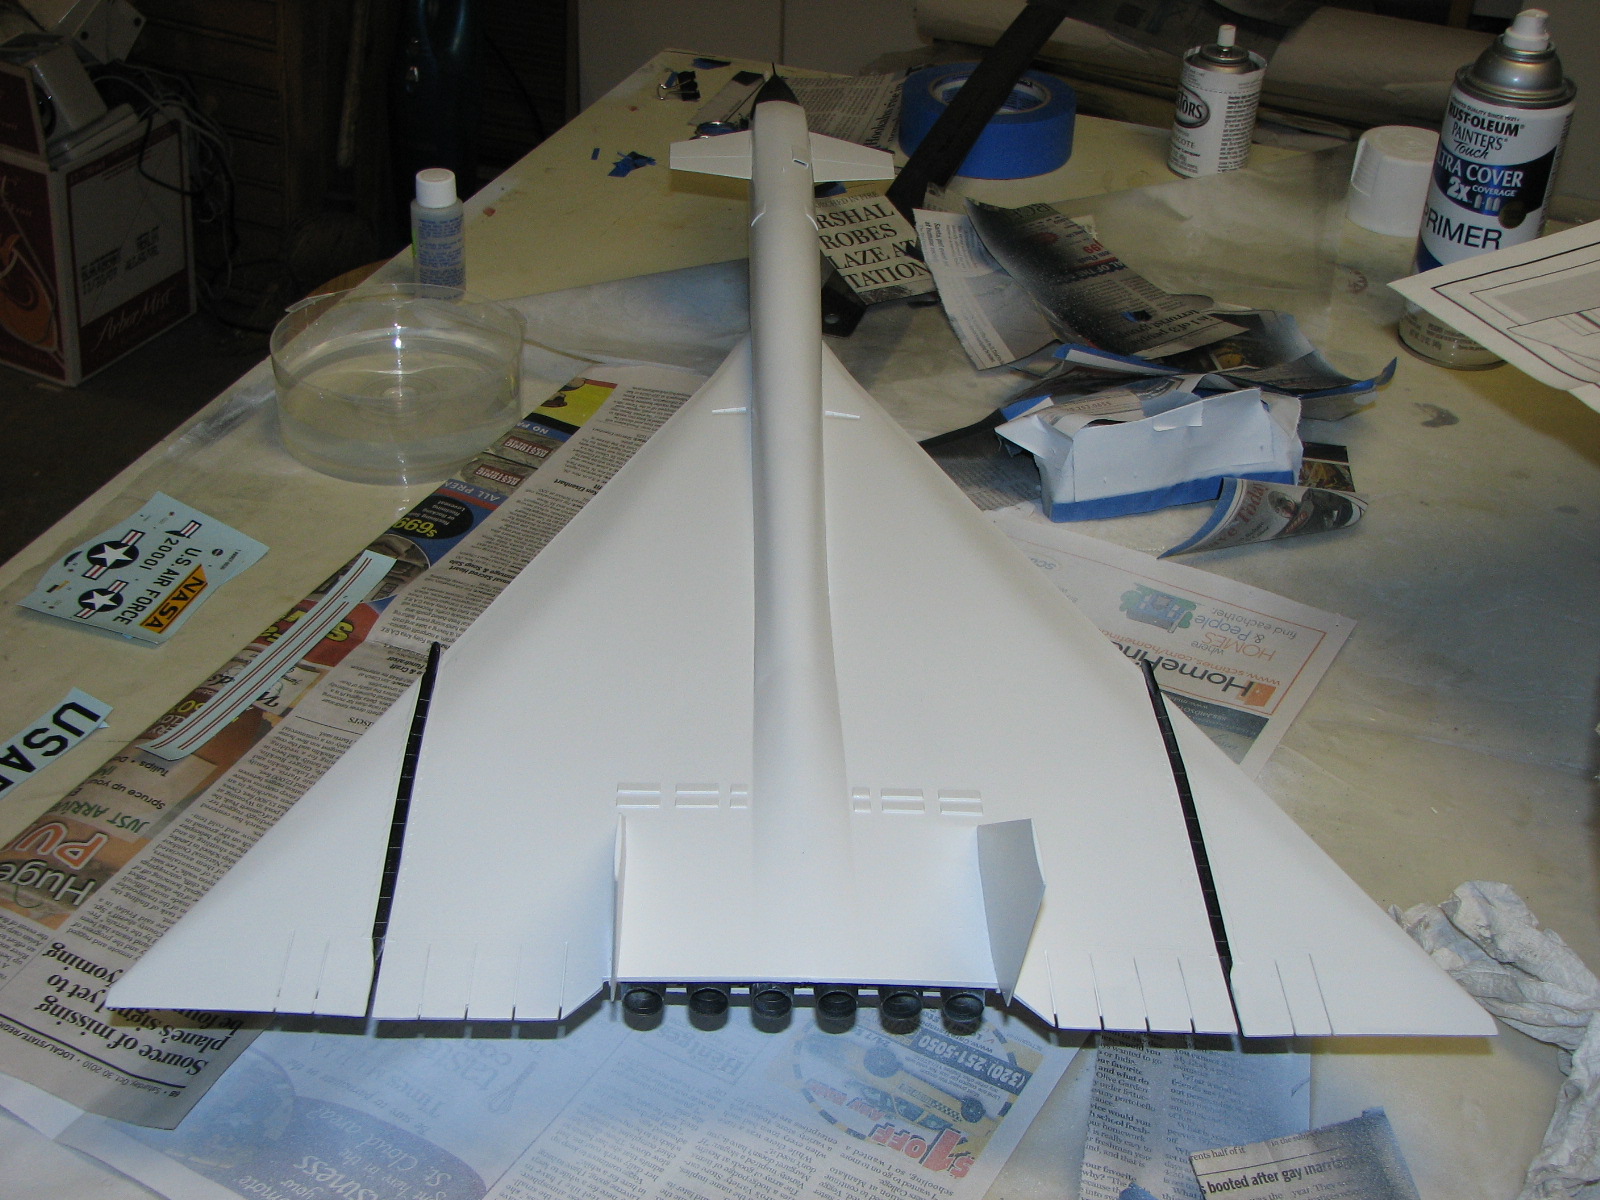
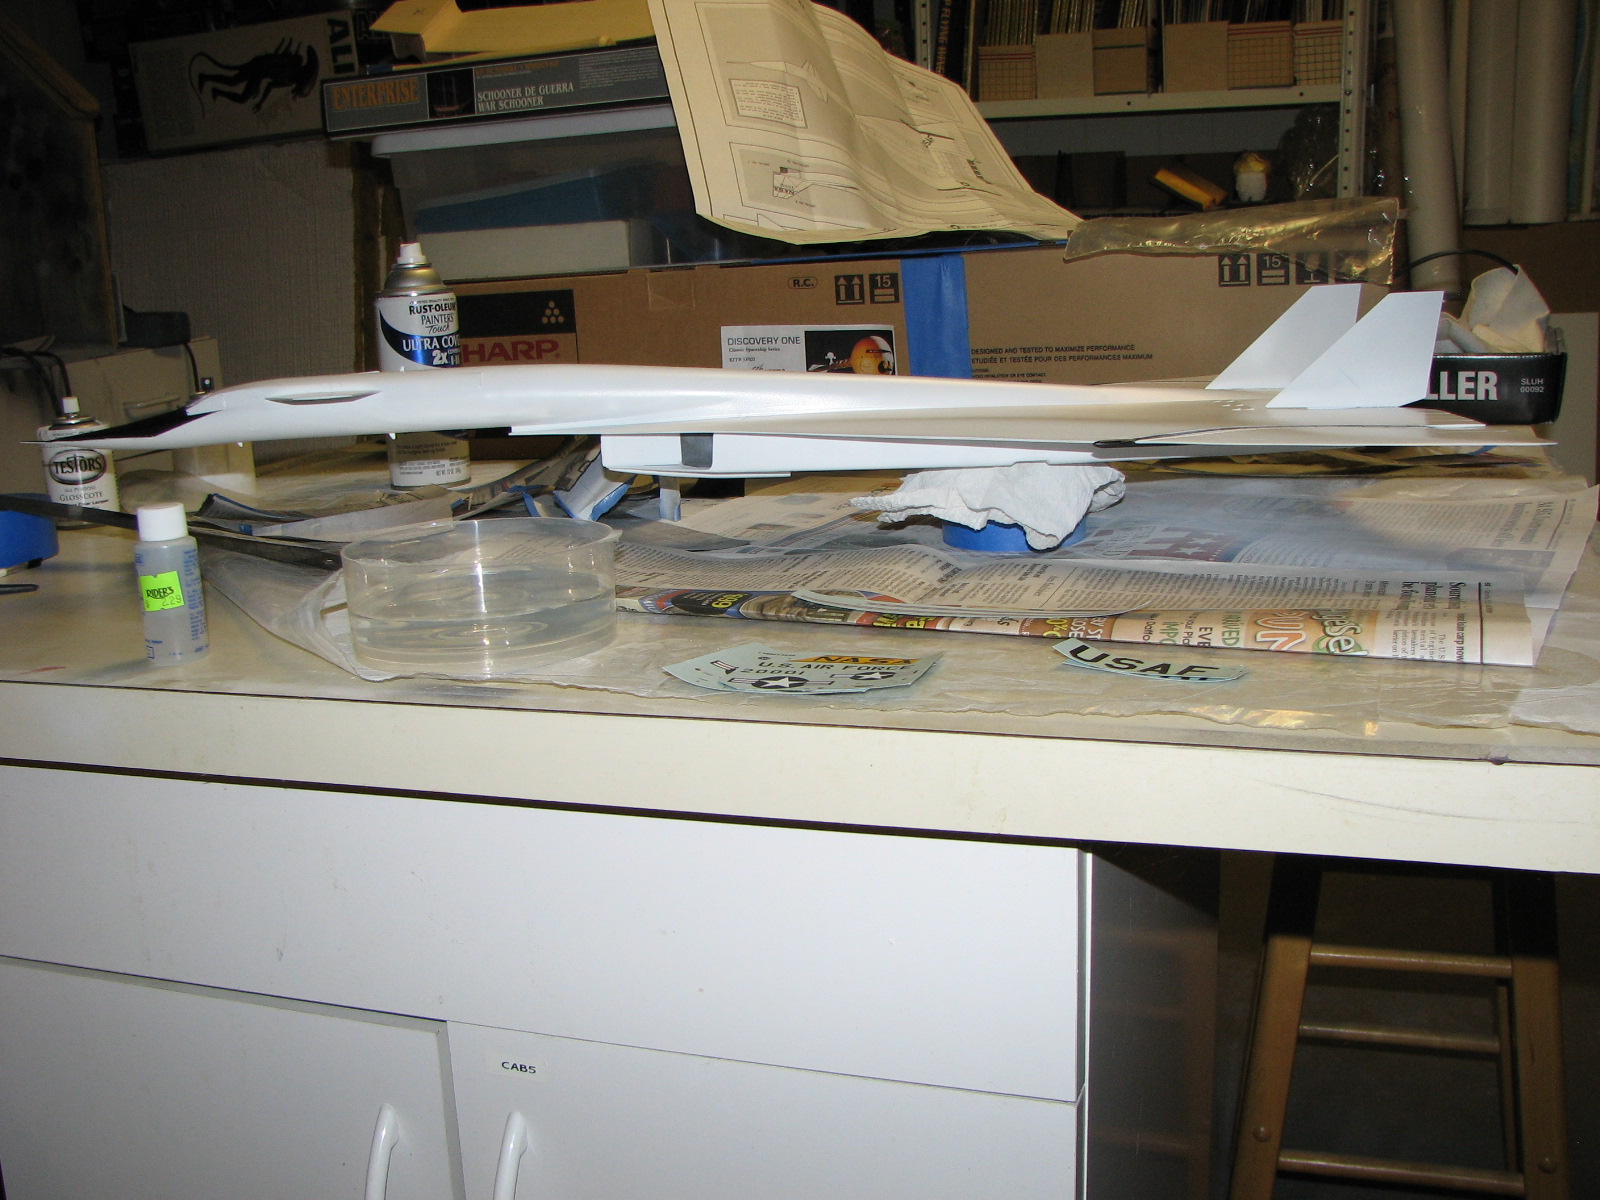
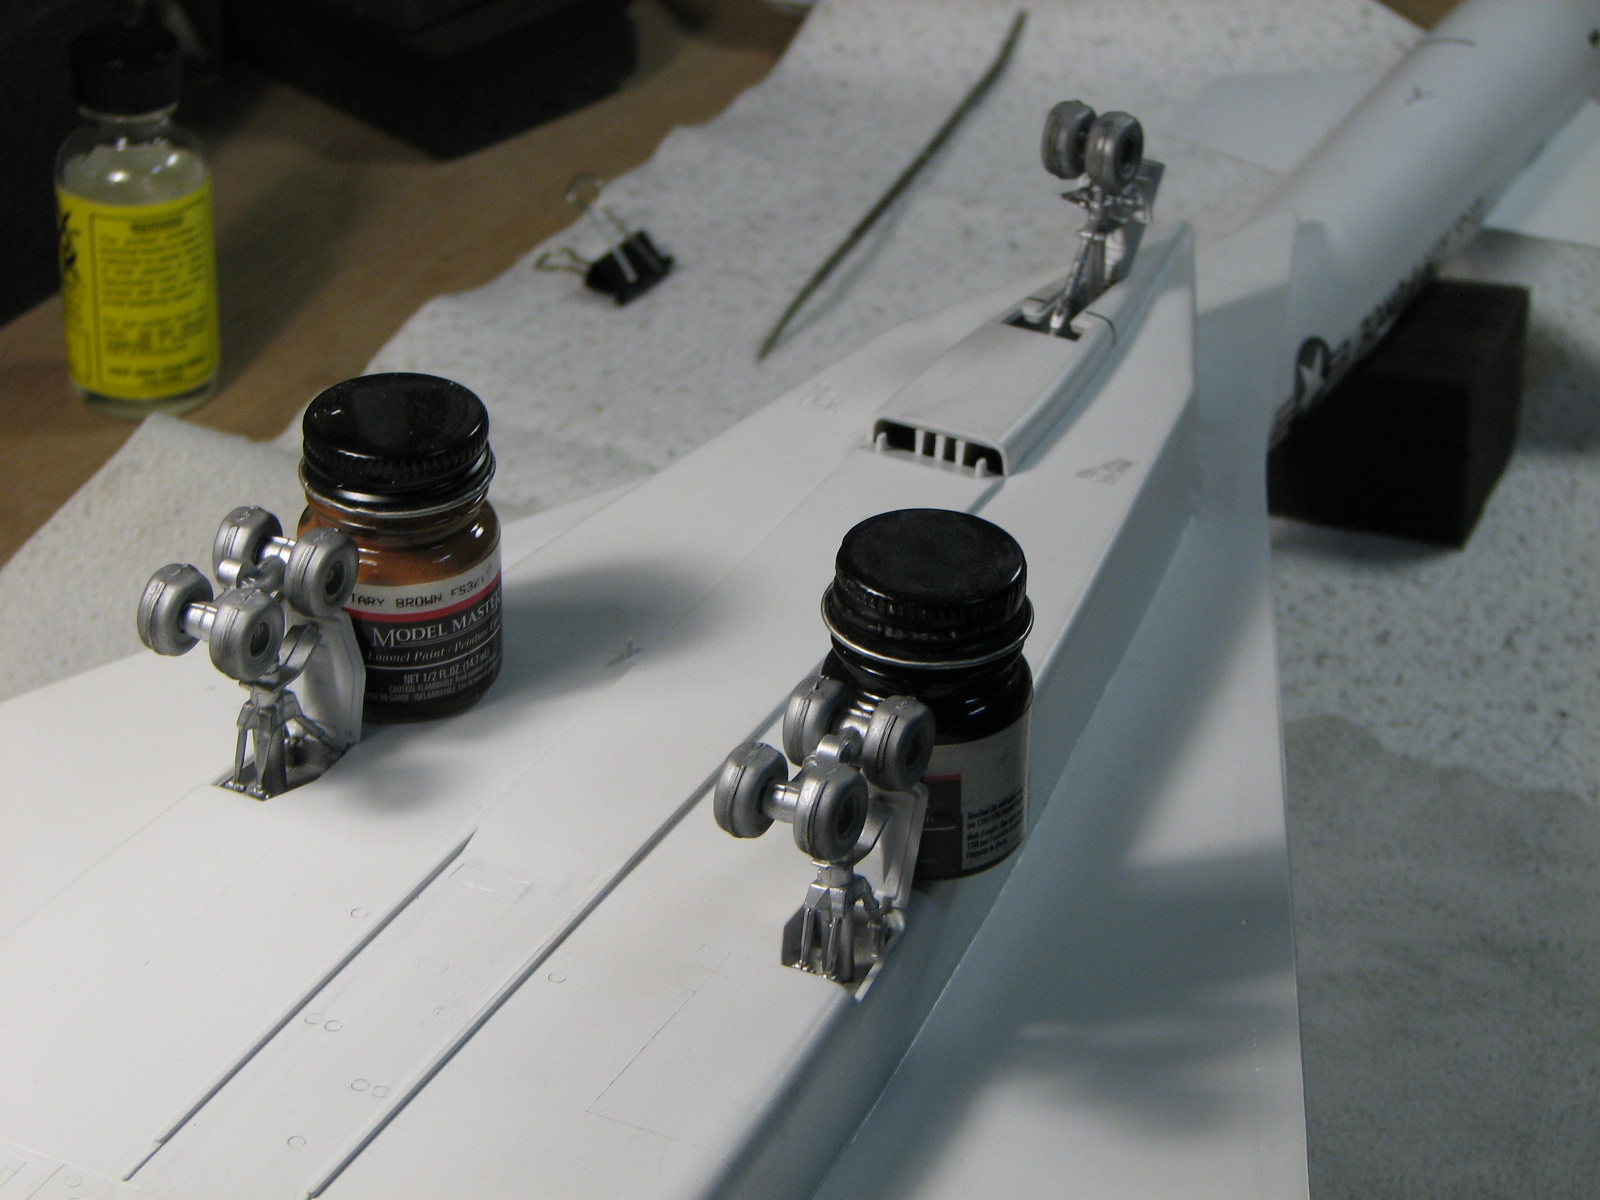
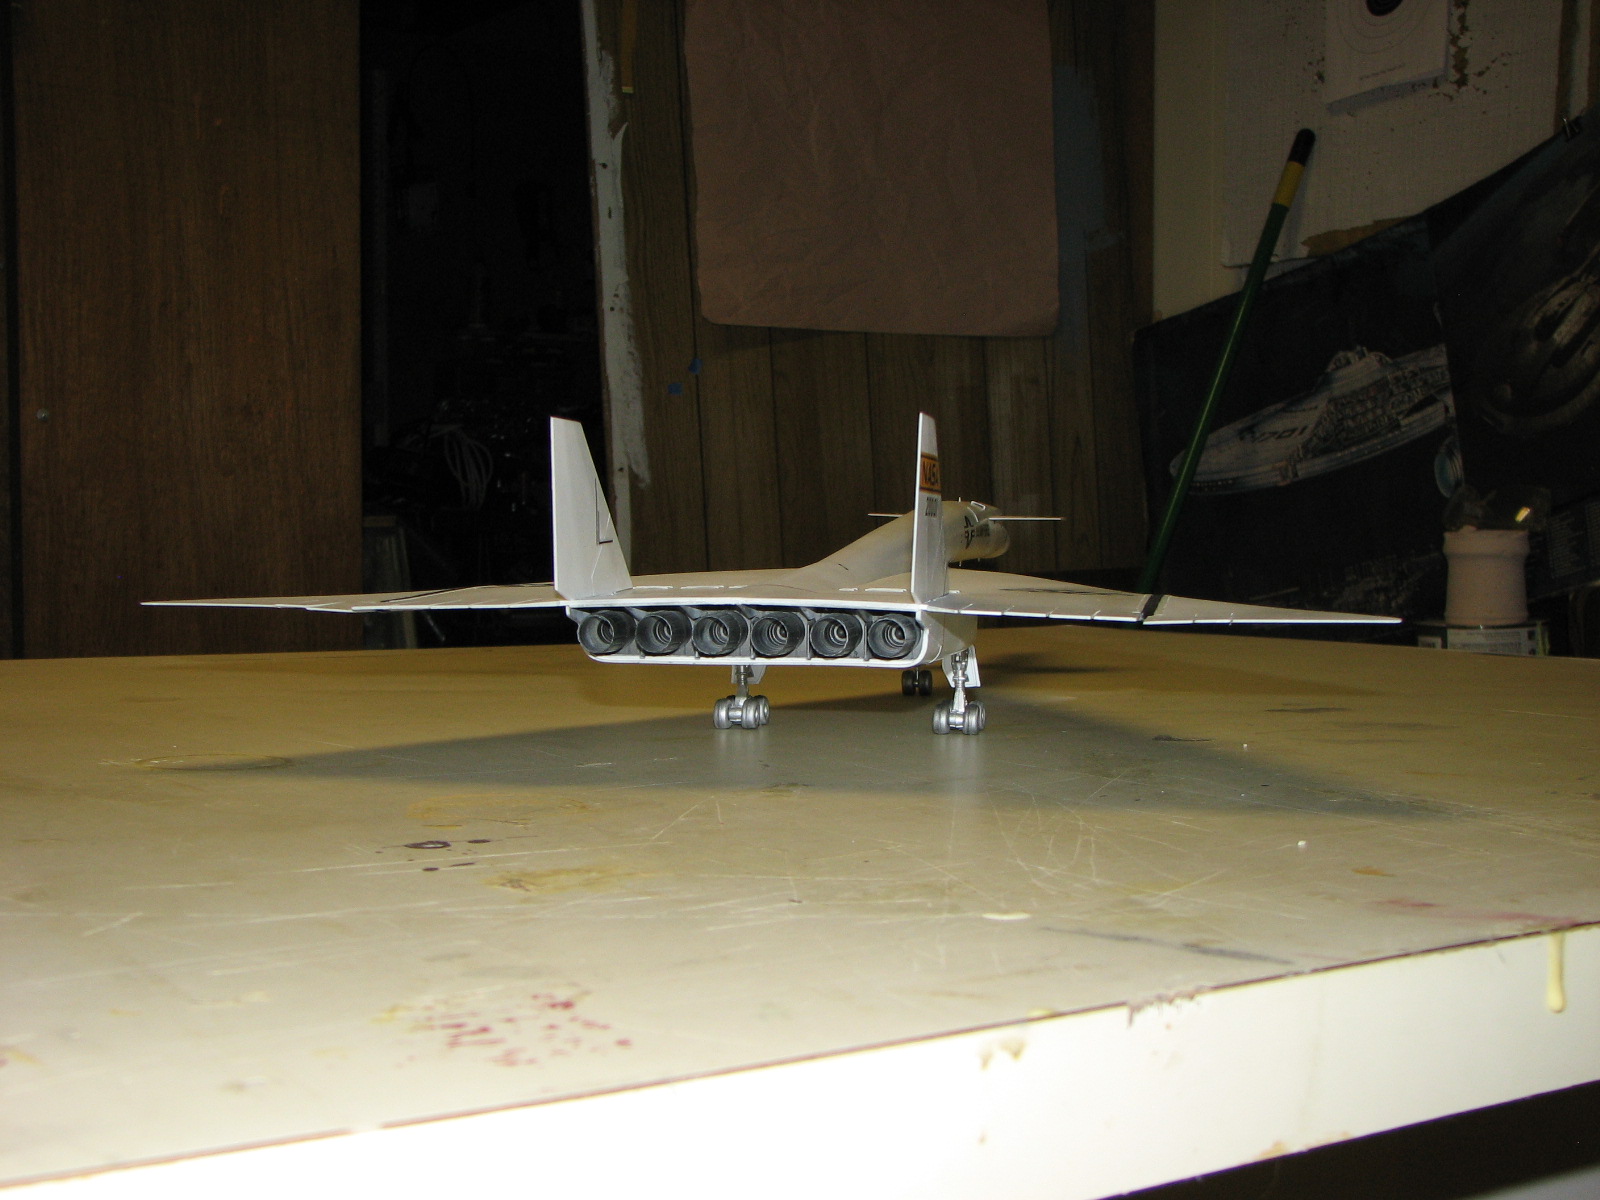
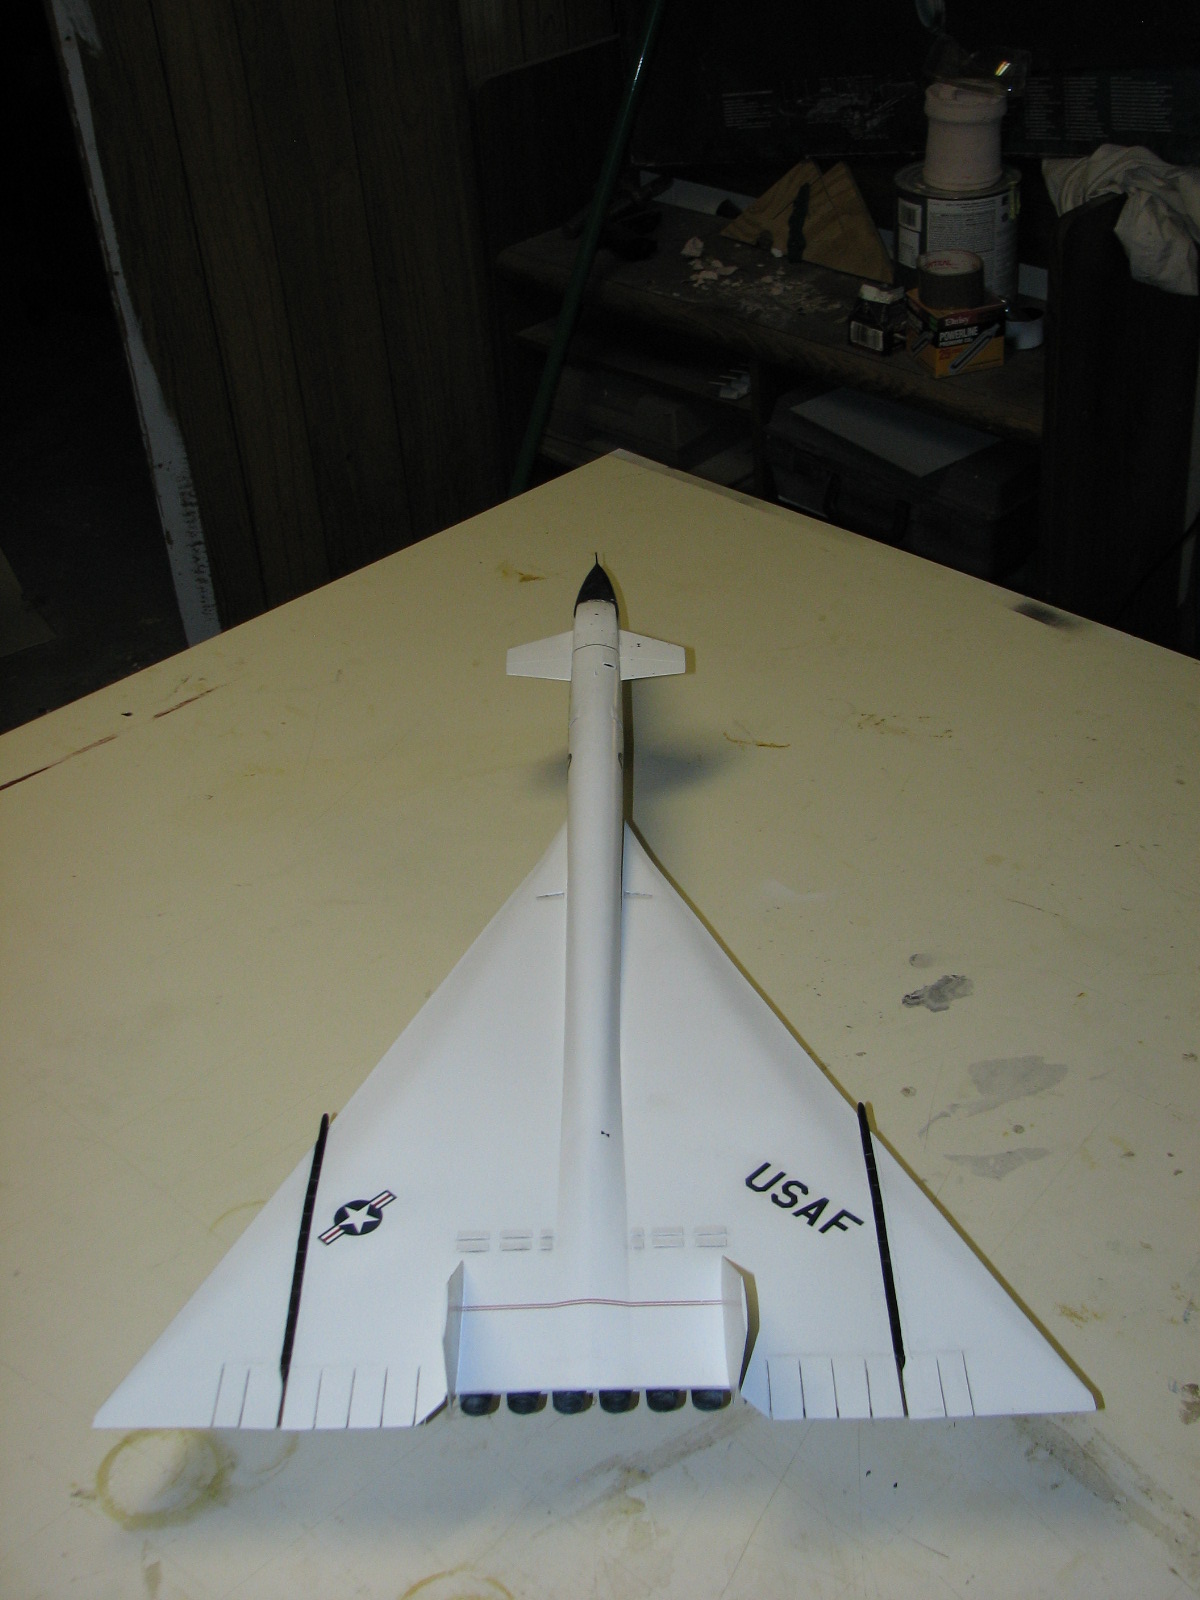
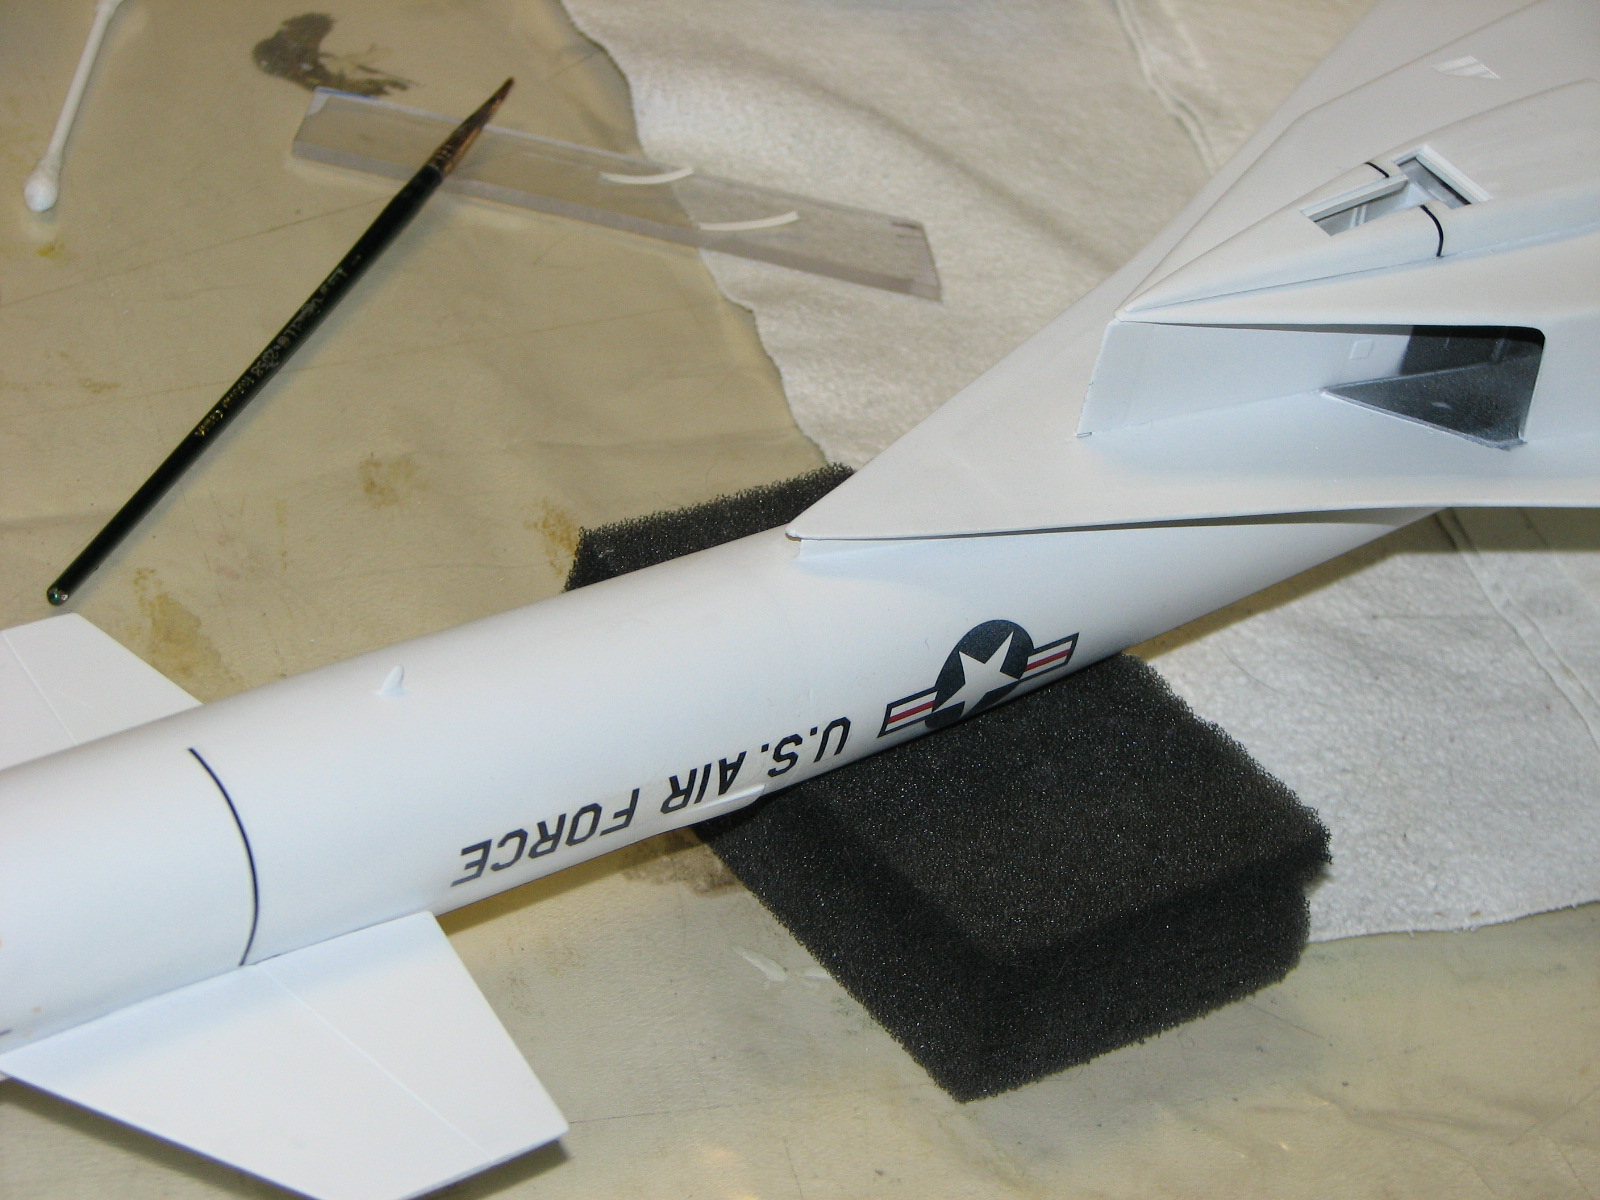
And then on to the decals. And landing gear. The struts are aluminum plate metallizer, which I buffed up. The tires are also metallizer but unbuffed and with a coat of dullcote on them.

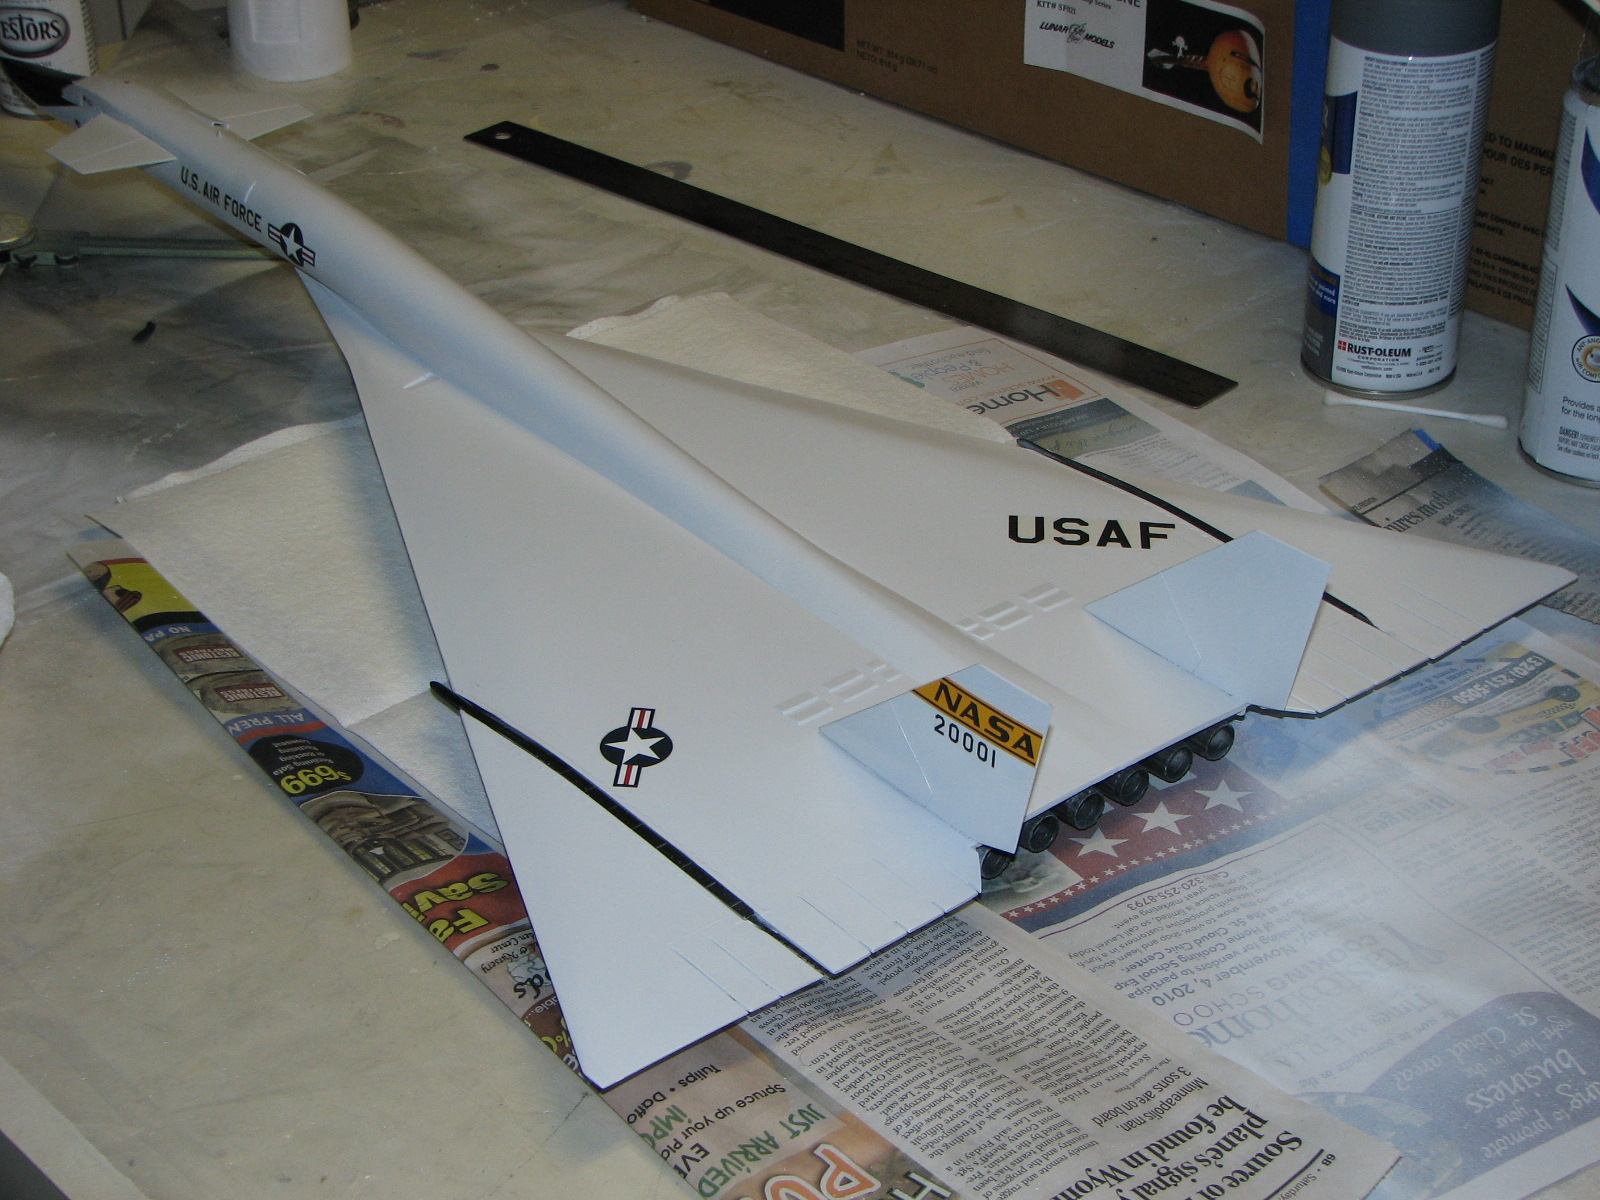
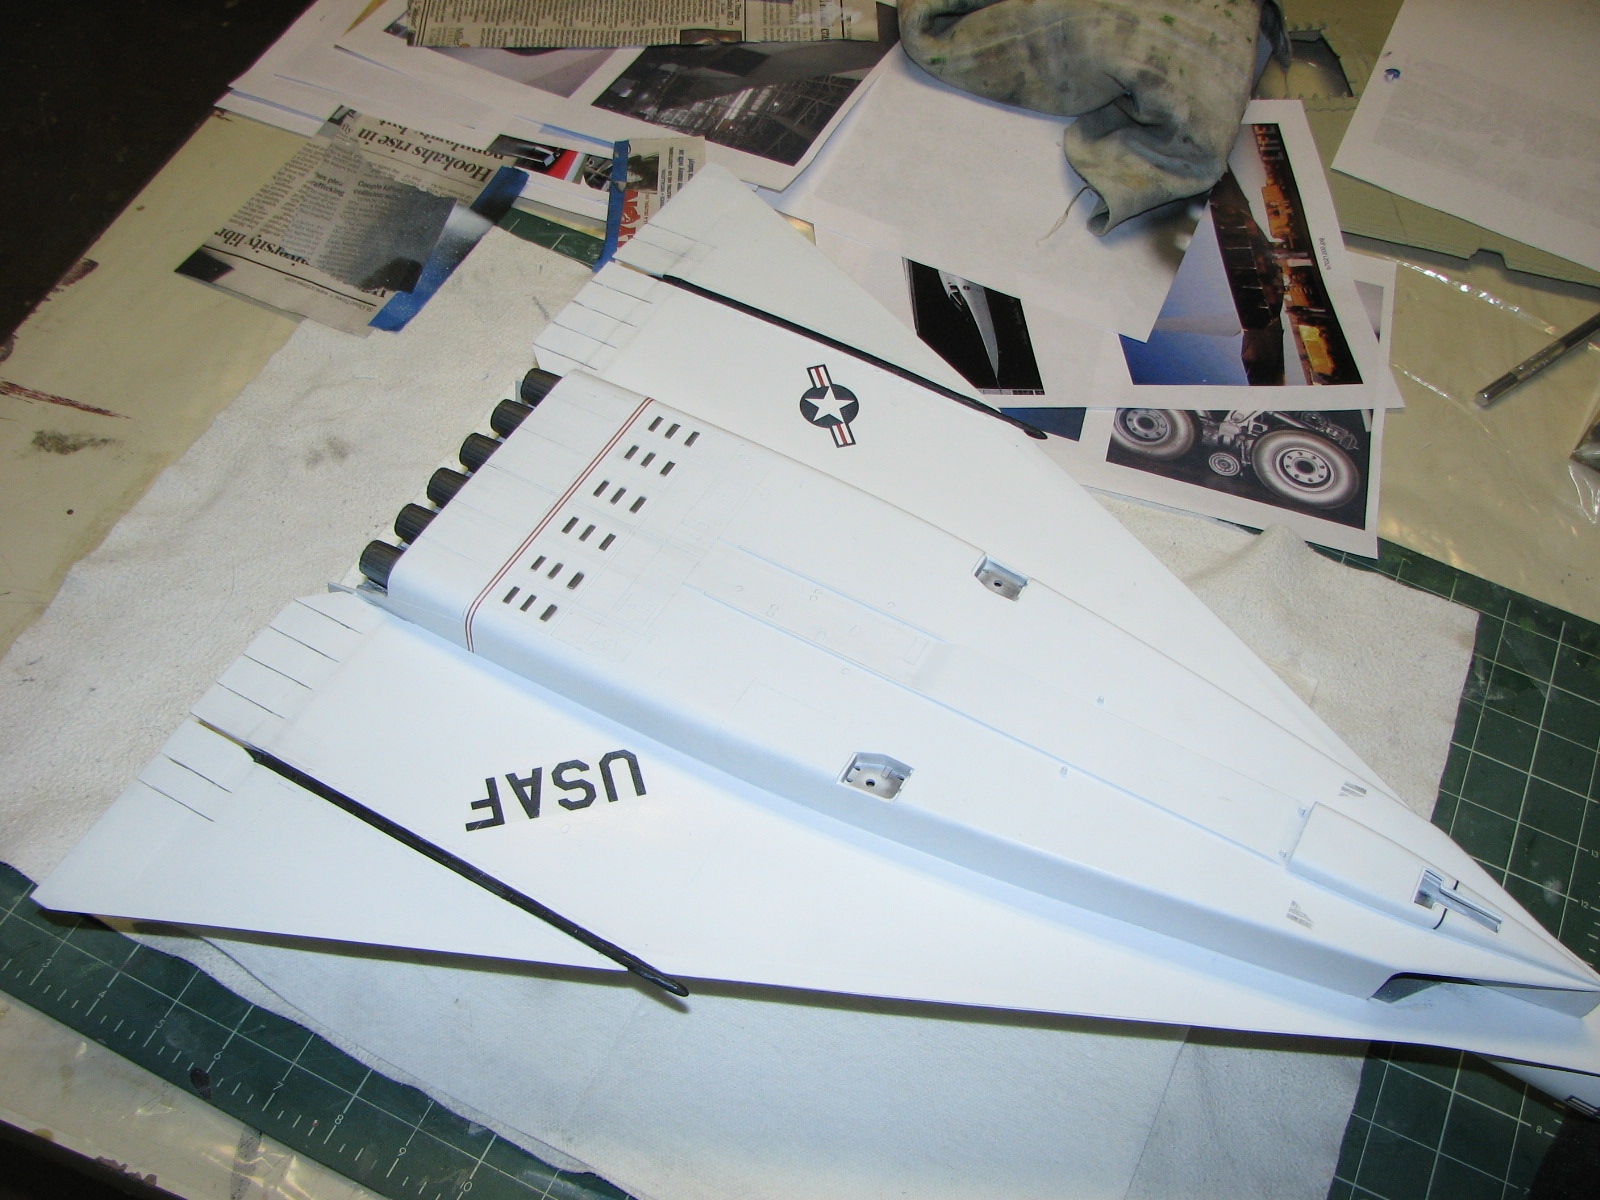
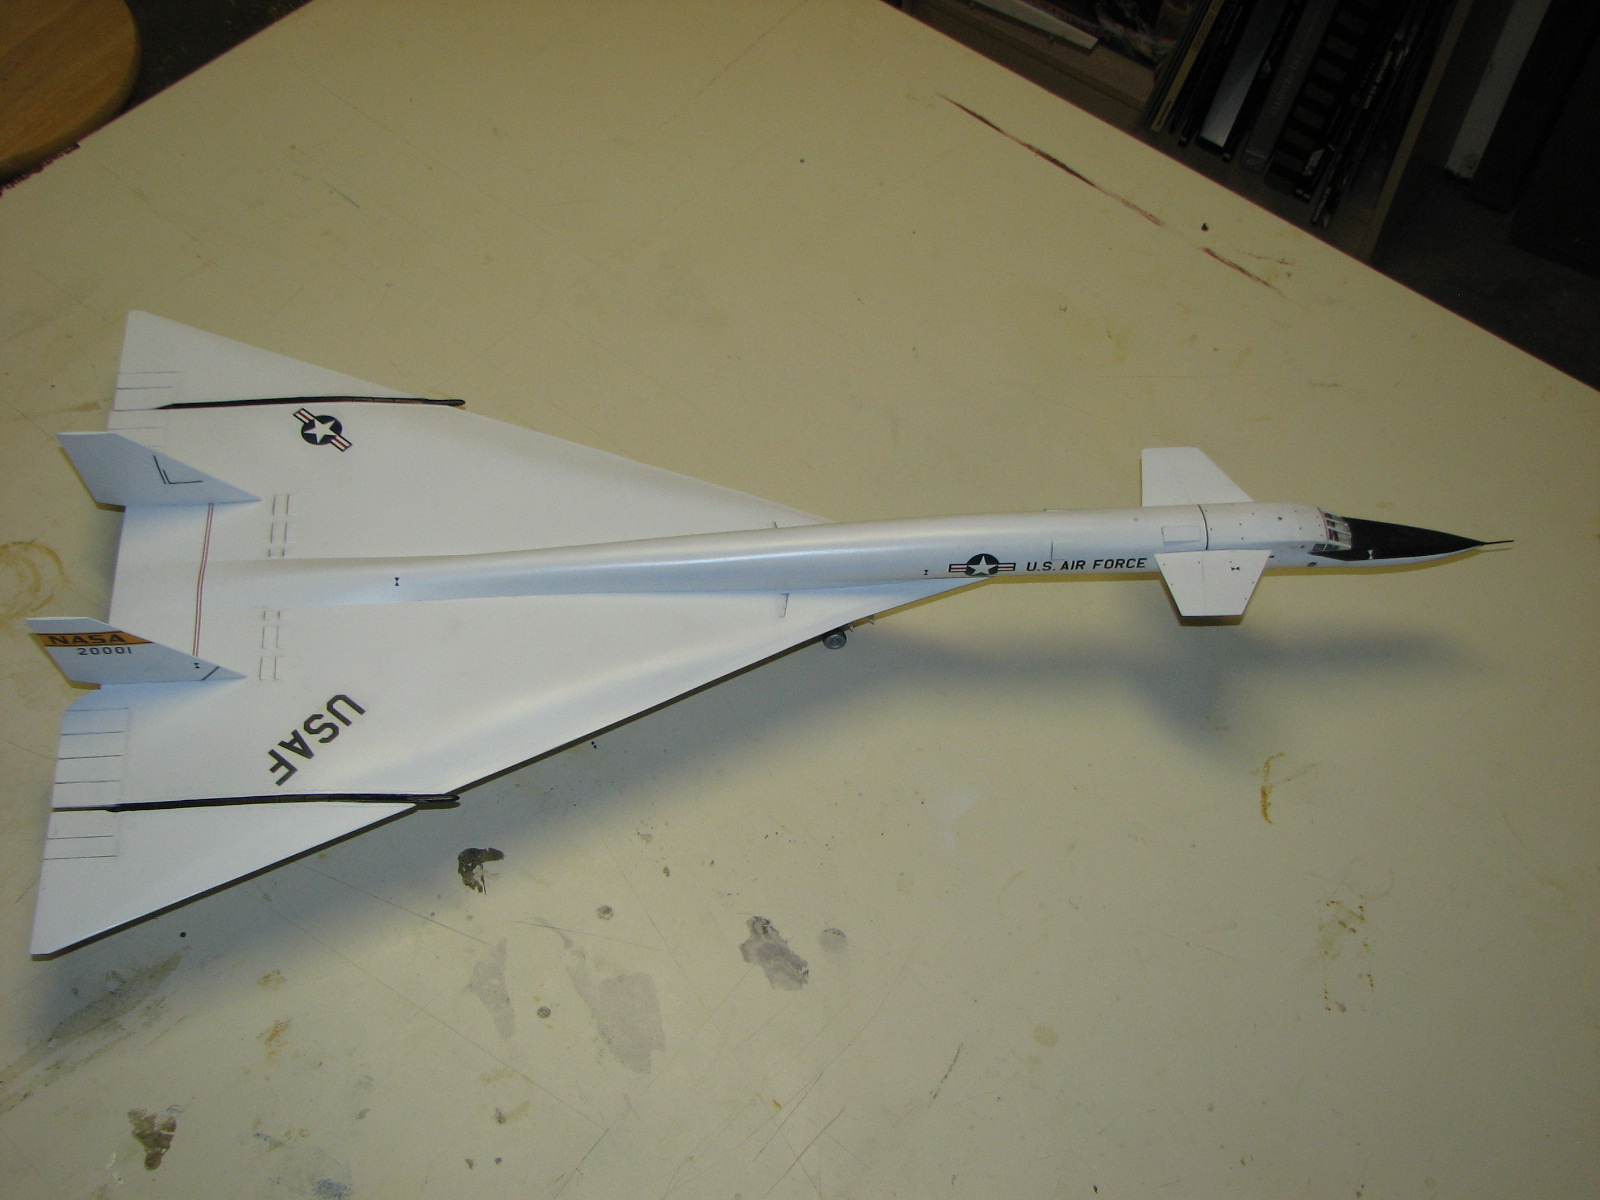
11/18/2010 - I've been working on the gloss finish, and 600-grit wet-sanding of some rough areas. Also worked up some additional decals for the model - observation spots and triangles, some inboard tail markings, and a right-side fuselage cockpit marking that was missing. I use a pipe cleaner to brush a rim of black chalkdust around the tread surfaces of the tires.
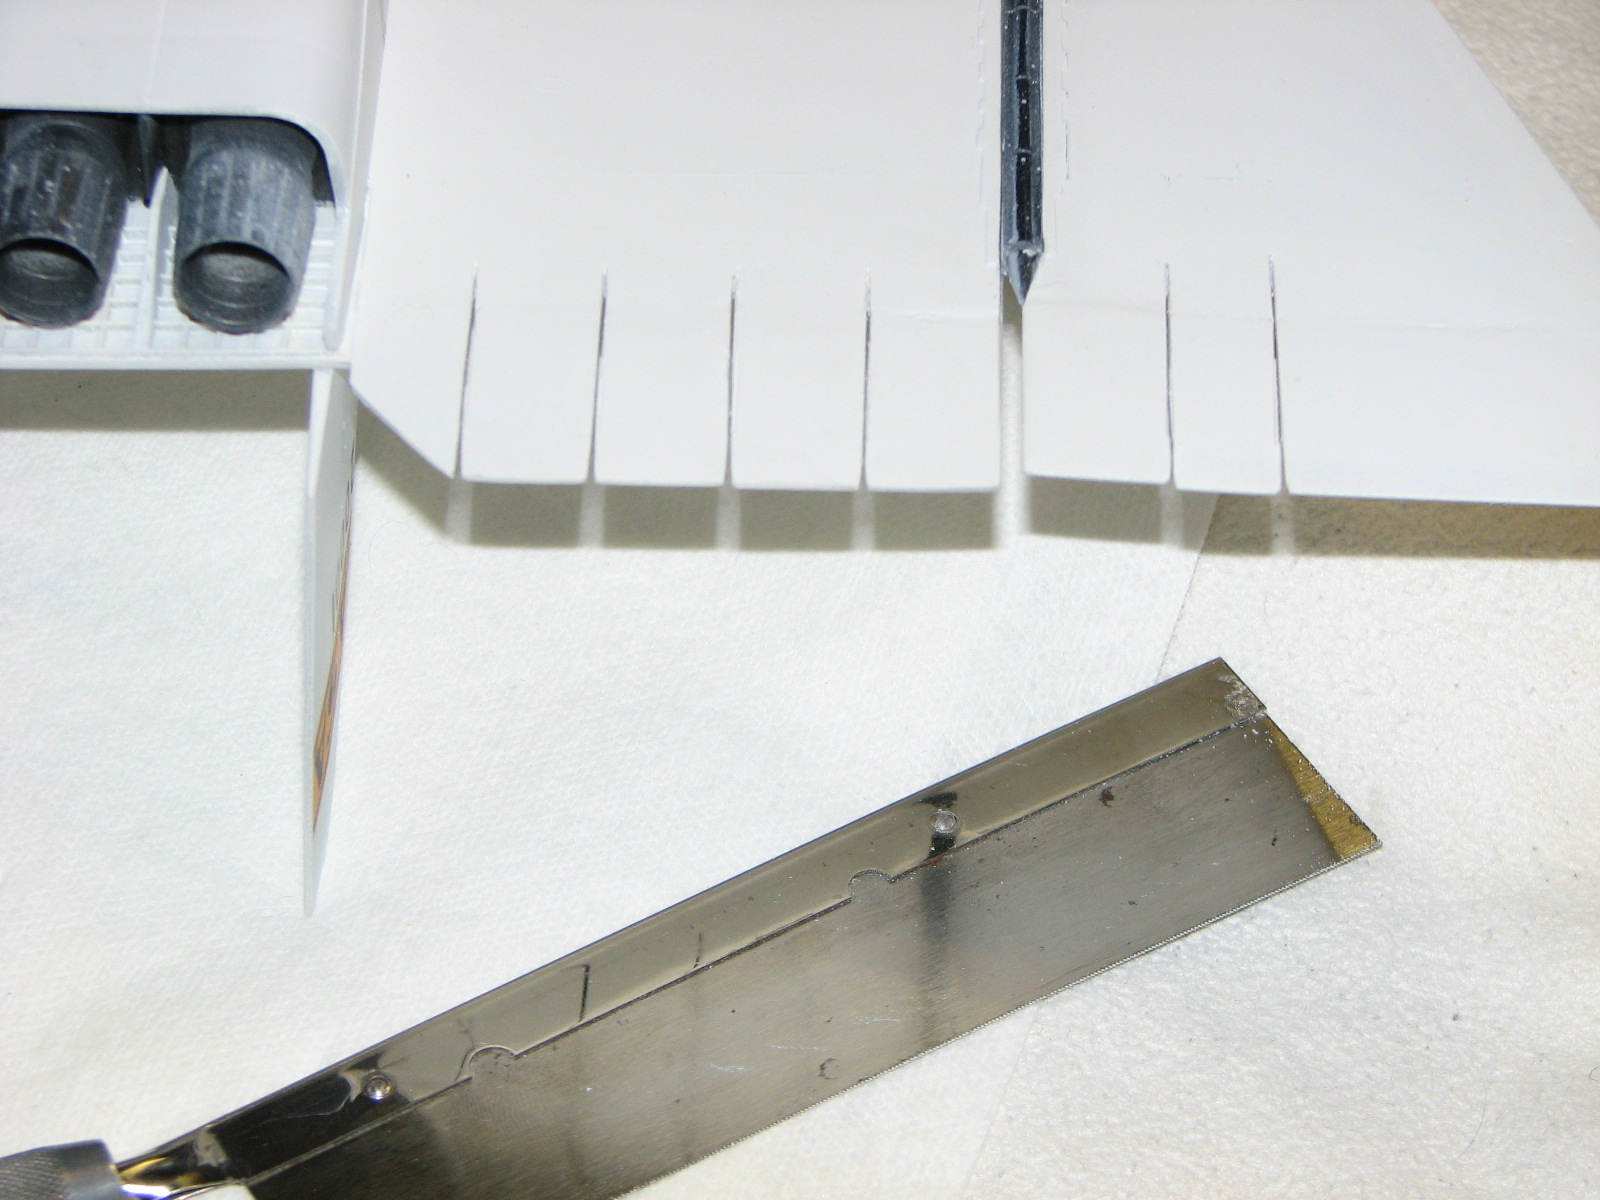
11/22/2010 - Decals and details! The latest round of work on this has been a good 600-grit or finer wet sanding followed by the addition of a number of home made decals - black striping & observation markings. I also razor-sawed apart the elevons. I need to re-paint the nose - I think the anti-glare panel is too wide as is.
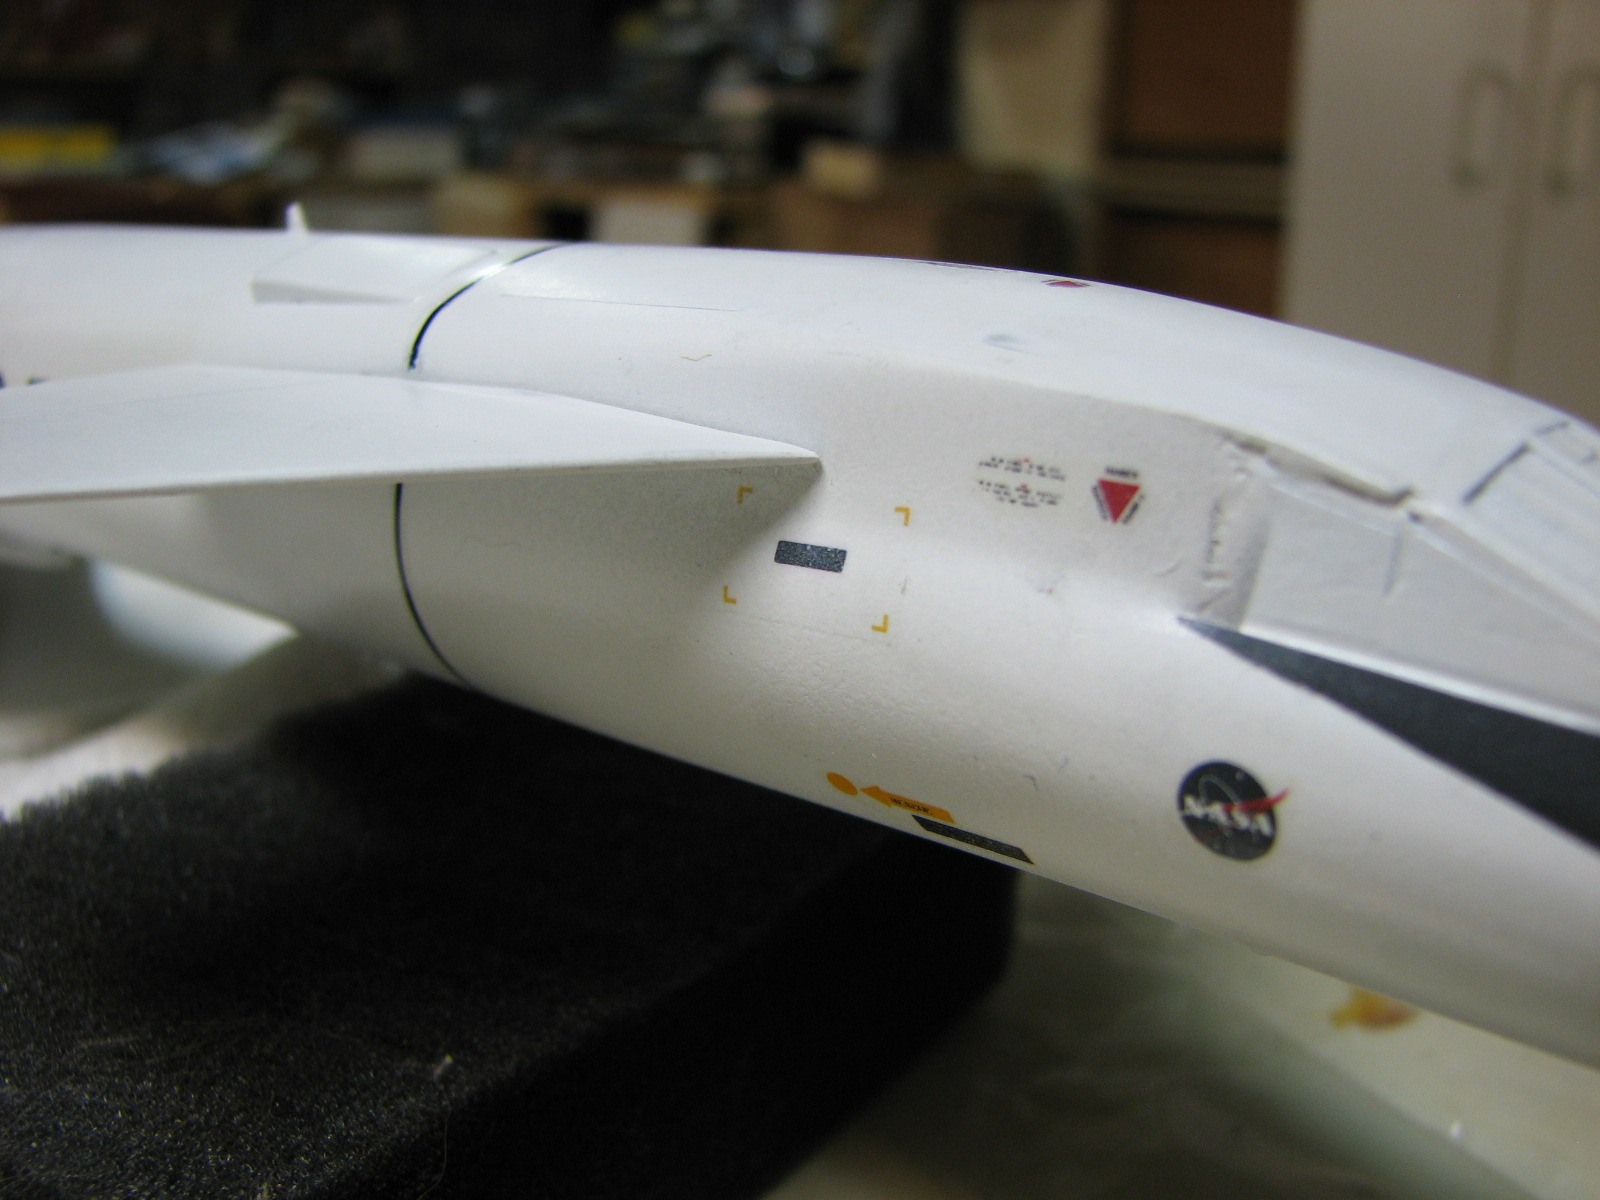
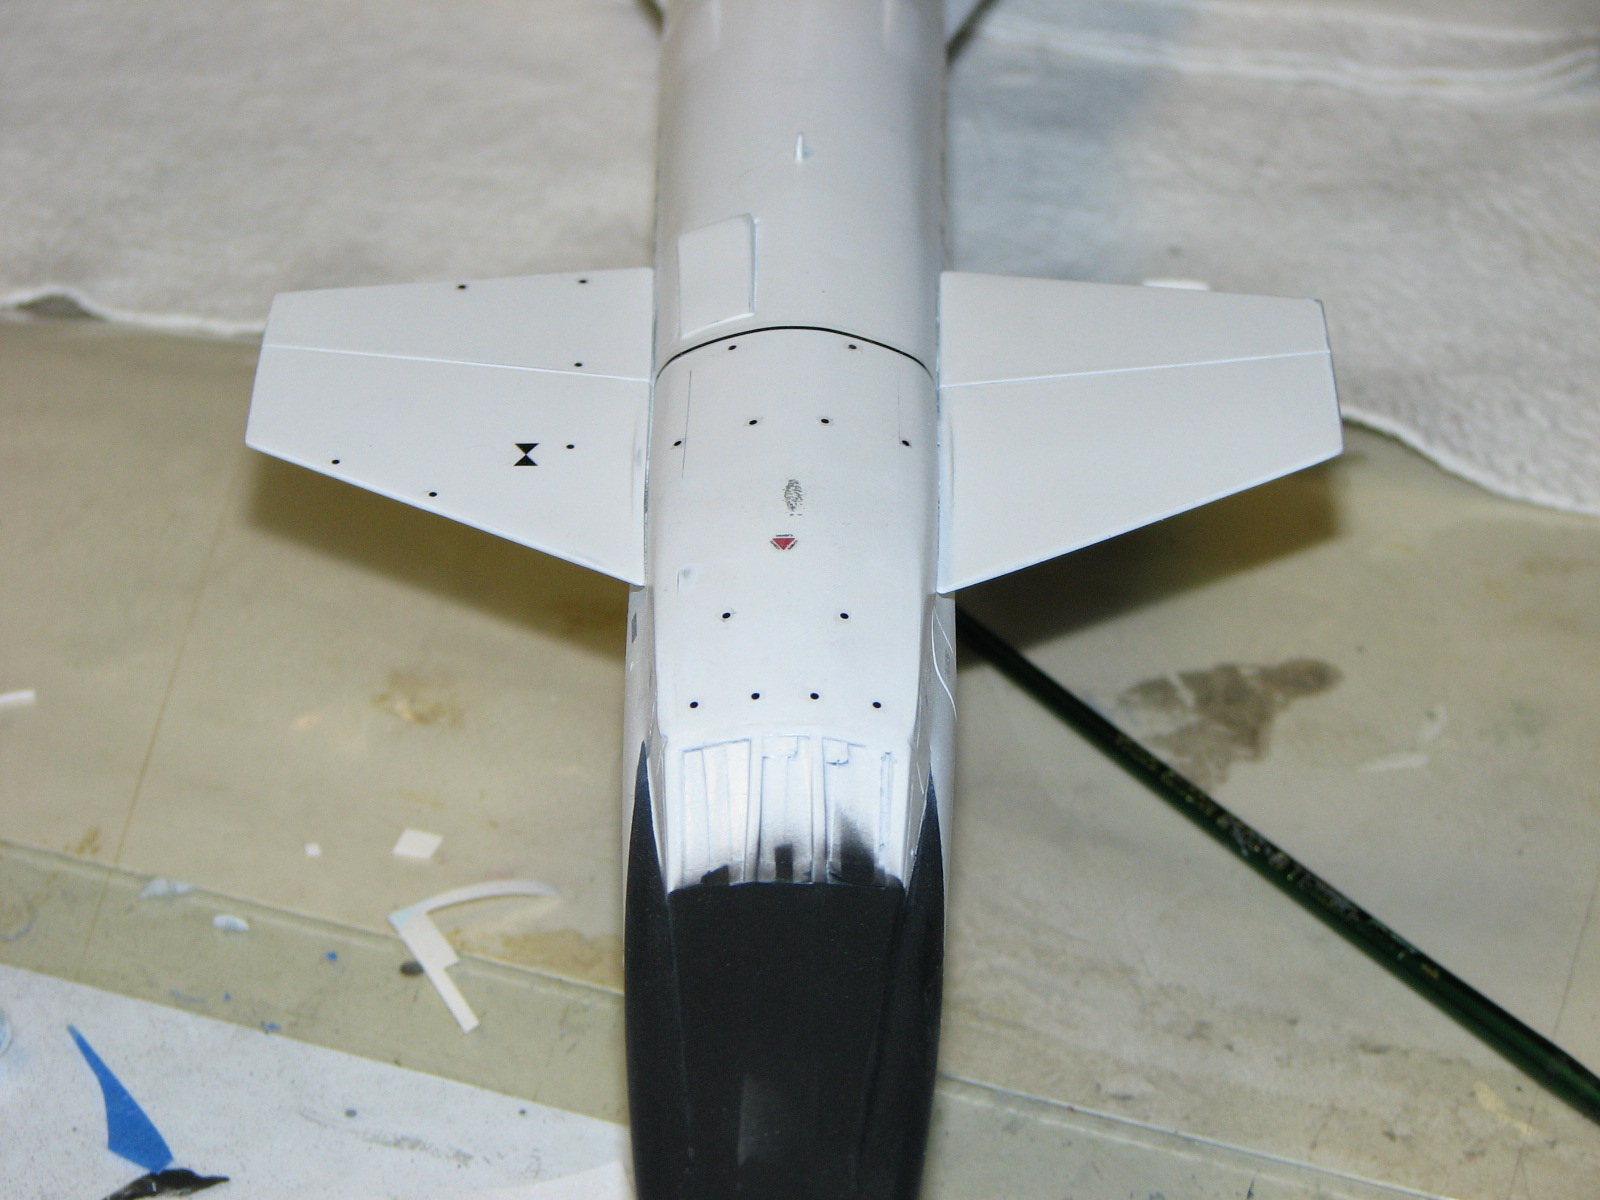
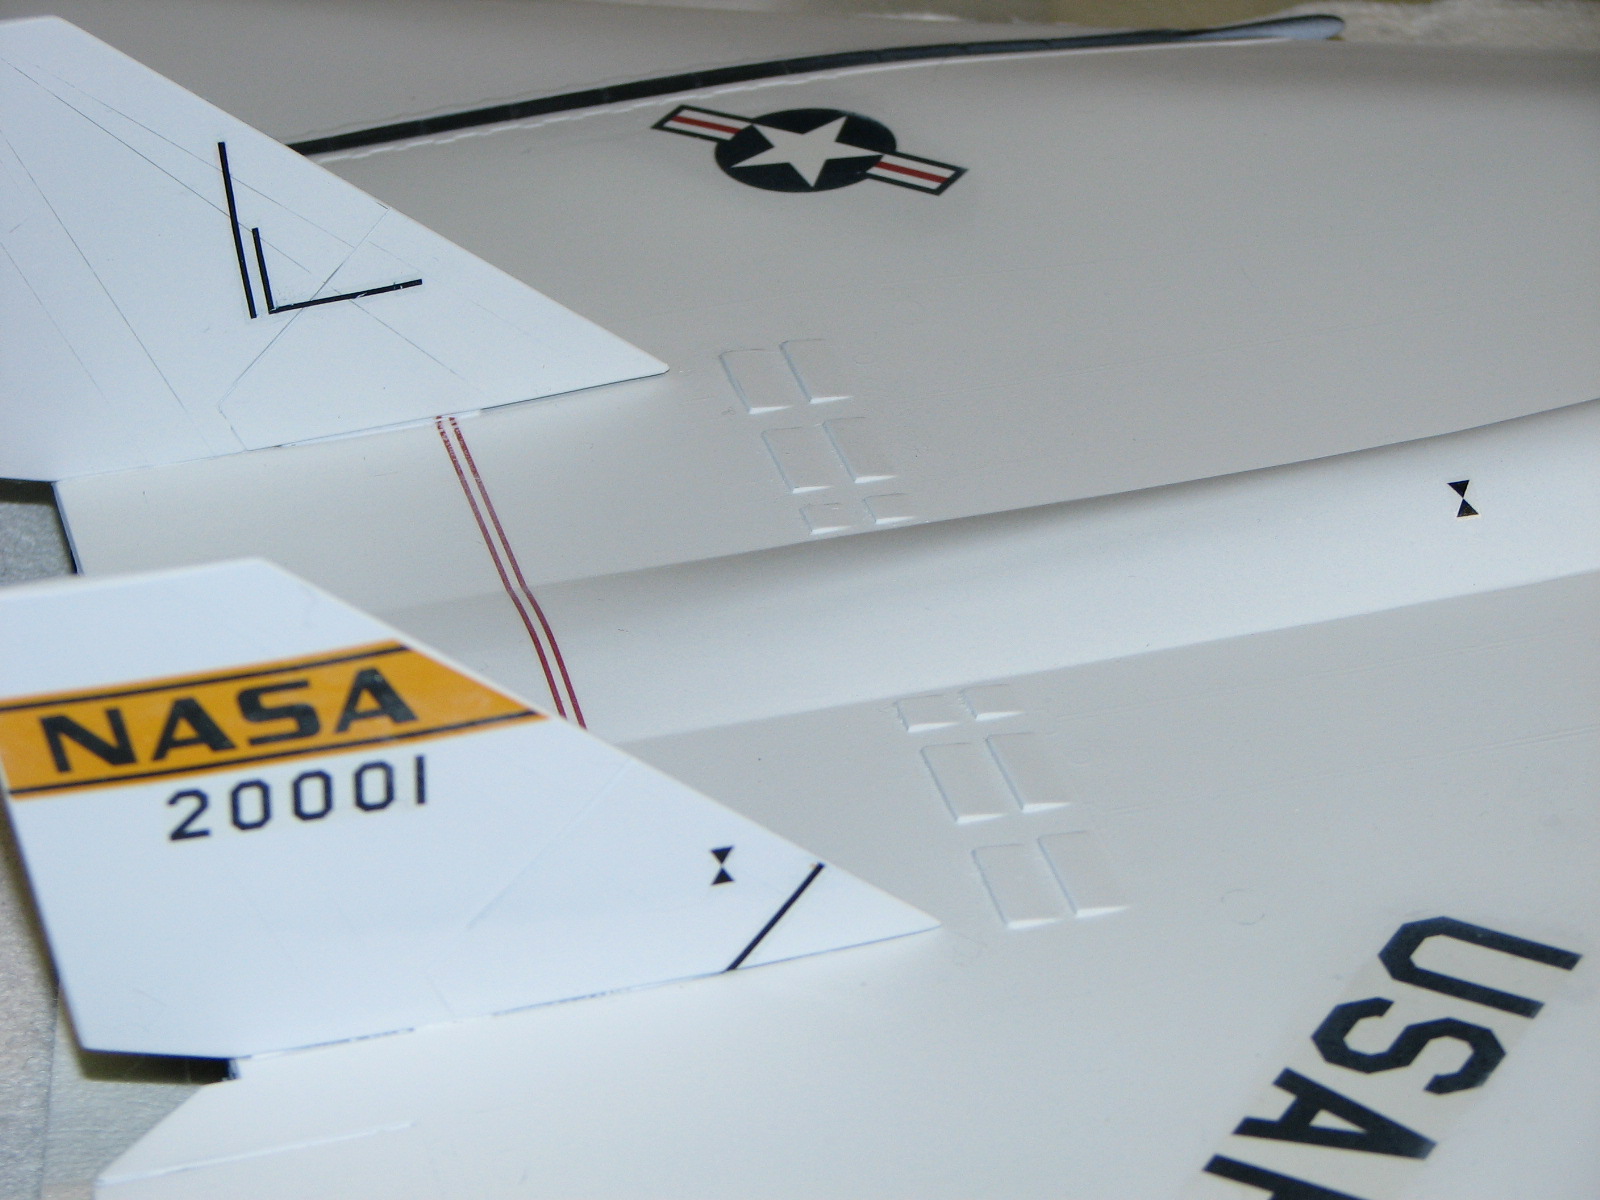
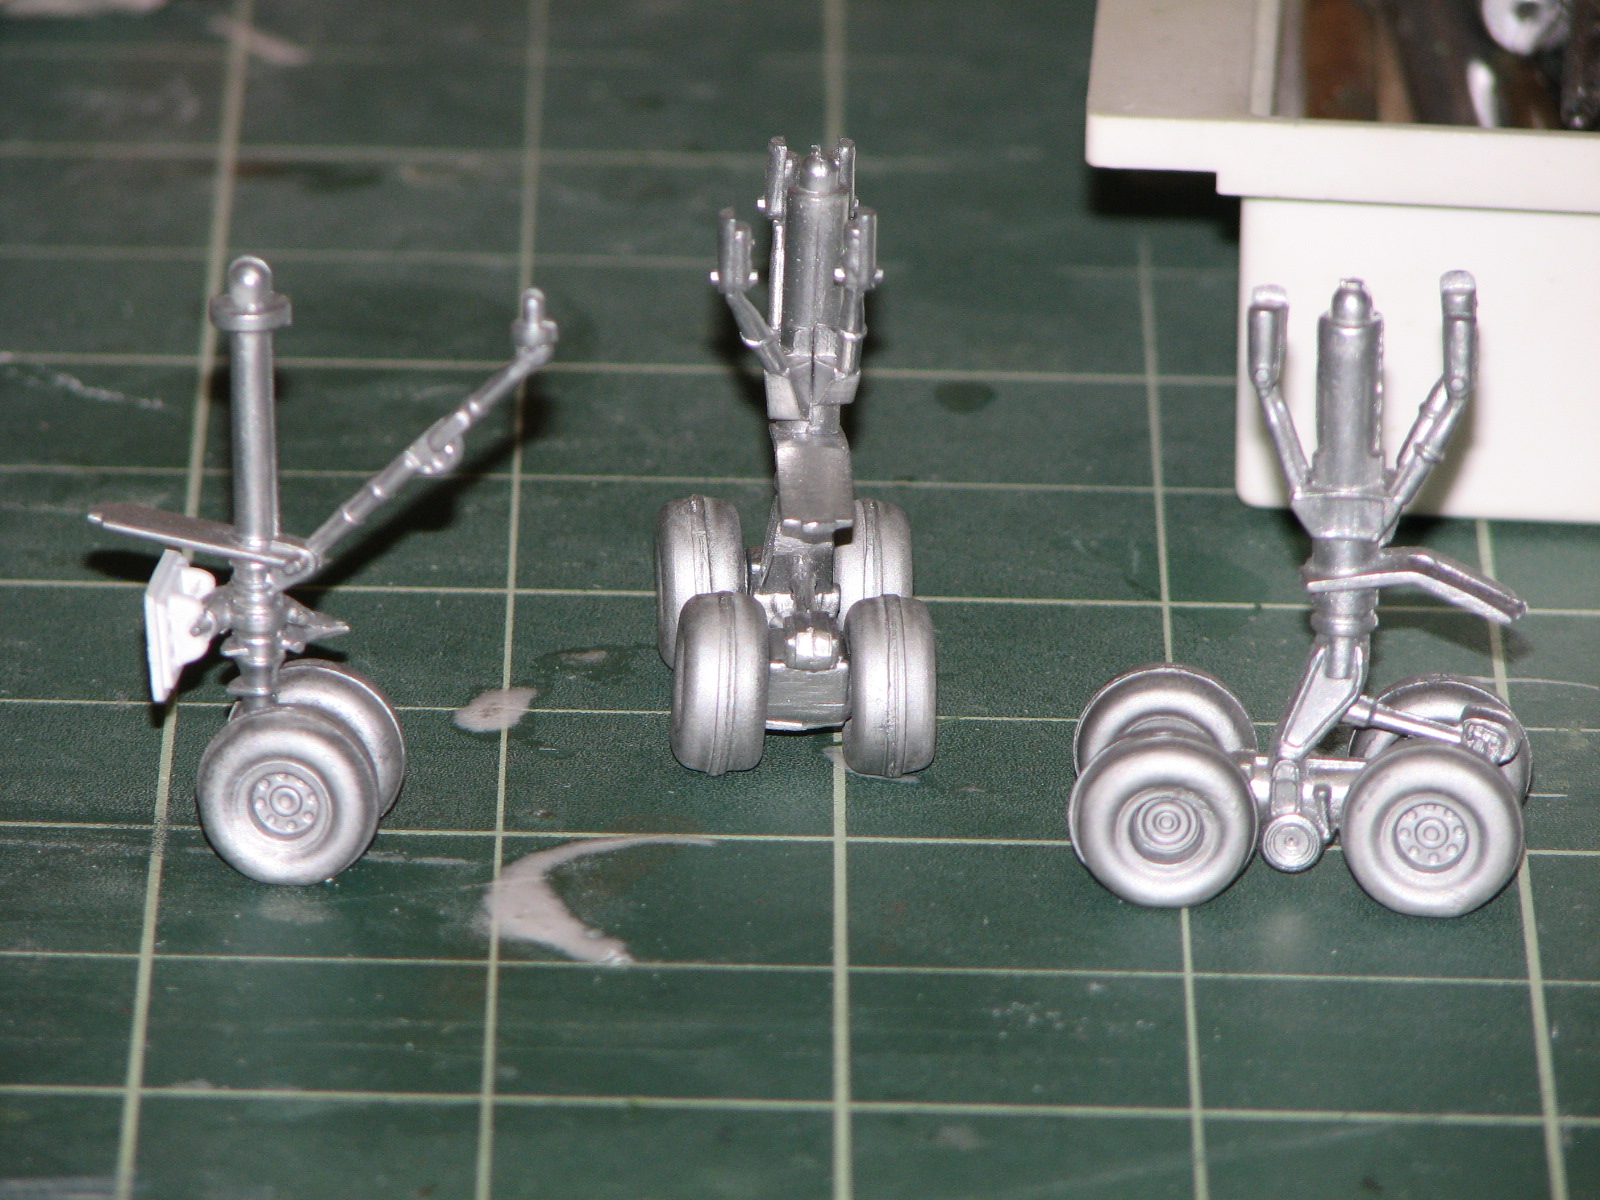
11/30/2010 - The final round of fussy fiddling is over. I added a white observation mark on the nose, painted some detail panels on the underside, applied some light weathering and had a whole mess of fun inserting the landing gear. The nose gear went in fine, but the other two - with 5 pins to fit into holes in the well - took a lot of patience. I then attached the bay doors and went at the model with airbrushed diluted Micro Gloss, except over the anti-glare panel; I left that flat.