|

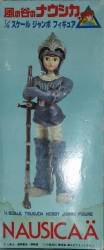
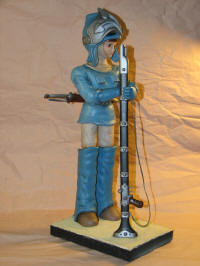
Nausicaä
Tsukuda Hobby Jumbo Figure
|
 |
|
Stated scale:
|
1/4
|
 
|
|
Actual scale:
|
unverifed
|

|
|
Overall length:
|
|
|
Material(s):
|
hard vinyl
|
|
Number of parts:
|
10
|
|
Stand included?
|
no
|
|
Decals included?
|
no
|
|
My Source:
|
so long ago...
|
|
Cost (w/o s&h):
|
ditto
|

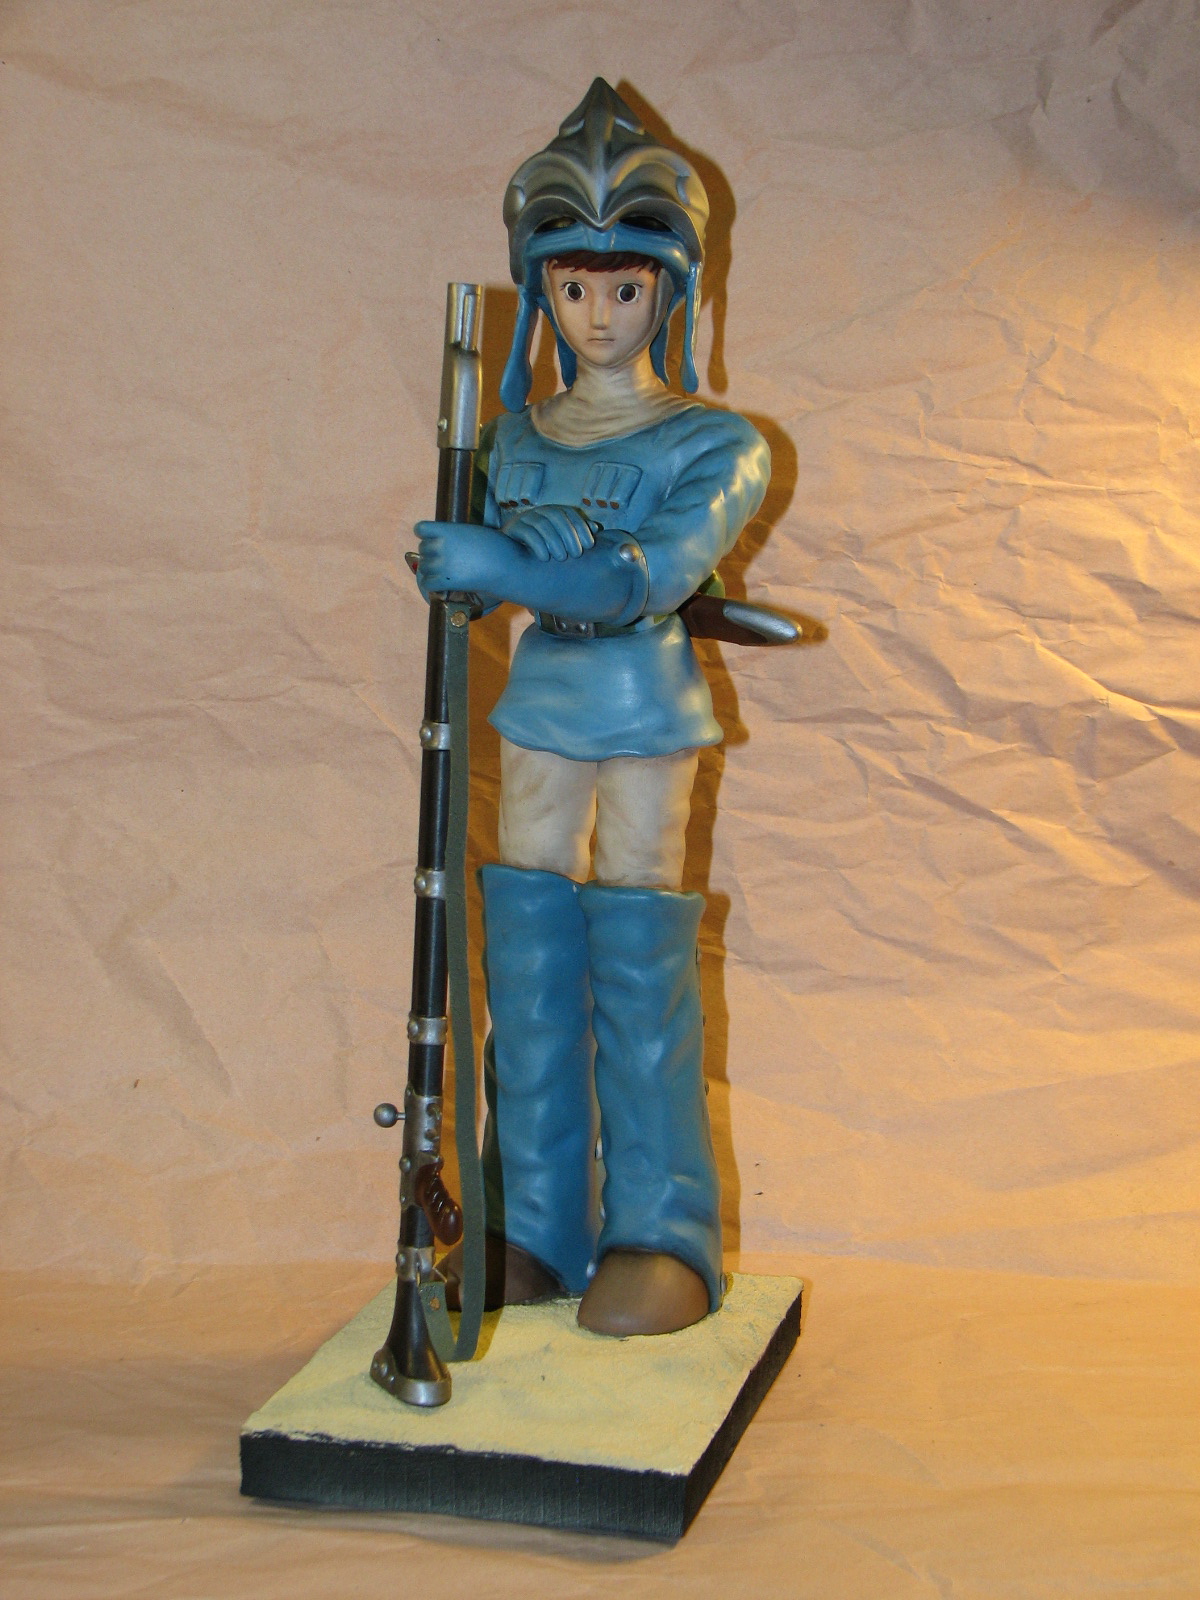
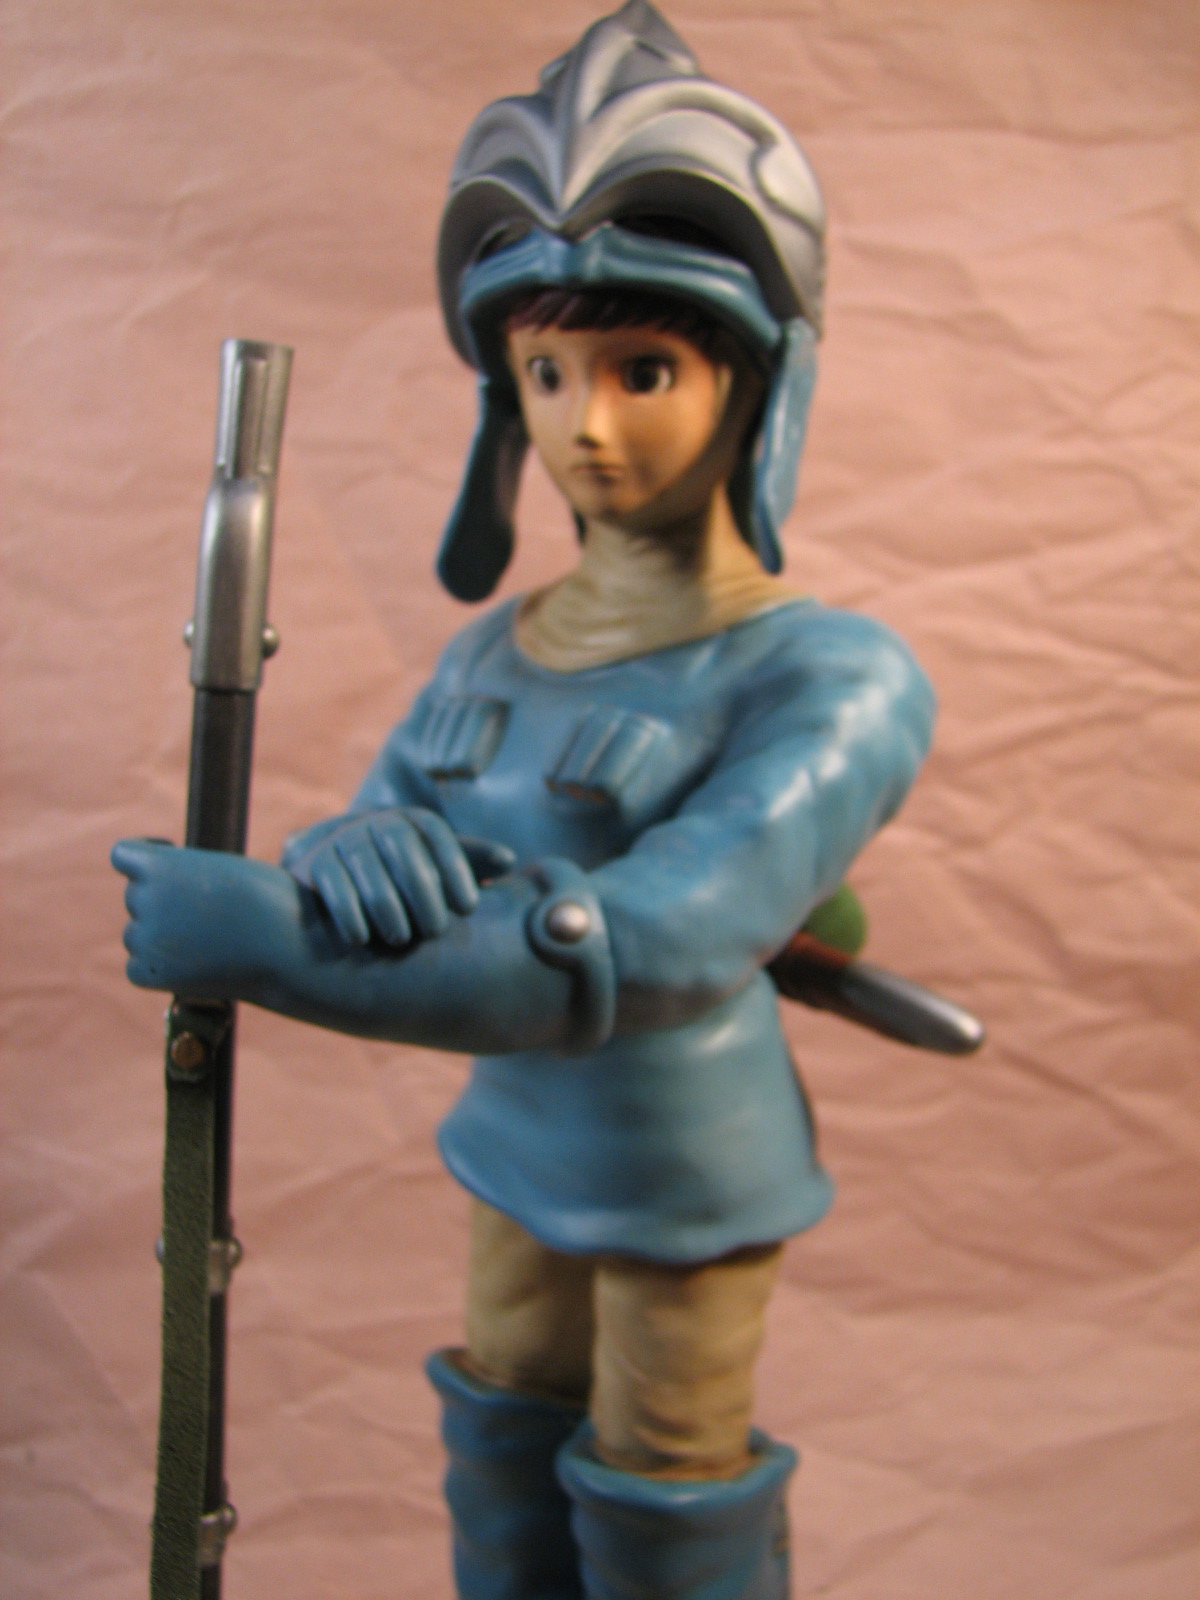
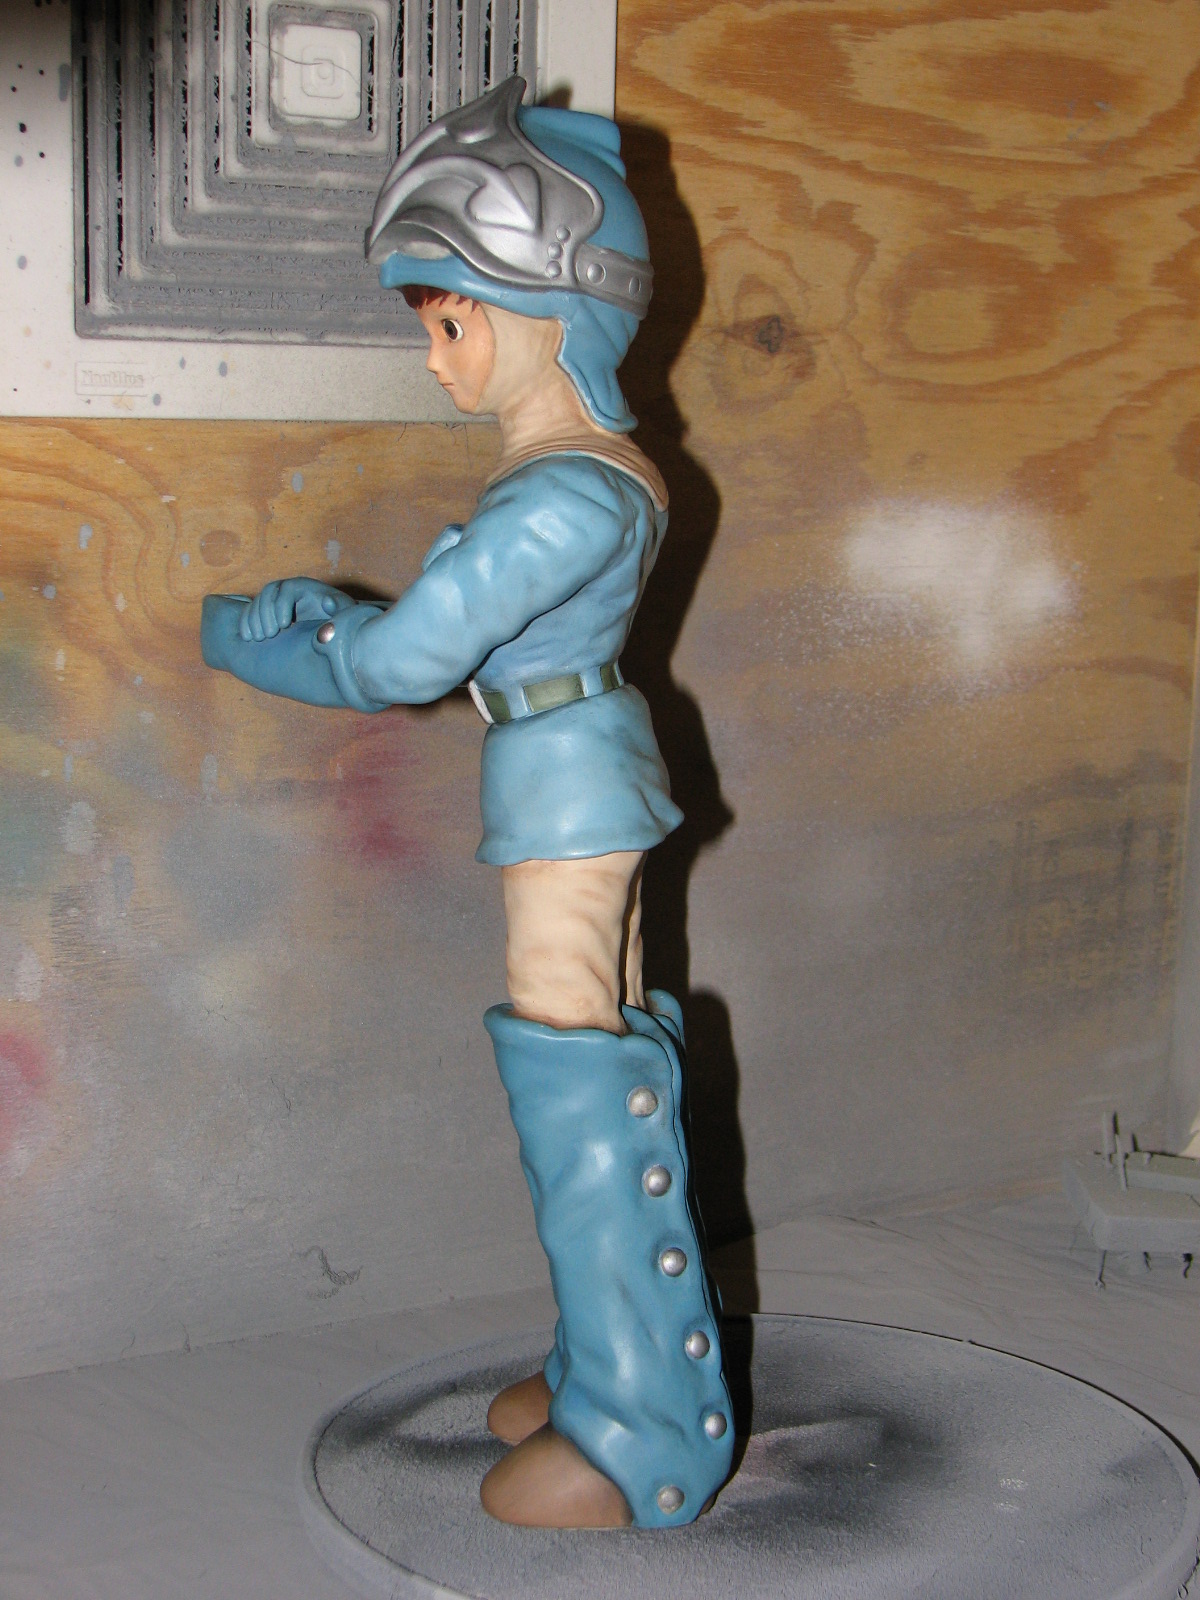
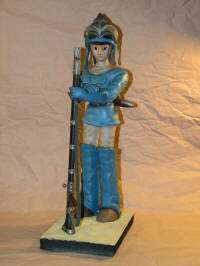
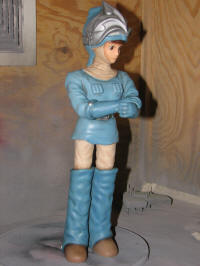
She stands on my paint table taunting me... finish me...
finish me...
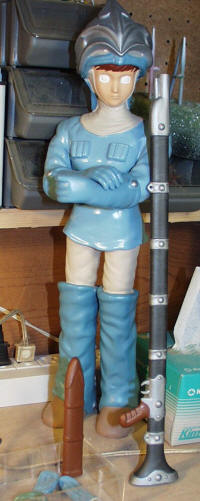

Back in the '80s... Yes, the 80s was when I started on
this figure. I adjusted the figure's left wrist so the rifle would be
held straight up by cutting into it from below and bending the hand upward. I filled
the gap with epoxy putty.
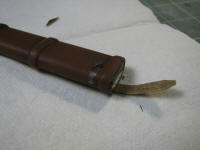
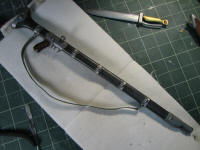
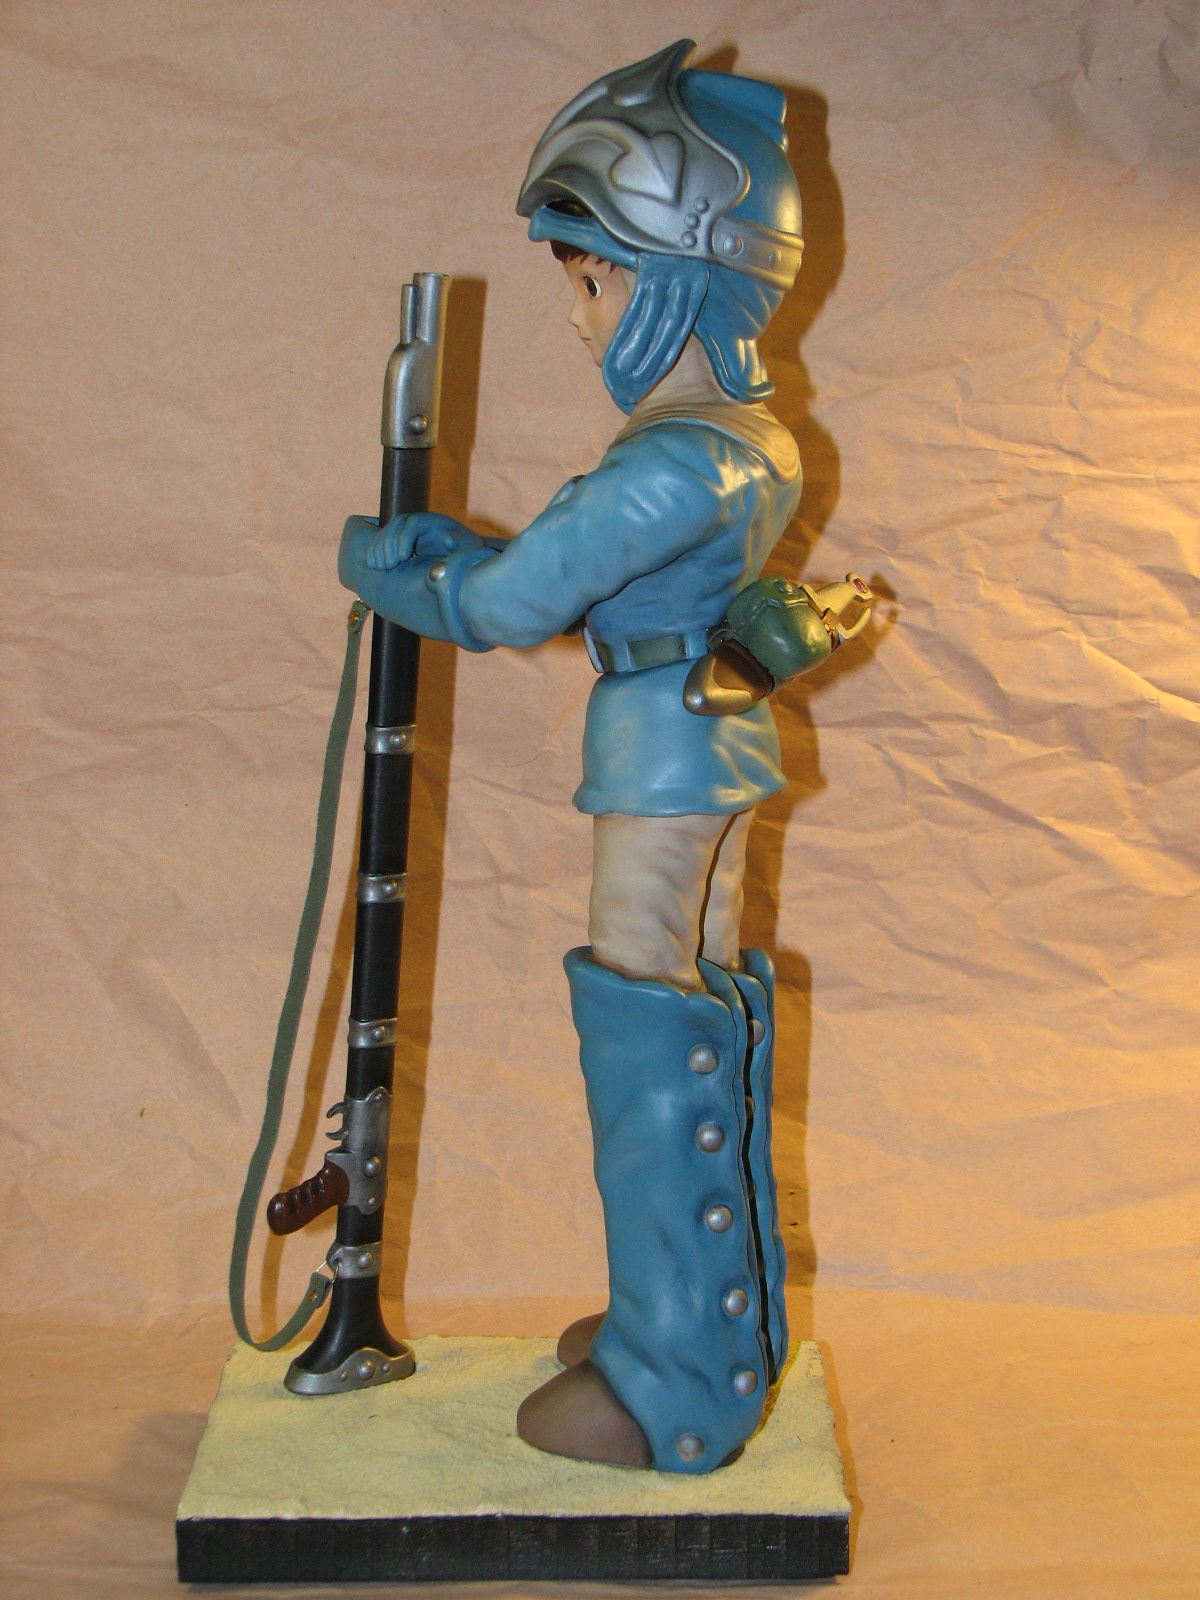
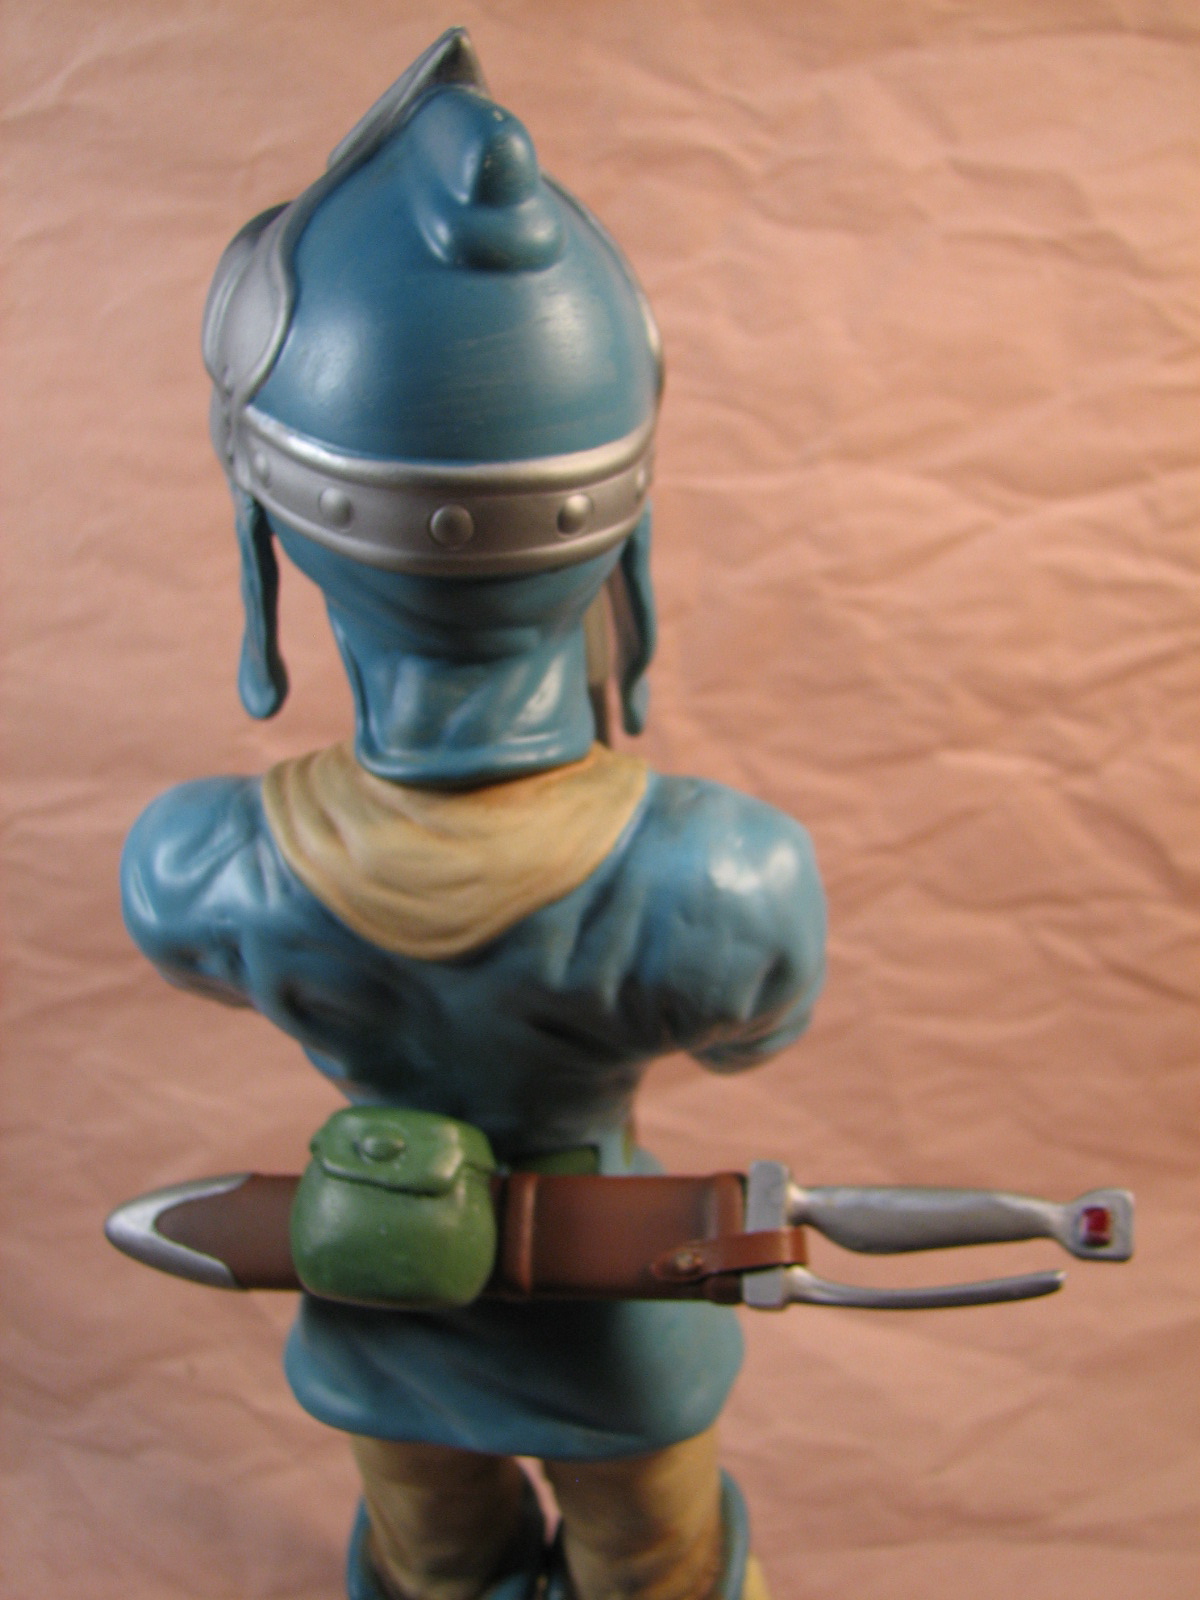
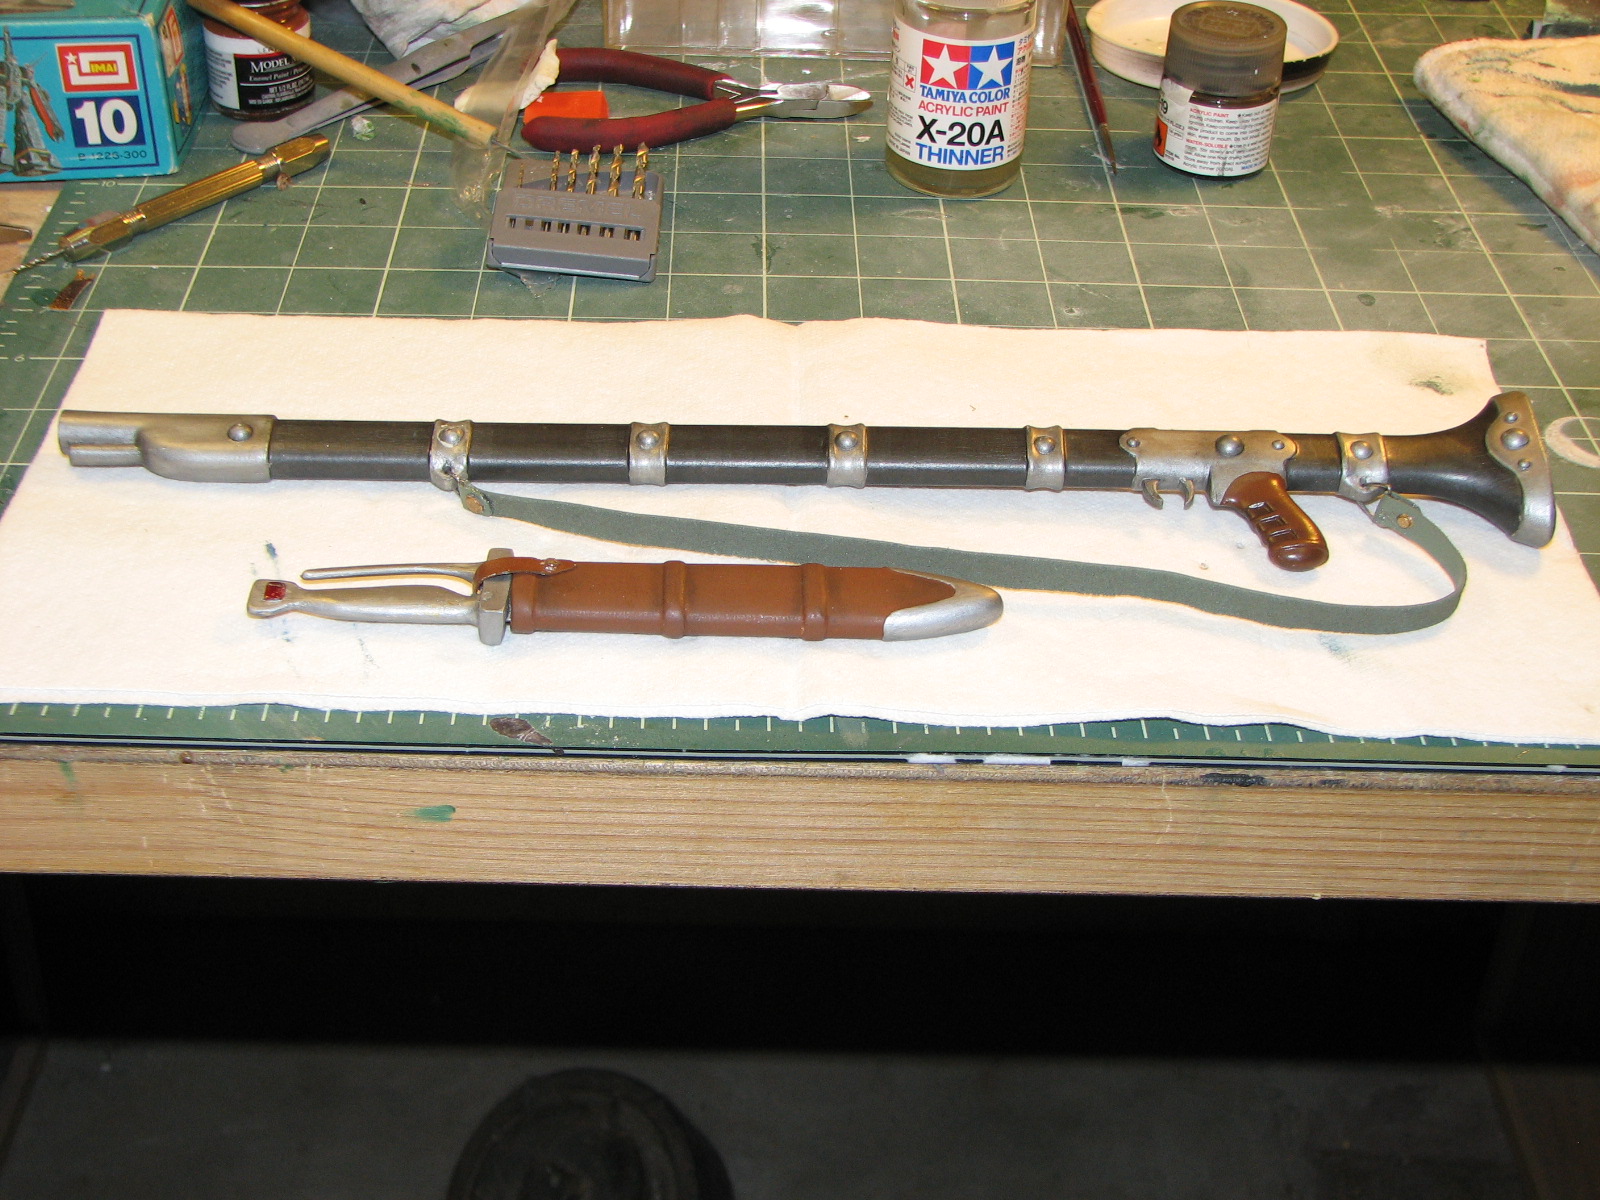
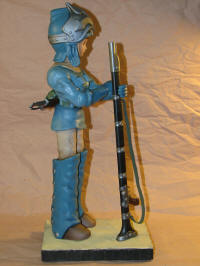
On into the '90s... I detached the sword hilts from the scabbard so I could
make the sword removable. This meant scratchbuilding a blade from sheet styrene.
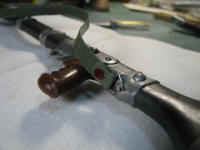
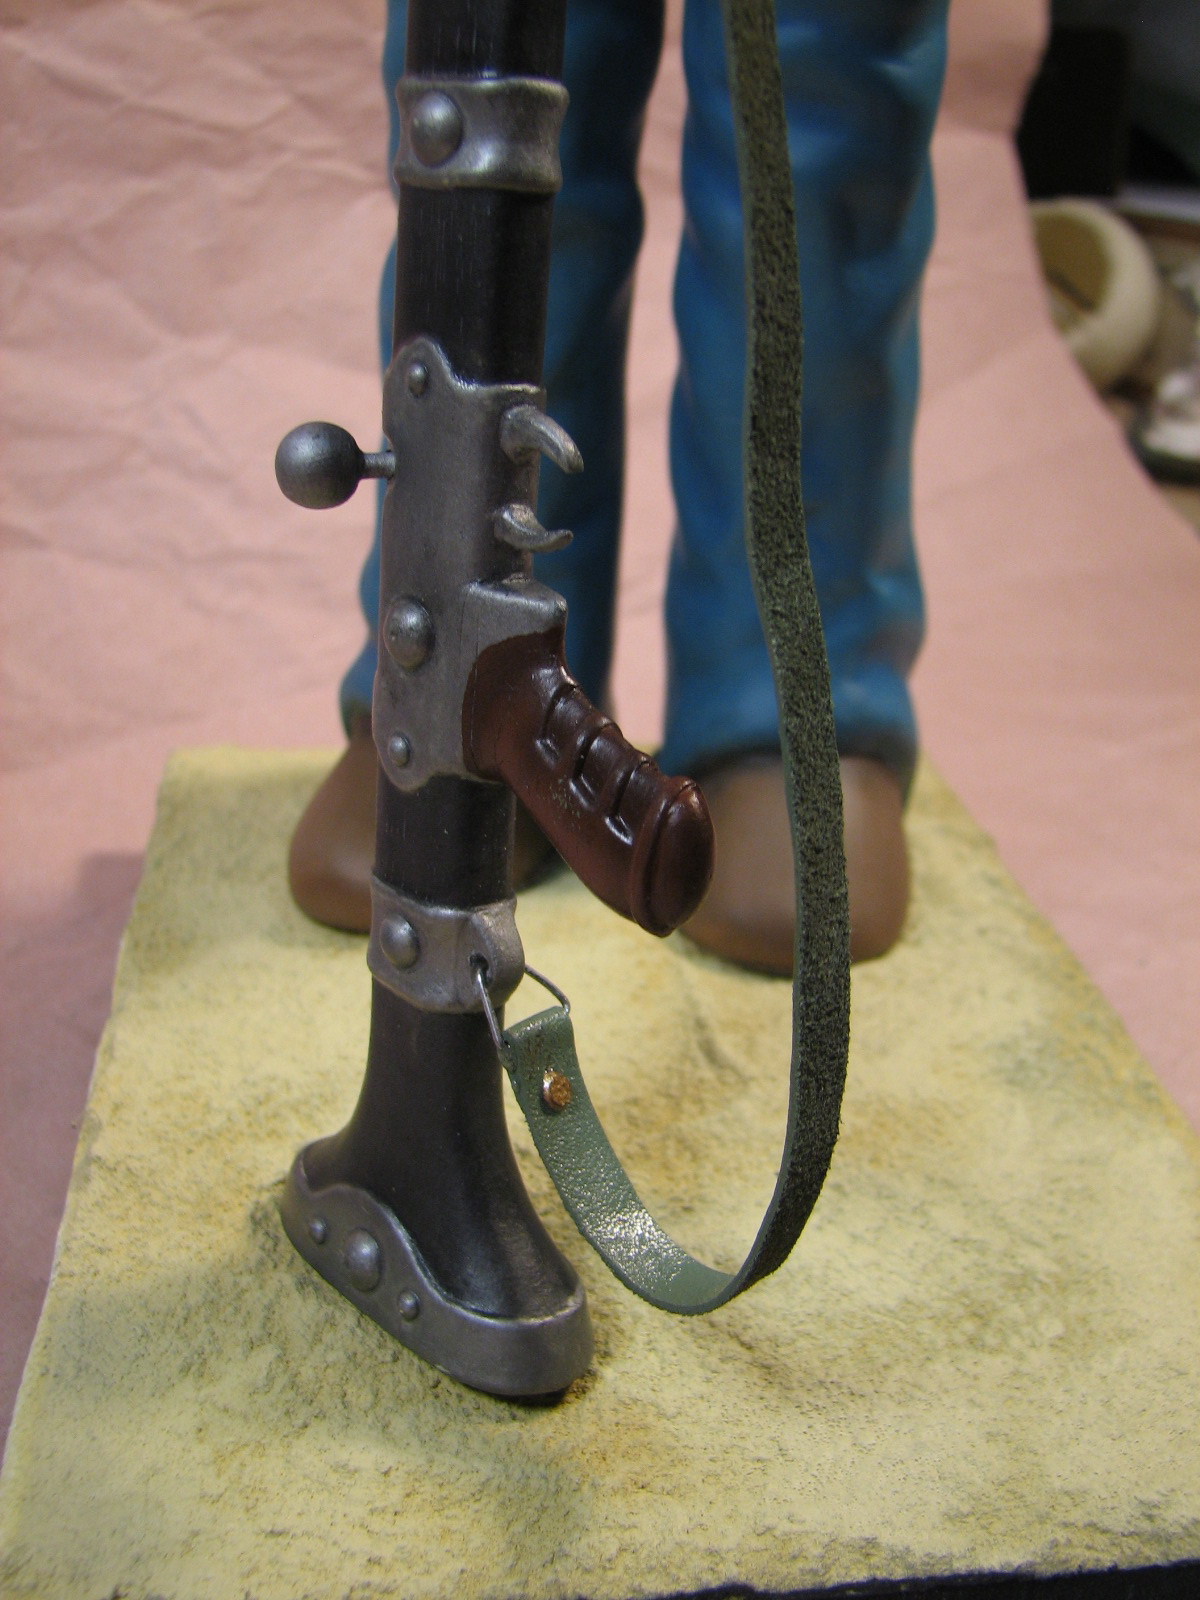
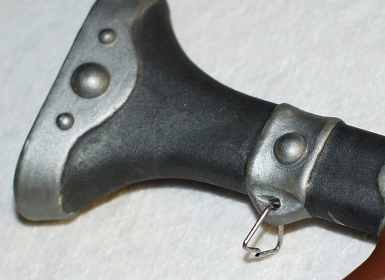
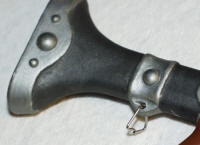
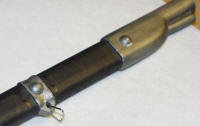
I replaced the poorly formed rifle chamber handle with an
epoxy ball and short piece of styrene rod.
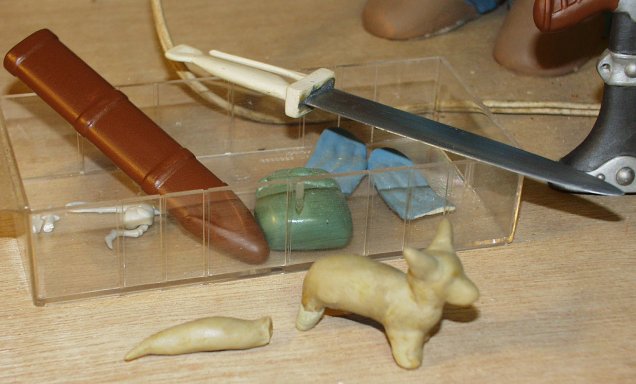
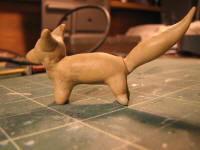
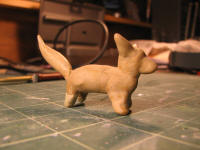
I'm sculpting a fox squirrel (Teto) figure which will stand on Nausicaa's
shoulder.
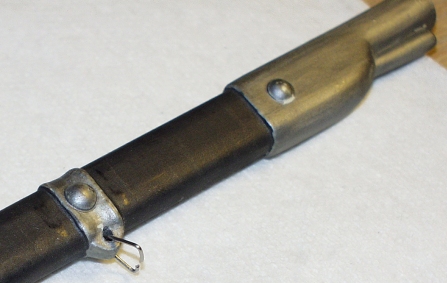
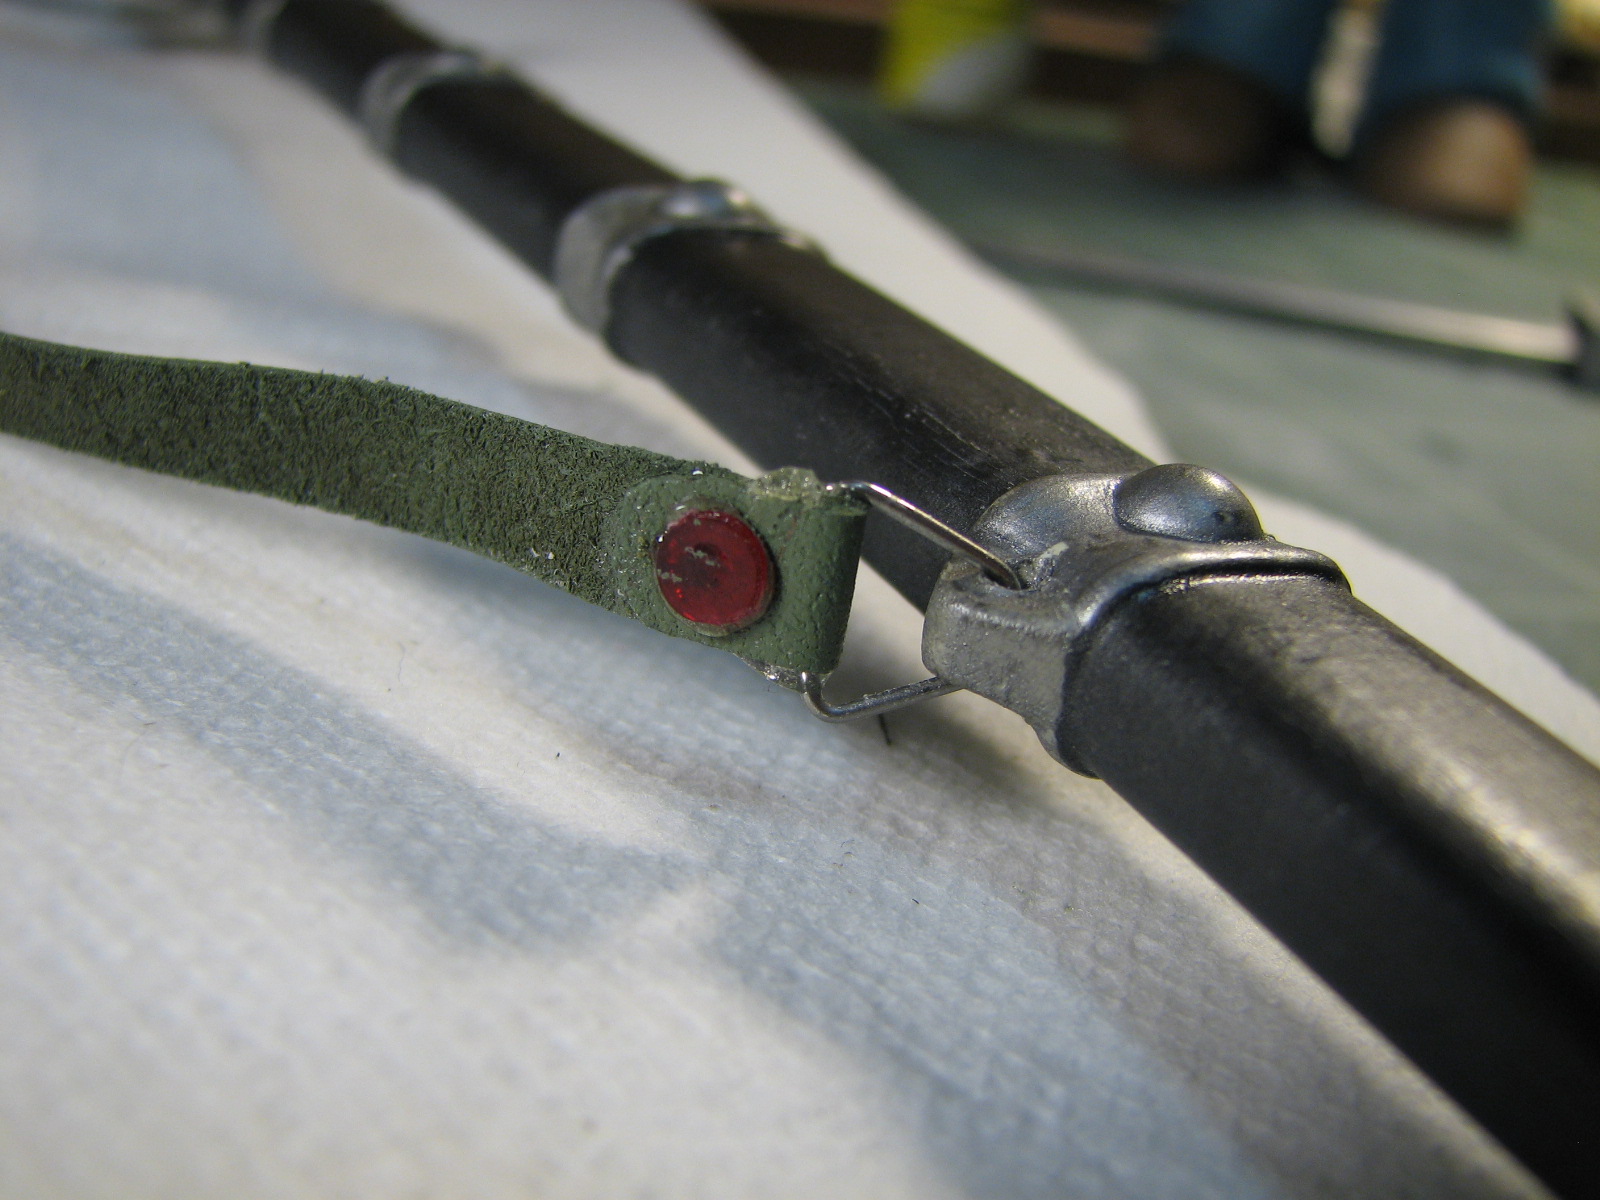
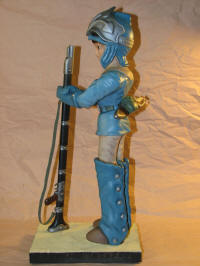
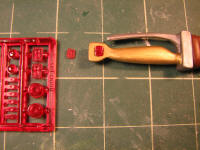
2/26/07 - Added triangular metal loops to
the rifle for the strap it will eventually
have. The rifle's paintjob is hand-brushed Metallizer
gunmetal and steel, and Model Master leather for the grip.
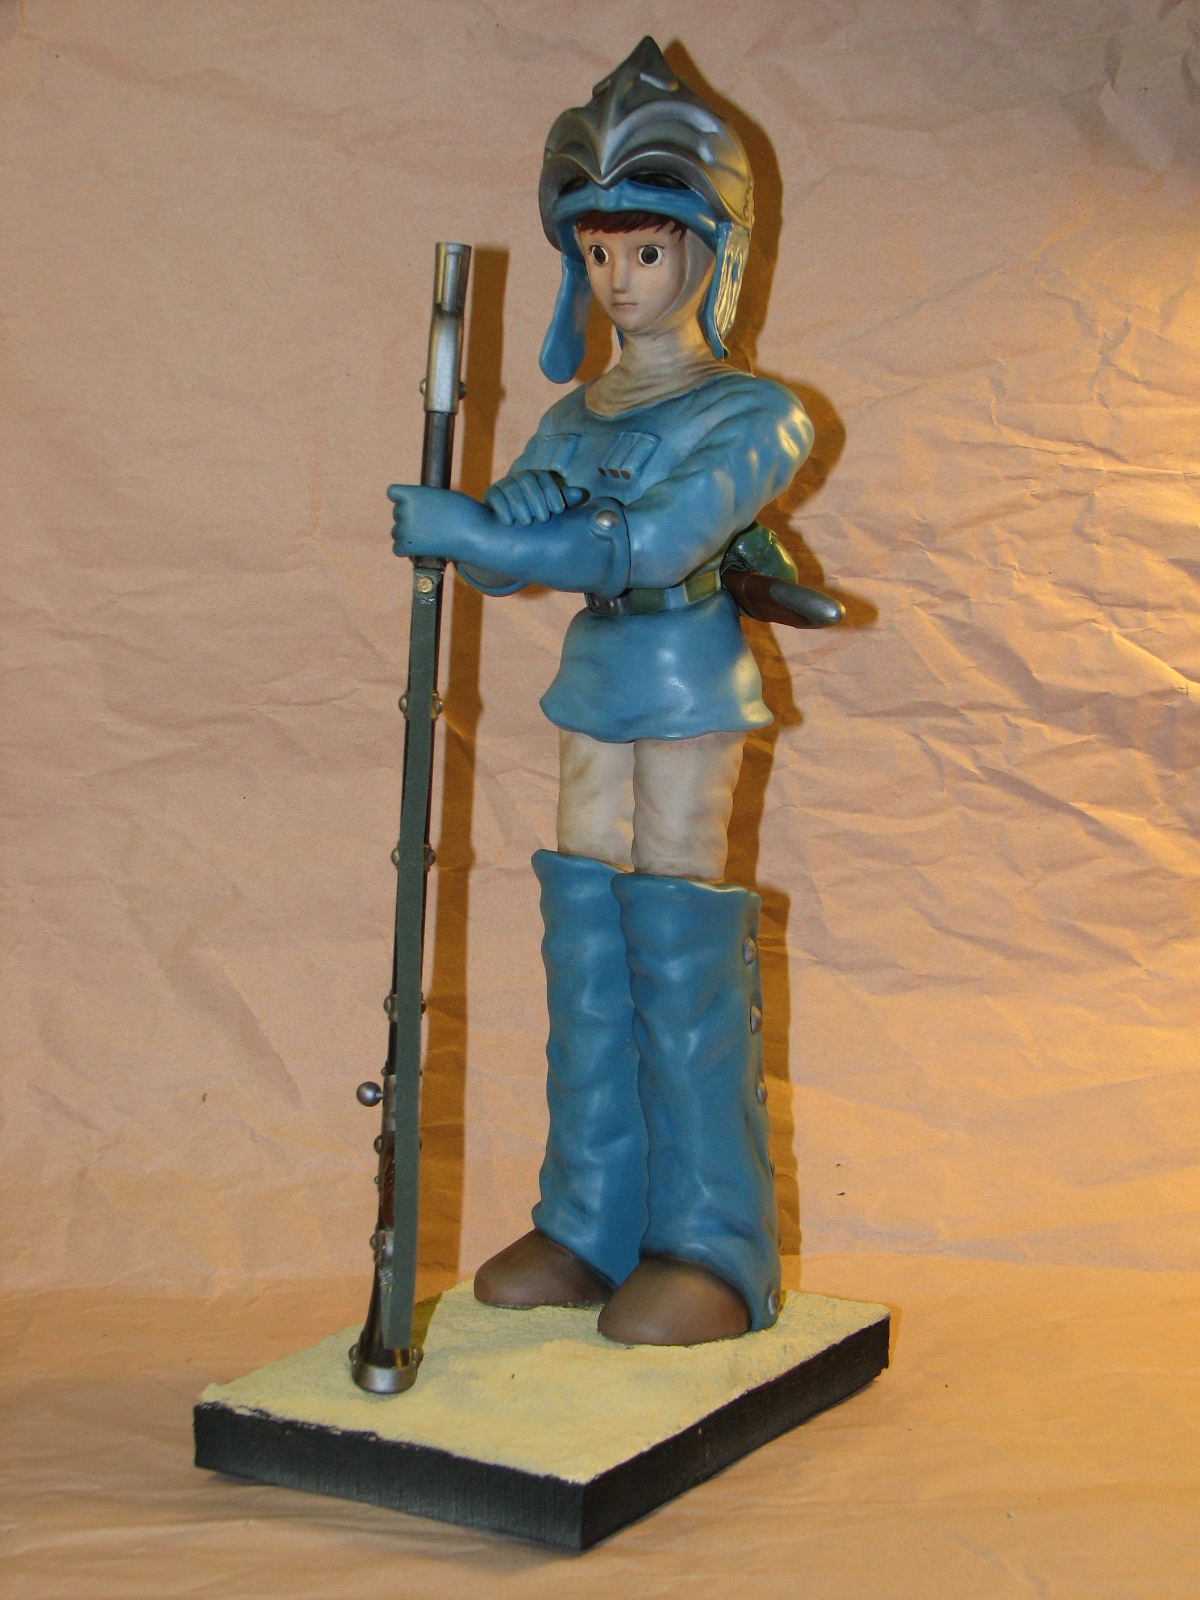
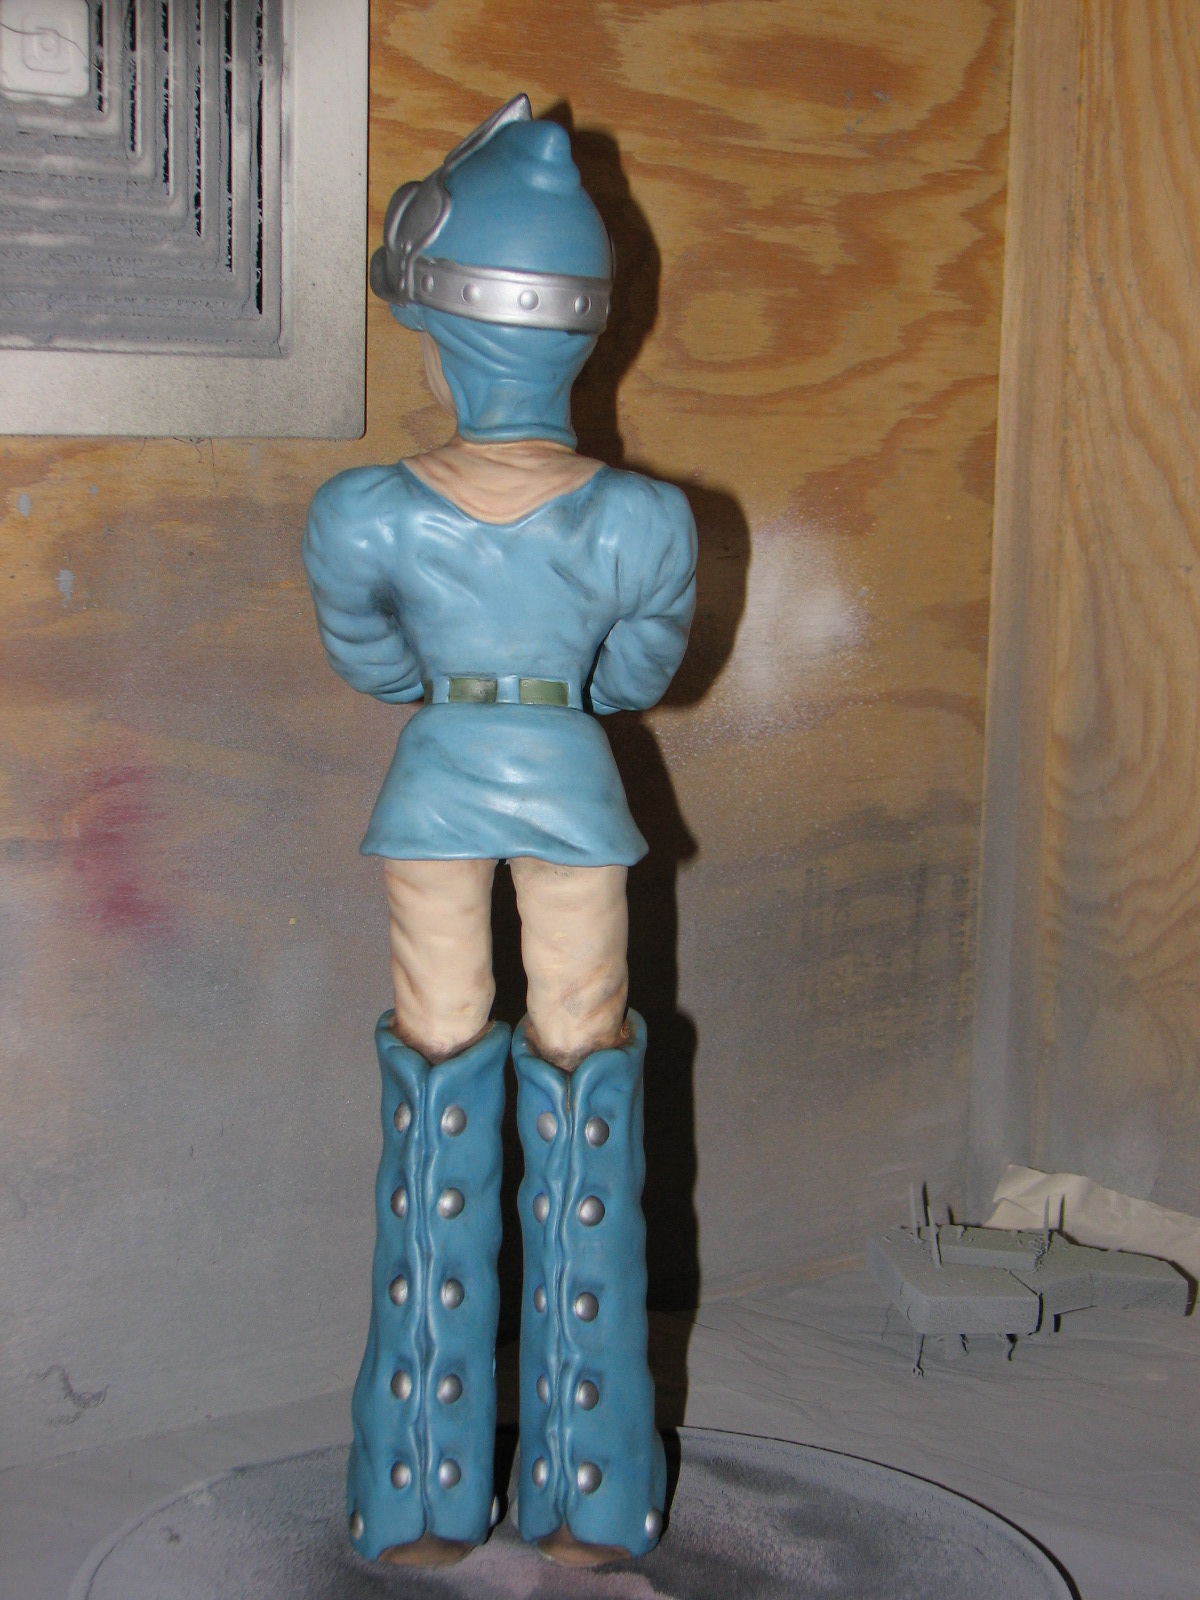
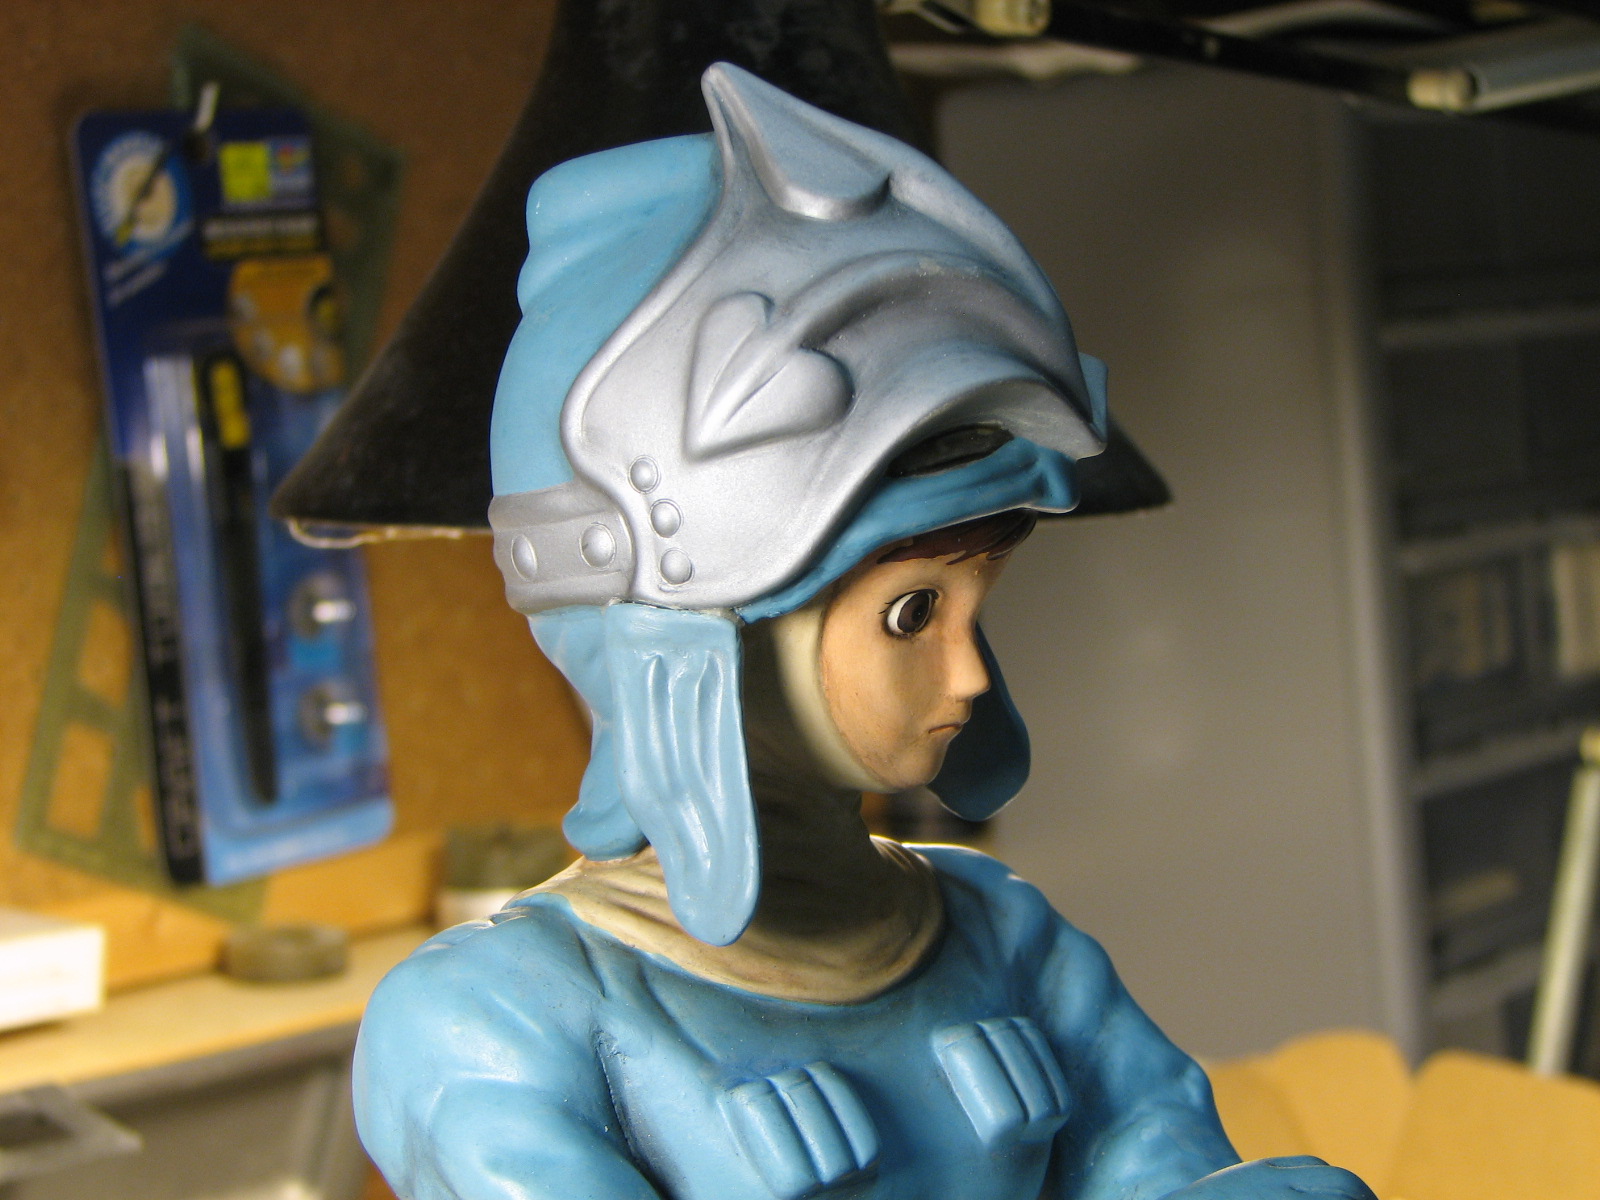
 4/25/2010 - There's been some progress - painted in her eyes' irises and pupils, finally. And, it
sure would've been nice if I'd kept notes - or could find the notes - on the shades of blue I used to paint her.
4/25/2010 - There's been some progress - painted in her eyes' irises and pupils, finally. And, it
sure would've been nice if I'd kept notes - or could find the notes - on the shades of blue I used to paint her.
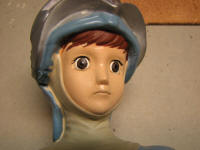 and more - now she has eyelashes.
 |
|
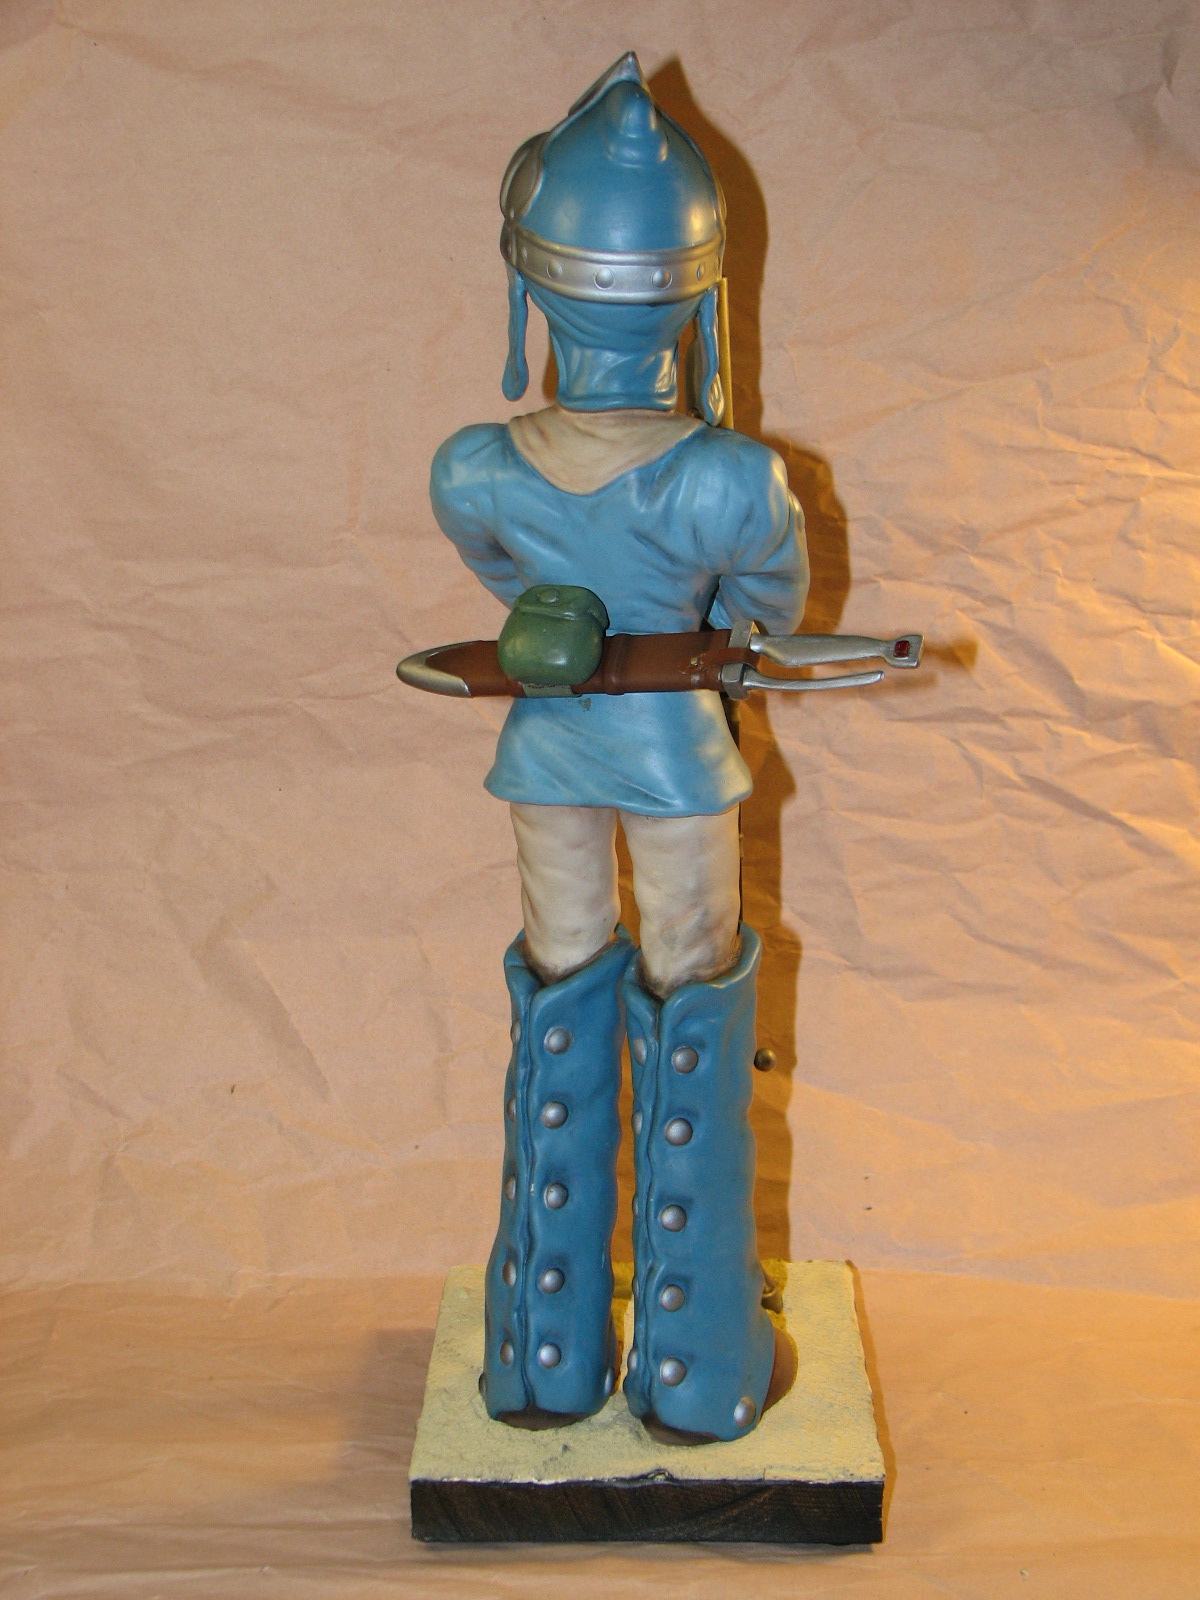
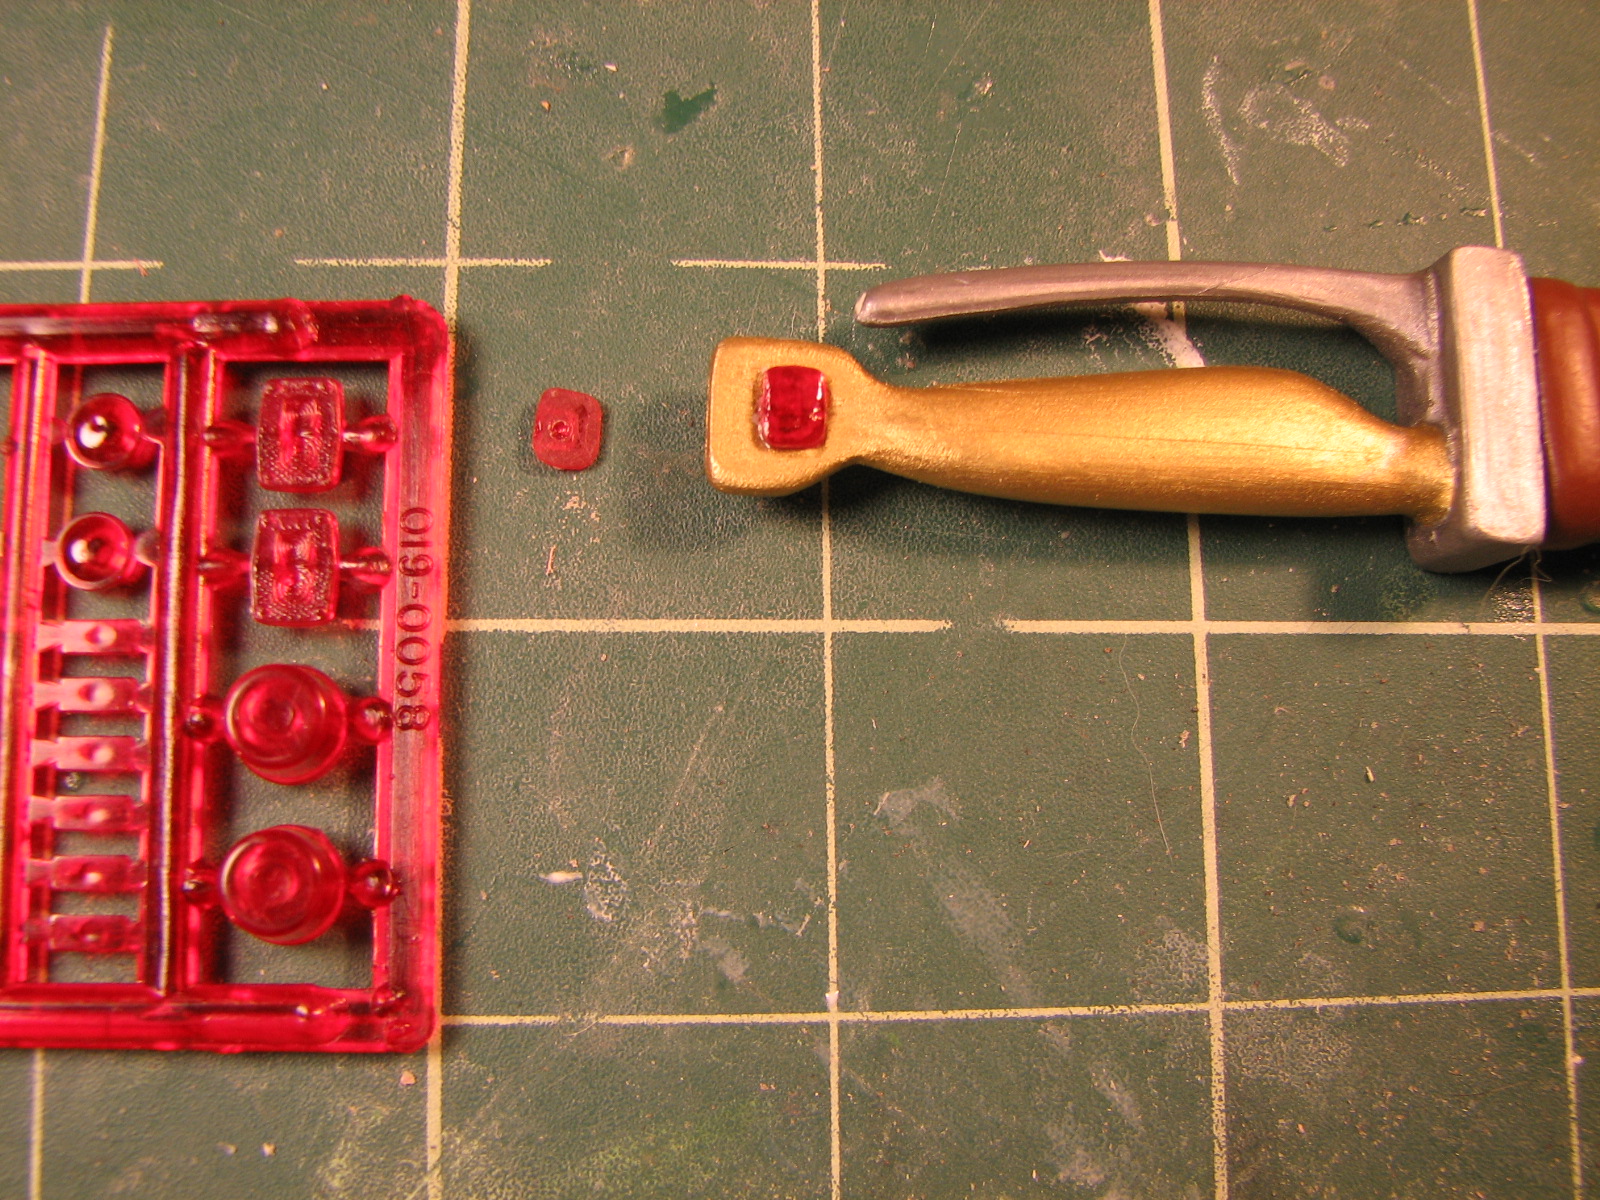
5/2/2010 - Did a bit more work on the short sword and Teto
sculpt. I painted brass and steel metallizer on the sword hilts and superglued in
pieces of red styrene taillight for the cabochon in the hilt. Teto is an epoxy
putty sculpt. The basic shape is roughed out so far. And I started work on the
base she'll be standing on.
9/26/2010 - Shading... blue, brown, black, and white chalk

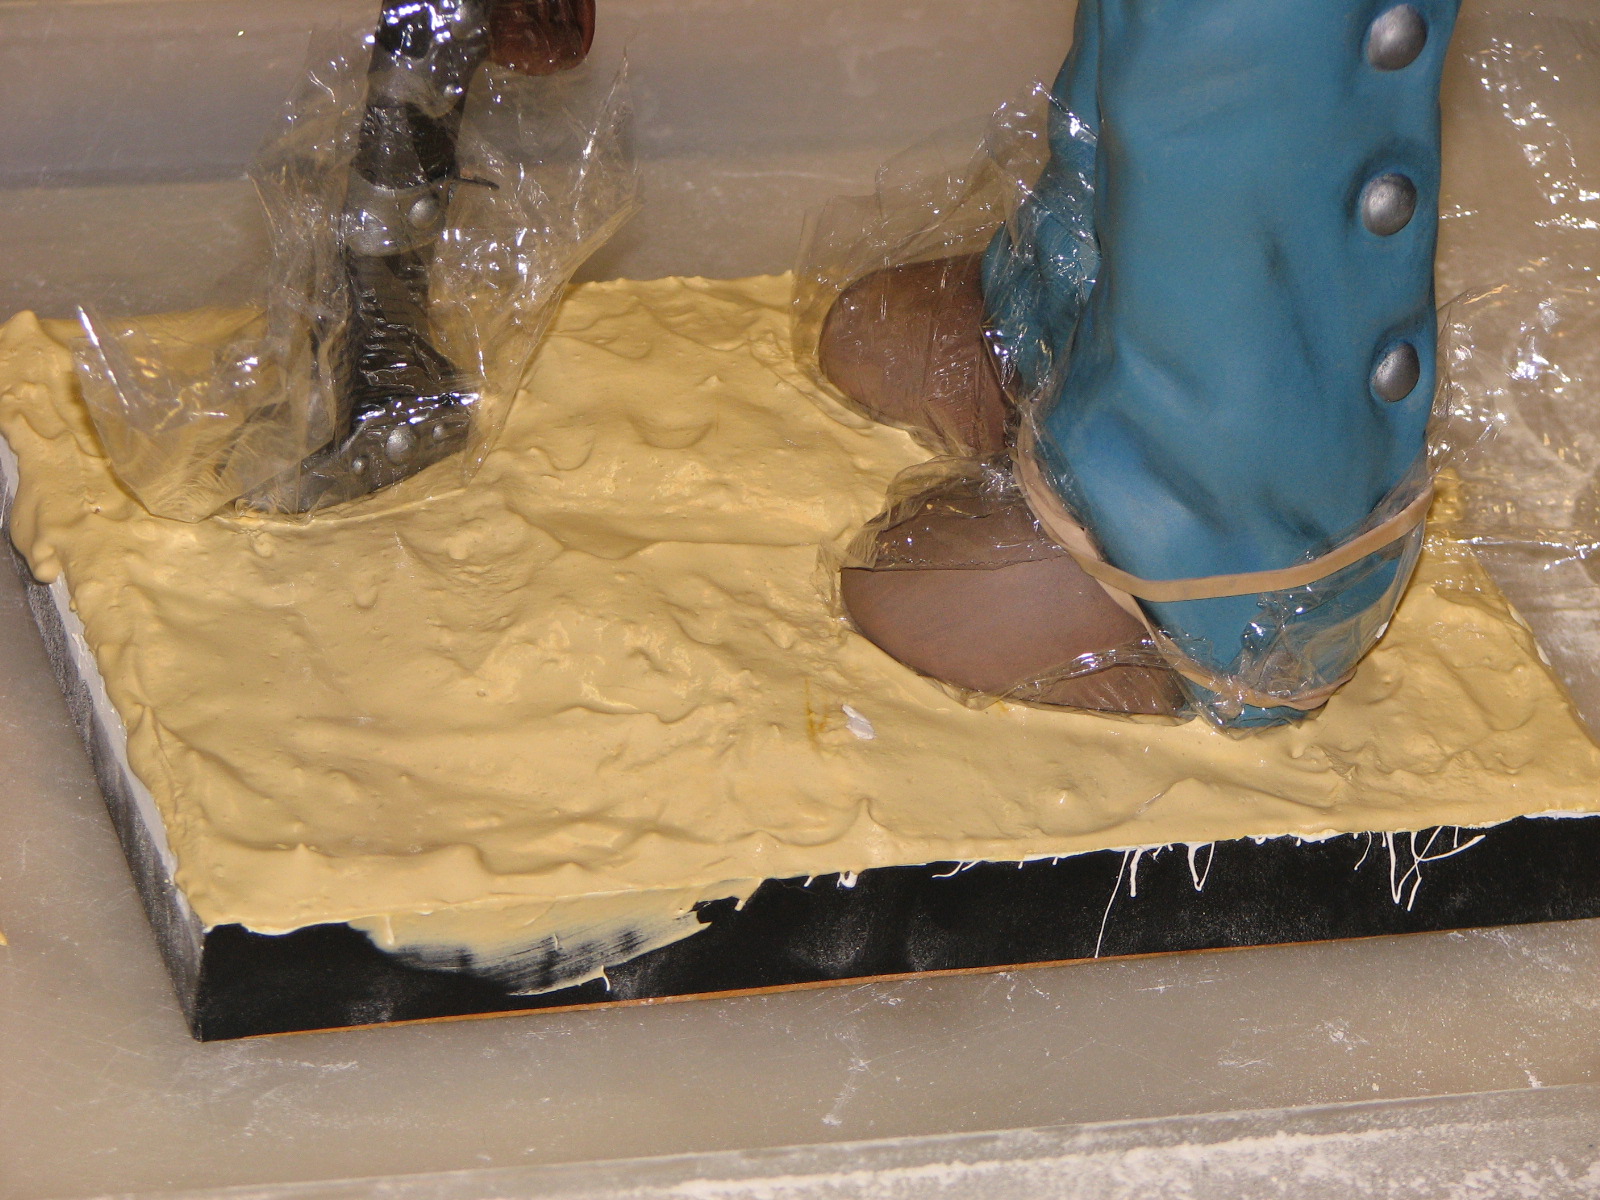
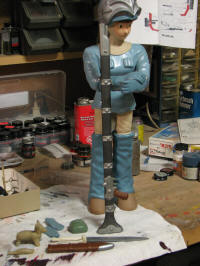
10/1/2010 - More base work. I glued some thin balsa shims
to this block of wood so the figure stands up straight. I slathered a coat of
Liquitex Gesso over the wood and then sifted on a coat of dry Durham water
putty. When that dried I brushed away the excess and mixed a batch of thick
putty to coat the base. I stood the figure (with plastic wrap booties) in the
wet putty to make impressions for her feet and rifle butt.
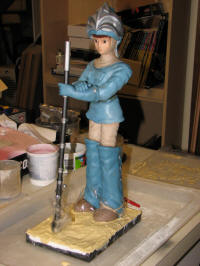

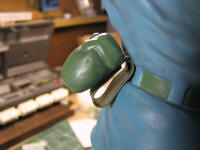
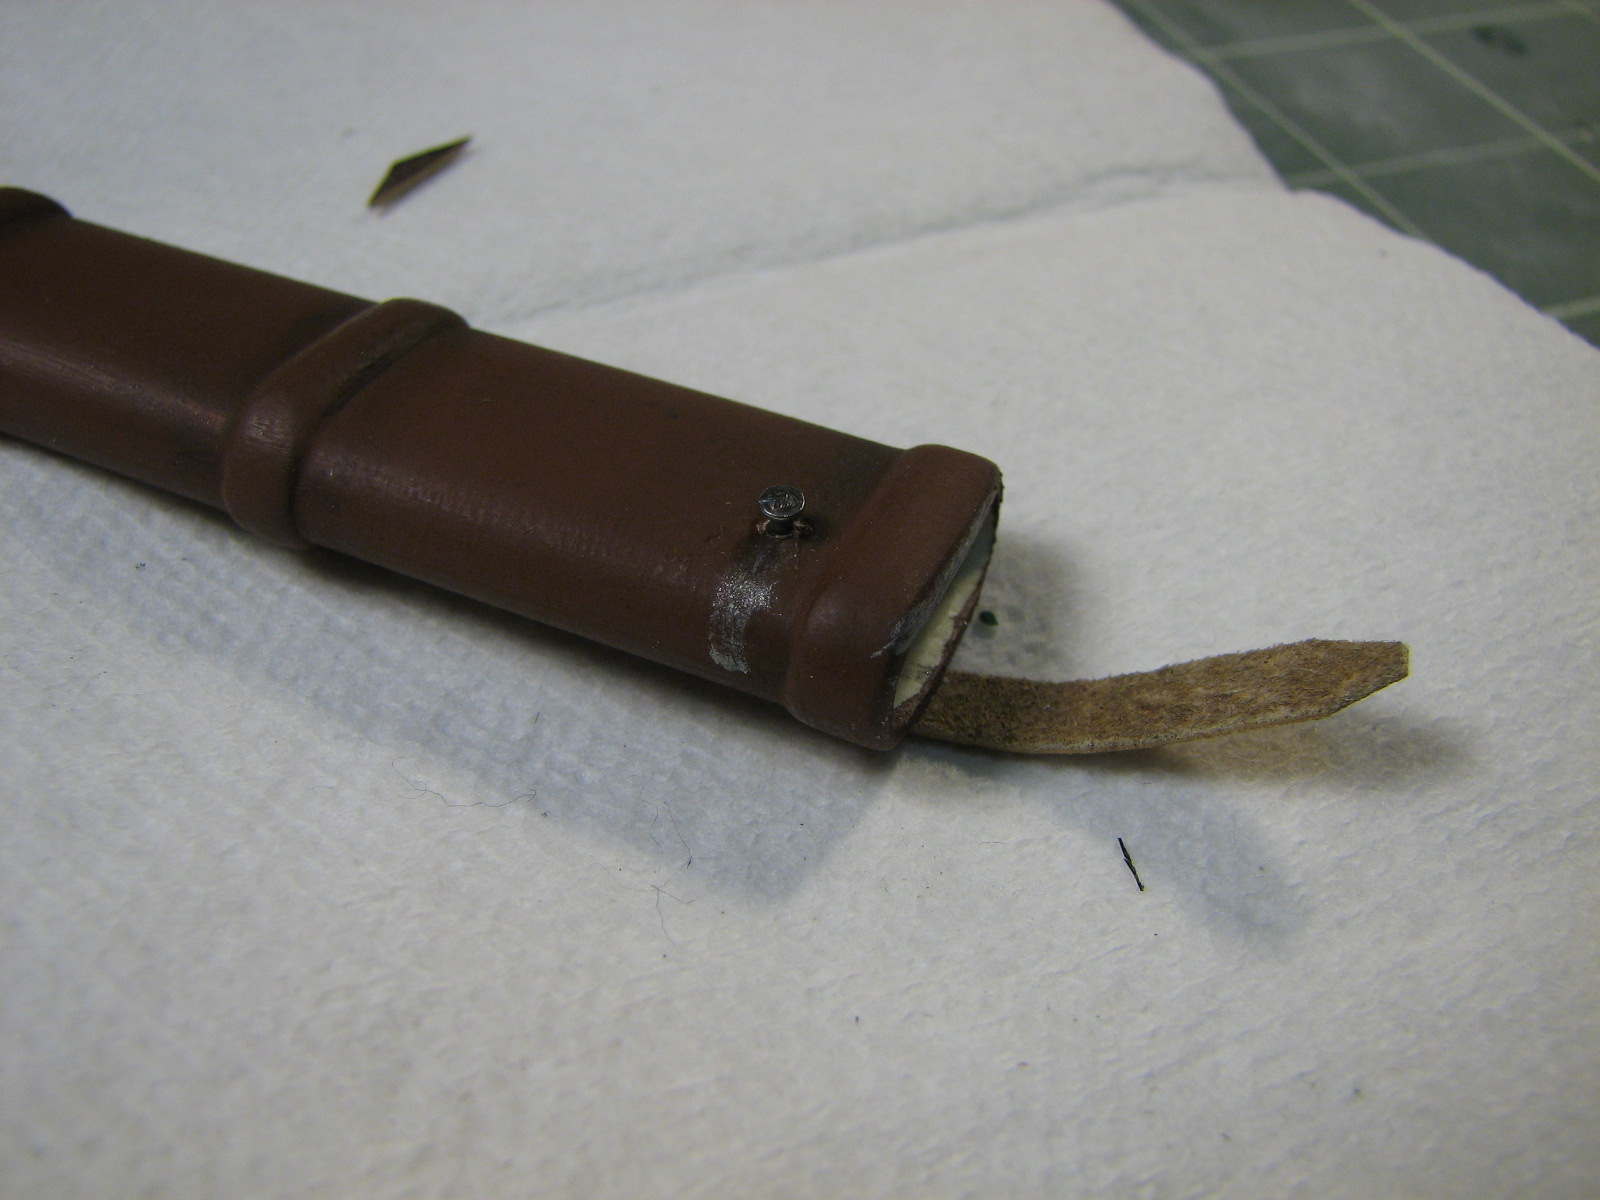
10/2-3/2010 - I finished up the weapons by adding thin
leather straps for the rifle, sword sheath, and belt pouch. The pouch loop will
also hold the sword. Small nailheads or red styrene tail lights became the
rivets for the sheat and rifle straps. I secured everything with 5-minute epoxy.
But, I ended up needing something more flexible for the pouch, so that's adhered
to the loop with E-6000 contact adhesive.
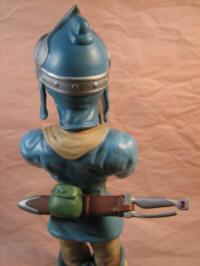
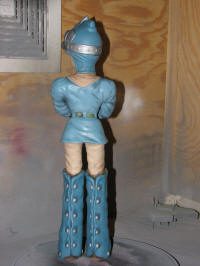
And I realized I hadn't attached the "dog ear" flaps on
her hood. I flattened some aluminum tubing to use as a tab for the flaps and
bored some holes in the sides of the hood. I epoxied the flaps in place and
puttied around them with Apoxie sculpt.
The rest of the work was paint touchup and then the final
mount up on the water putty base.