
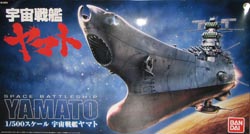
Space Battleship Yamato
Bandai
Parts
|
 |
|
Stated scale:
|
1/500
|
 
|
|
Actual scale:
|
unverified
|


|
|
Overall length:
|
~21"
|
|
Material(s):
|
styrene, metal
|
|
Number of parts:
|
ho-ley-cow!
|
|
Stand included?
|
yes
|
|
Decals included?
|
no
|
|
My Source:
|
HLJ
|
|
Cost (w/o s&h):
|
|

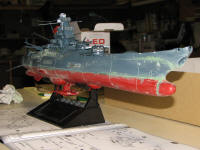
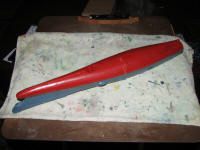
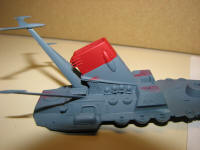
4/22/2011 - I recently replaced my old, partly finished
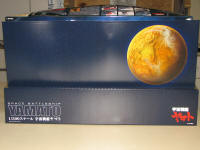
1/1000 Yamato with this 1/500 pressing. Opening the box, the two gray hull
halves were bagged on top of an insert with art of the planet-bombed Earth,
which could make a nice display backdrop. With Star Blazers again running in the
U.S., I got inspired...
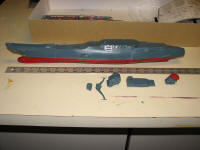
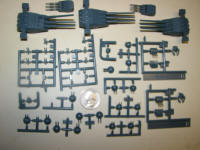
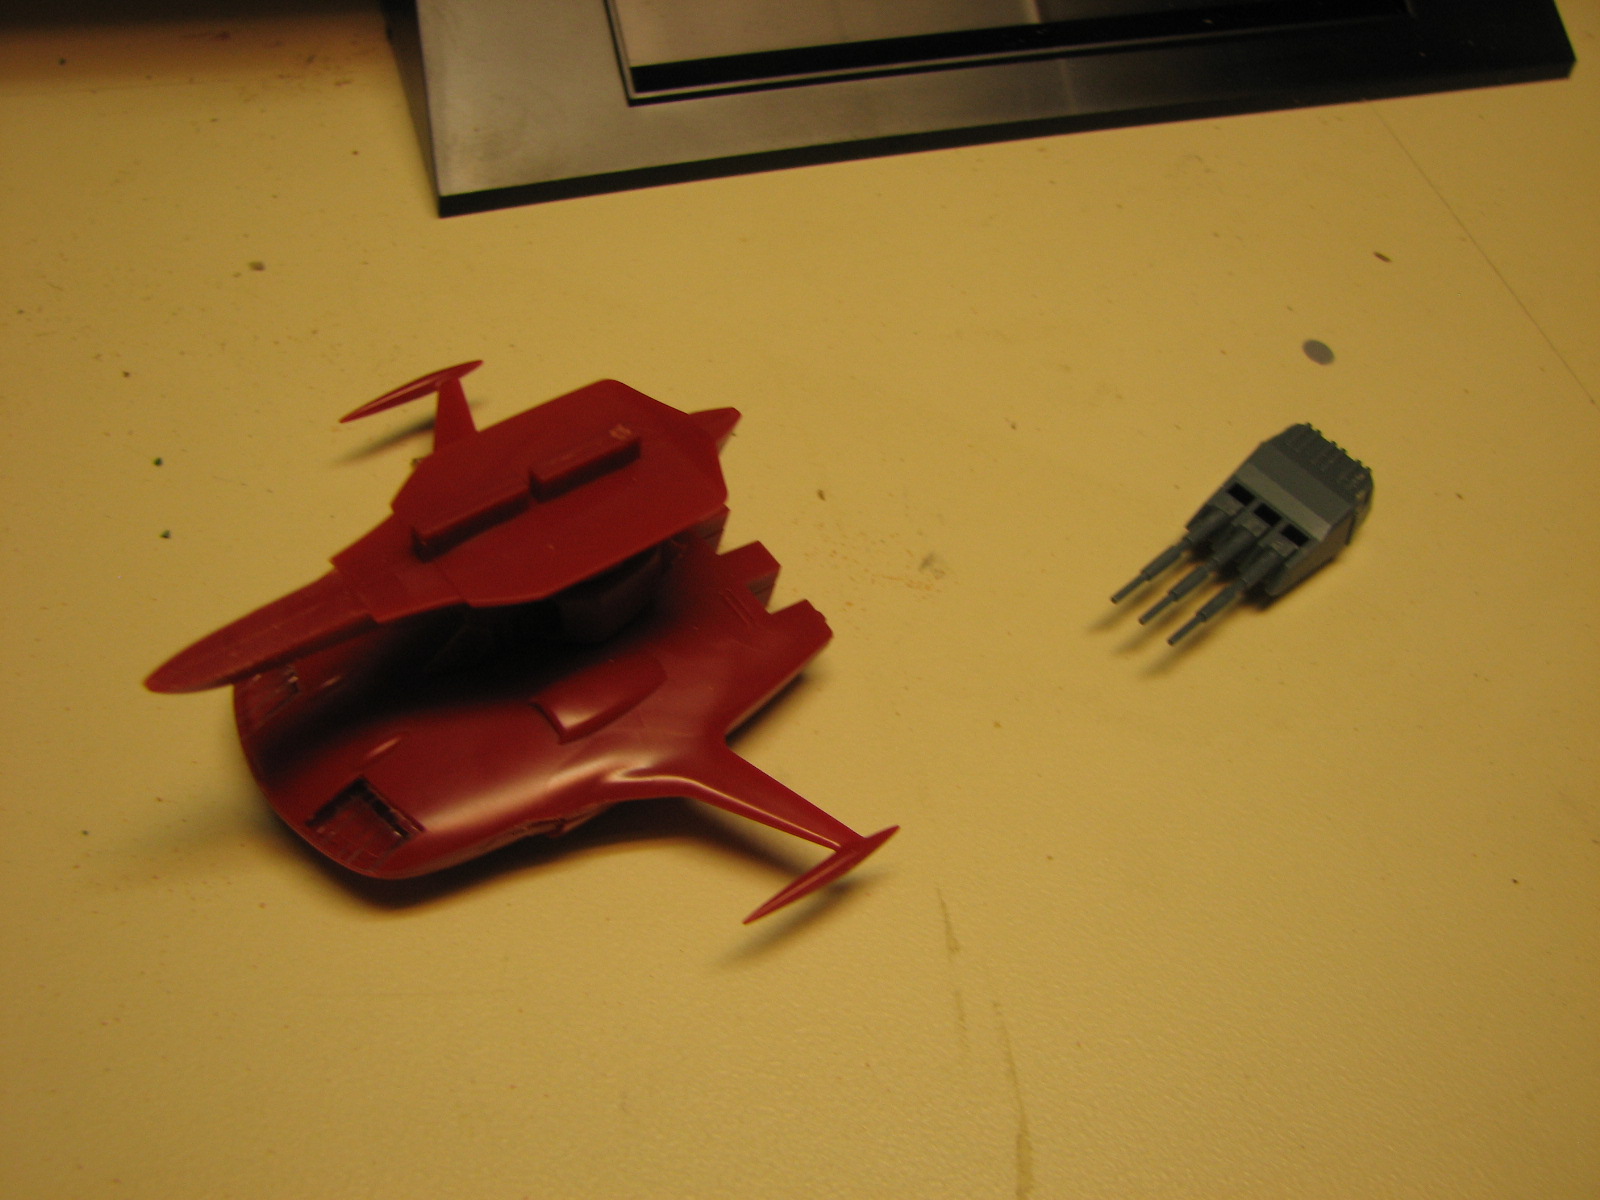
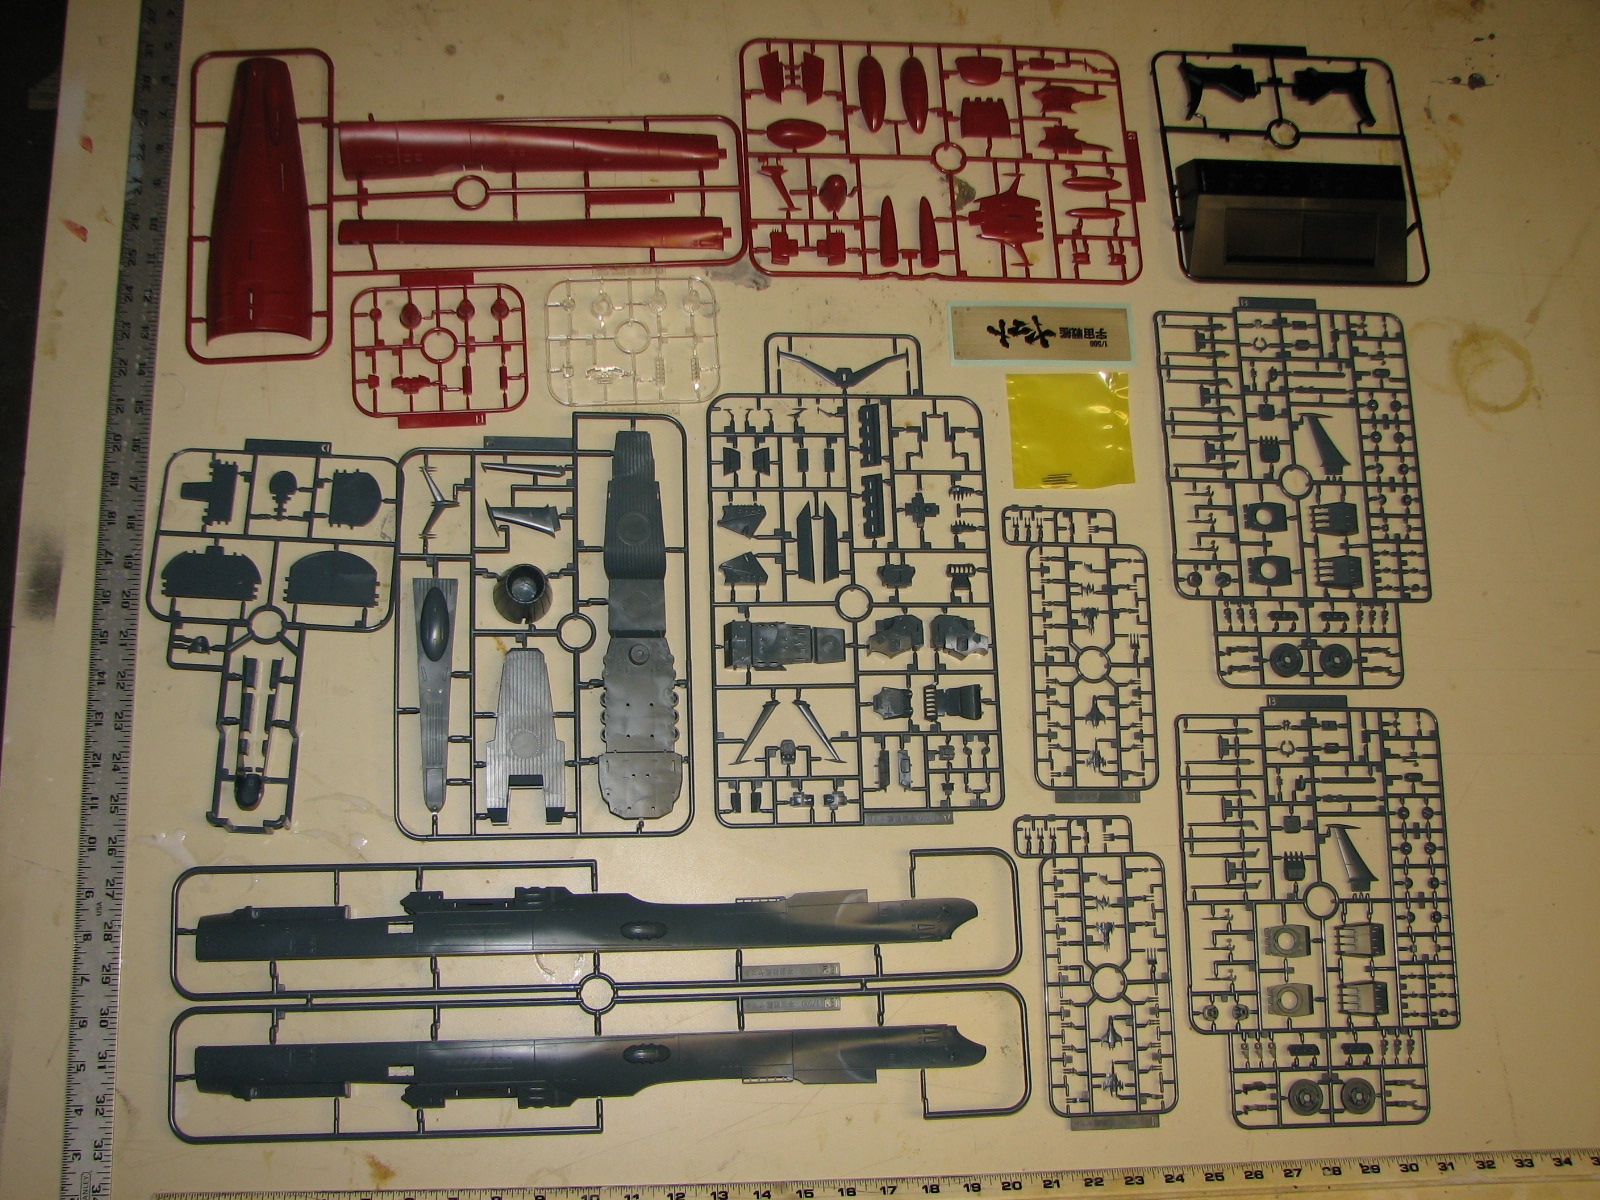
Below the insert were 12 more trees of parts for a total
of 13. Eight are molded in gray, three in red, and one each in black (the stand)
and clear. The clear tree is a duplicate of one of the red trees, giving the
option for a lighted assembly. There's also a sticker for the base and a bag of
4 metal rods. An assembly booklet rounds out the kit contents.
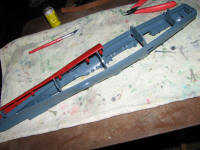
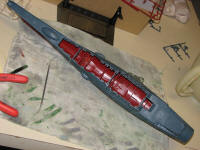
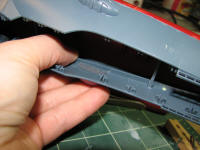
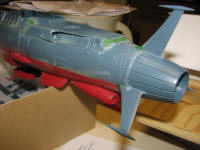
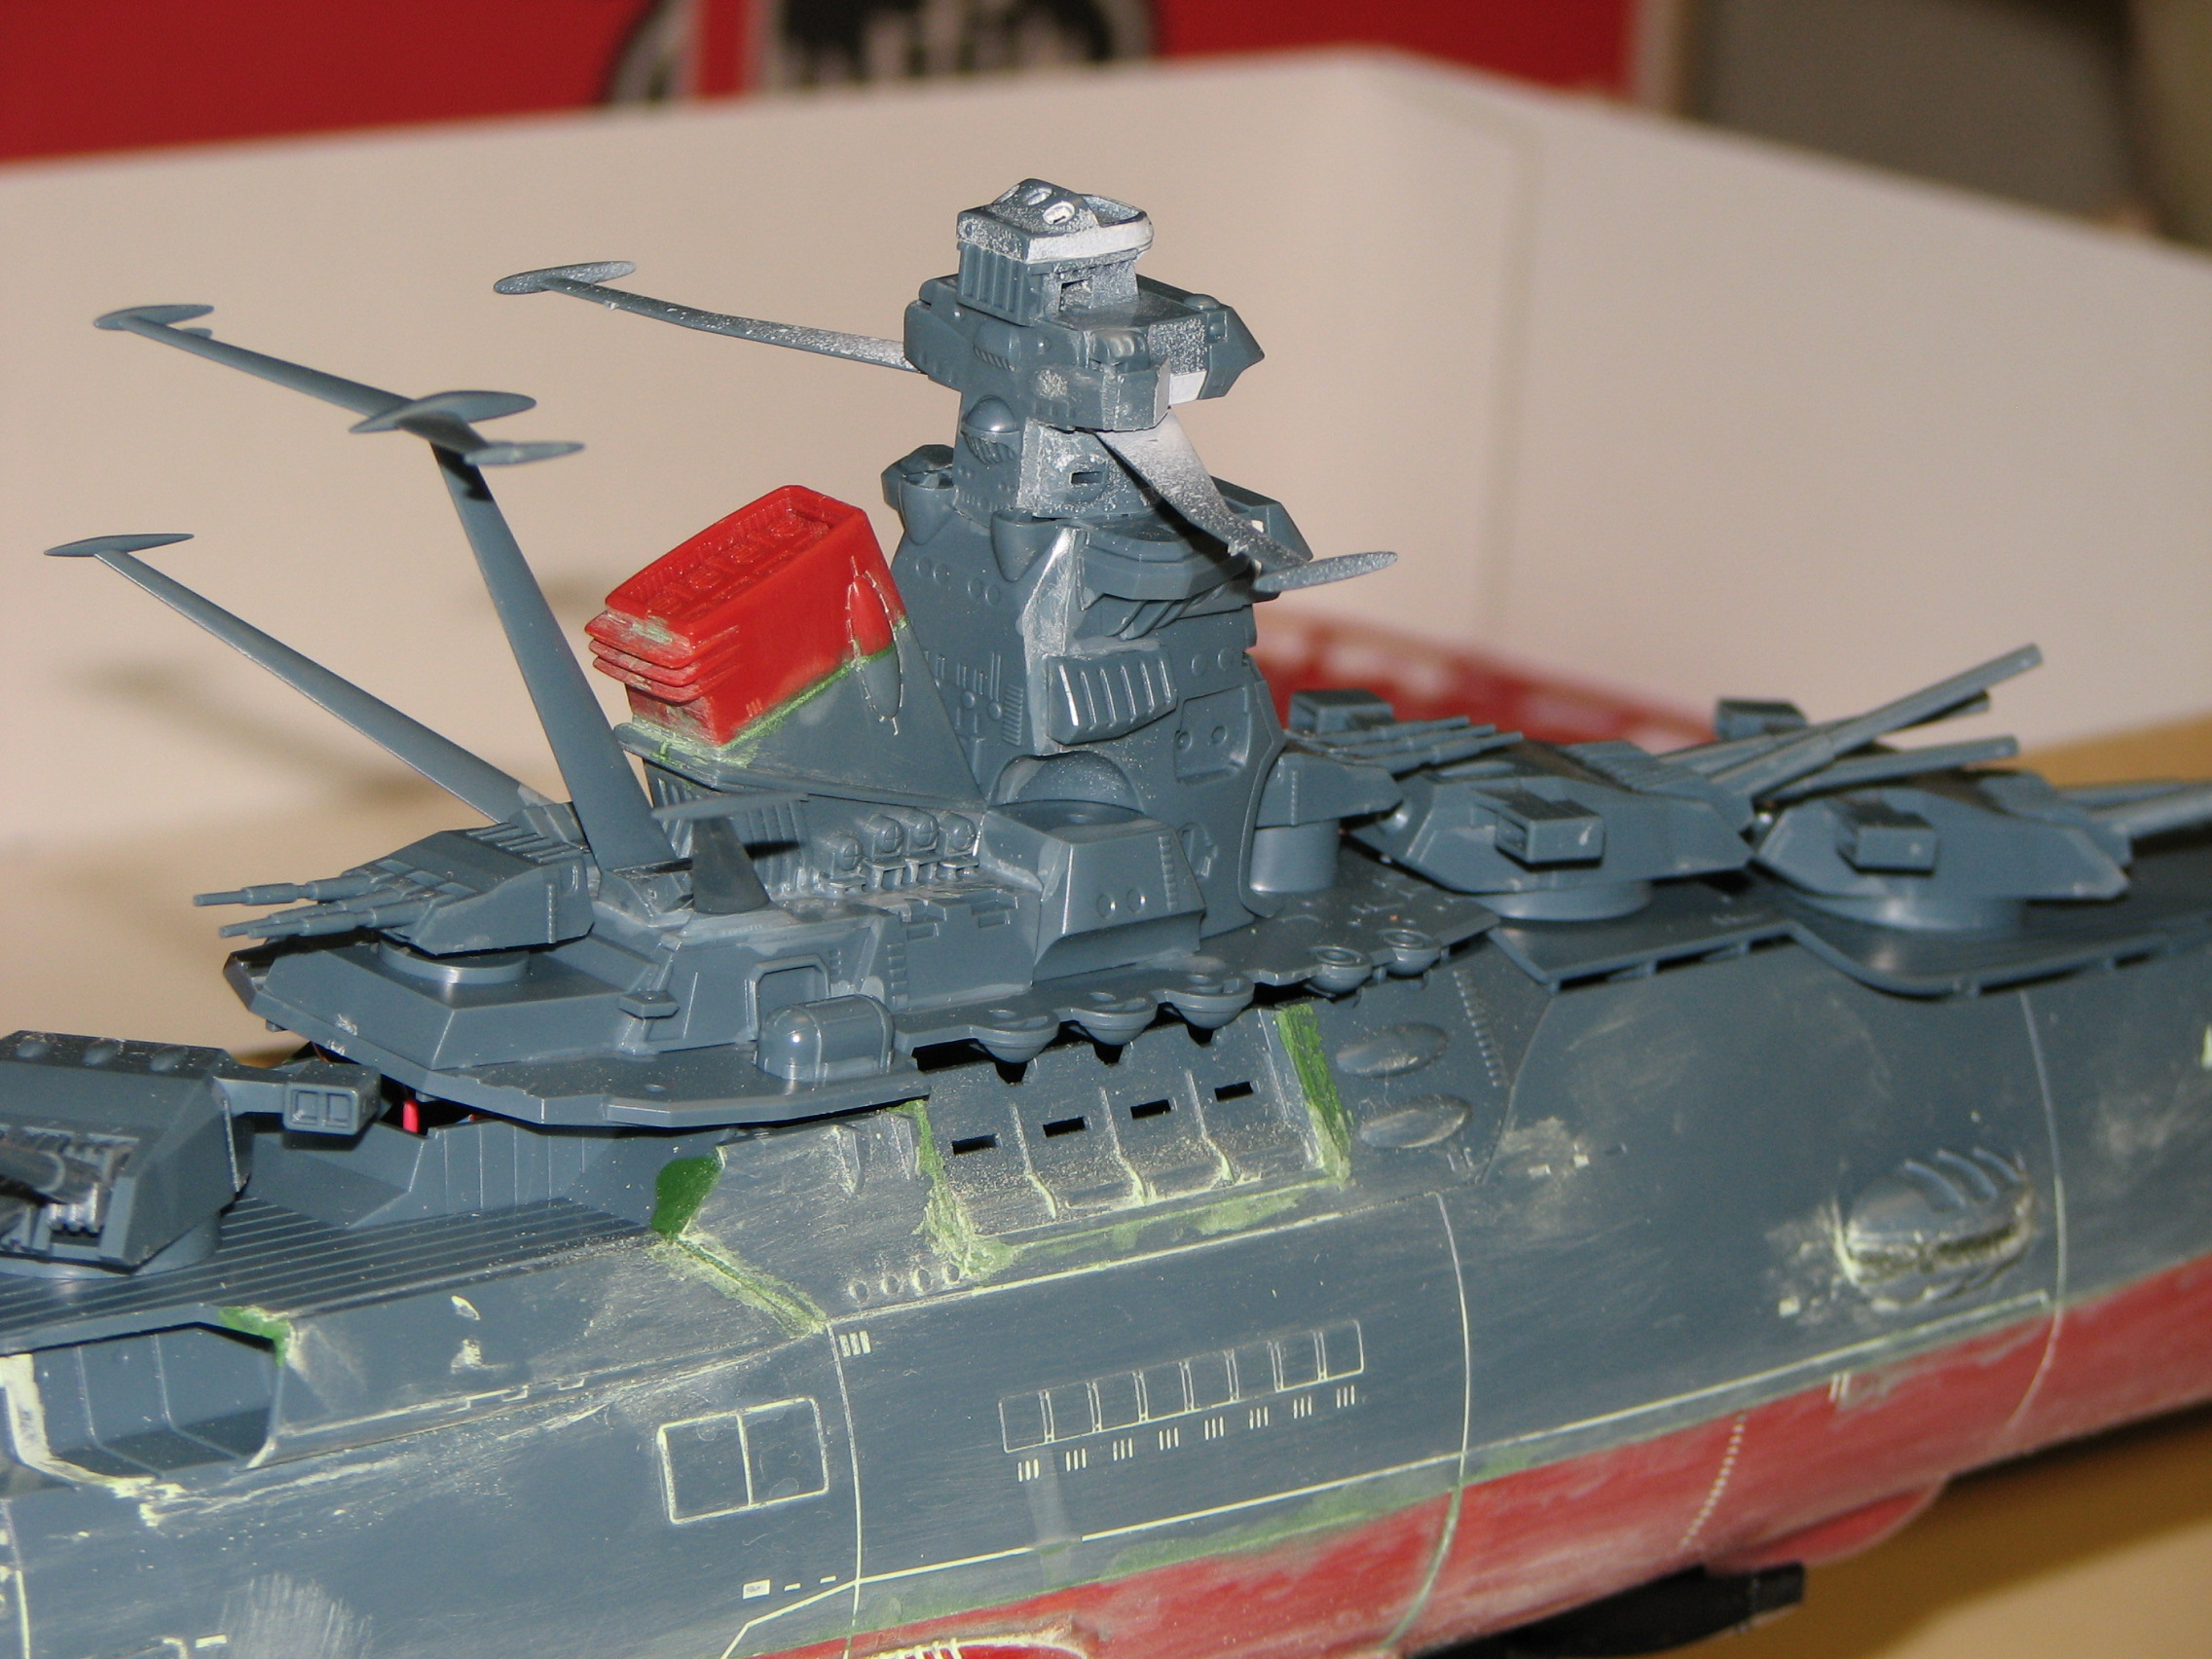
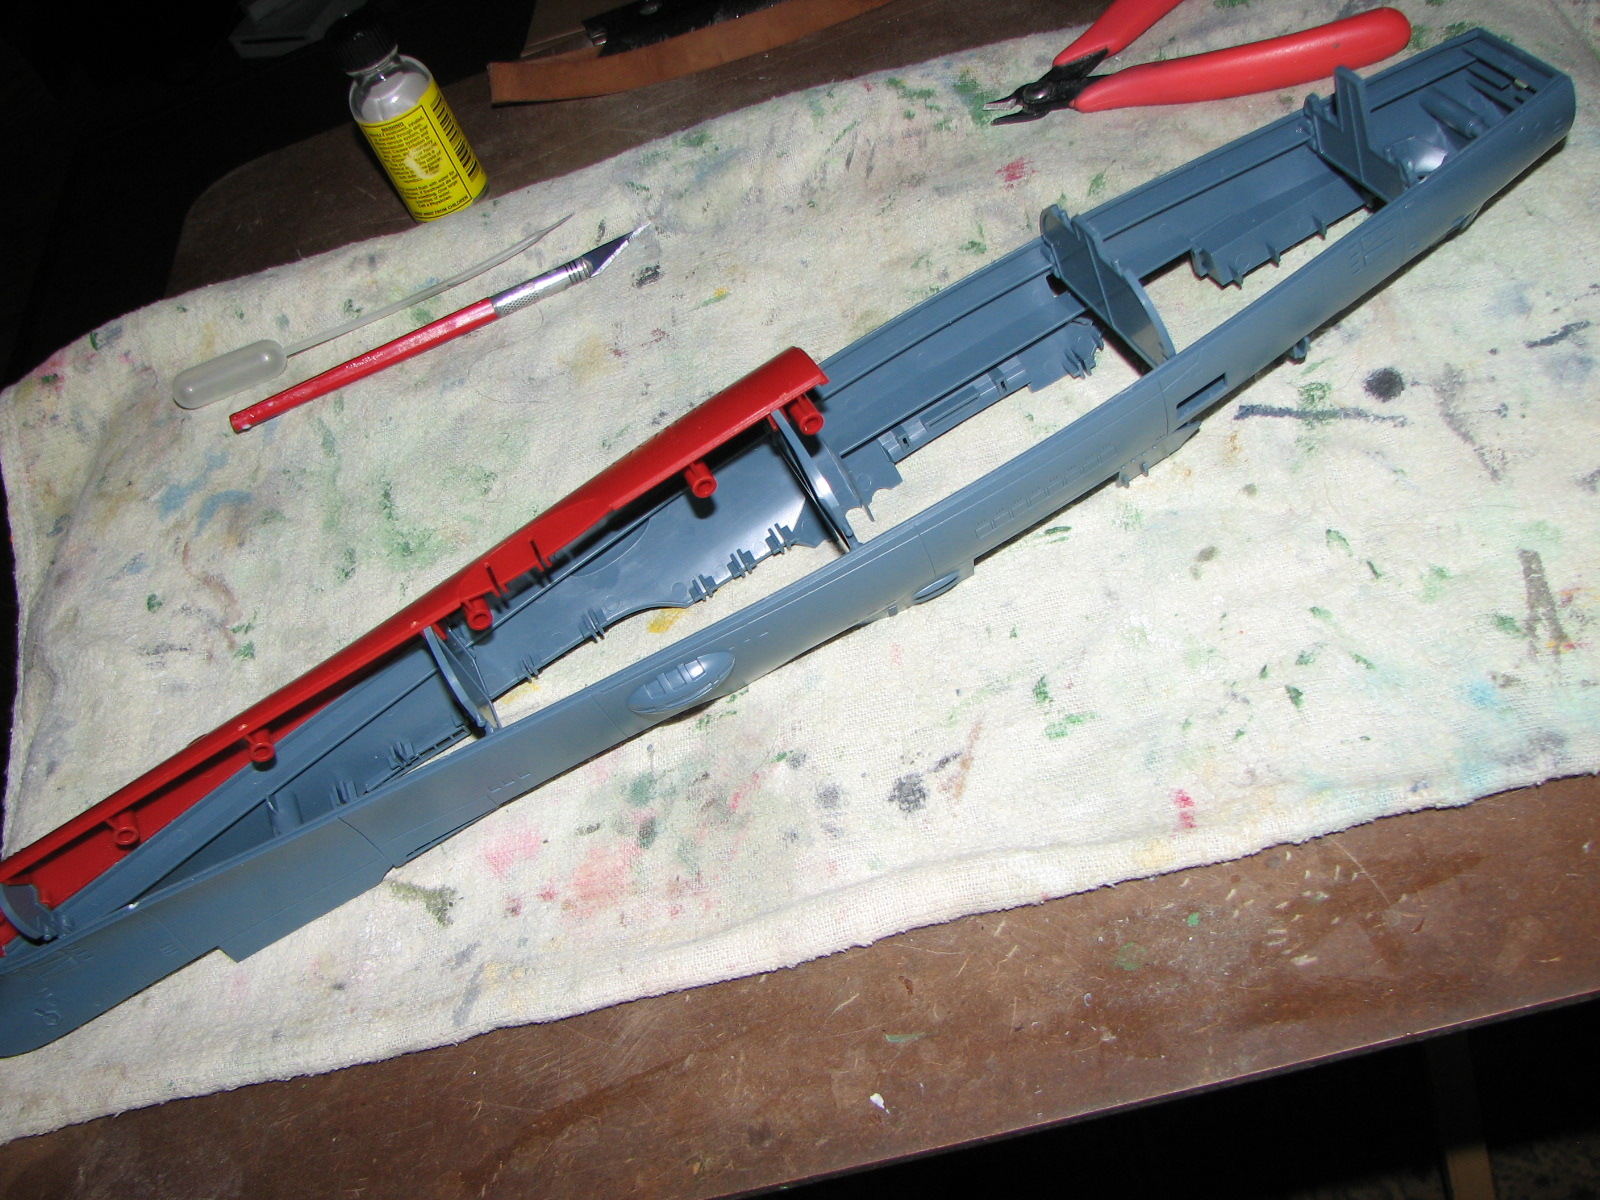
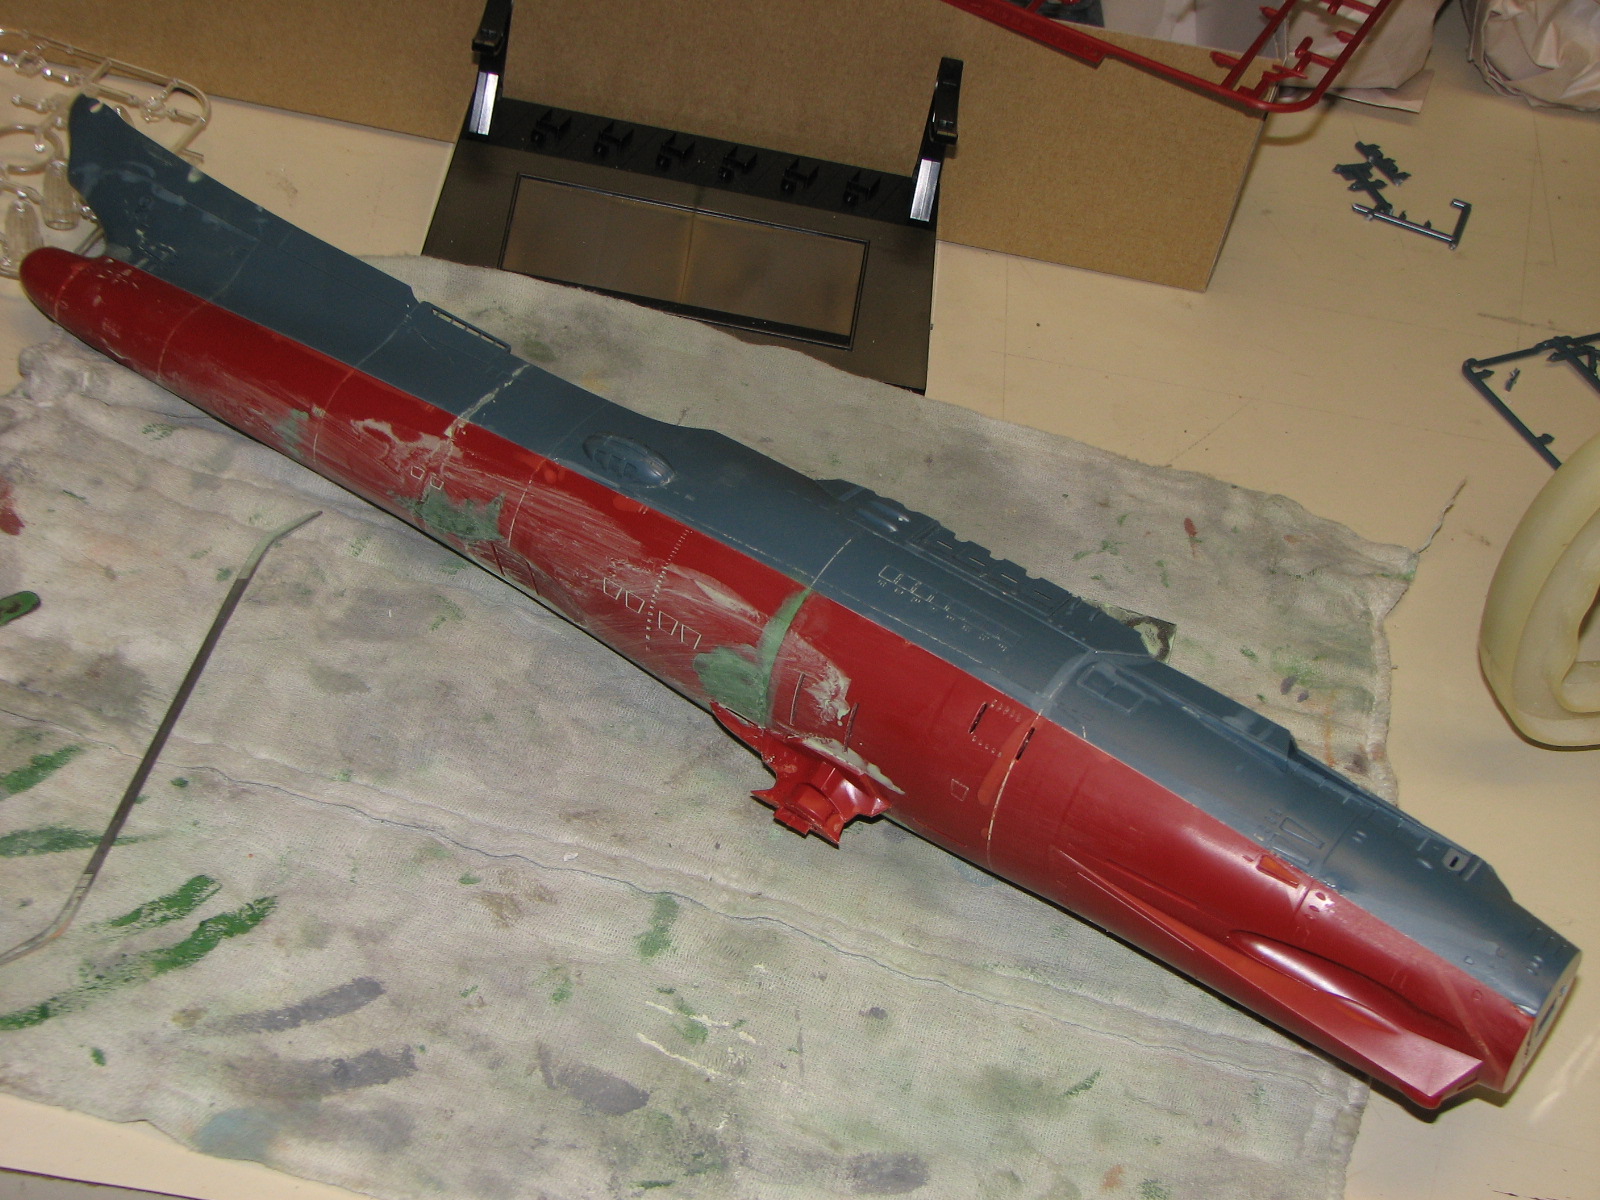
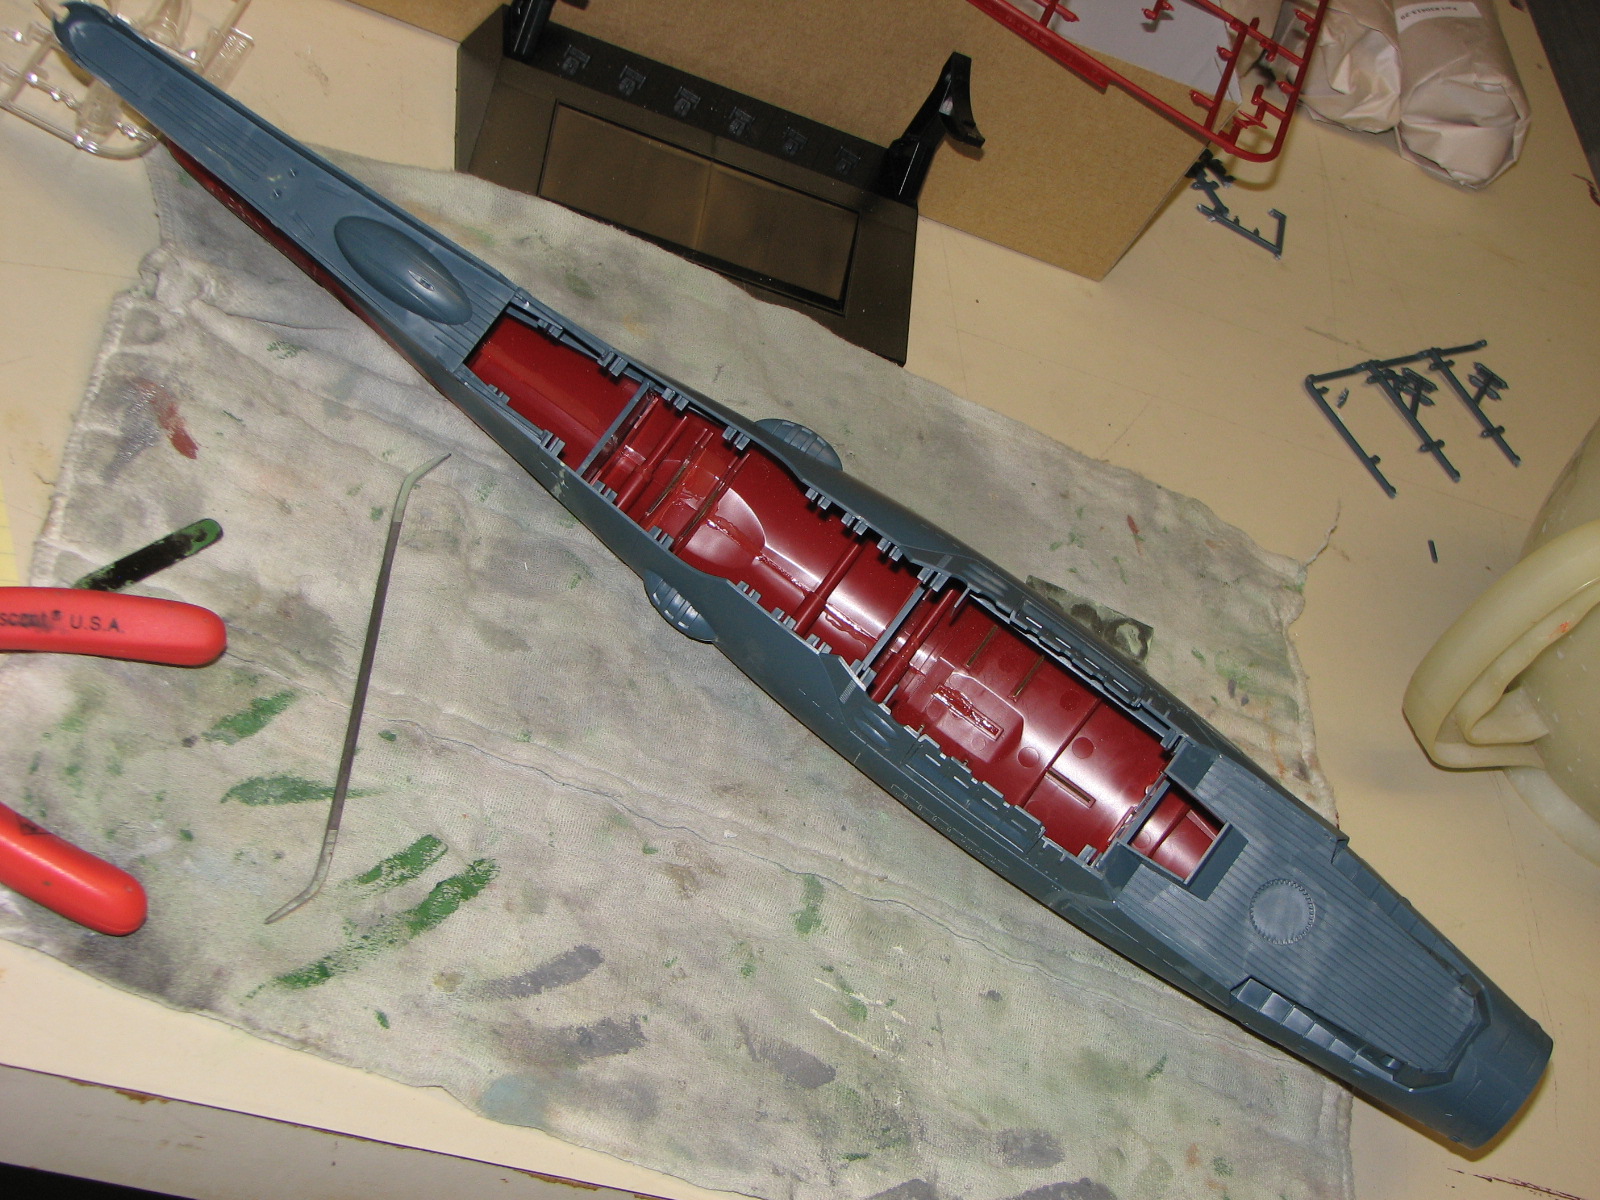
I began with the upper hull halves and the spacer inserts.
These parts are designed very well so that a snap assembly is feasible. I'm
going to cement in though. Here are the main hull assembly and some press-fit
subassemblies.
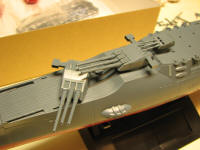
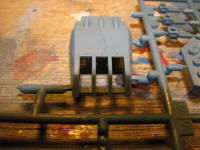
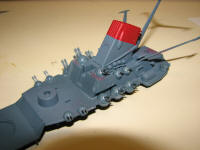
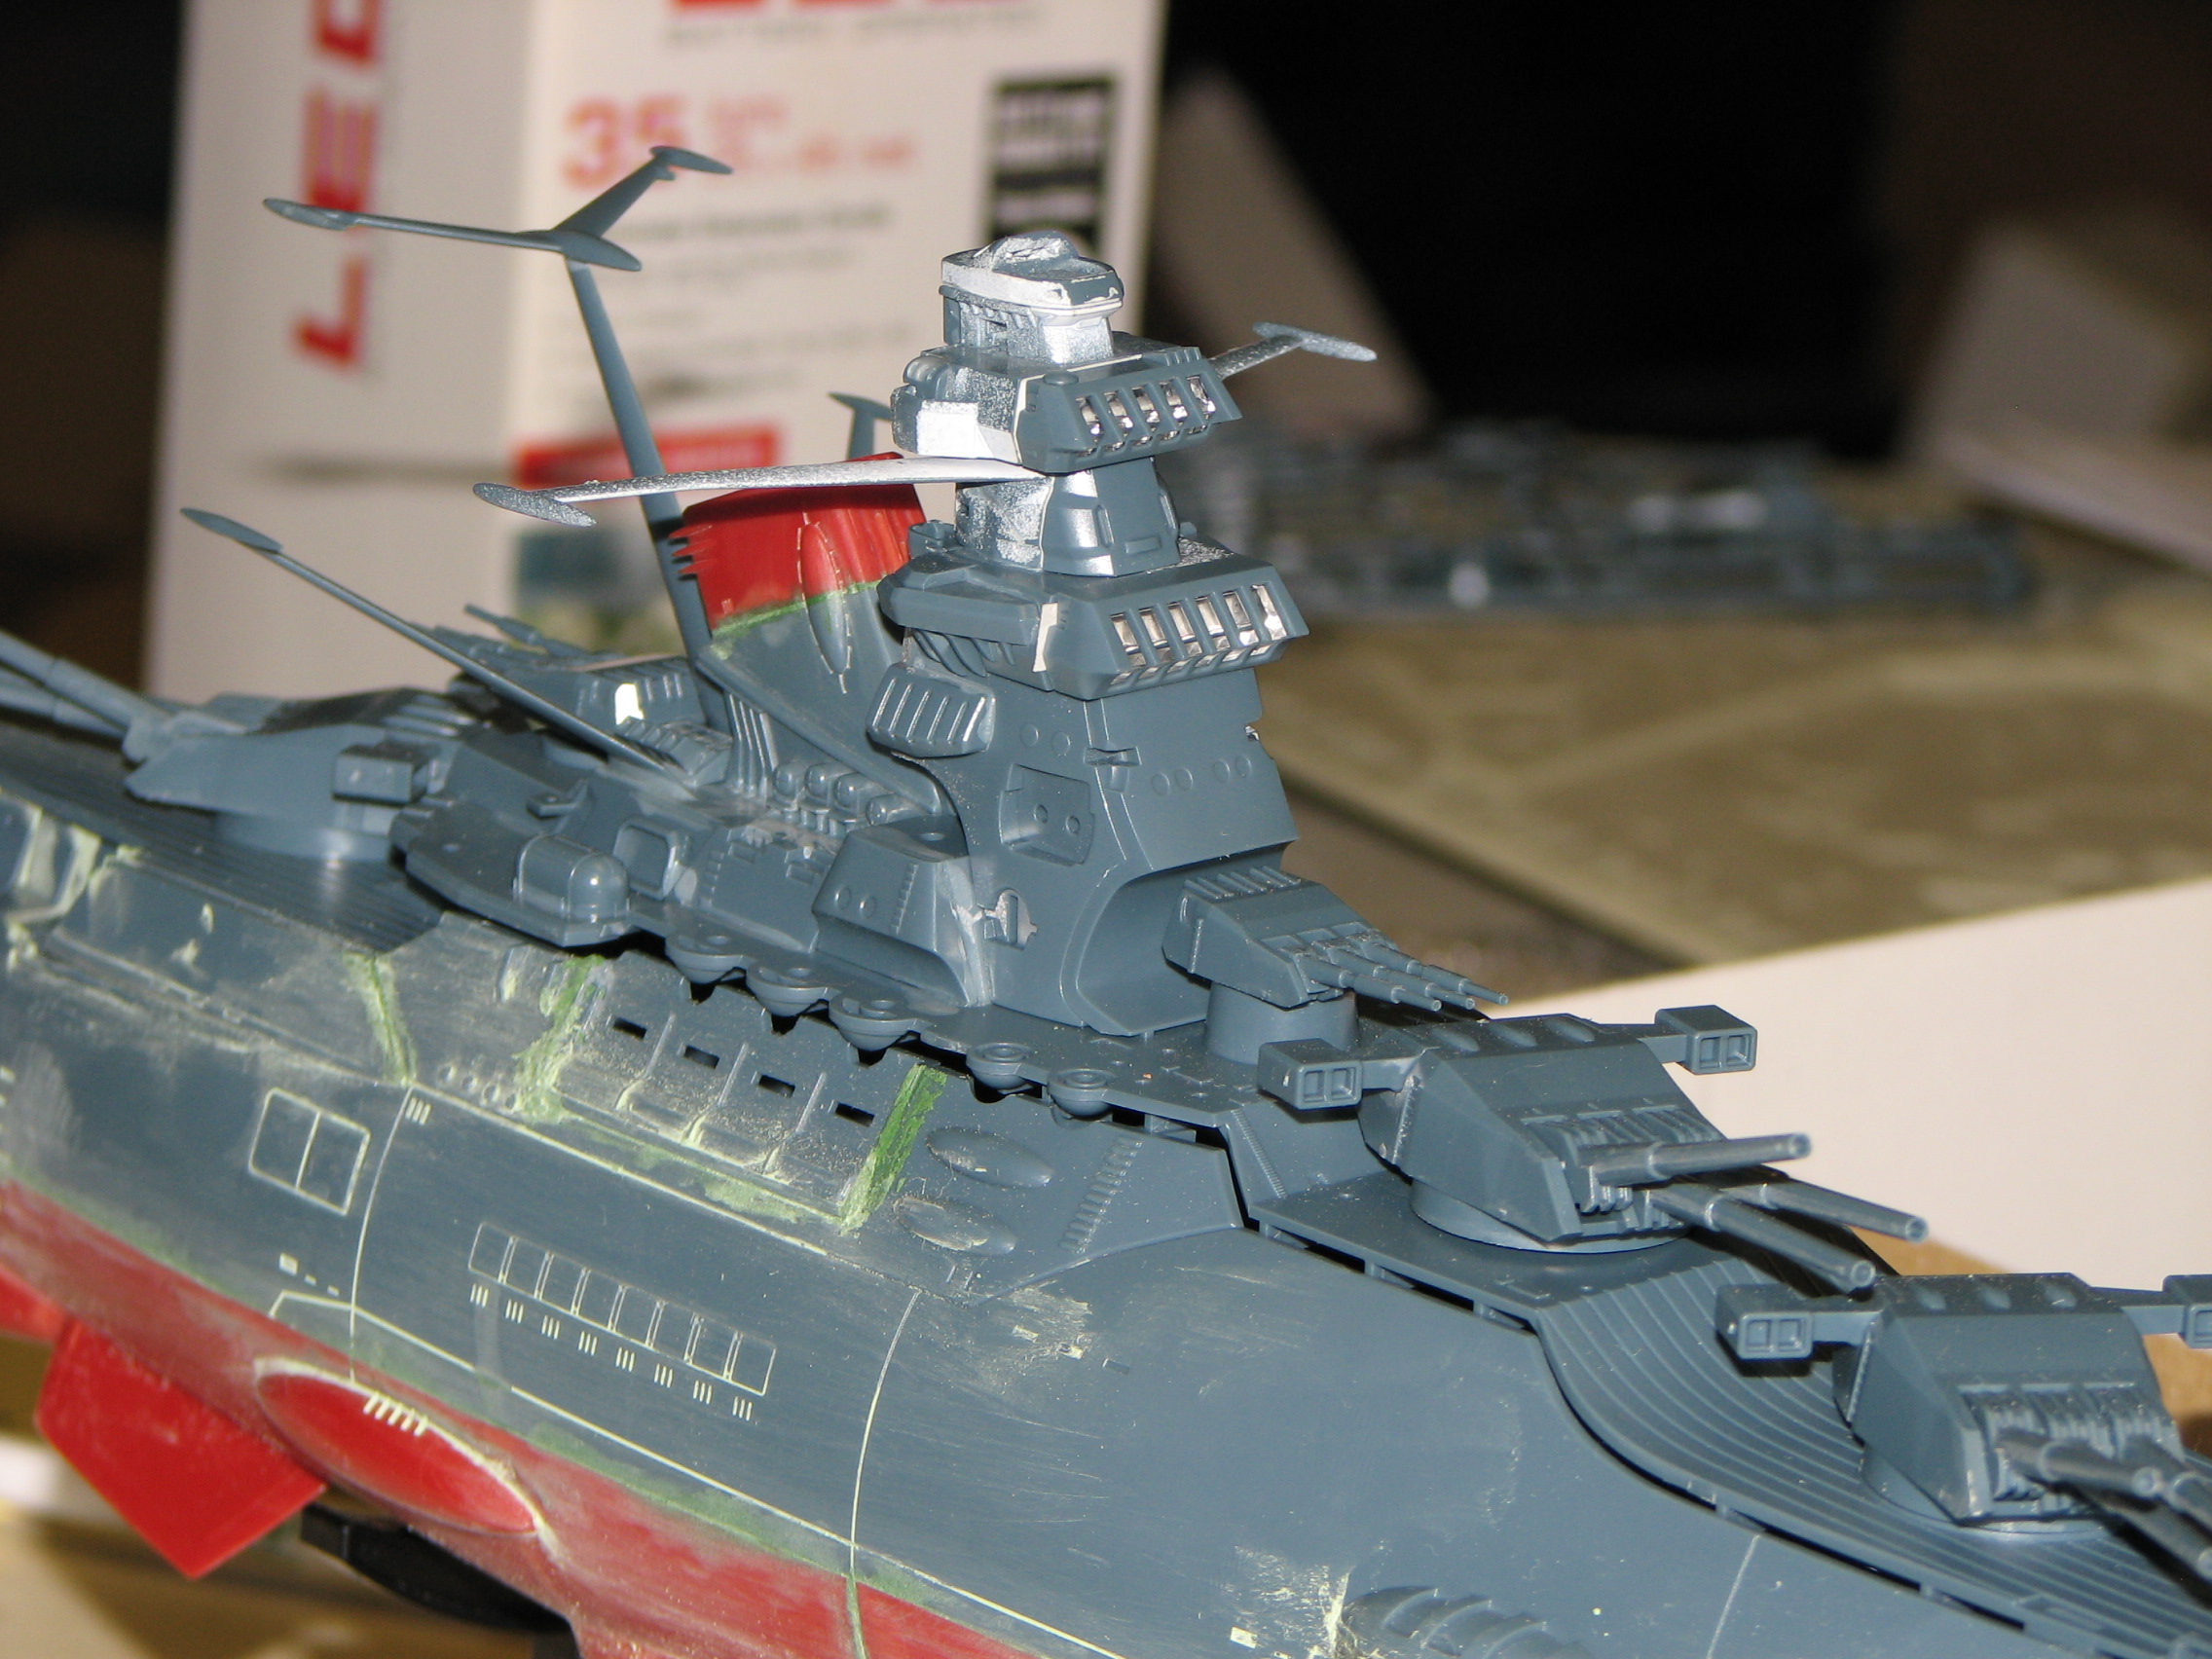
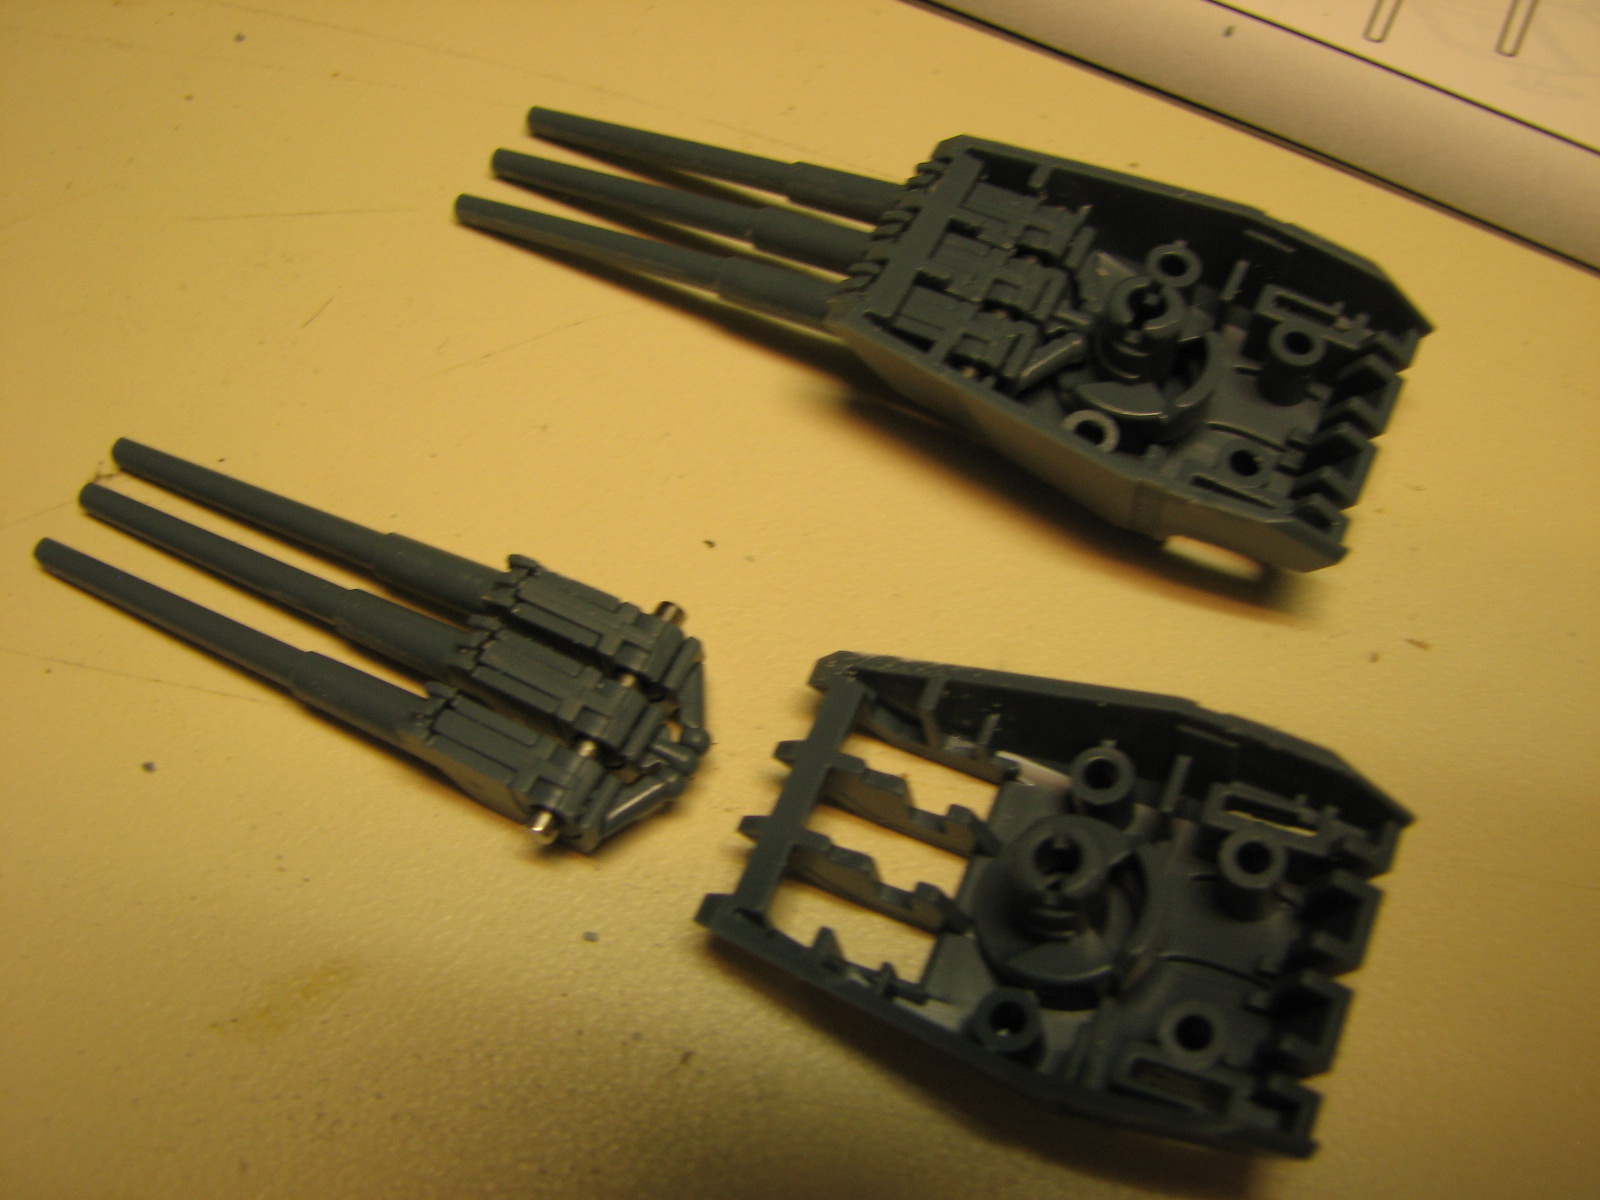
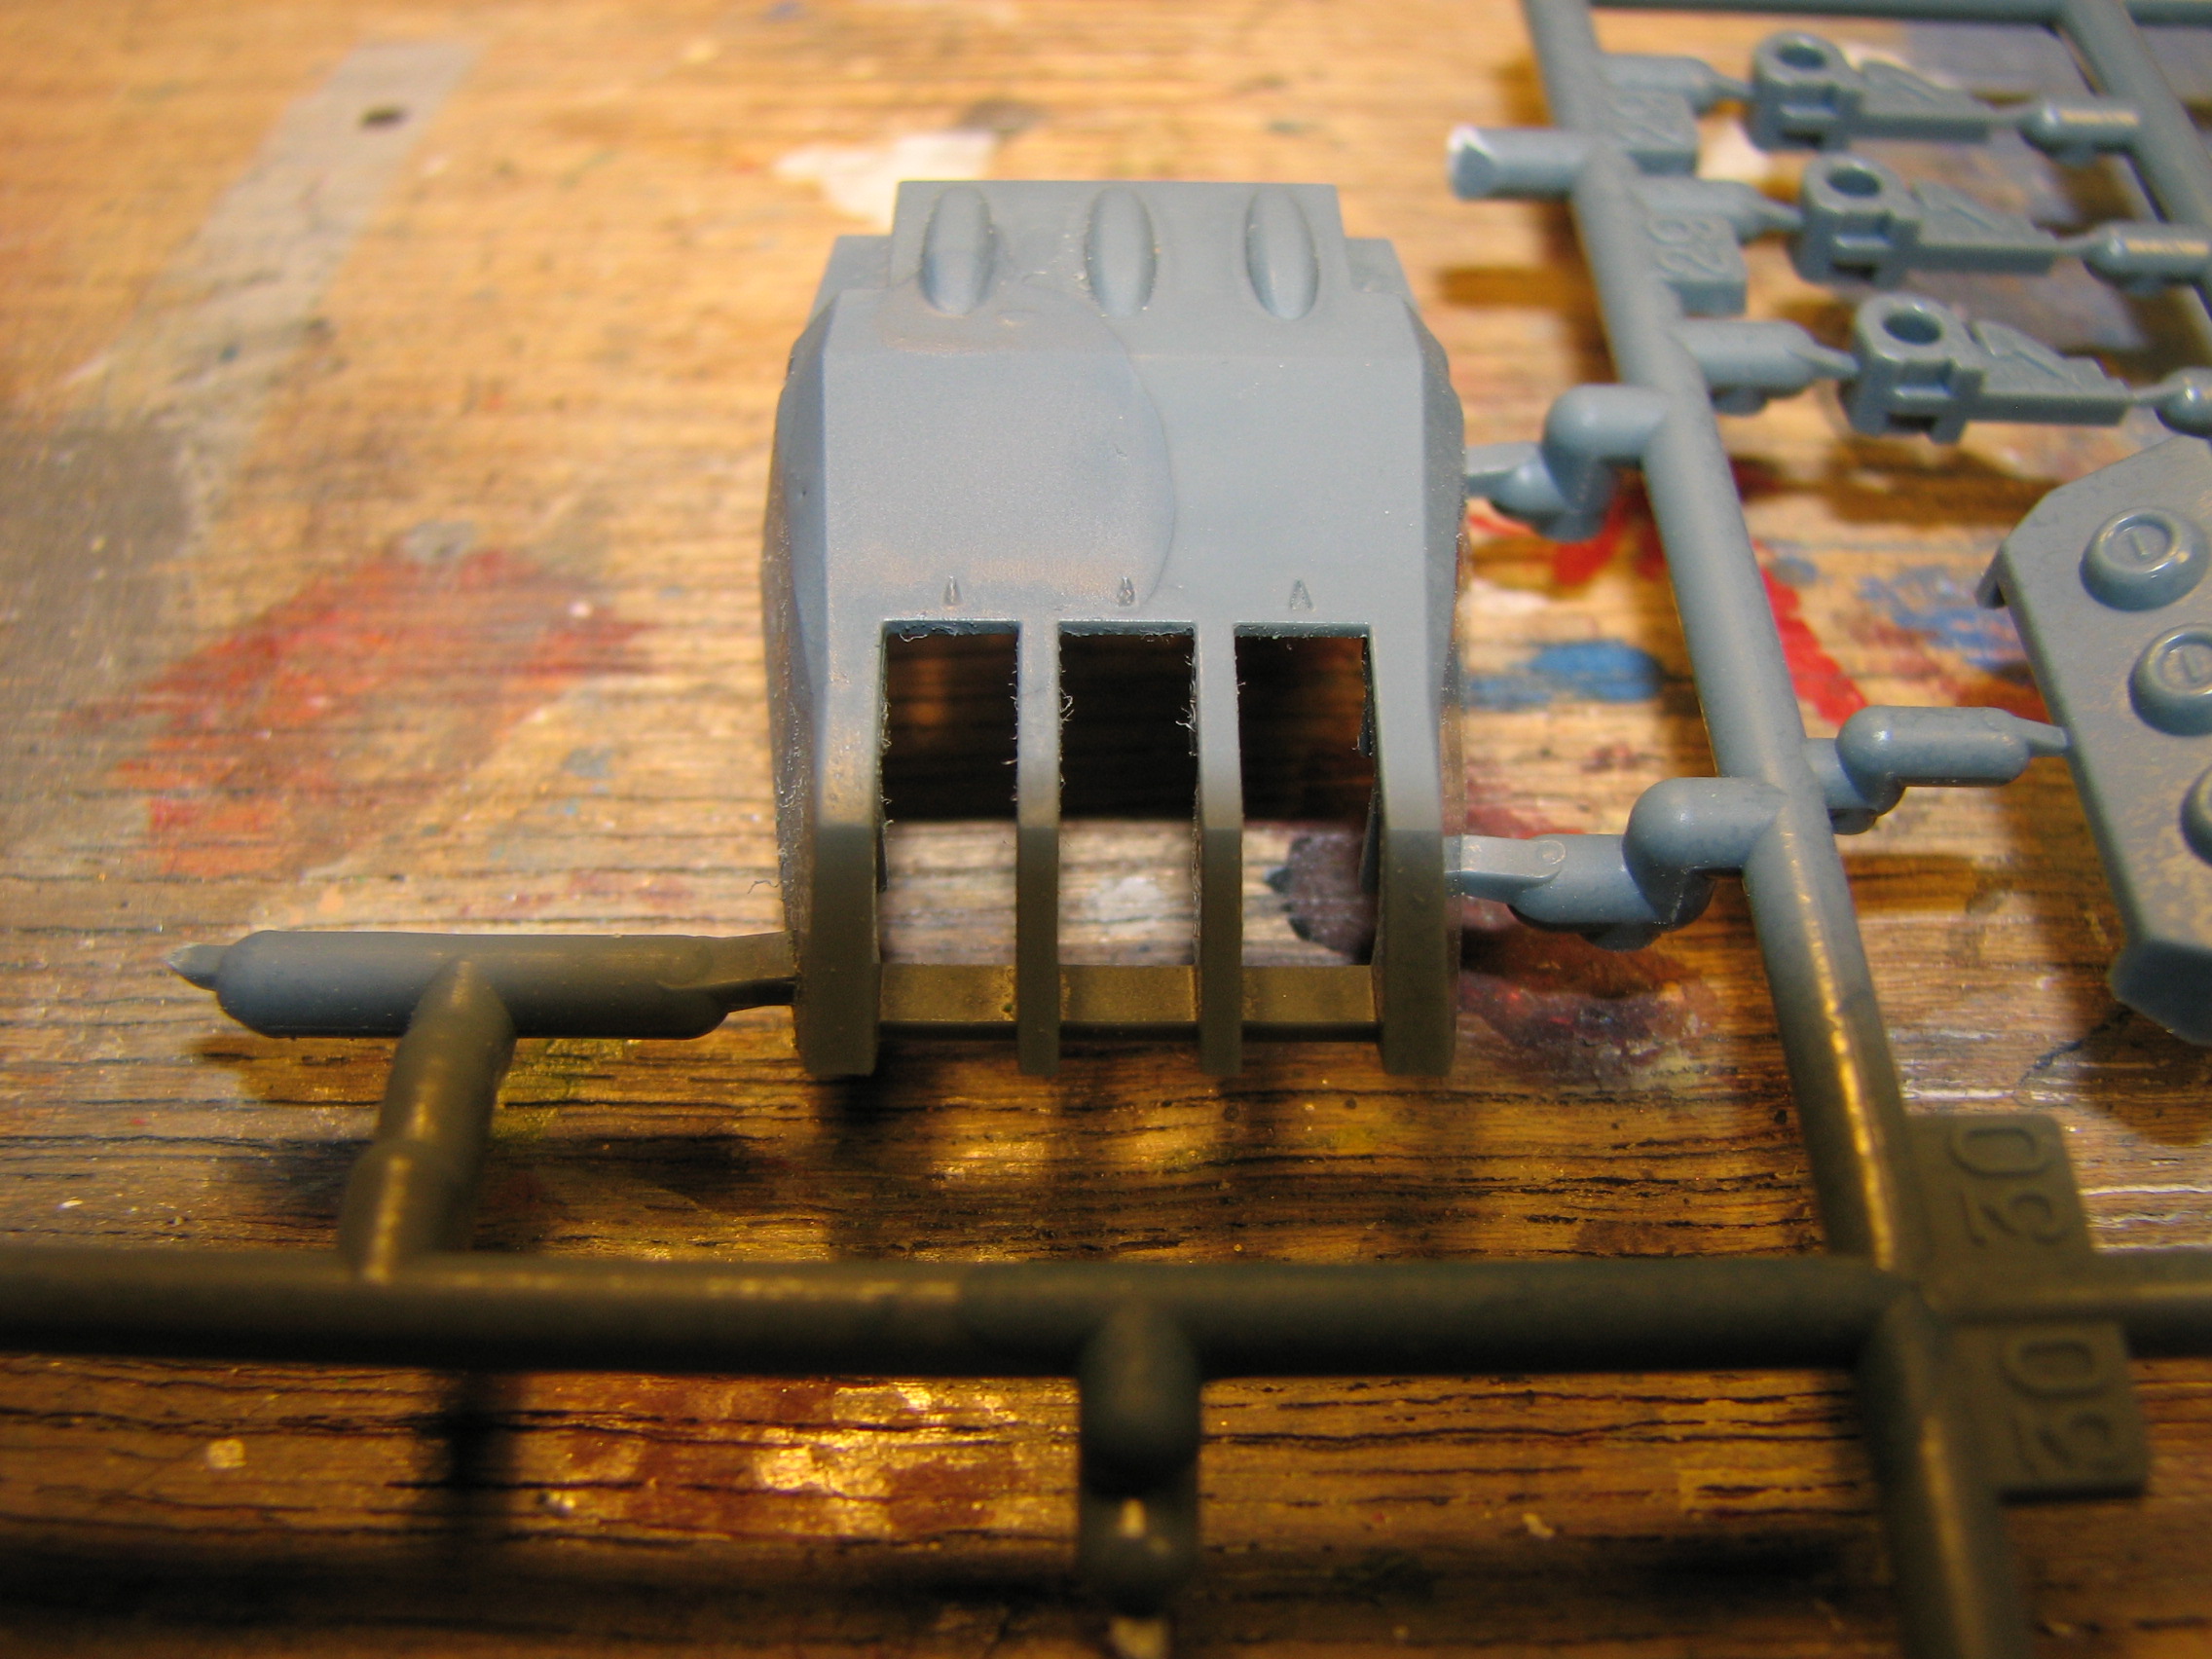
Main guns - 6 pieces + a metal rod, fitted into the
turret. When rotated the gun barrels raise thanks to a sort of cam-like action
from those little beads on the inside end of the barrels. More press-fit of the
3rd bridge assembly, small guns, and some seam work on the keel.


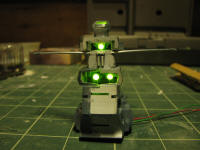
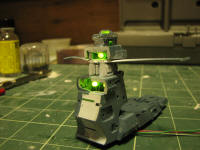
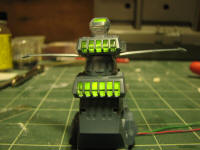
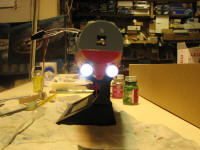
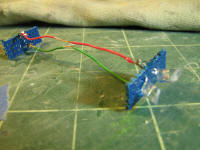
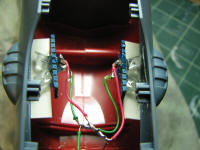
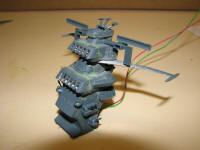
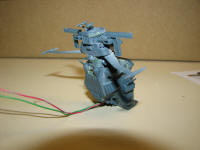
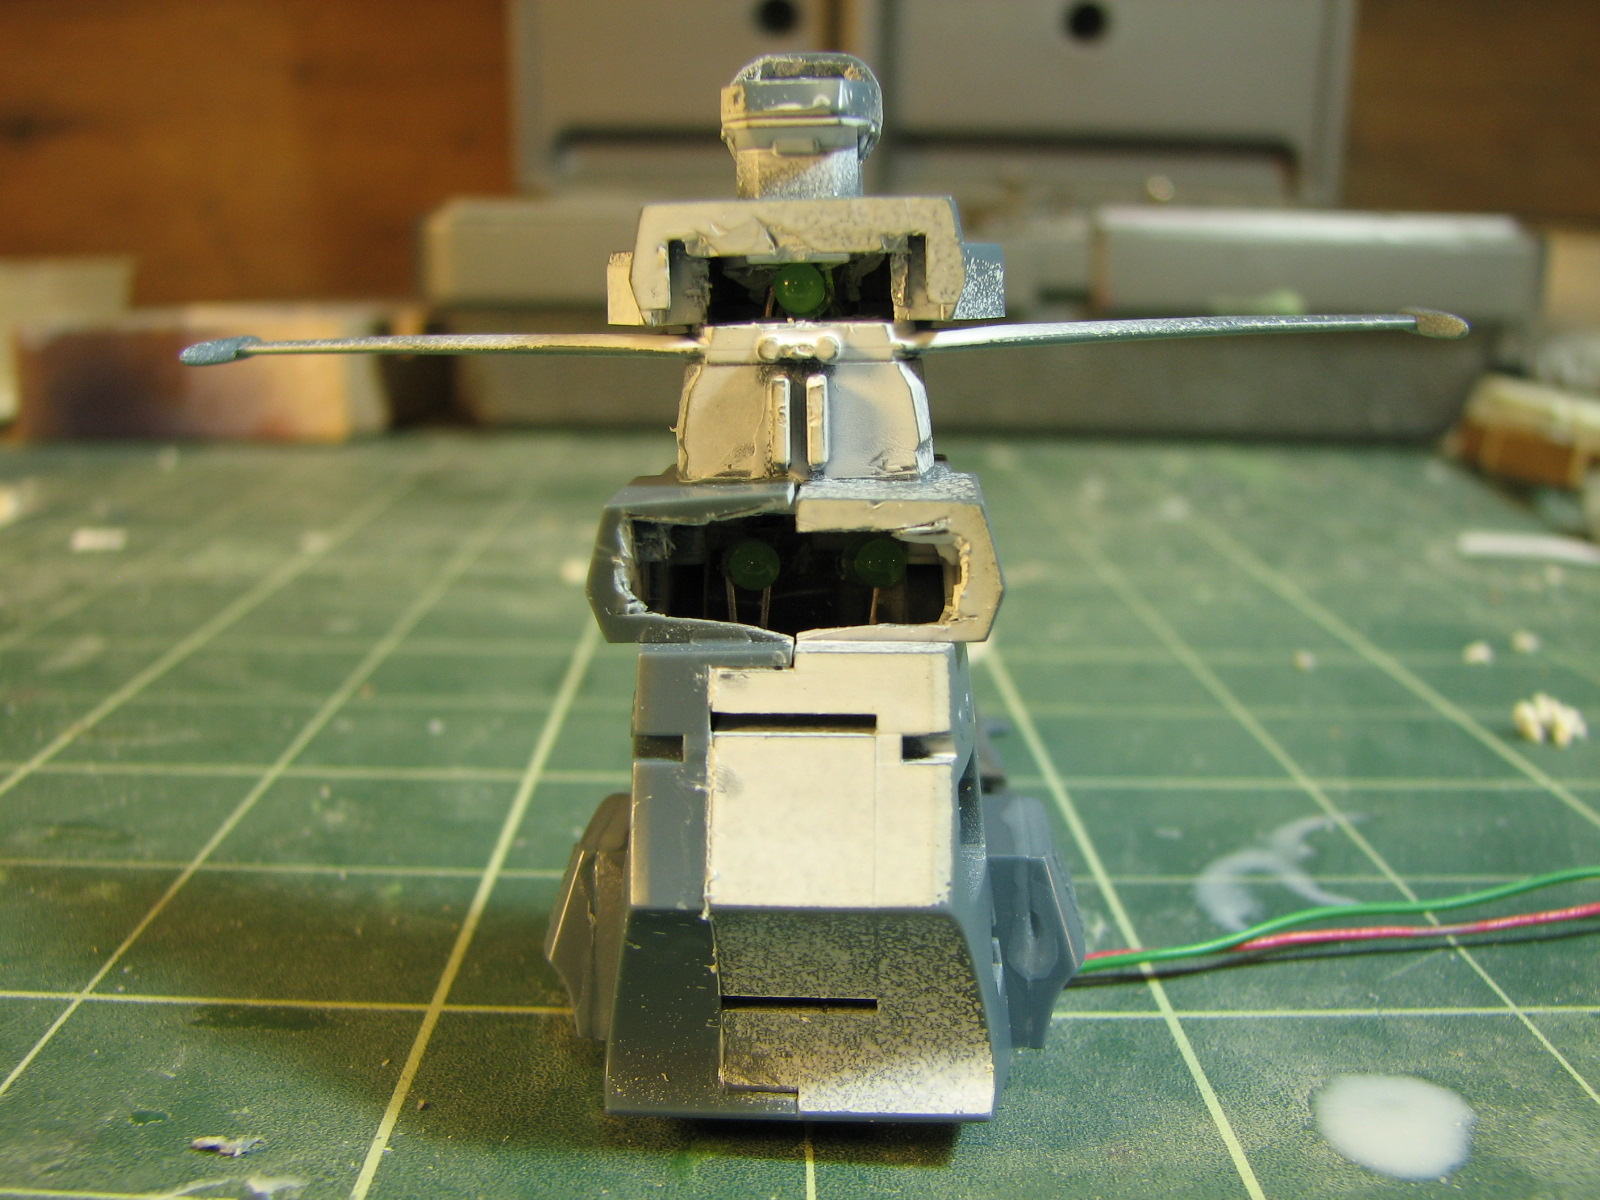
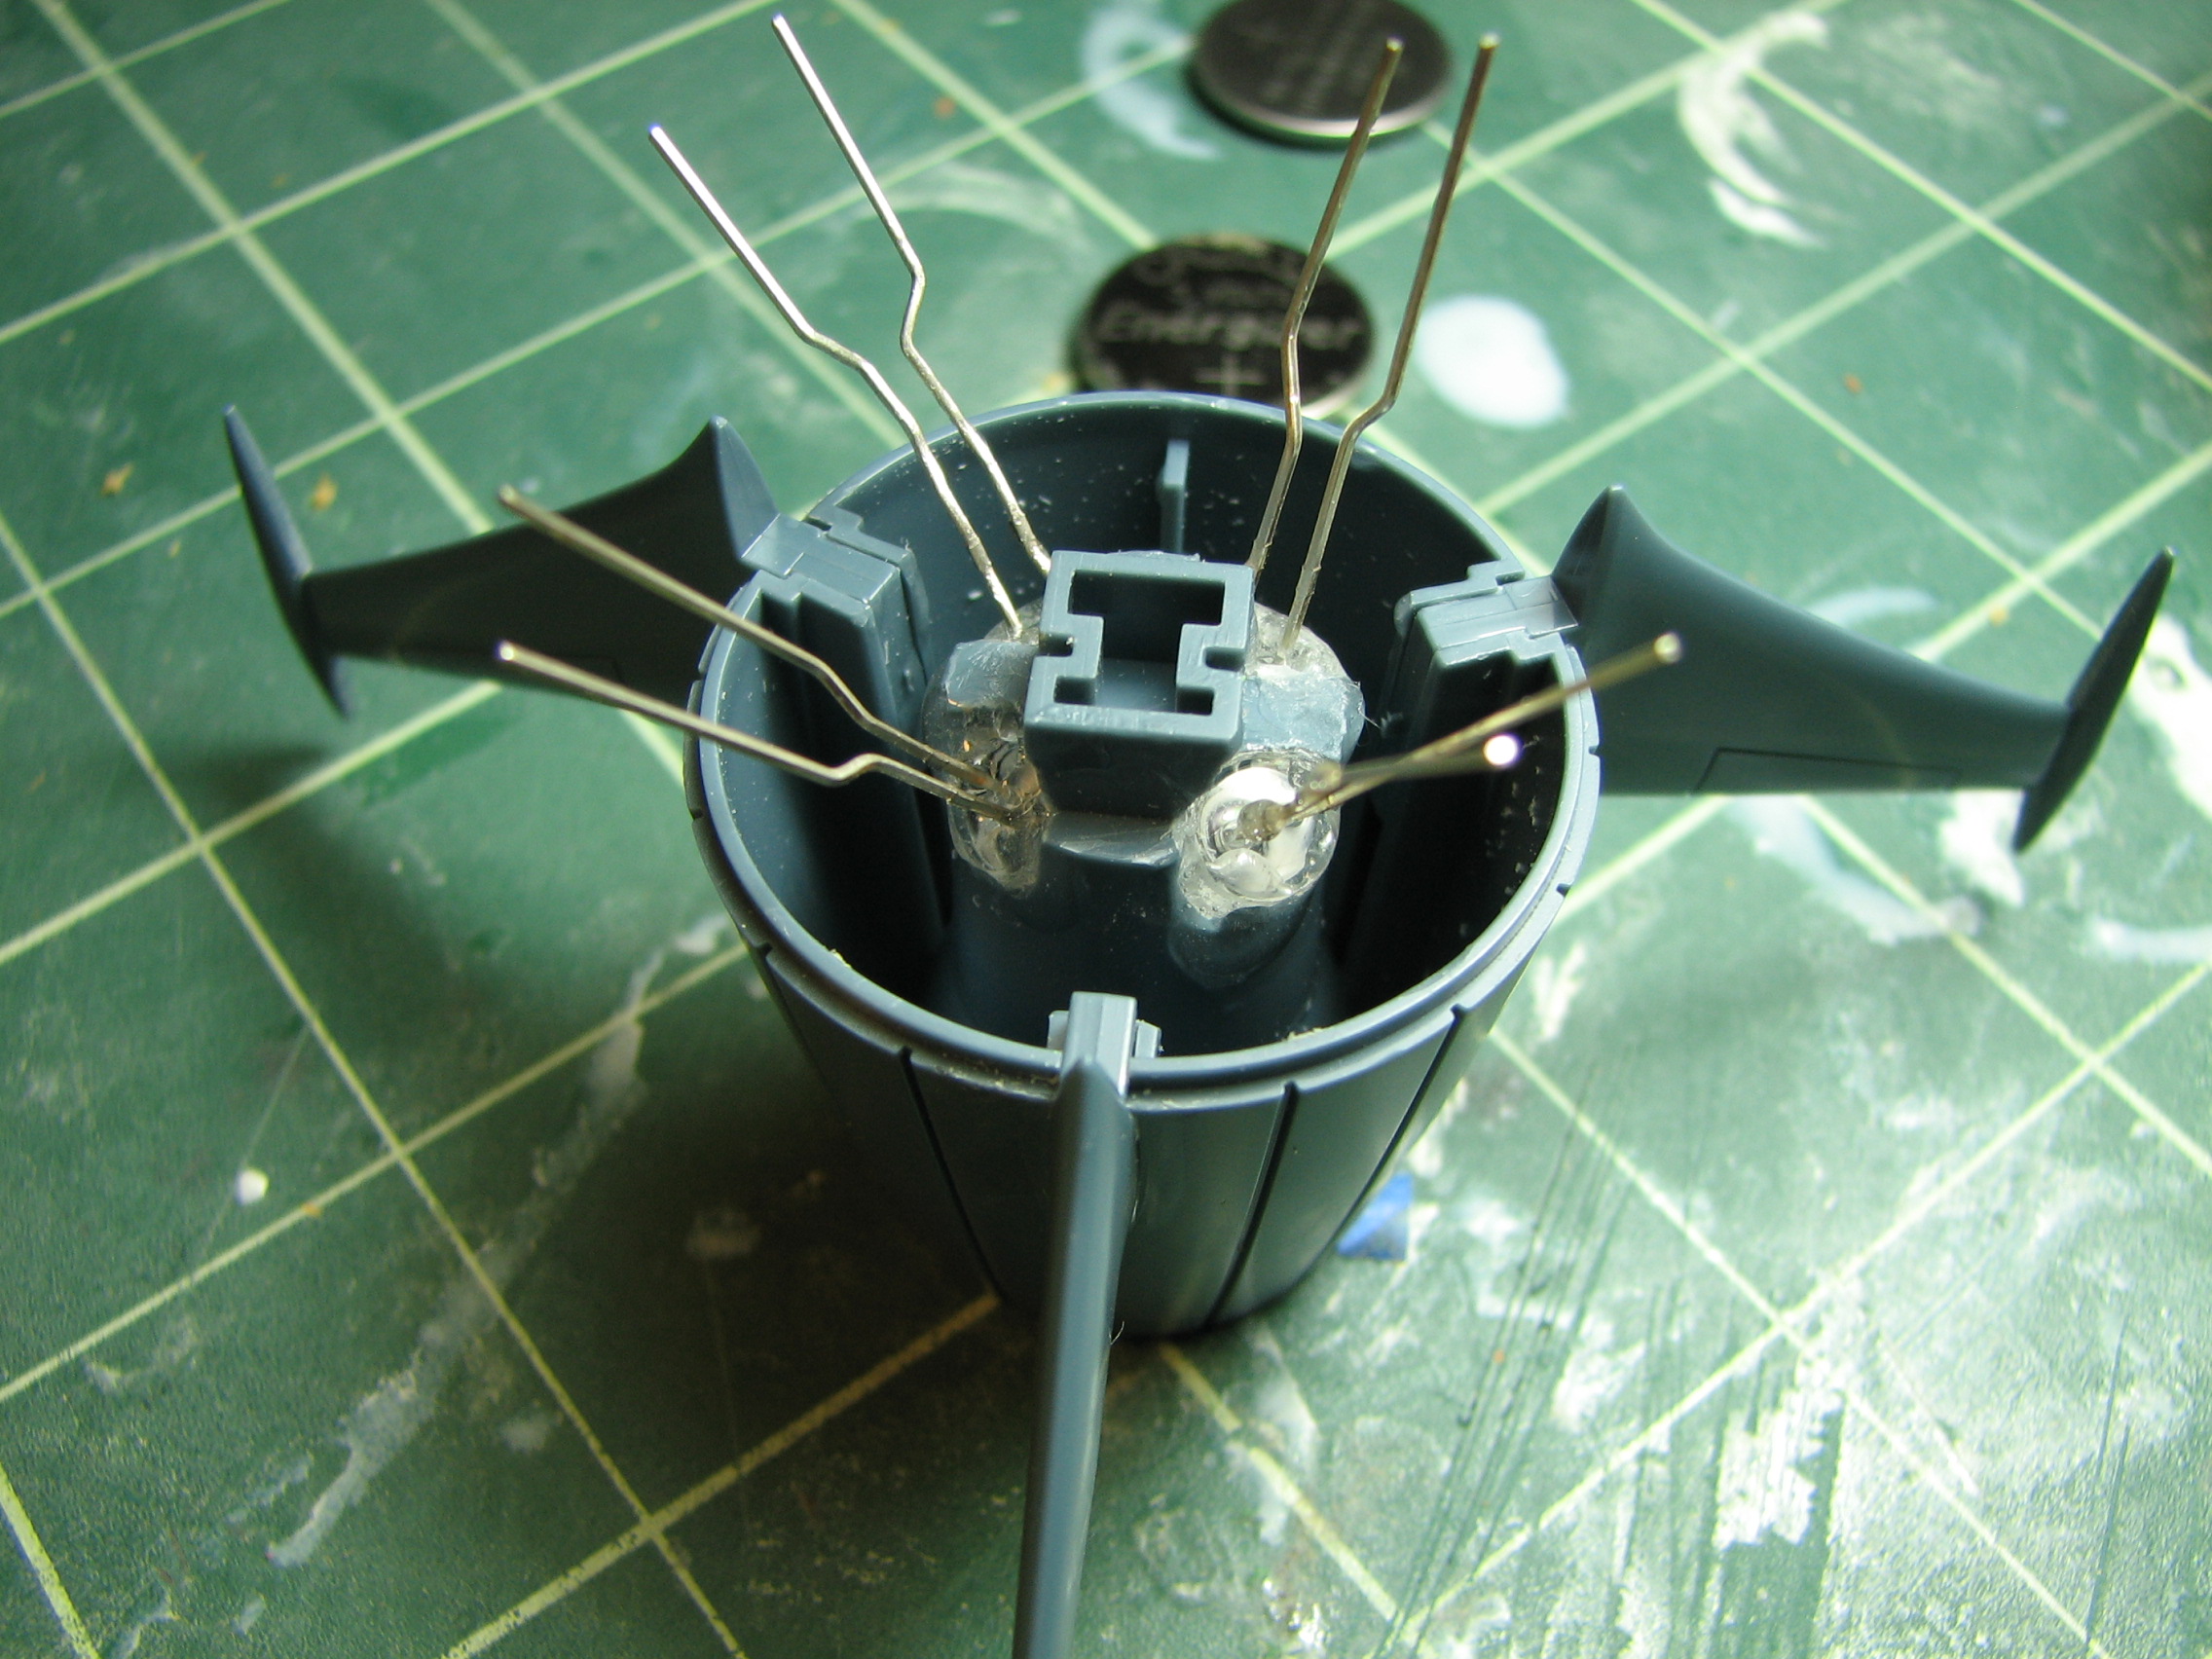
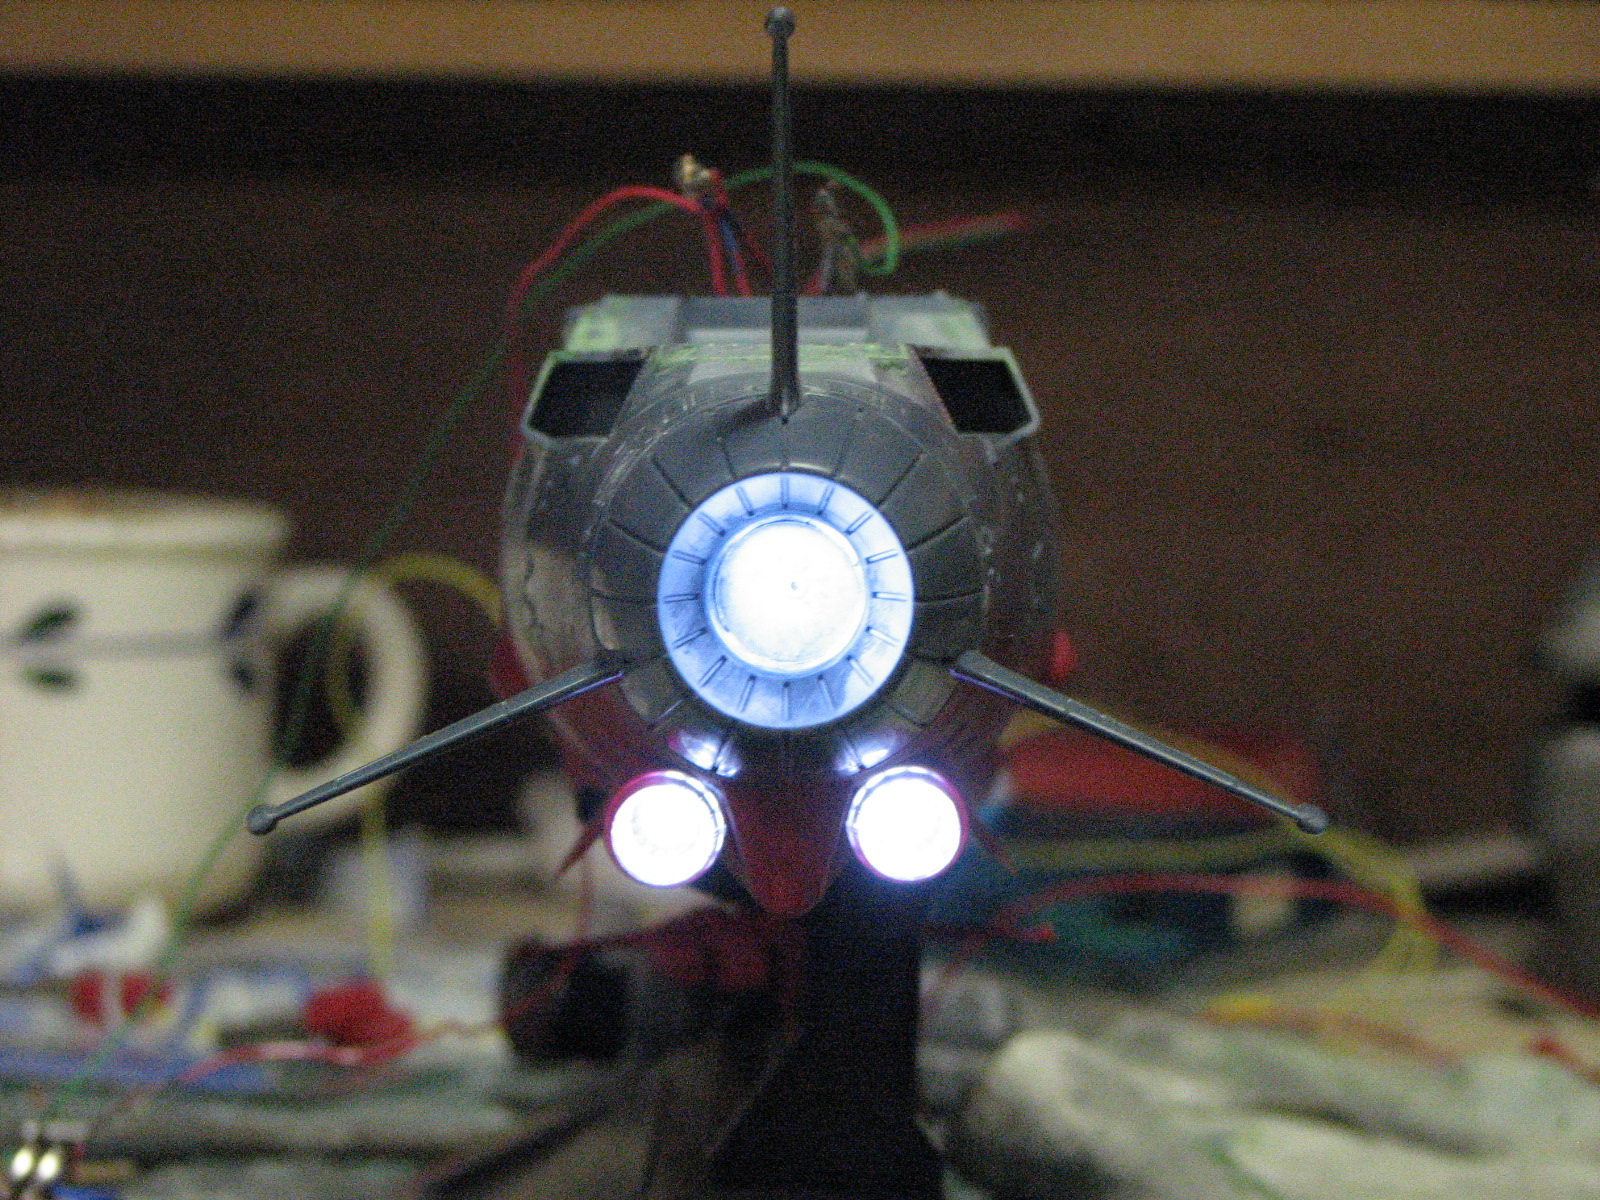
4/30/2011 - OK, lights... after de-engineering (i.e.
cutting out) some of the internal fittings of the superstructure I got to work
on green LED lighting. I cut out part of the back wall of Okita's ready room to
let in light from an LED installed behind and below that wall. Another LED is
installed in the bridge and two more below to complete lighting in the
superstructure. The 4 LEDS are powered from 1 3V lithium coin battery. I painted
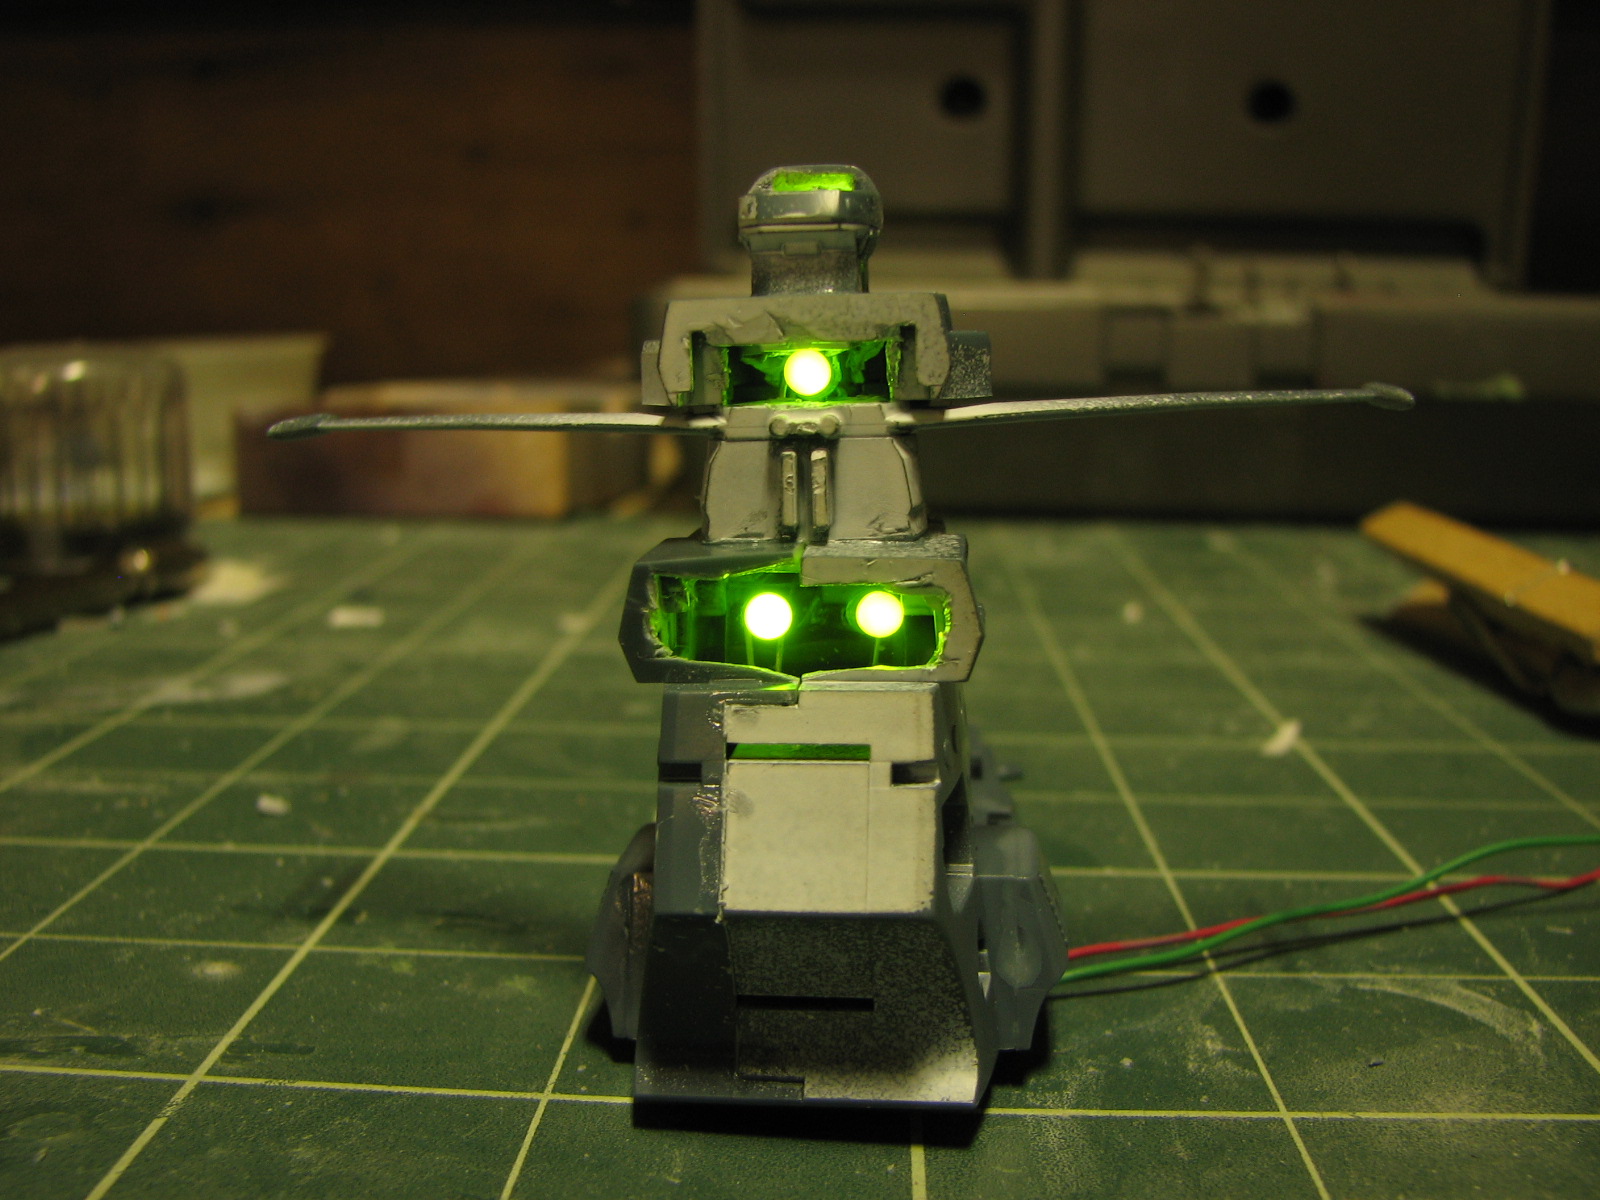
the insides of all parts white to improve ambient reflection. As part
of testing the lighting, I press fit the window inserts into the superstructure
facade pieces and pressed these in place with small bits of white paper behind
the clear plastic window parts to act as diffusers. Final cemented assembly of
the superstructure will wait until I get some painting done in the ready room
and on the facades without the clear parts in them.


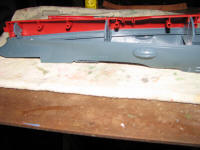
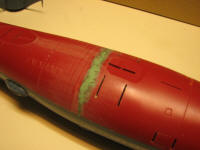
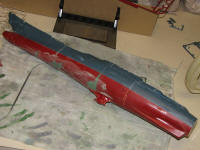
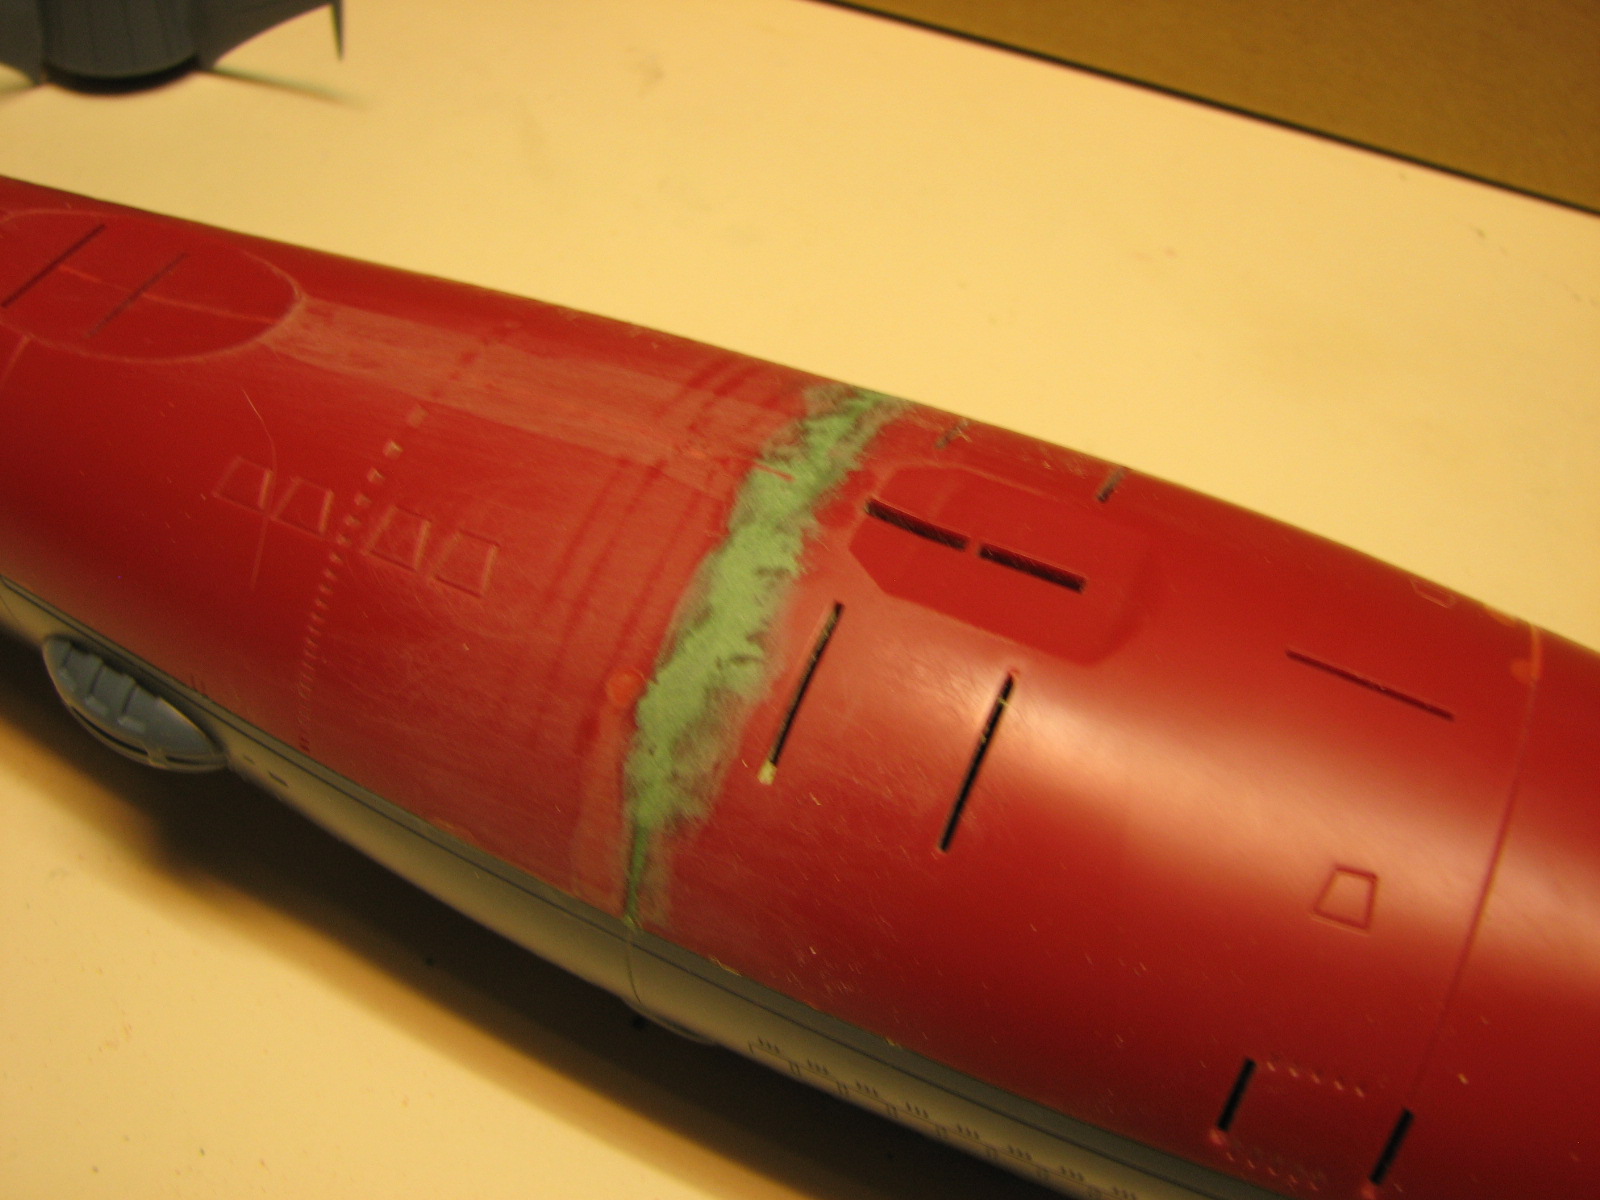
...and puttying, sanding continues on the hull. Some of
the places where those spacer inserts fit into the red hulls have sink lines in
the plastic so I've puttied over those. I installed the strut for the 3rd bridge
to be able to clean around it before the bridge and flanking pieces go on.
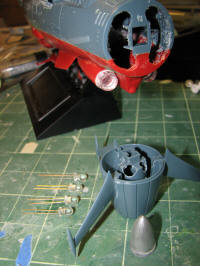
5/2/2011 - Next bit of lighting - I routed out the insides
of the aux engines and installed a superwhite LED in each one. I used 5 minute
epoxy and a small piece of plastic tube to hold the LED in position.
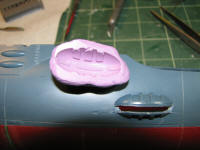
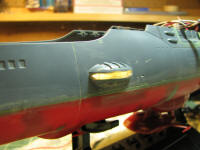
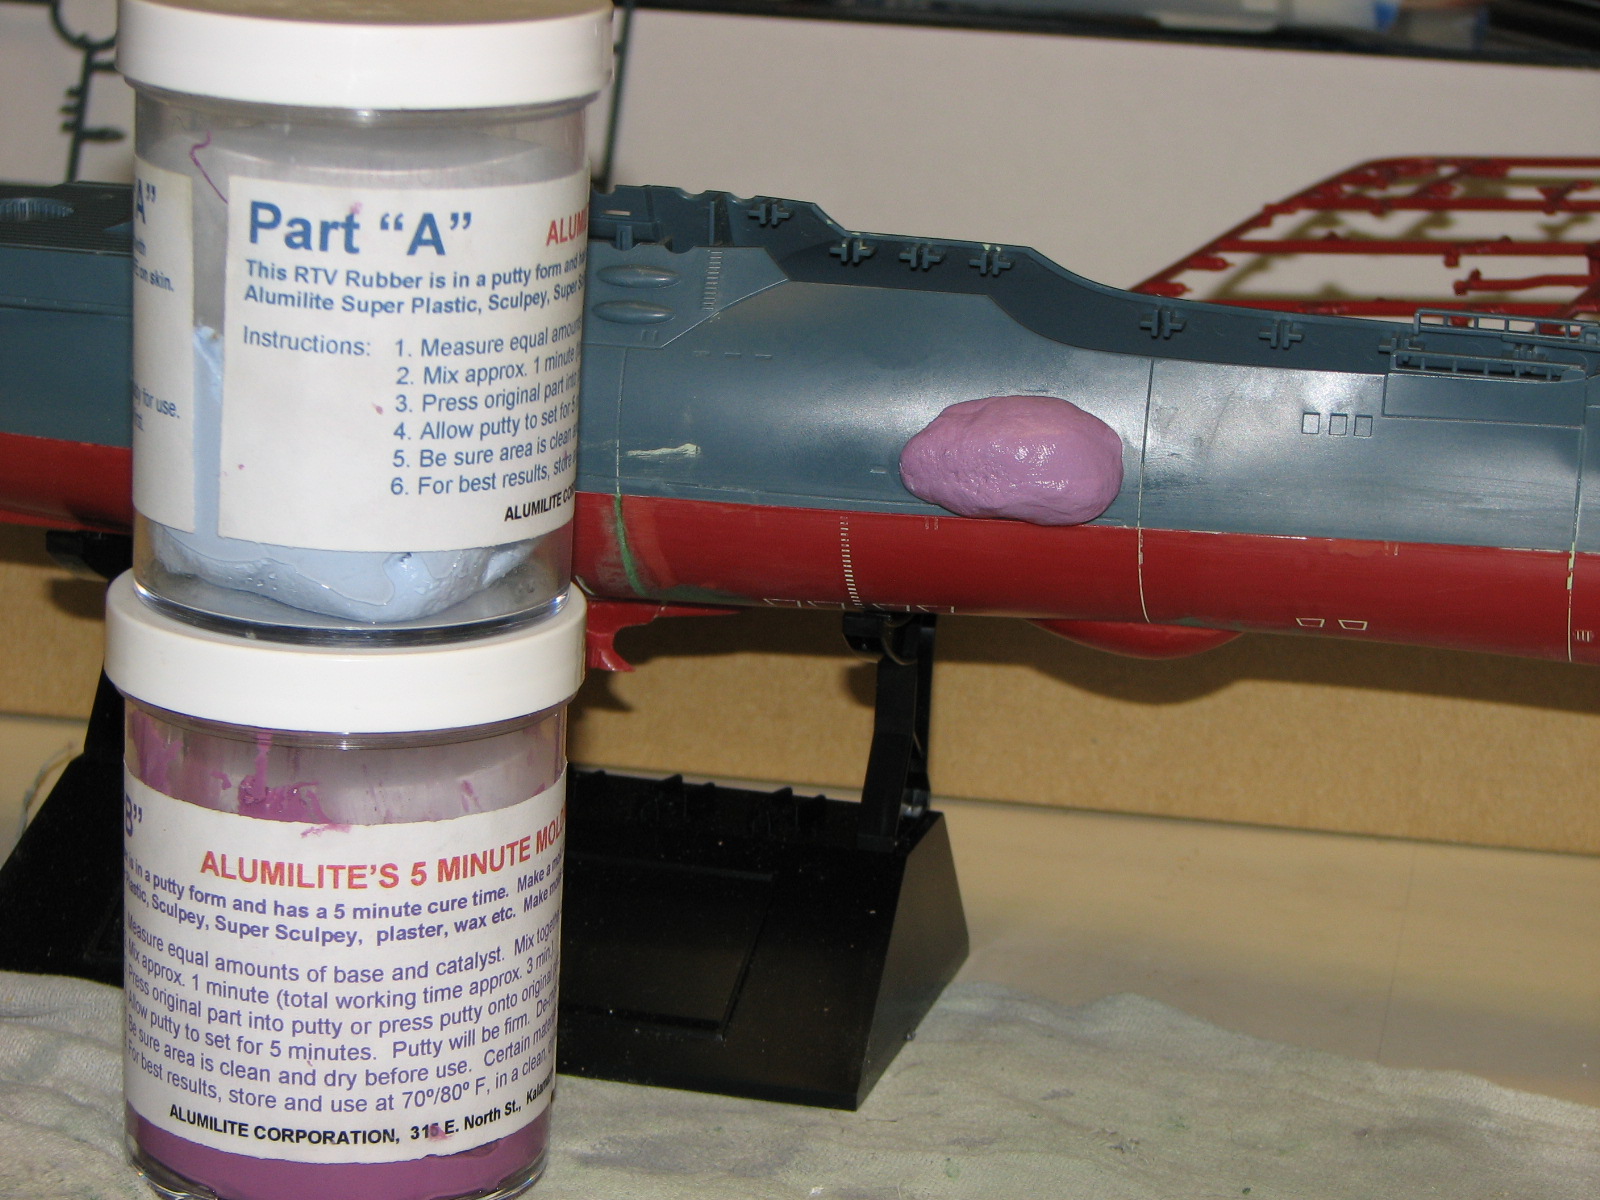
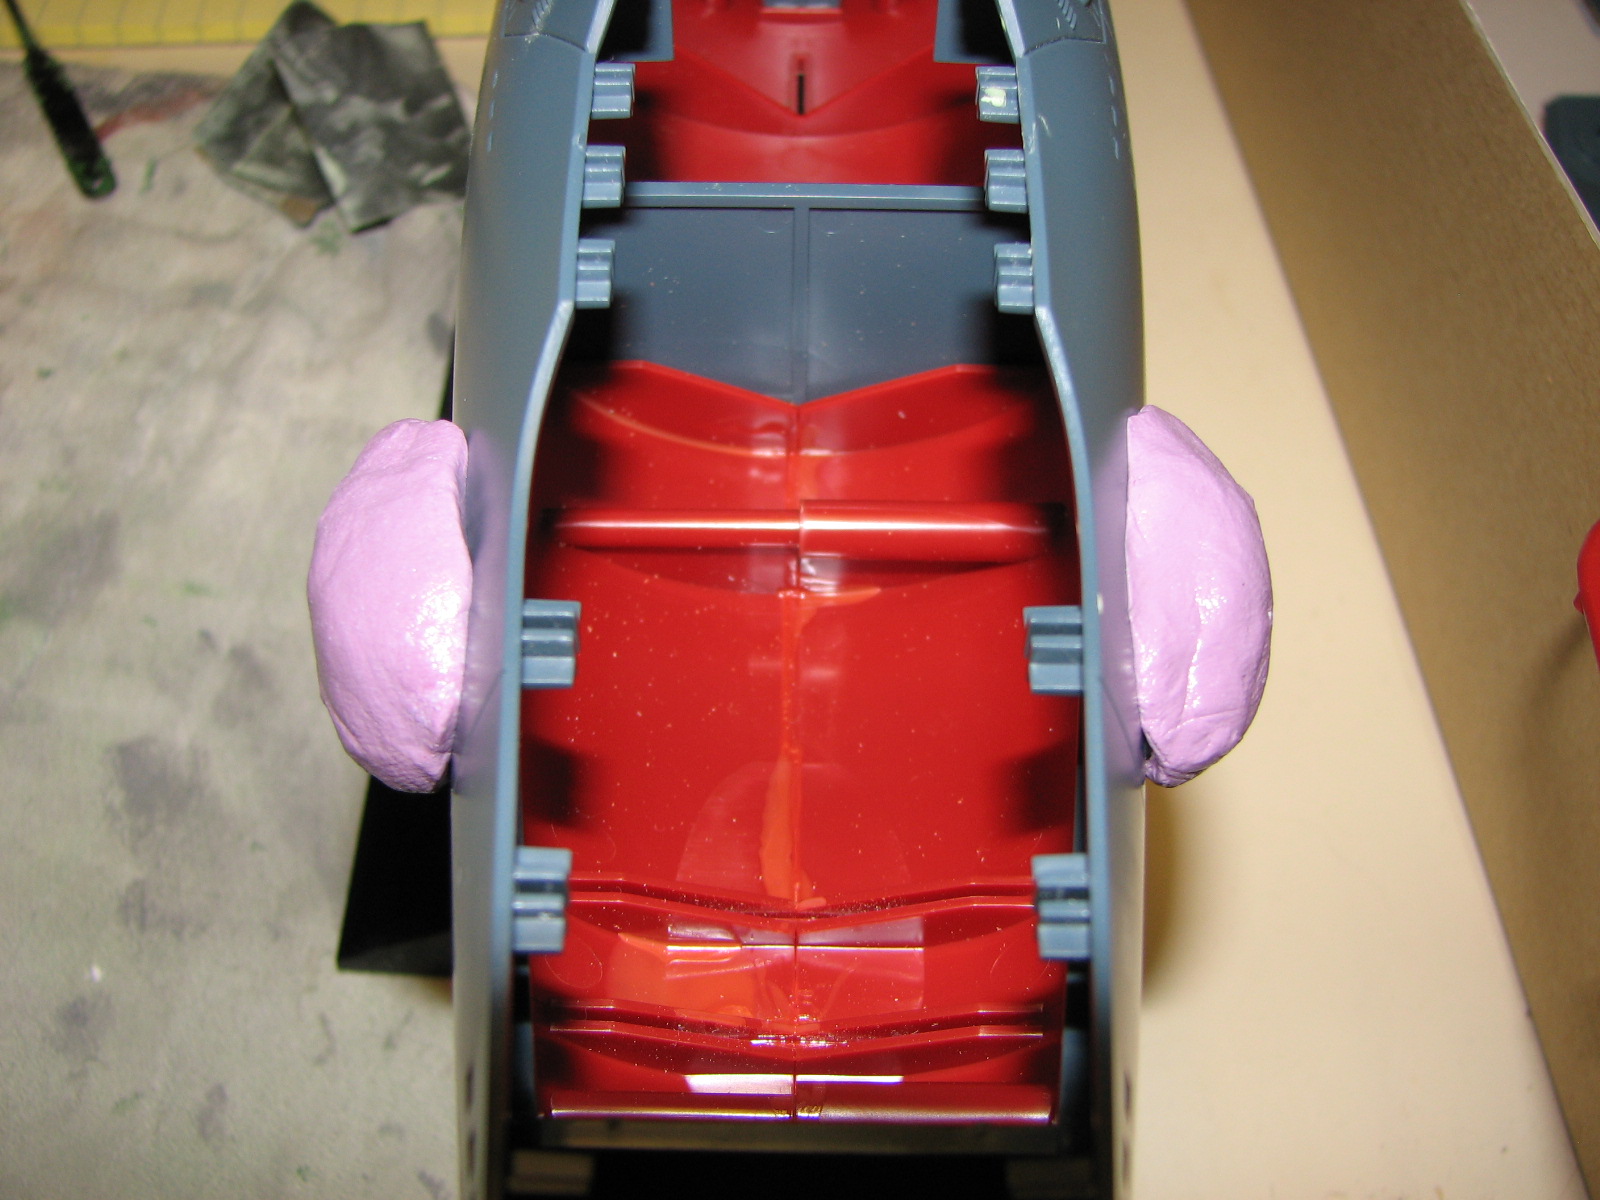
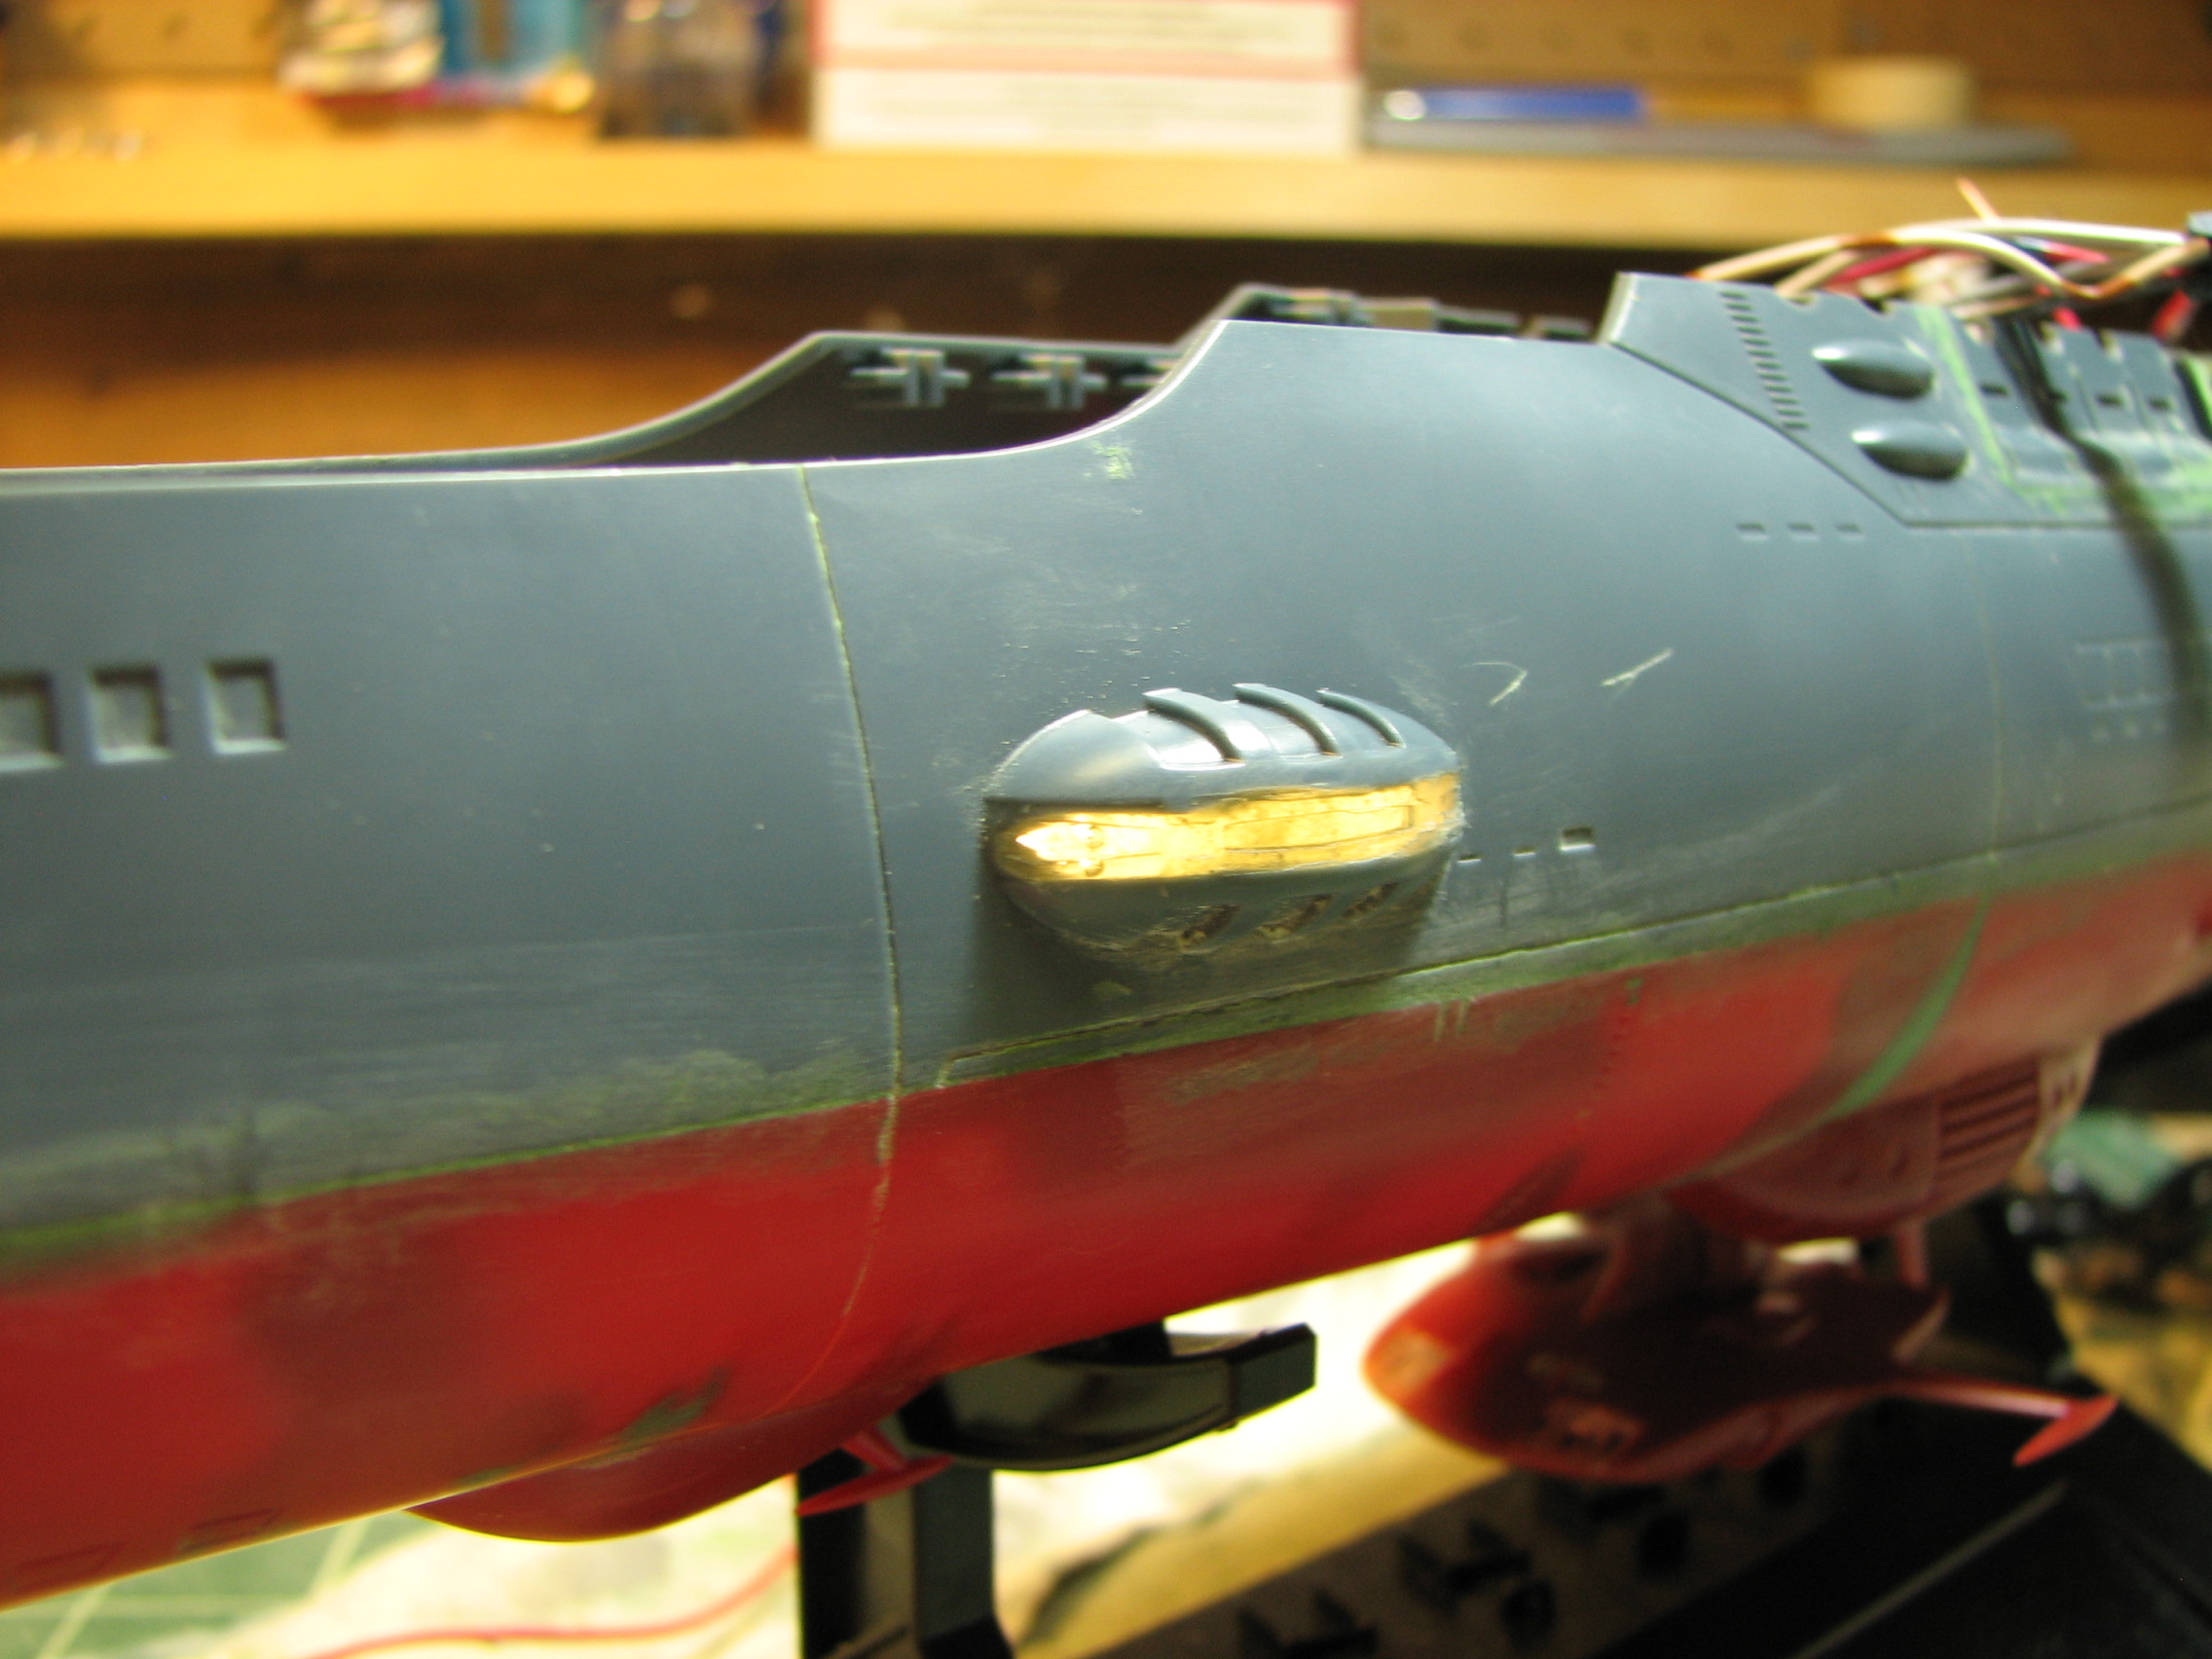
Next... the lighting for the blisters on the sides of the
hull. These were opaque gray, which doesn't lend itself well to lighting. I
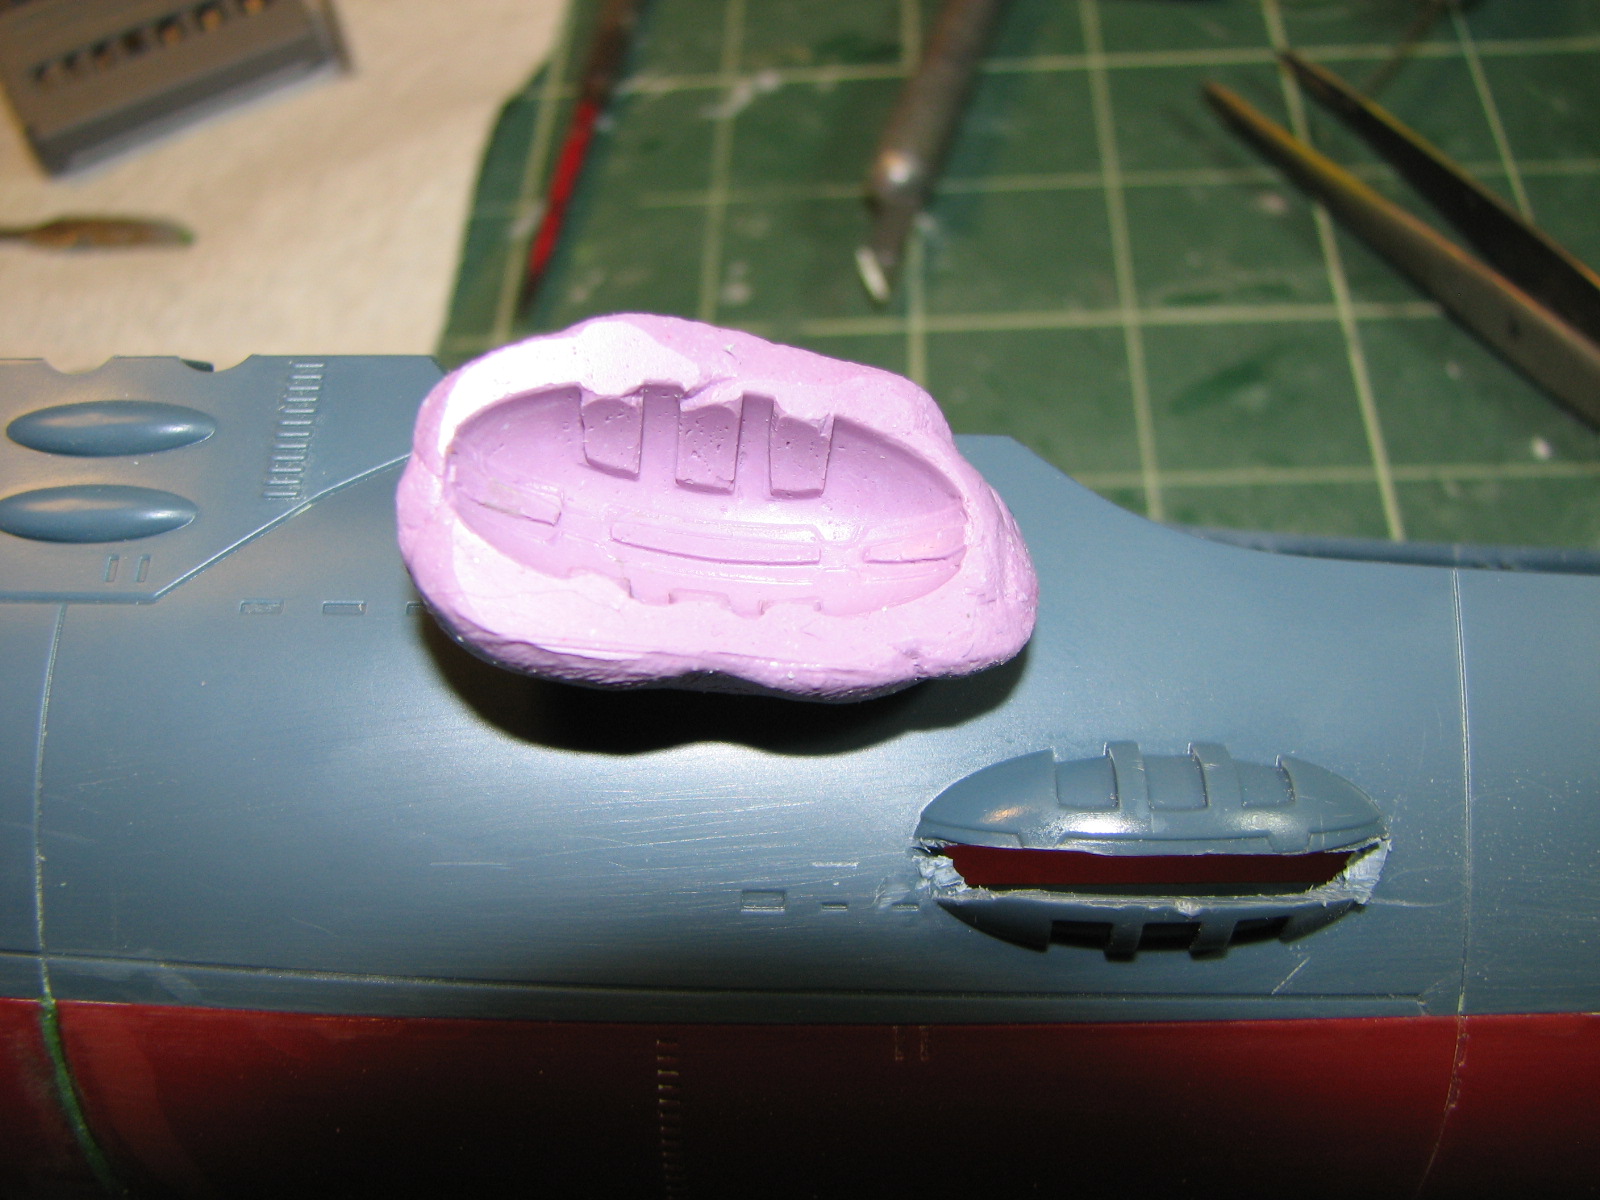
first pulled a mold off each blister using RTV putty.


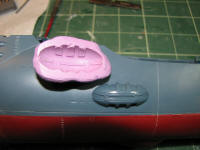
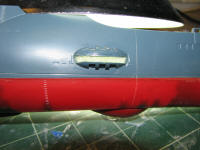
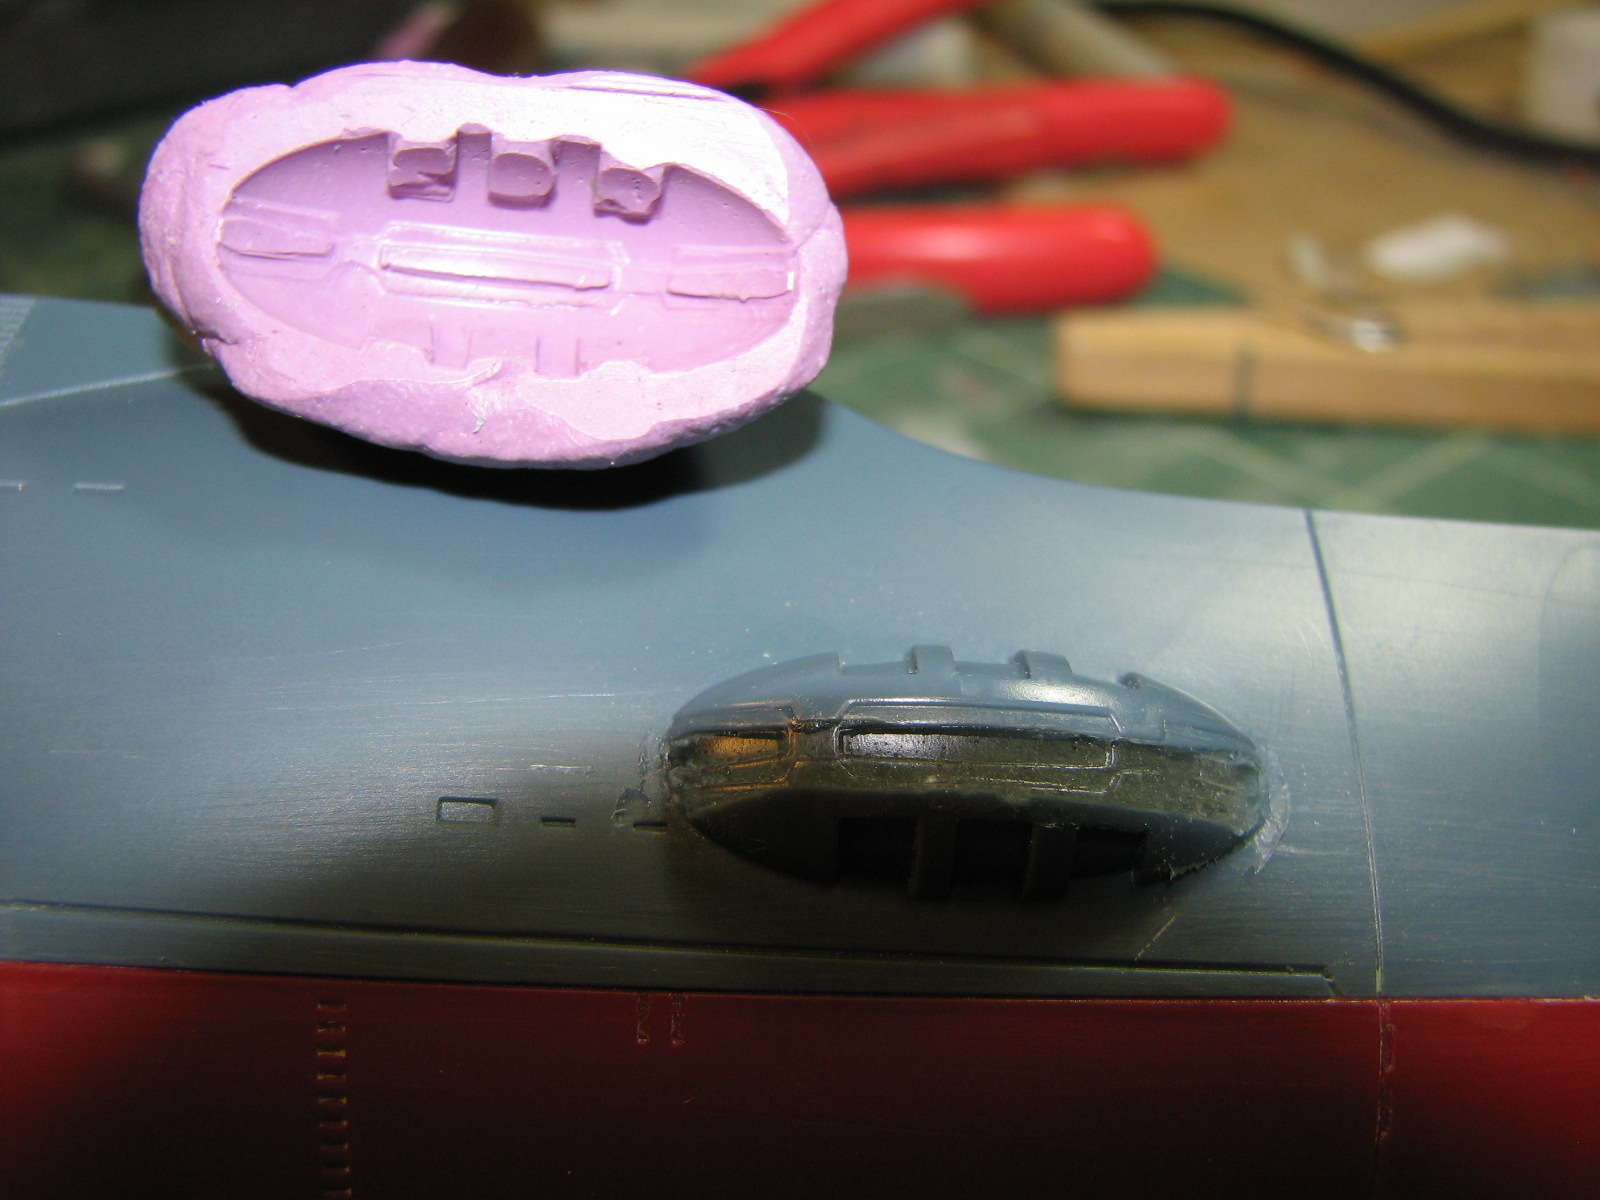
Next, I removed the strip of view ports using a razor saw
and x-acto knife. The easiest way to get a perfect-fit clear part here is to
cast it in place. I pressed the RTV mold back into place and ran 5-minute
epoxy into the interior of the blister, then held the mold in place until the
epoxy was set. End result... a lightable band of viewports.

5/23/2011 - Time marches on and so do the Star Blazers
episode airings on the channel formerly known as SciFi. This updates work on the
model over the past couple weeks.
Guns, guns guns!! I spent an afternoon assembling all the
guns for the model. I'd done the main guns several weeks ago, but now, all the
small turret guns needed assembling. Most are 2 or 3 part assemblies, a matter
of inserting the gun barrels piece(s) into the turret. I also assembled the rocket
anchors, launch rails, and a number of other small assemblies. With that job some I moved on to
engines and lighting.
I added wiring leads to the LEDs installed in the
auxiliary engines and pressed the engines into placed and glued them, with
repeated LED test-firings in the process.

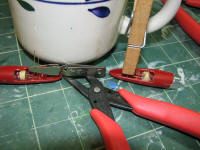
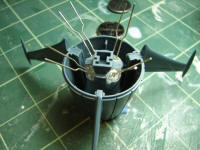
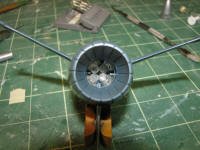
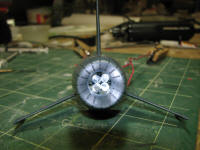
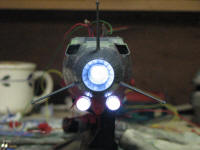
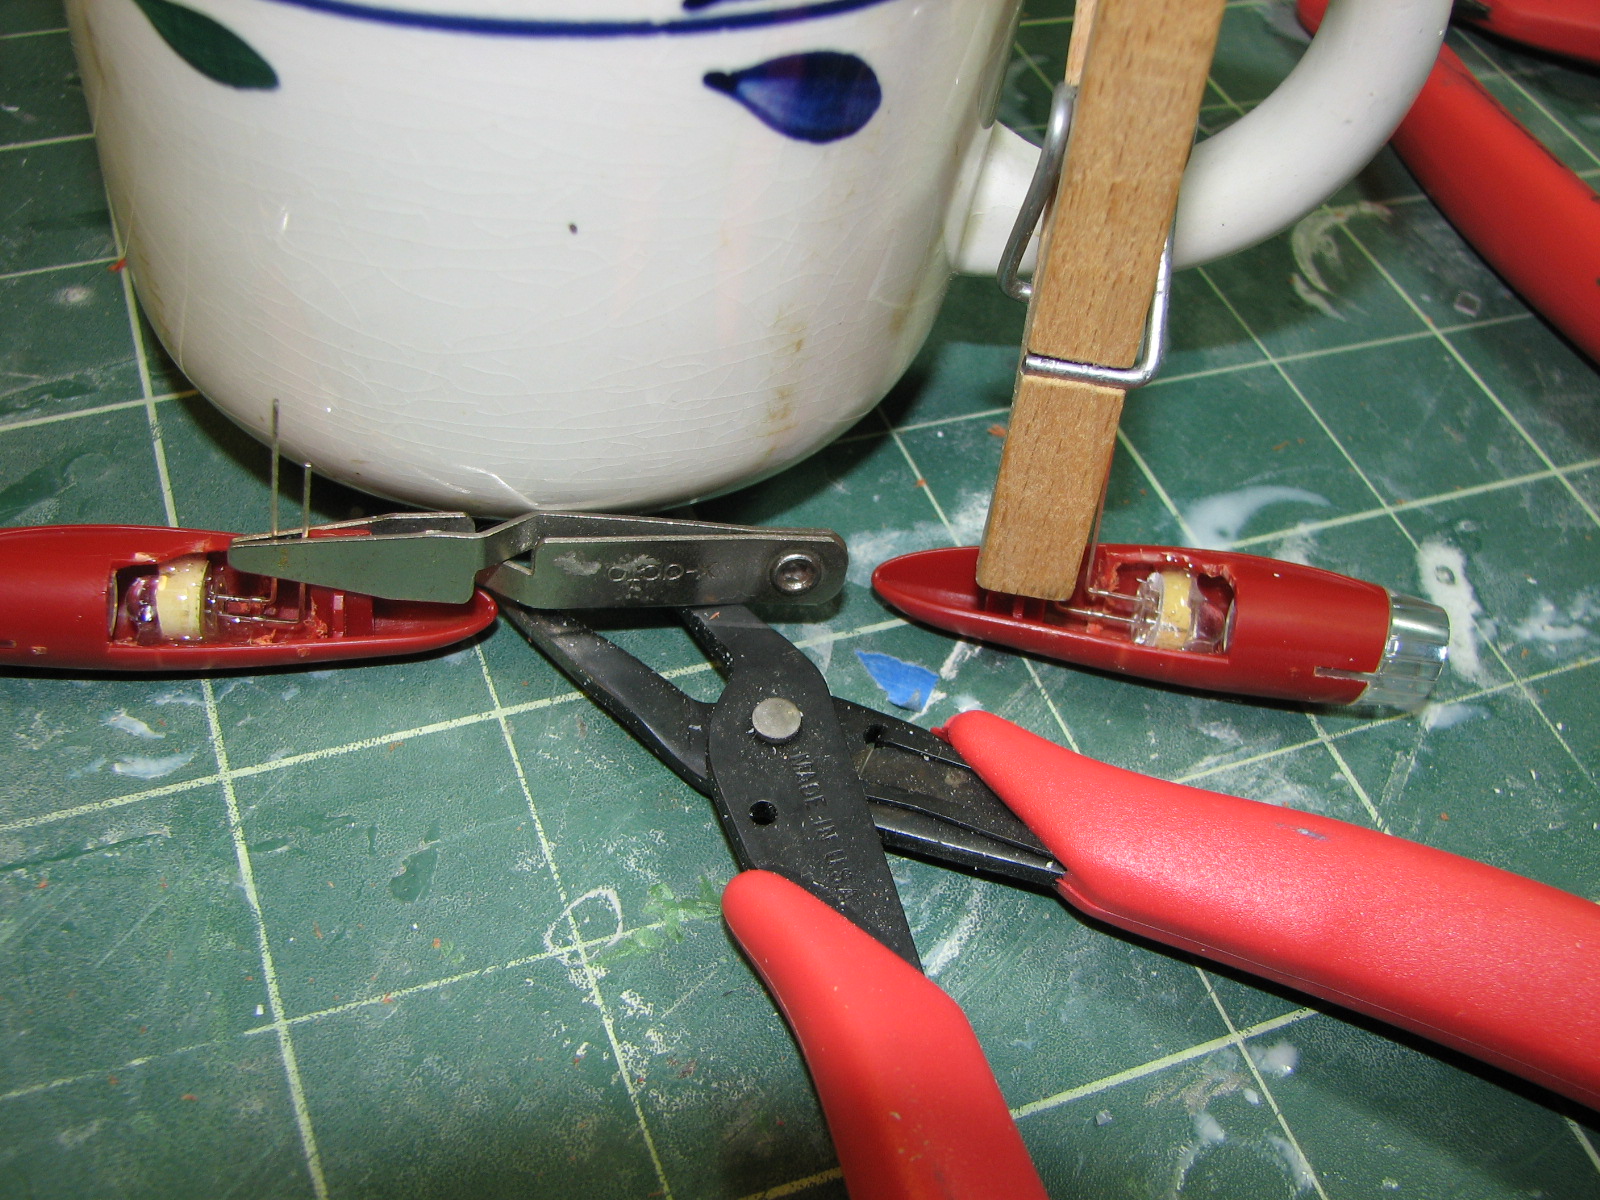
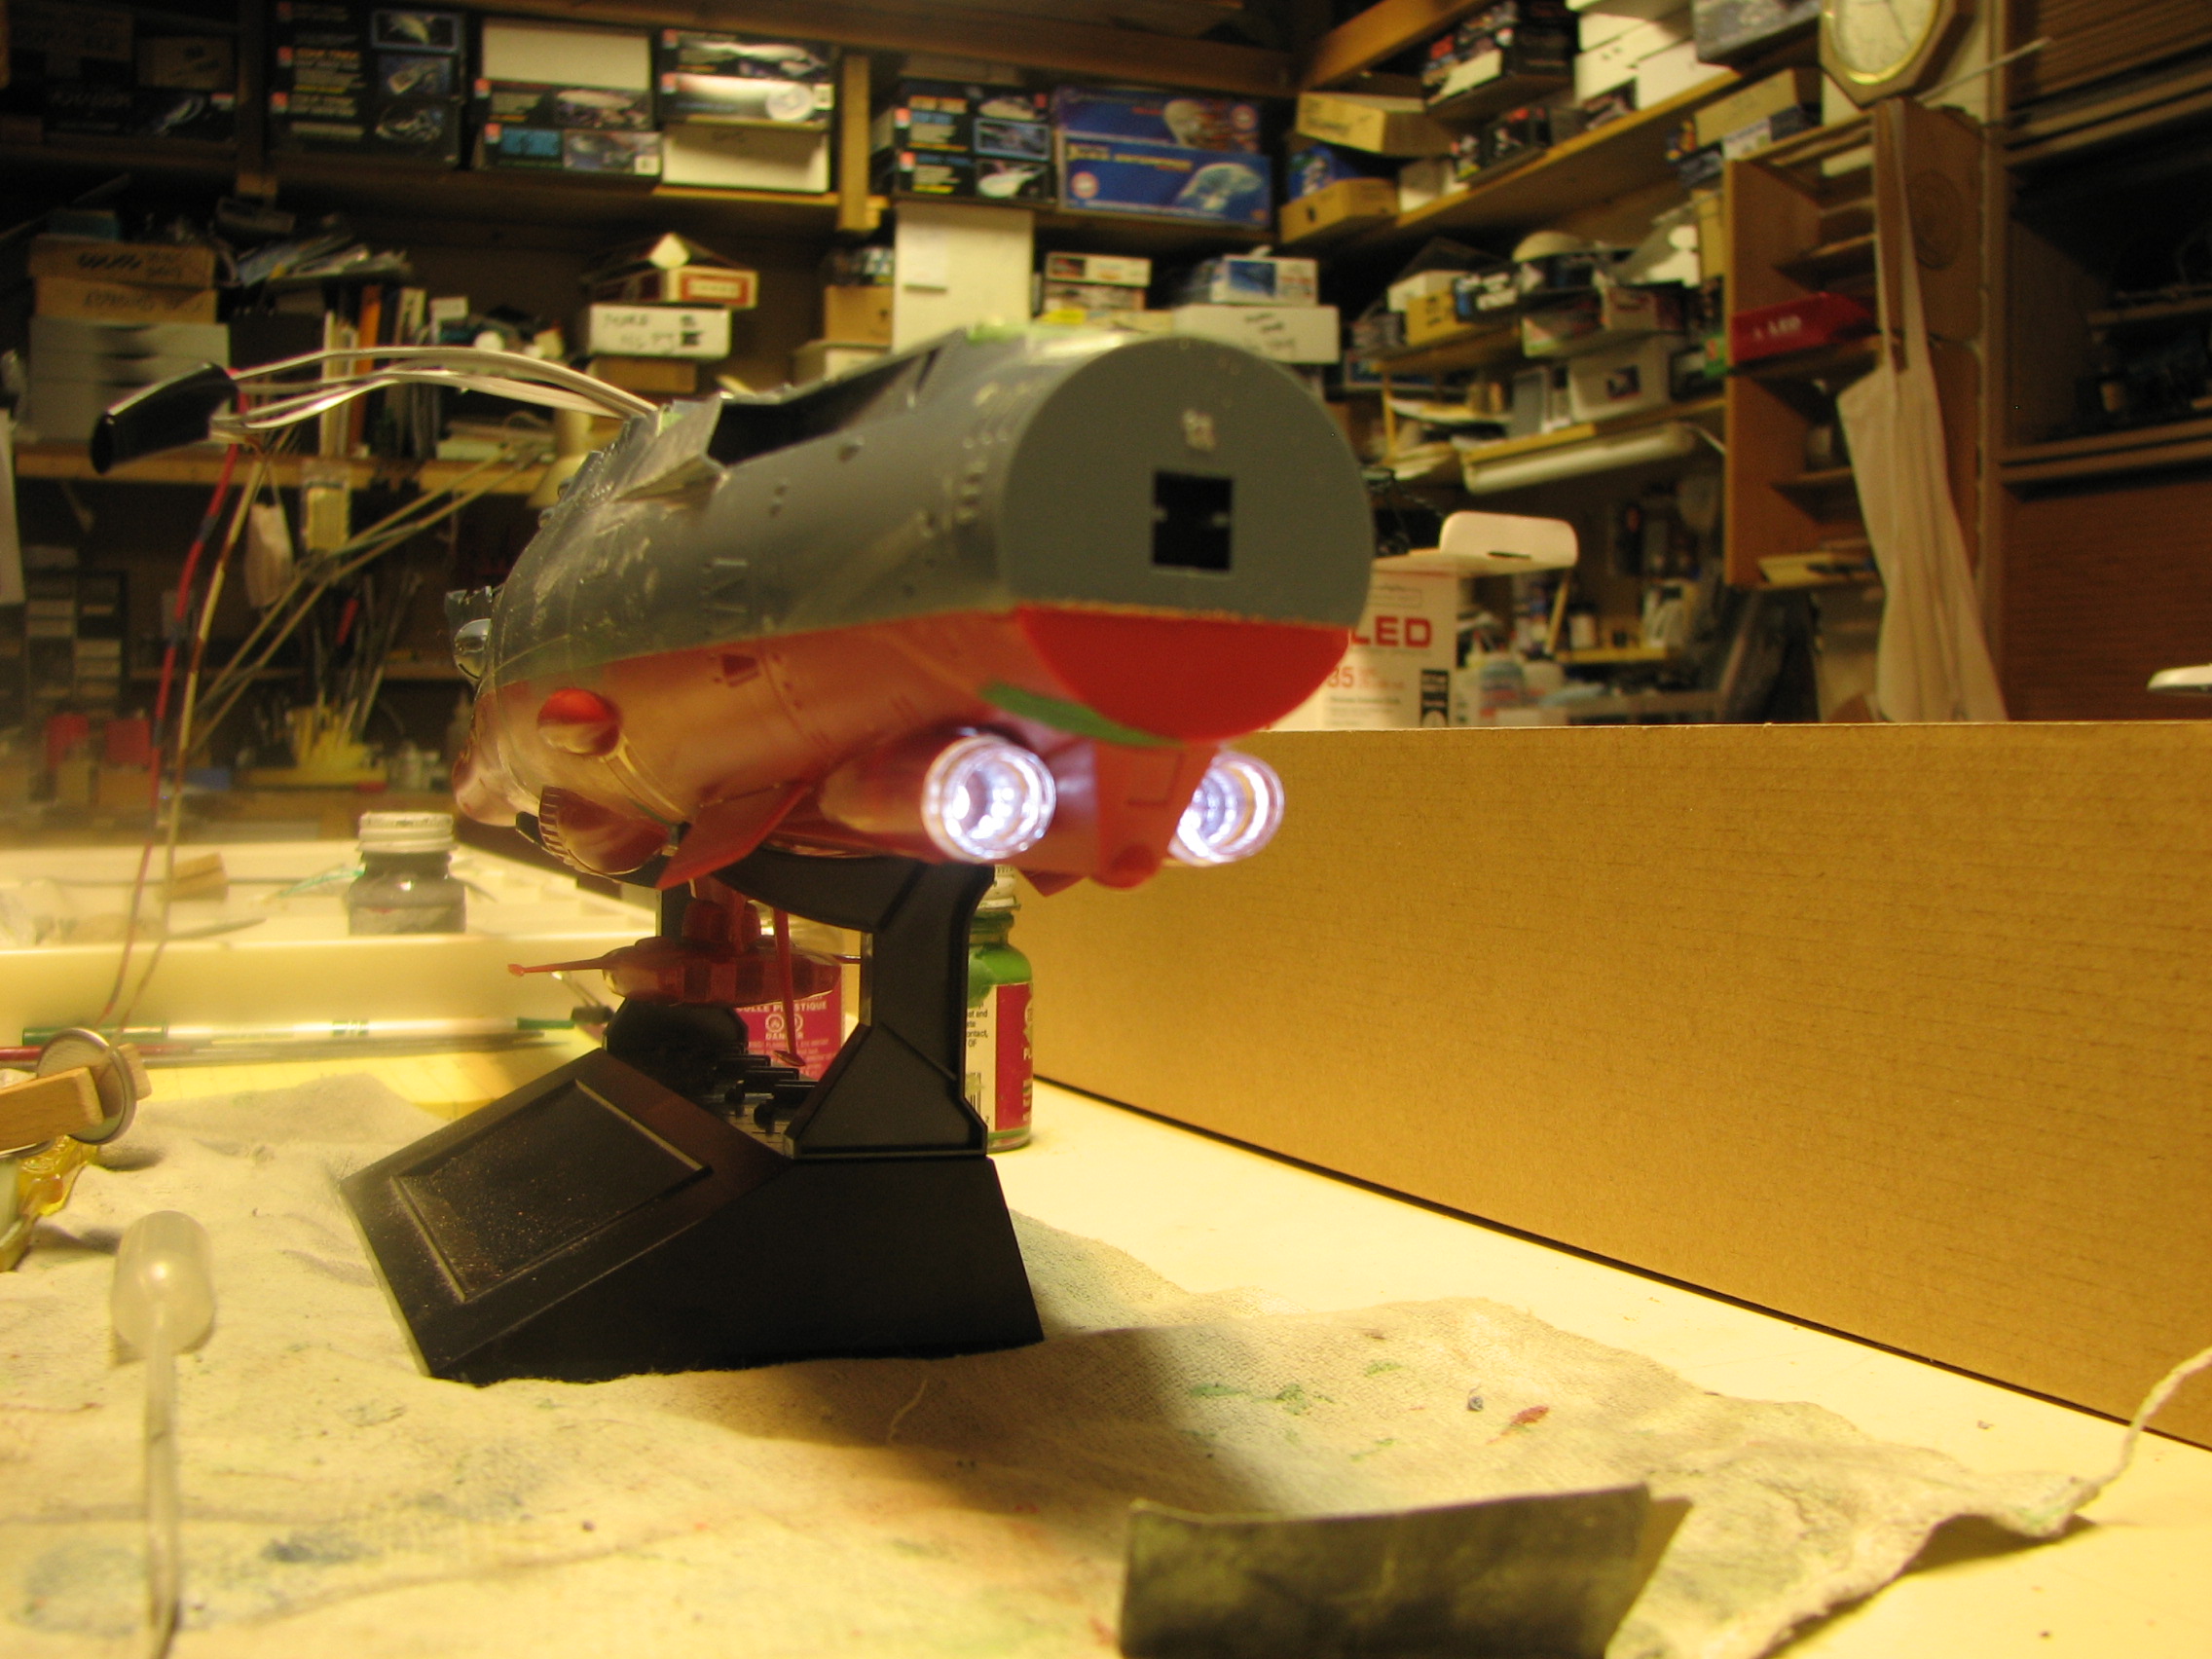
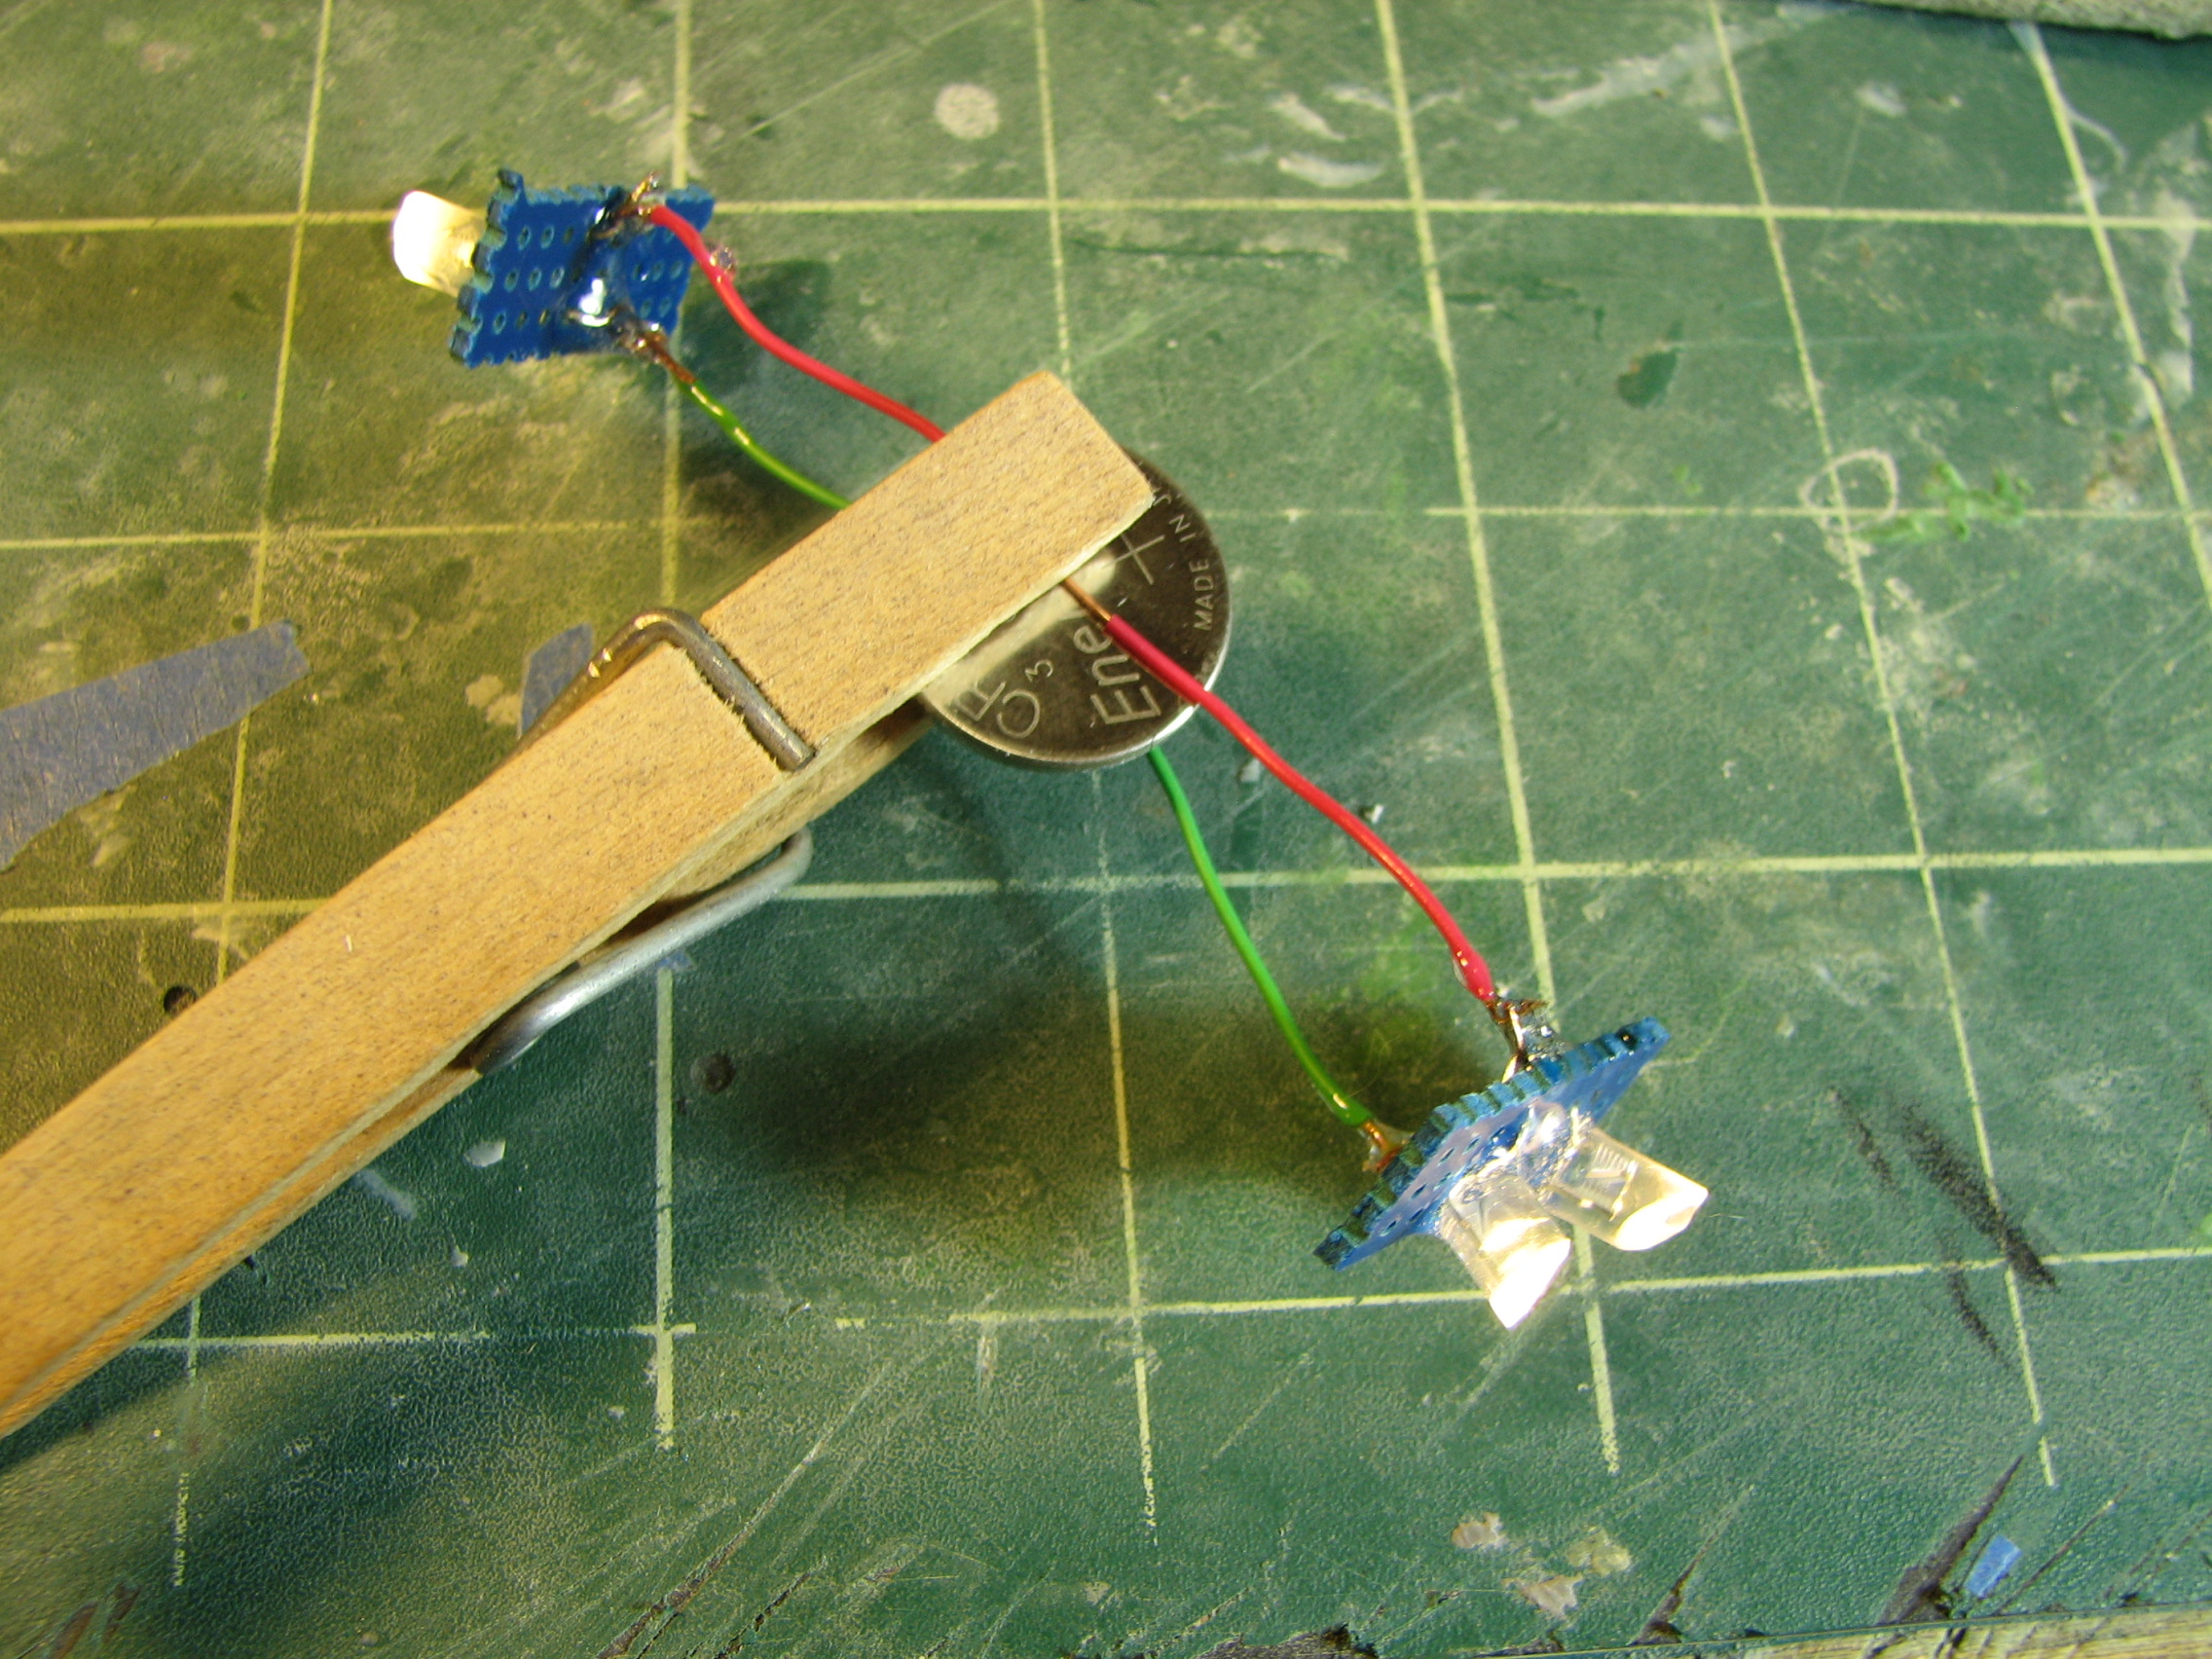
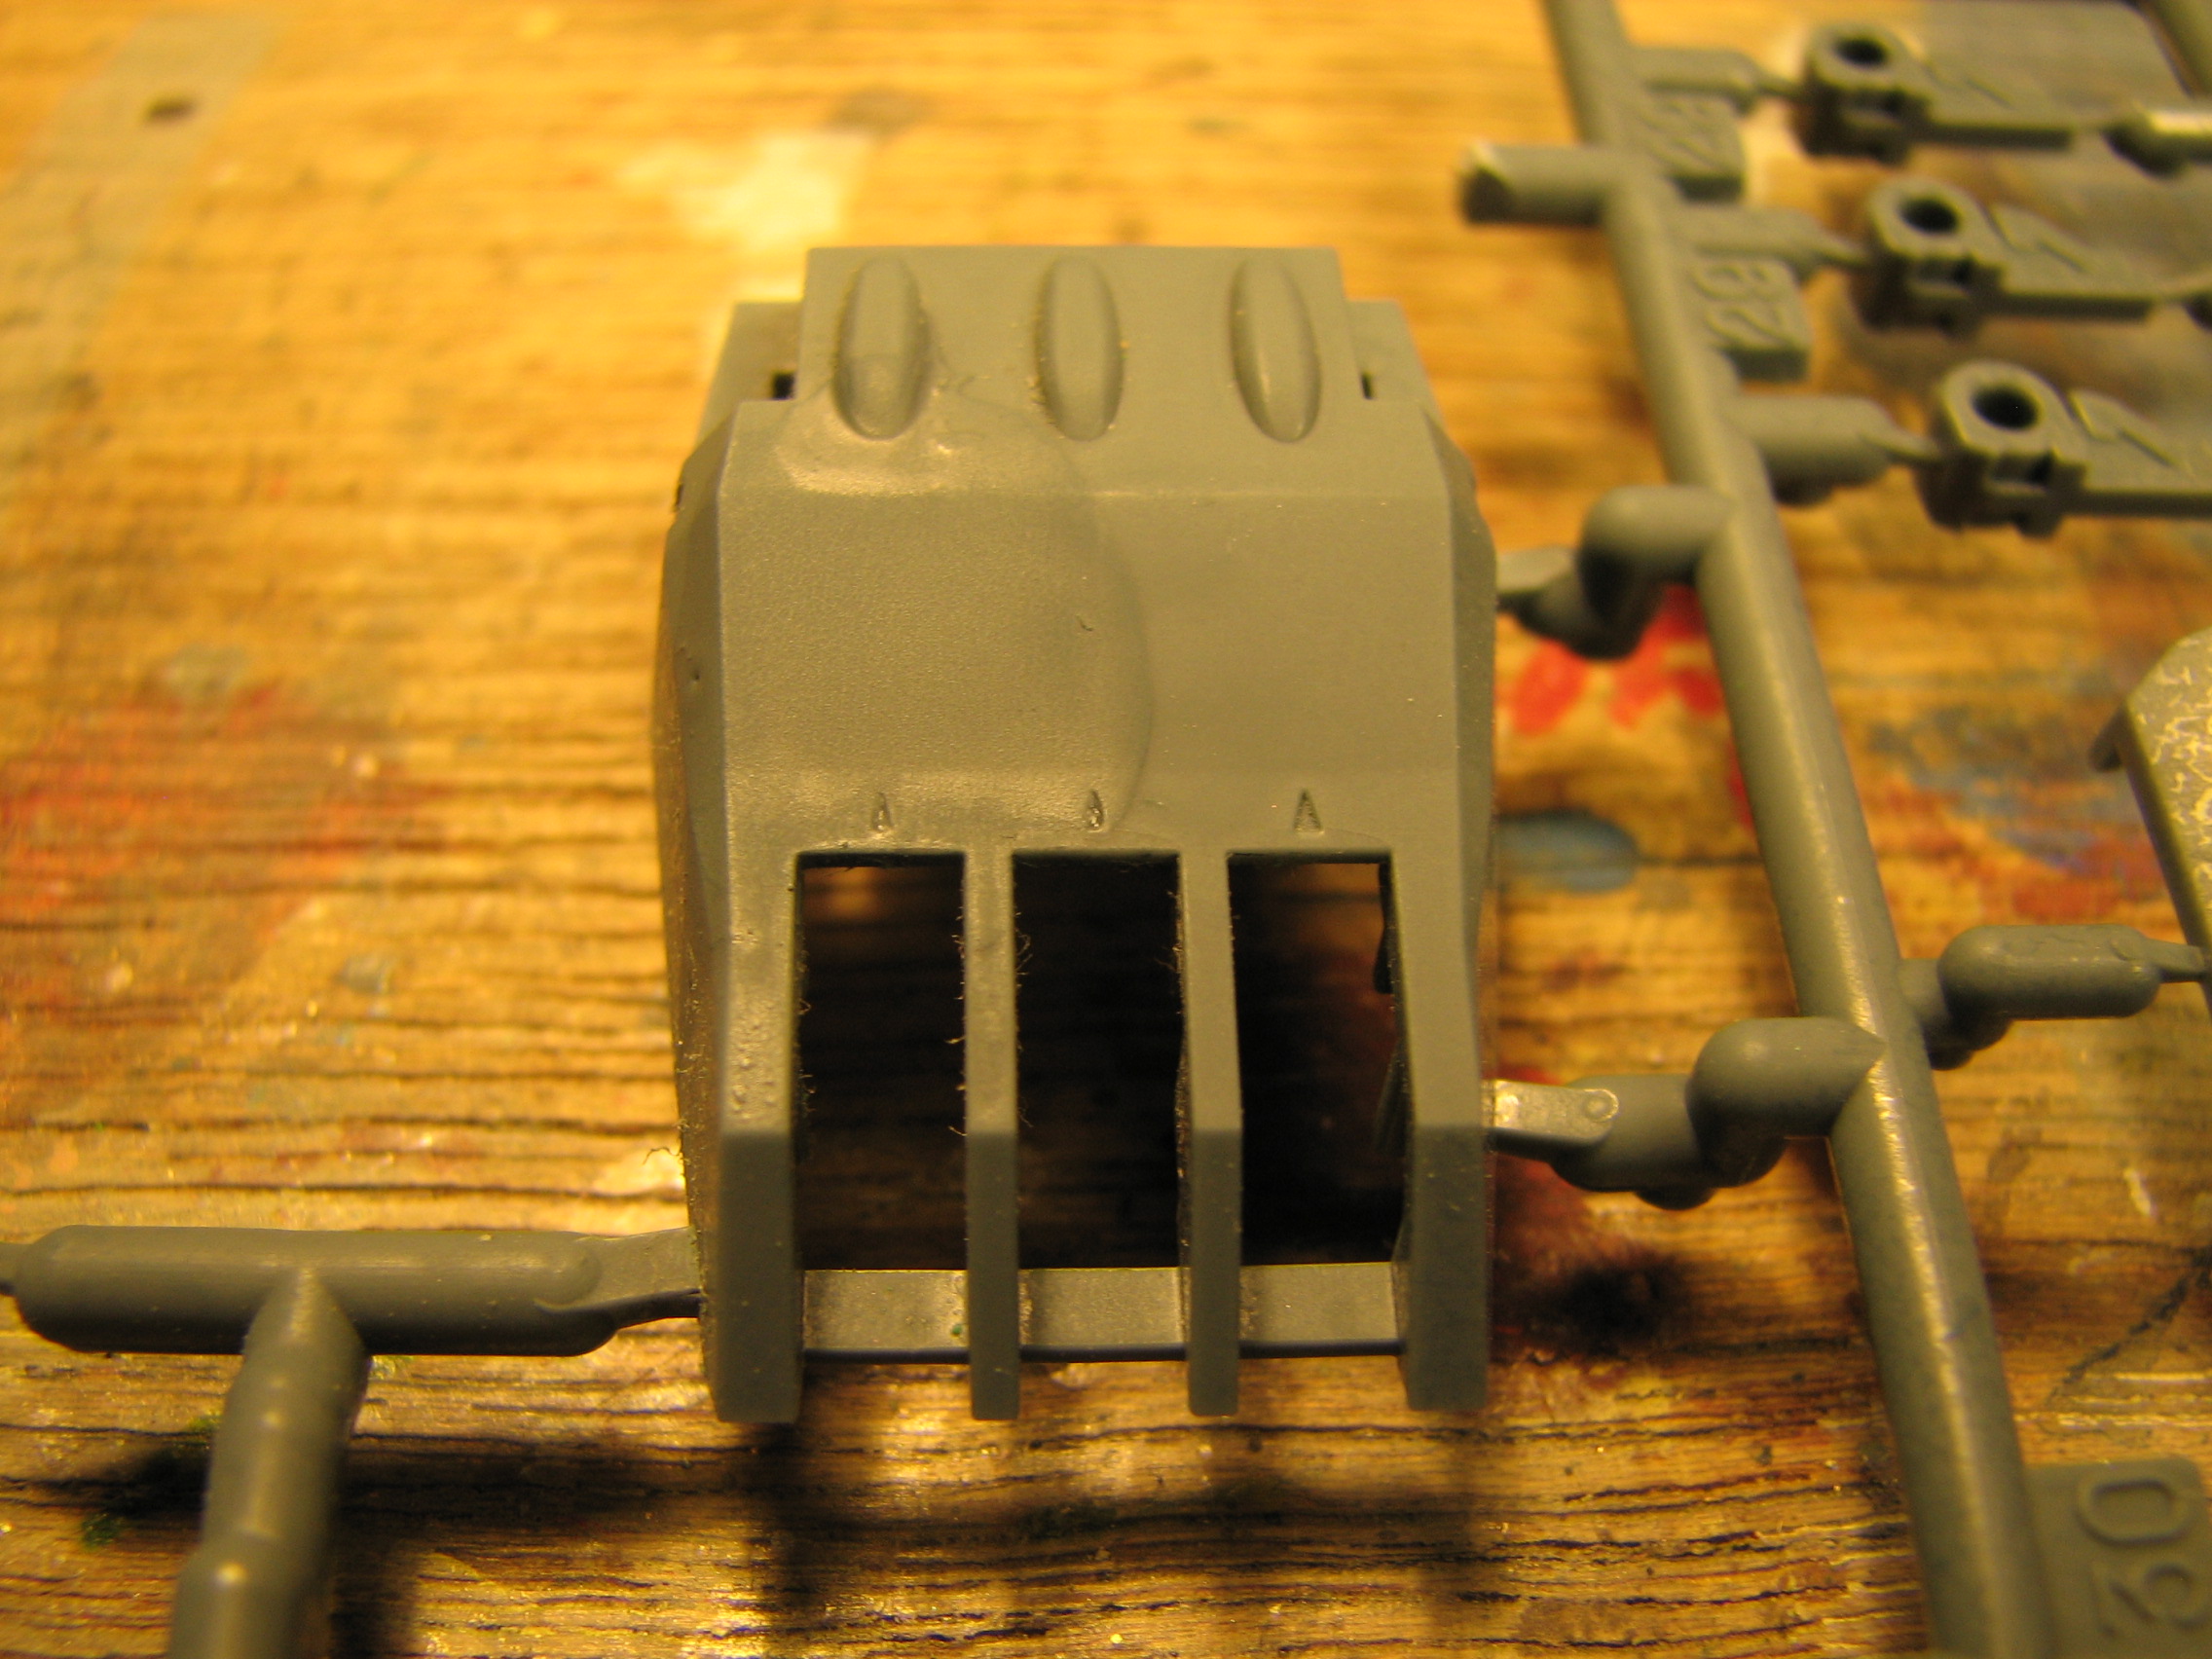
The main engine piece and aft end of the ship had to be
opened up in order to make room for LEDs. I installed 4 LEDs in the engine cowl
and am in the process of working on coloration for the exhaust cone. I'd painted
it metallizer stainless steel, but am sanding that back to a very thin mist
coat, translucent when backlit but still appearing opaque when the lights are
off. Power for the LEDs, at least during testing, comes from 2 lithium 3V coin
batteries stacked to yield 6V. Note the quick and dirty clothespin battery
holder. Once I had all the wiring leads soldered to the LEDs I coated the solder
joints with 5 minute epoxy to seal them.

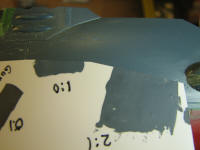
Next up - the paint mix. So far, I've got a mix of about 2 parts
Model Master intermediate blue and 1 part gunship gray. It needs to be a tad
bluer, perhaps a drop or two of azure blue into the mix.
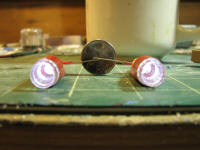
The last bit of lighting is for those cast-in-place epoxy
bands in the side blisters. A single LEDs didn't quite provide enough light so
I'm going with two per side mounted to PC perf board. I trimmed the LED lenses
at an angle to disperse the light more across the epoxy band. The LEDs and
solder joints are epoxy coated to hold everything in place.

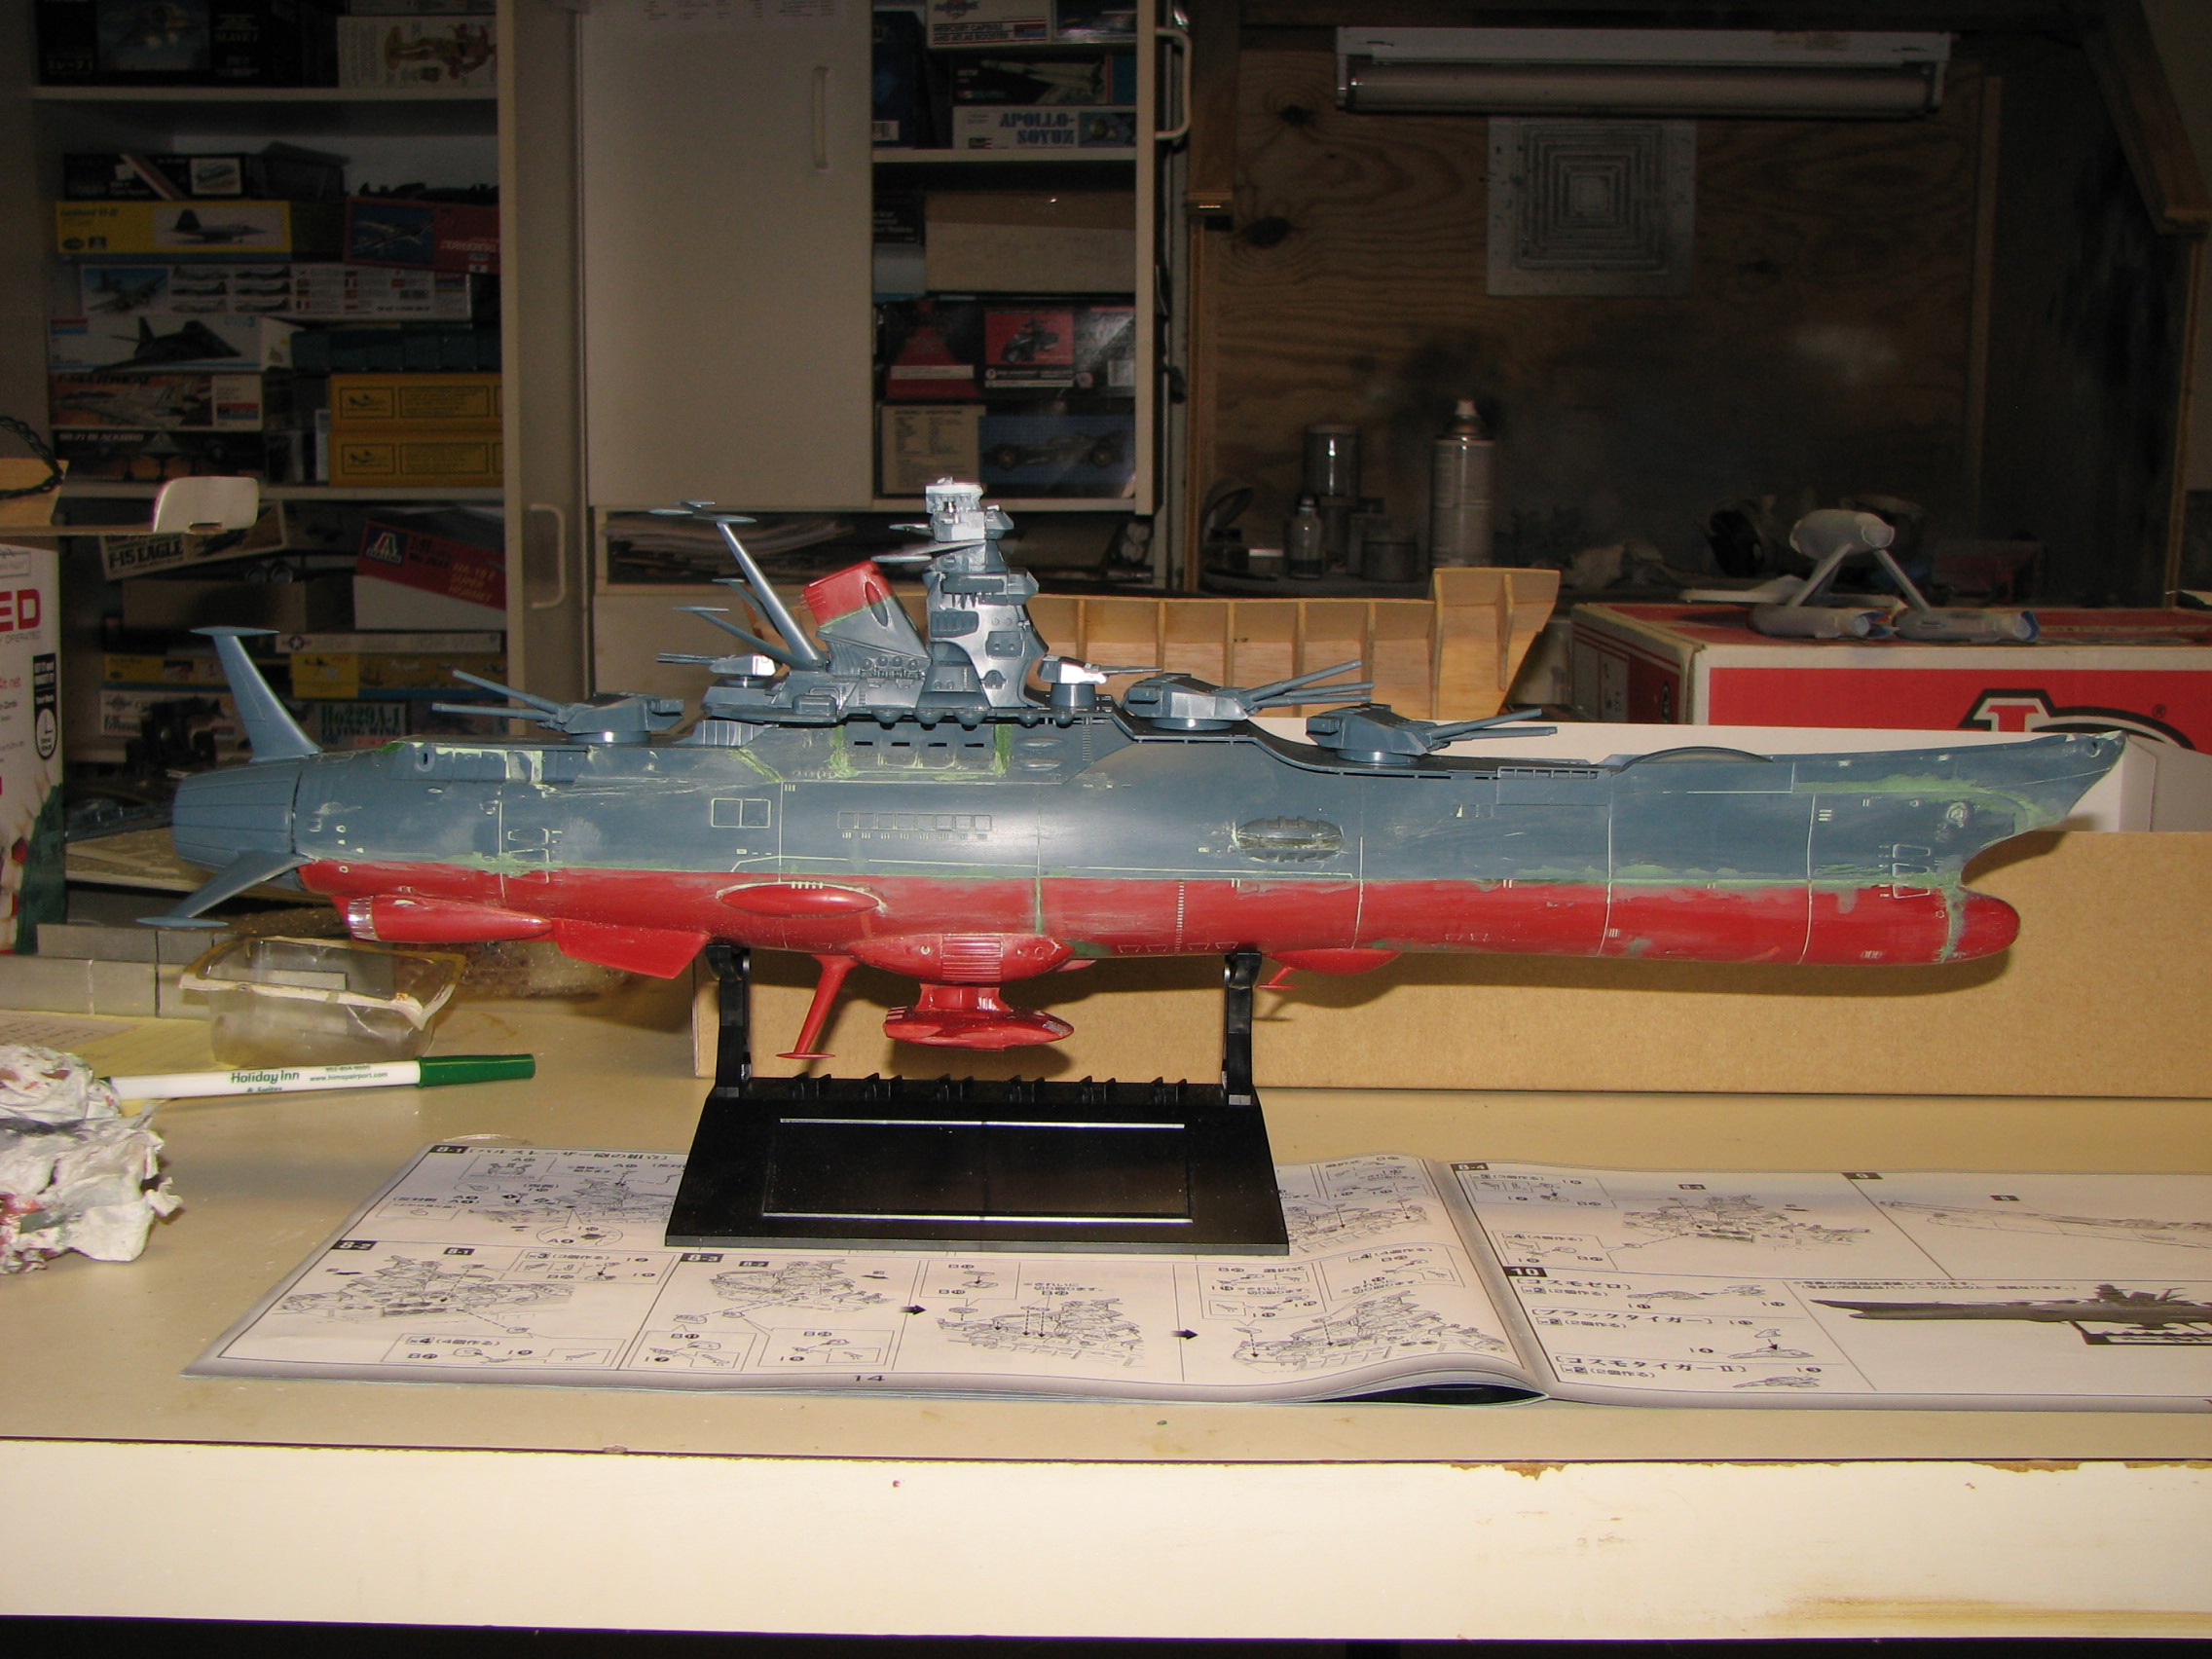
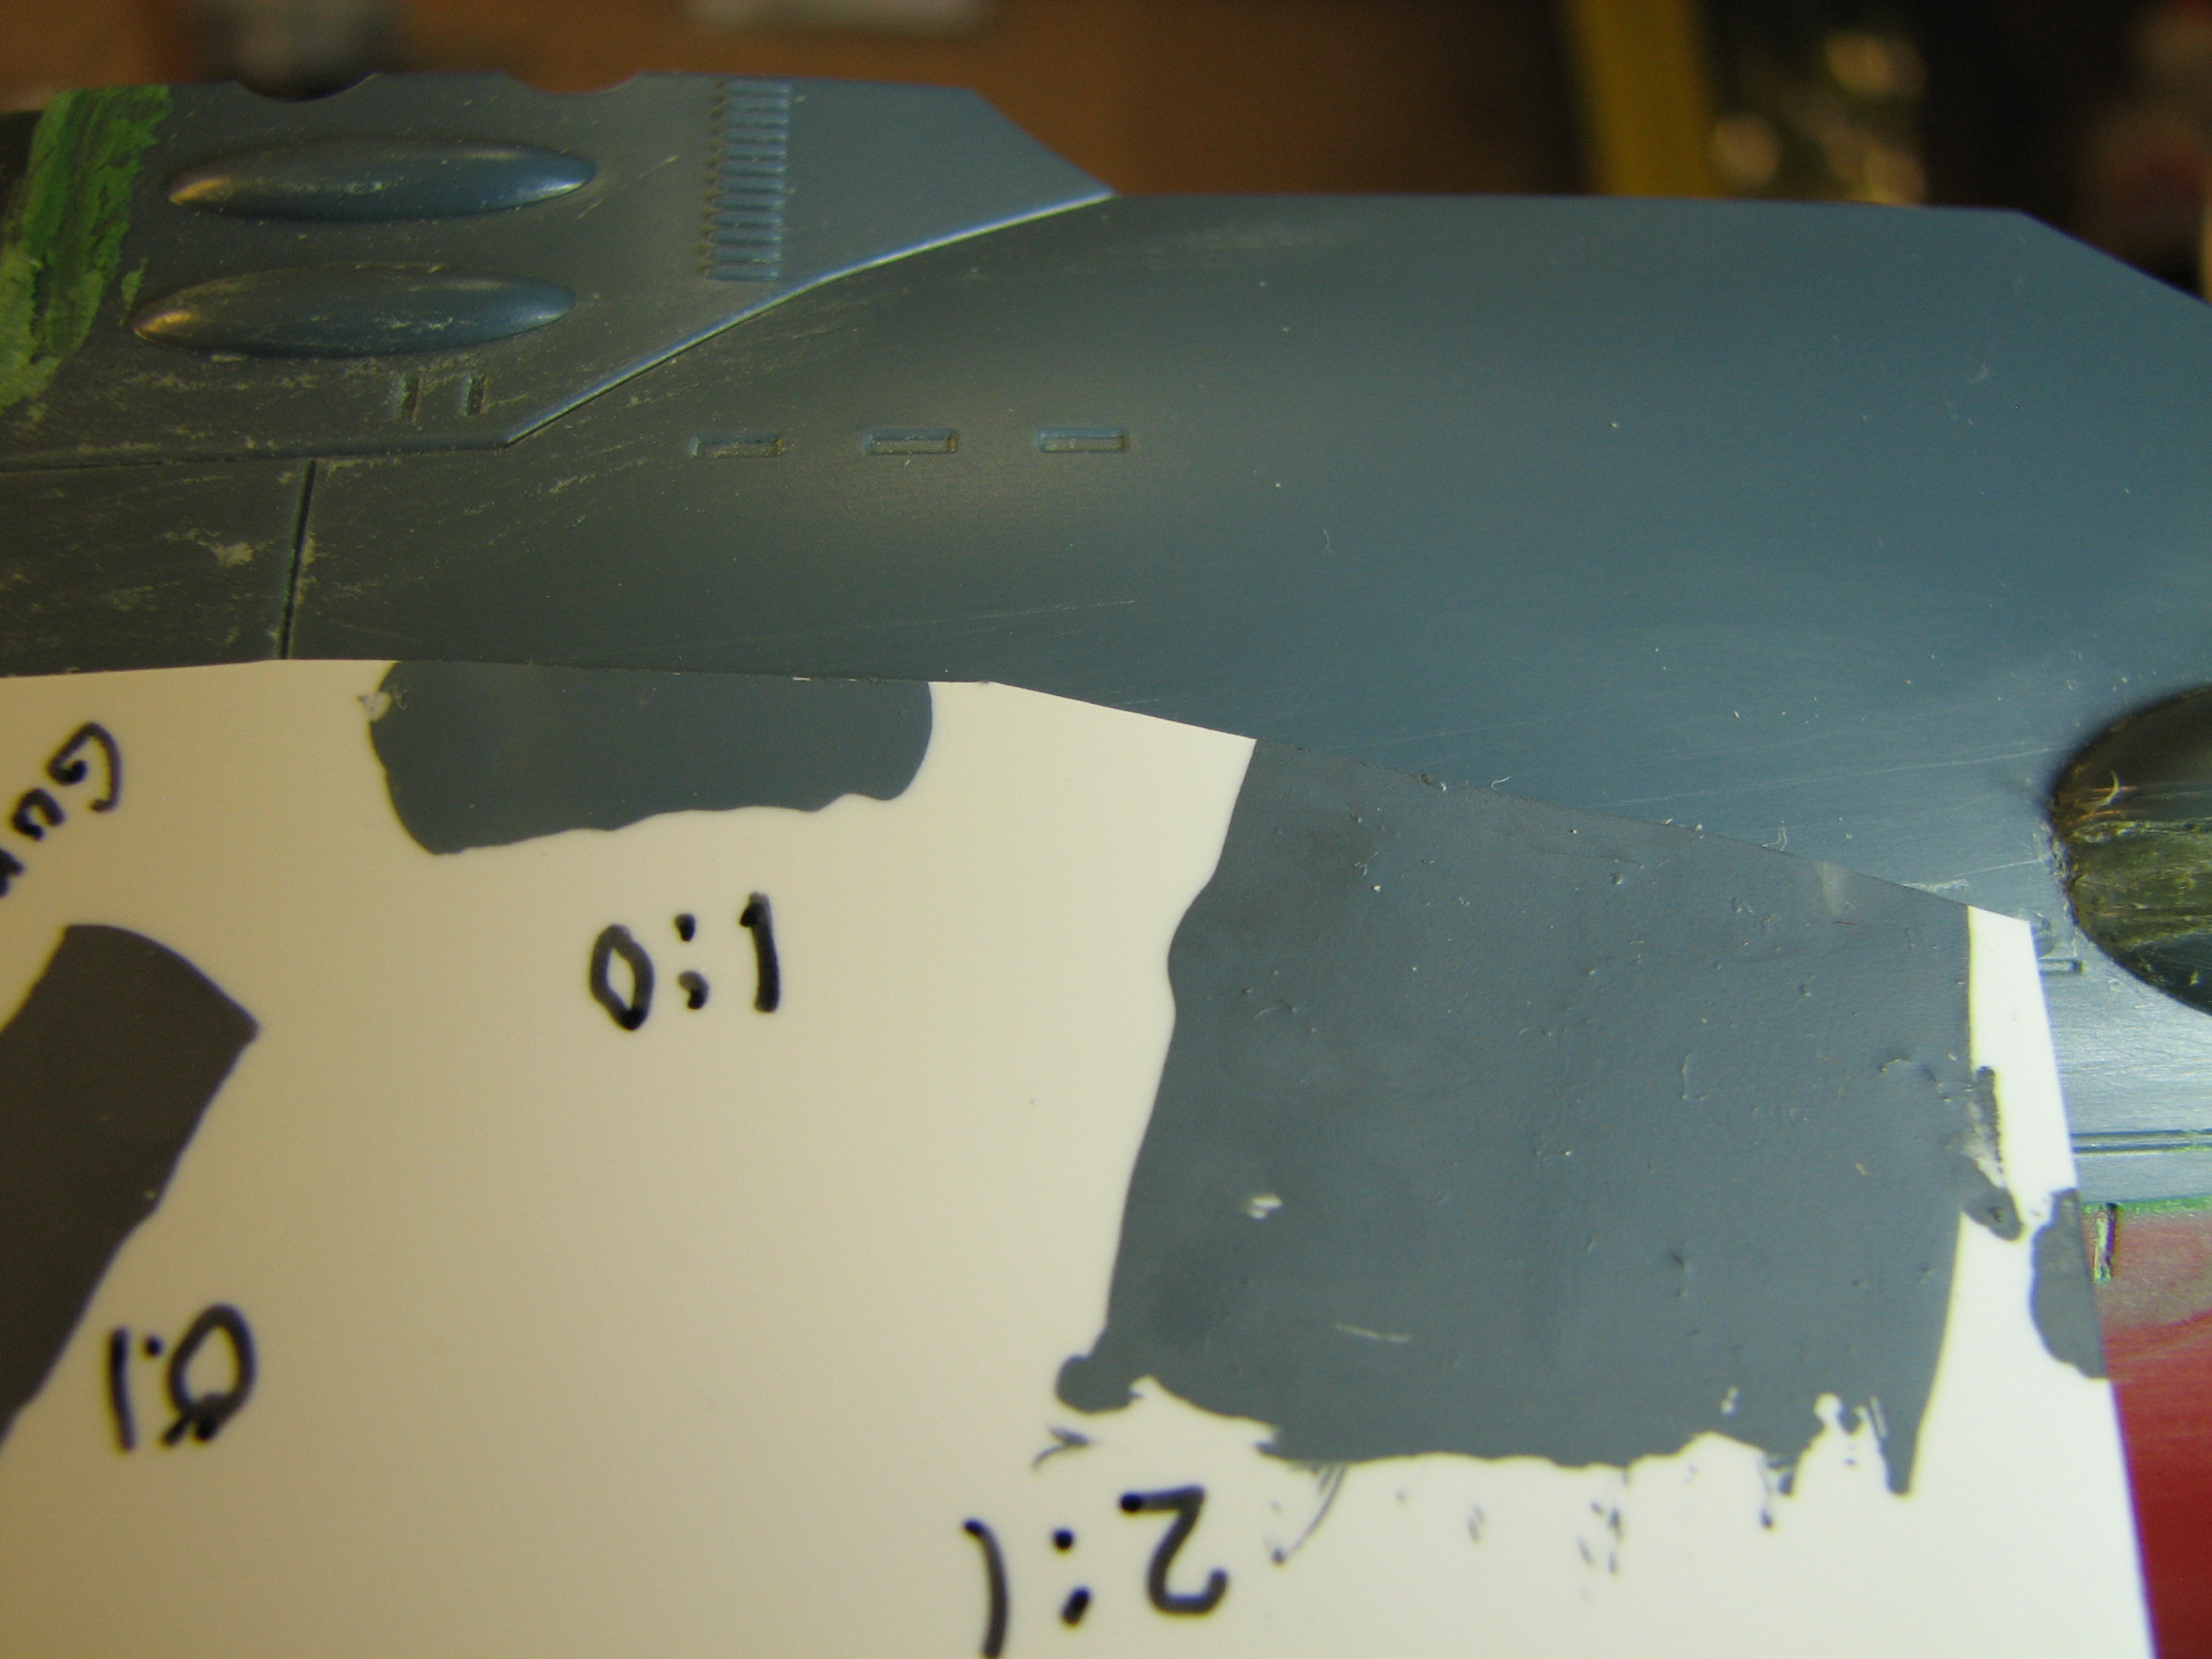
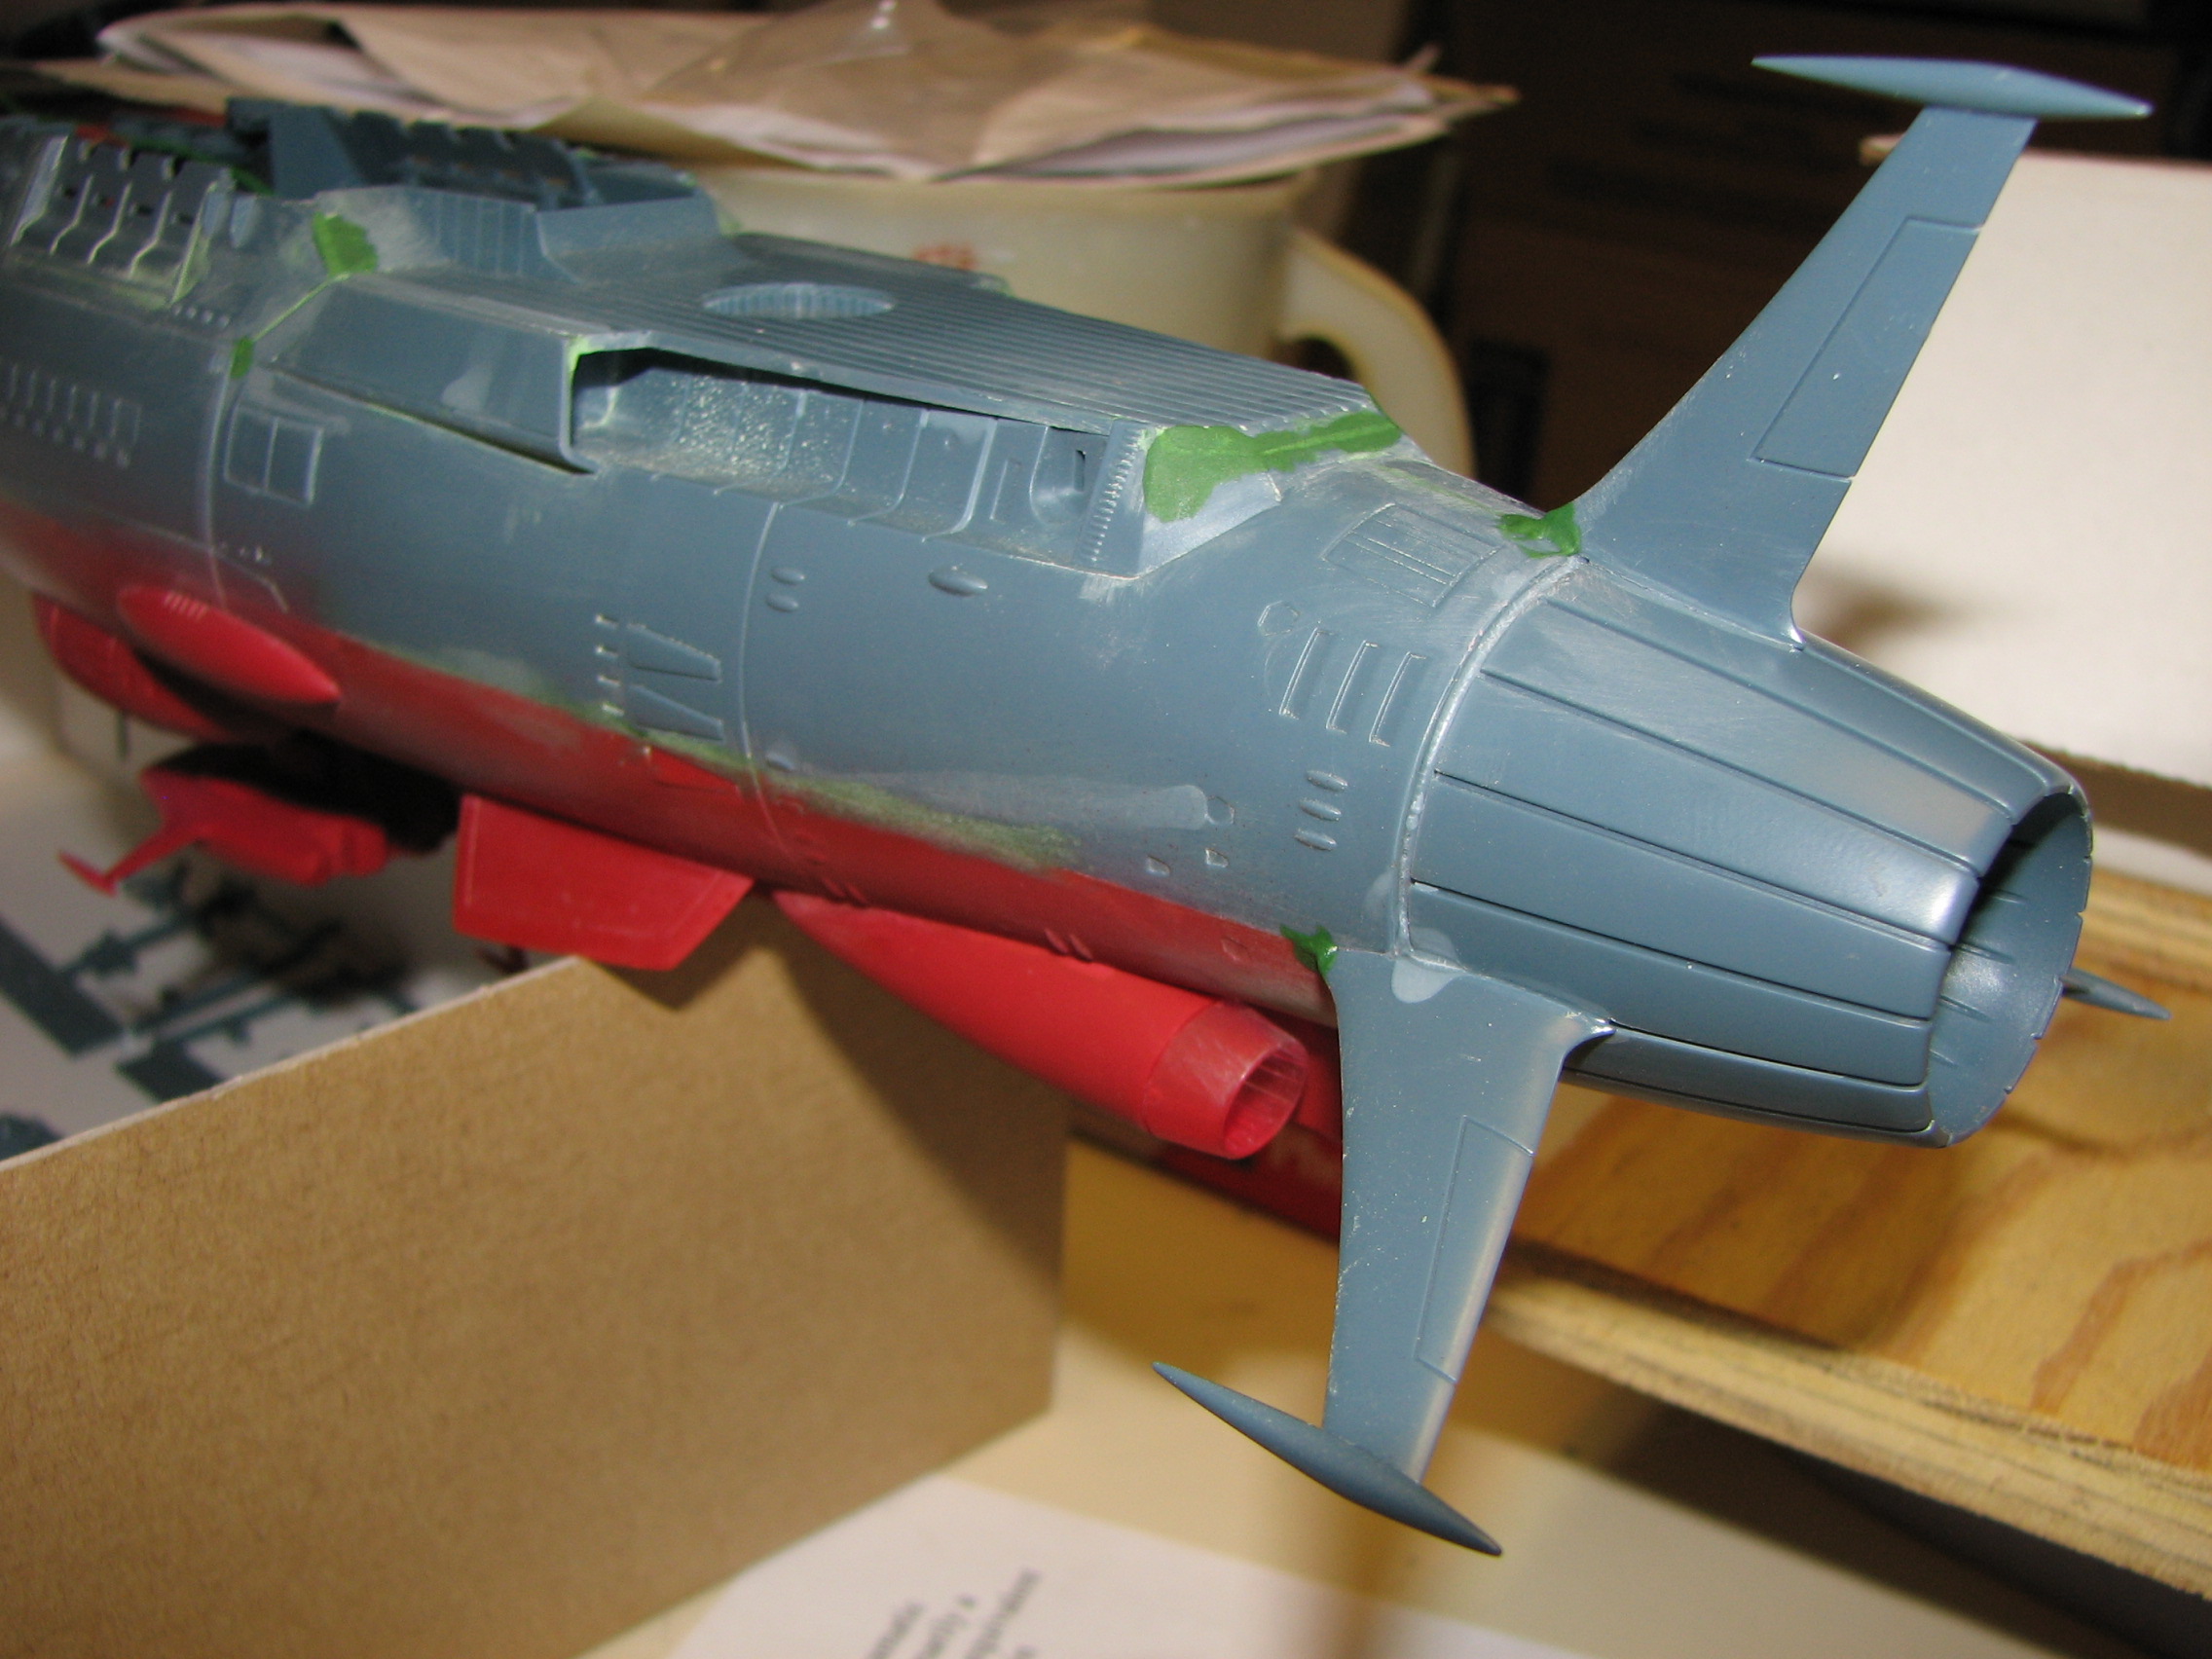
5/24/2011 - Paint mix redux: this mix started from the
~2:1 mix above with some adjustments; I needed to darken it and make it bluer.
The mix on the parts below is:
5 parts intermediate blue
3.5 parts gunship
gray
2 parts FS 35108 blue
All are Model Master enamels

6/1/2011 - The past week I finished up the interior lighting by installing
the LEDs for the side blisters. The LEDs are epoxied to styrene shelves I
cemented inside the model. Also I'm finishing up putty and seam work on the
superstructure and various other places around the ship.
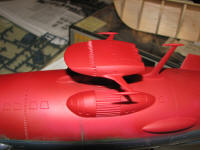
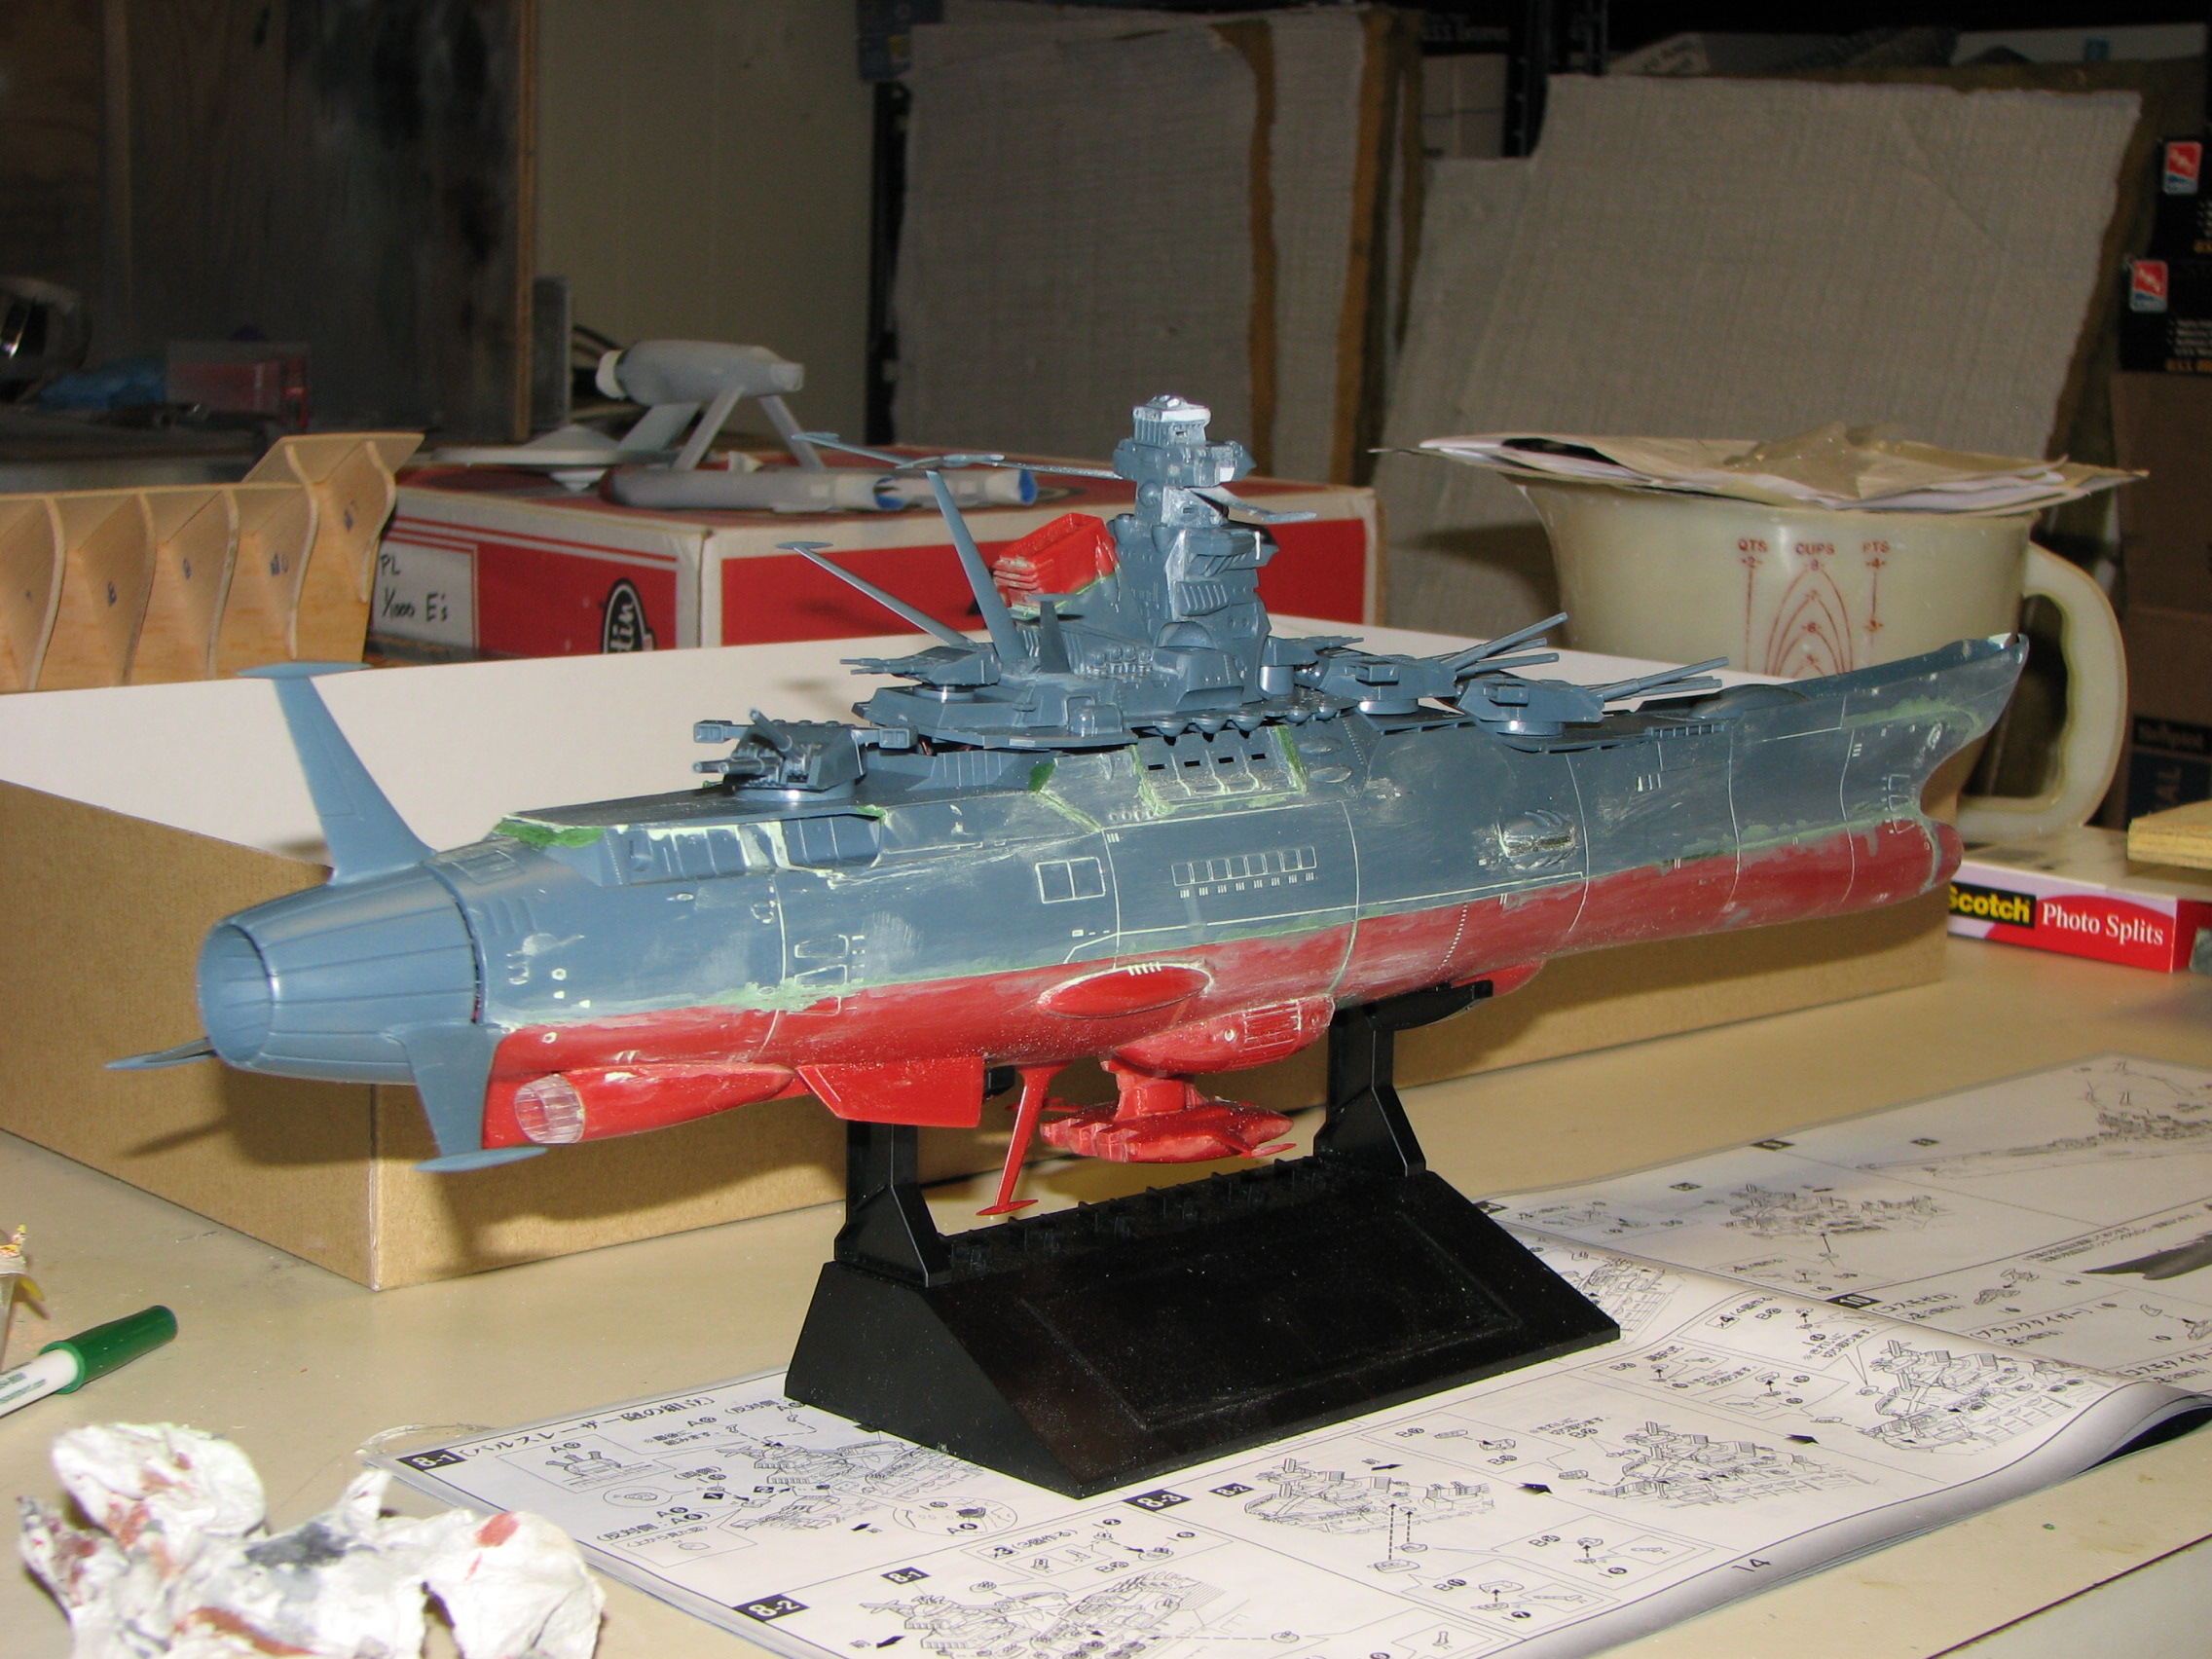
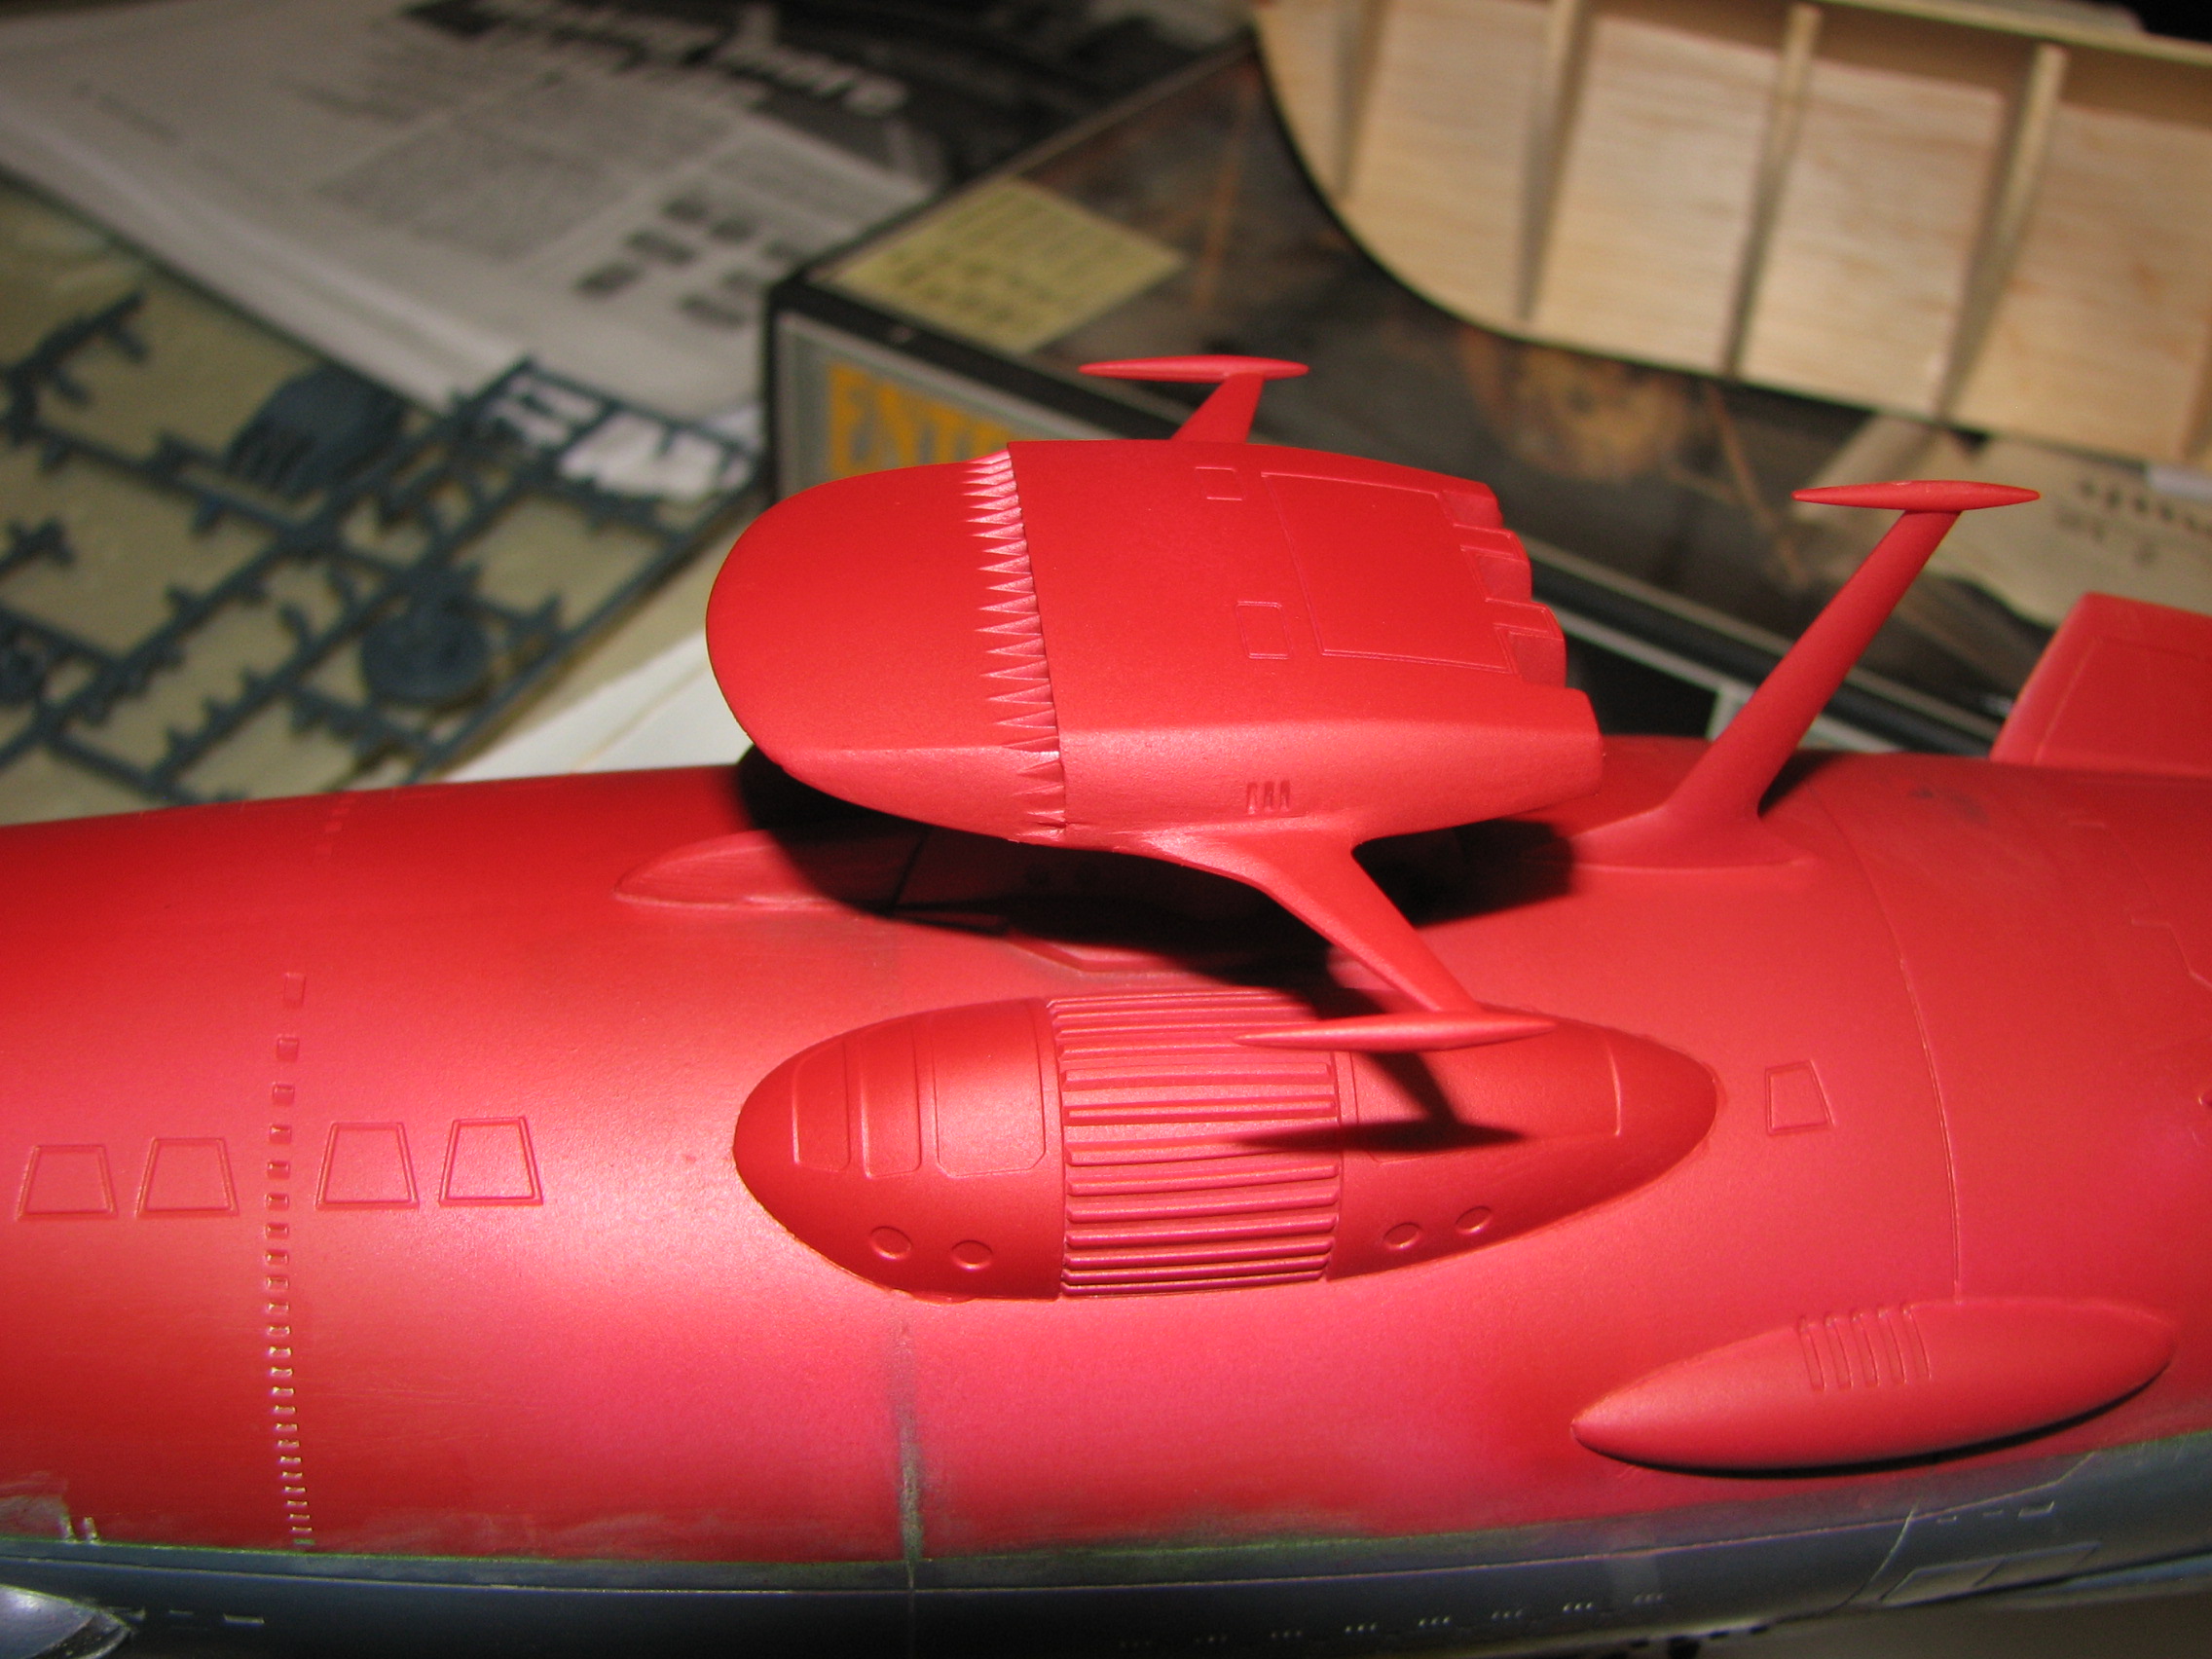
I did some messing around with red mixes over the past weekend and came to
the conclusion that I can just use insignia red. First, just for fun, I brushed some insignia red
on the kit plastic. Dang! Dead-on match.
But is the plastic really the right color? Second, just for more fun, I tried to make a mix that
matched the tiny color swatch printed in the kit booklet. It worked for the gray
since the gray swatch matched the plastic dead on. But the red swatch was real
different from the plastic and ended up as… Yamato Polish crimson pink? I don’t
think so.
Third, I thought I'd go for the official mix of flat red, maroon ,
orange… figured I can just replace maroon with half as much black in the mix
instead of first making a maroon mix to add. So, about 9Ľ parts red, Ľ part
black and ˝ part orange… (hey, how much fun is it to measure half and quarter
drops?) …is close enough as to be virtually indistinguishable from MM insignia
red. So, I did a little airbrushing of insignia red on the bottom of the ship
and on the superstructure, which I want to have painted before the bridge tower
goes on.
6/6/2011 - This past week I've continued with touching up
various bits of putty on the seams. That should all be finished soon. I finished
up the wiring for the engine LEDs and cemented the engine assembly in place. I
gave the LEDs another test just to make sure they still worked. The engine
lighting will get a proper orange-ish tint when the paint job and detailing gets
underway.
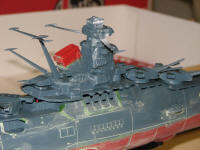
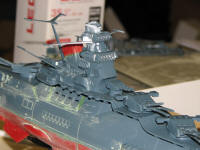
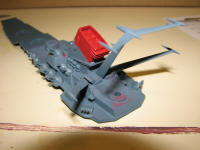
I moved on to working on the top deck and superstructure.
I cemented all the turret guns in place and (I hope) finished with the seam work
on the bridge tower. Once the tower is painted I'll cement it to the deck. After
connecting up the tower wiring inside the hull the deck will get cemented in
place.
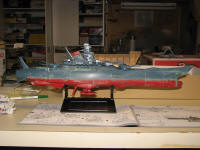
9/8/2011 - After a bit of a summer hiatus, I got back to
this. Over the past weekend I did the main paint job on the model.


