|

Gunstar
Monsters in Motion
The Last
Starfighter
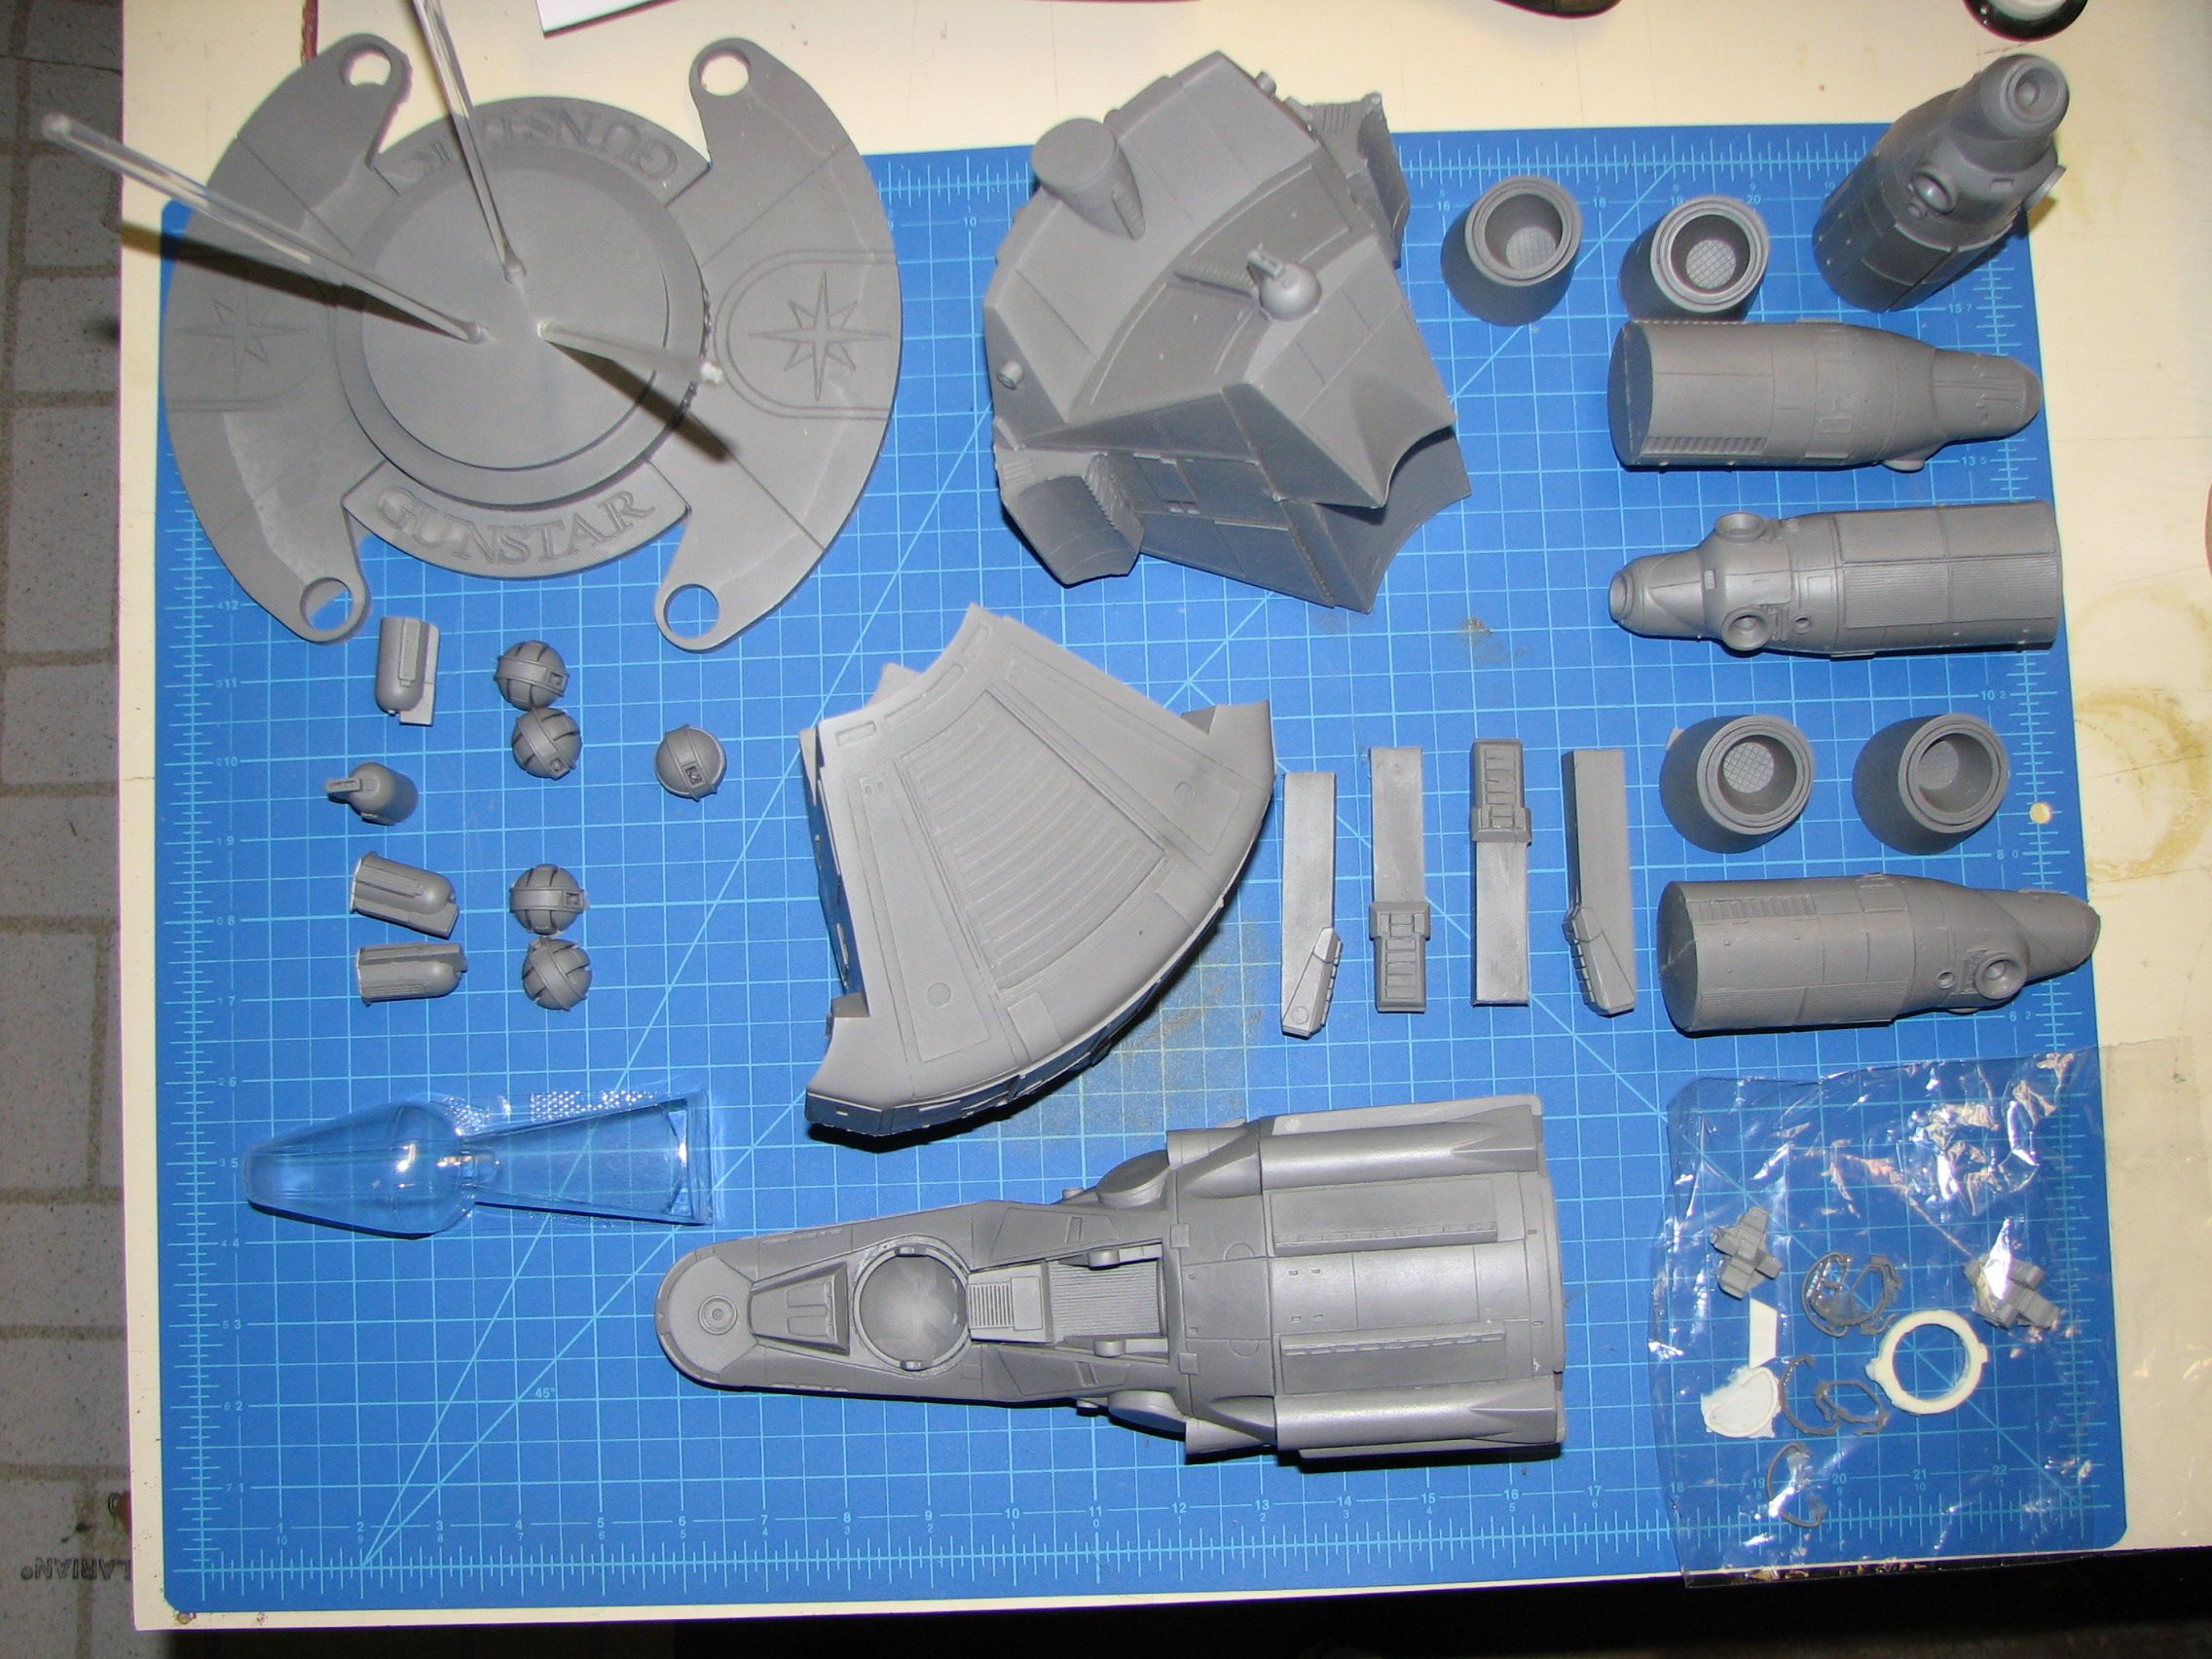
Parts:
Gunstar
|
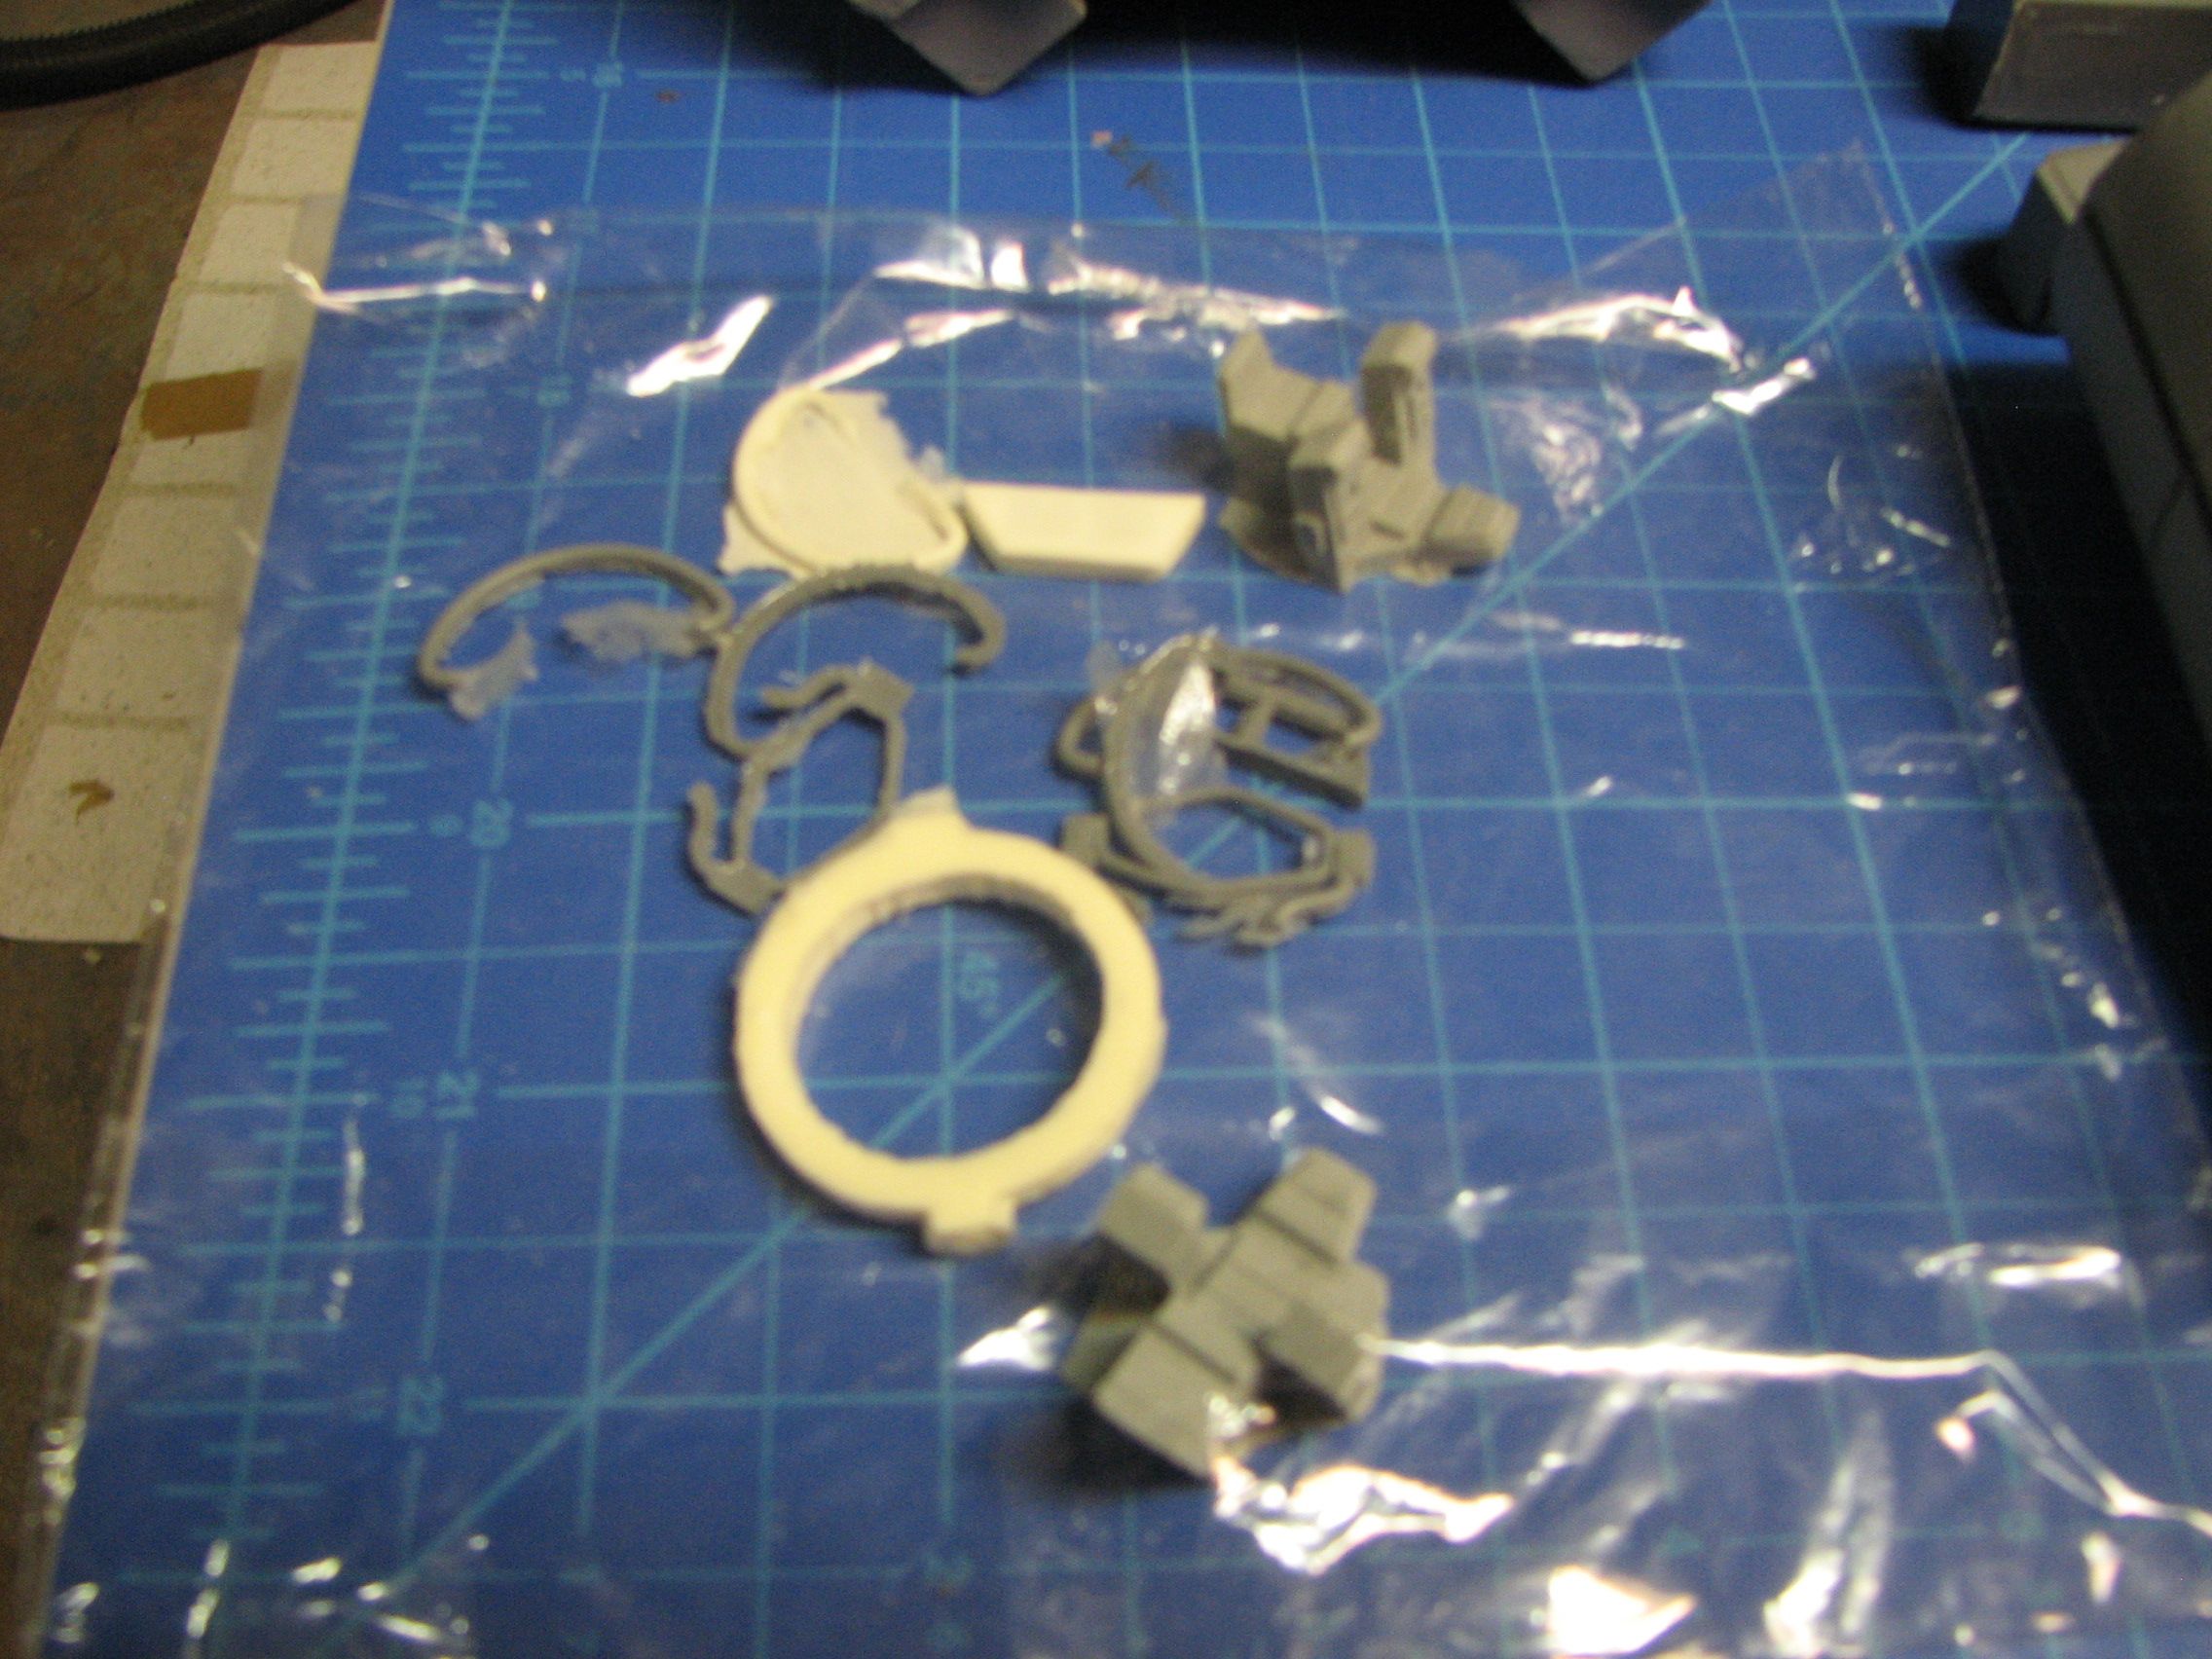
cockpit parts
|
 |
Stated scale: |
1/48 |
  
|
Actual scale: |
unverified |


|
Overall length: |
|
Material(s): |
resin |
Number of parts: |
33 gray resin
1 clear vacform canopy
|
Stand included? |
yes |
Decals included? |
no |
My Source: |
Monsters in Motion |
Cost (w/o s&h): |
|

5/19/2014
Greetings, Starfighter!
I guess this has been fallow on the shelves for long enough. Plus, with the
movie turning 30 this year, it seems an appropriate time to take this on. And a
good excuse to watch the movie again.
I've been working on this for about a week and have decided to build this
with lighting. Fortunately the resin is largely hollow-cast so that cuts down on
the drilling, boring, grinding, and cutting needed to run wires and fiber. So
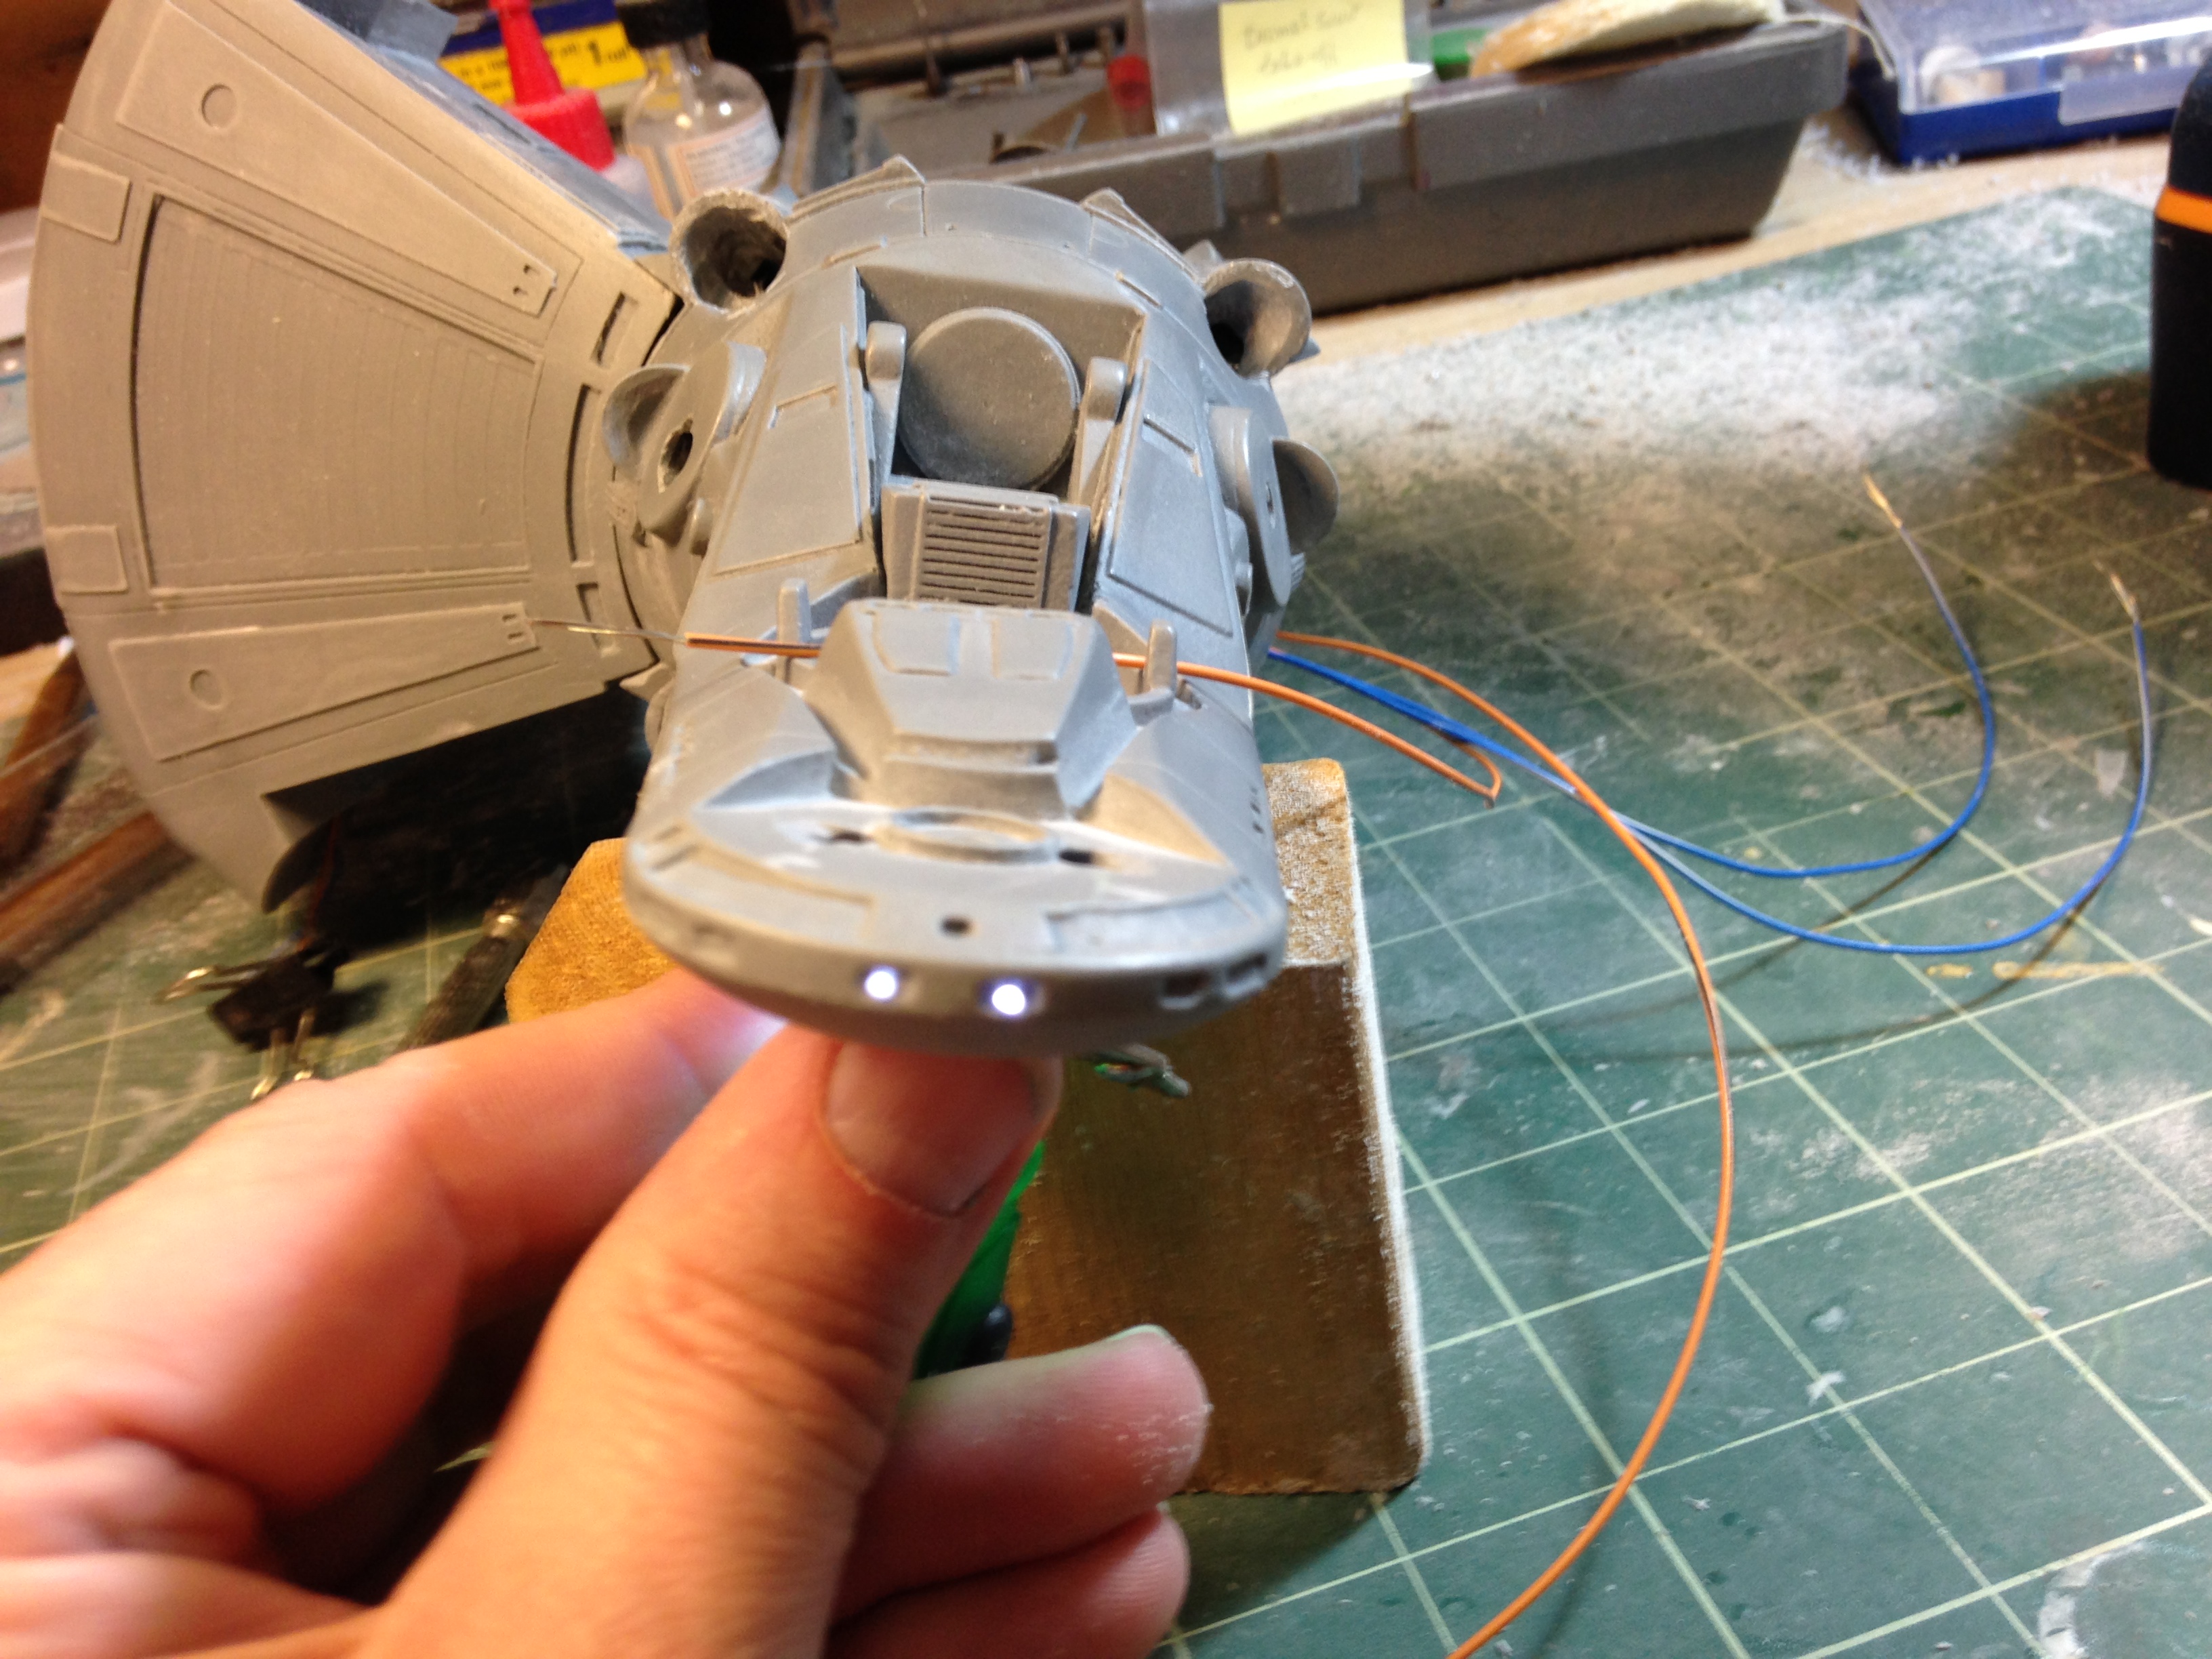
far the lighting scheme includes...
- Engines, of course - diffused white LEDS.
- Gun turrets - there are small red lights in all guns.
- "Headlights" - there are two small red lights in the ship's nose.
- Cockpit - chair arm consoles, fore gunner console and heads-up display
Well, let's back up a go over the story so far.
 |
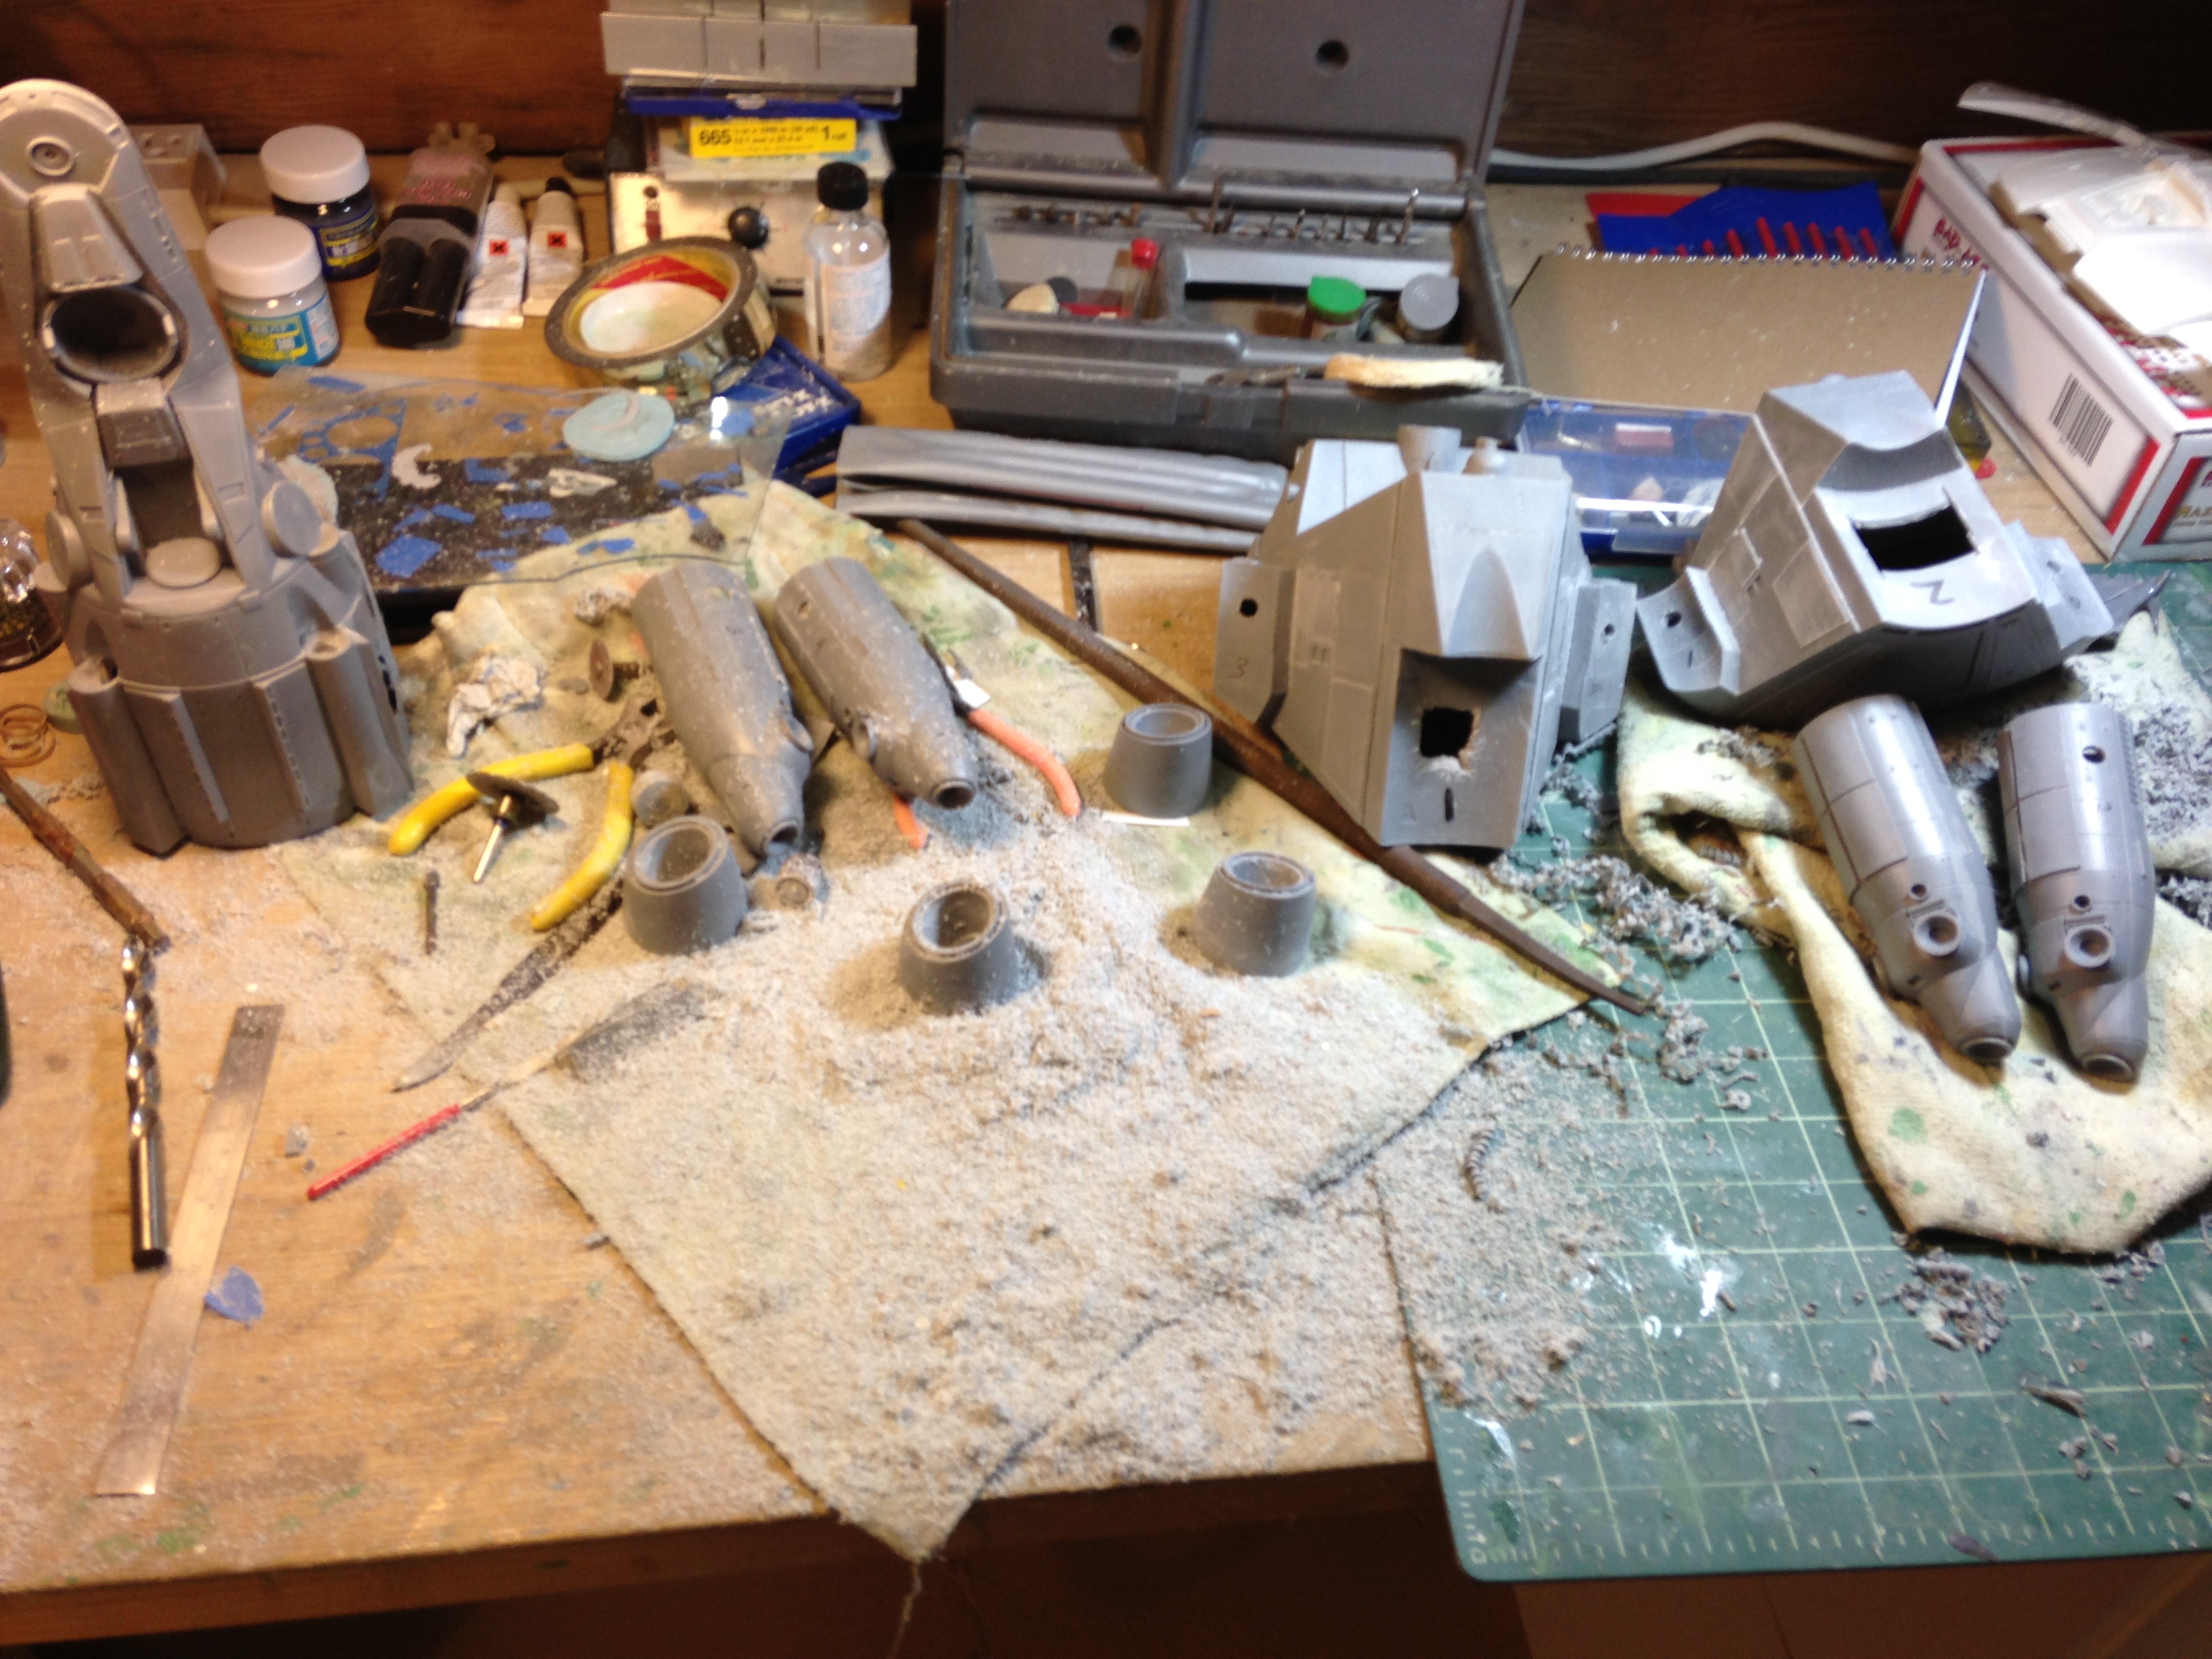
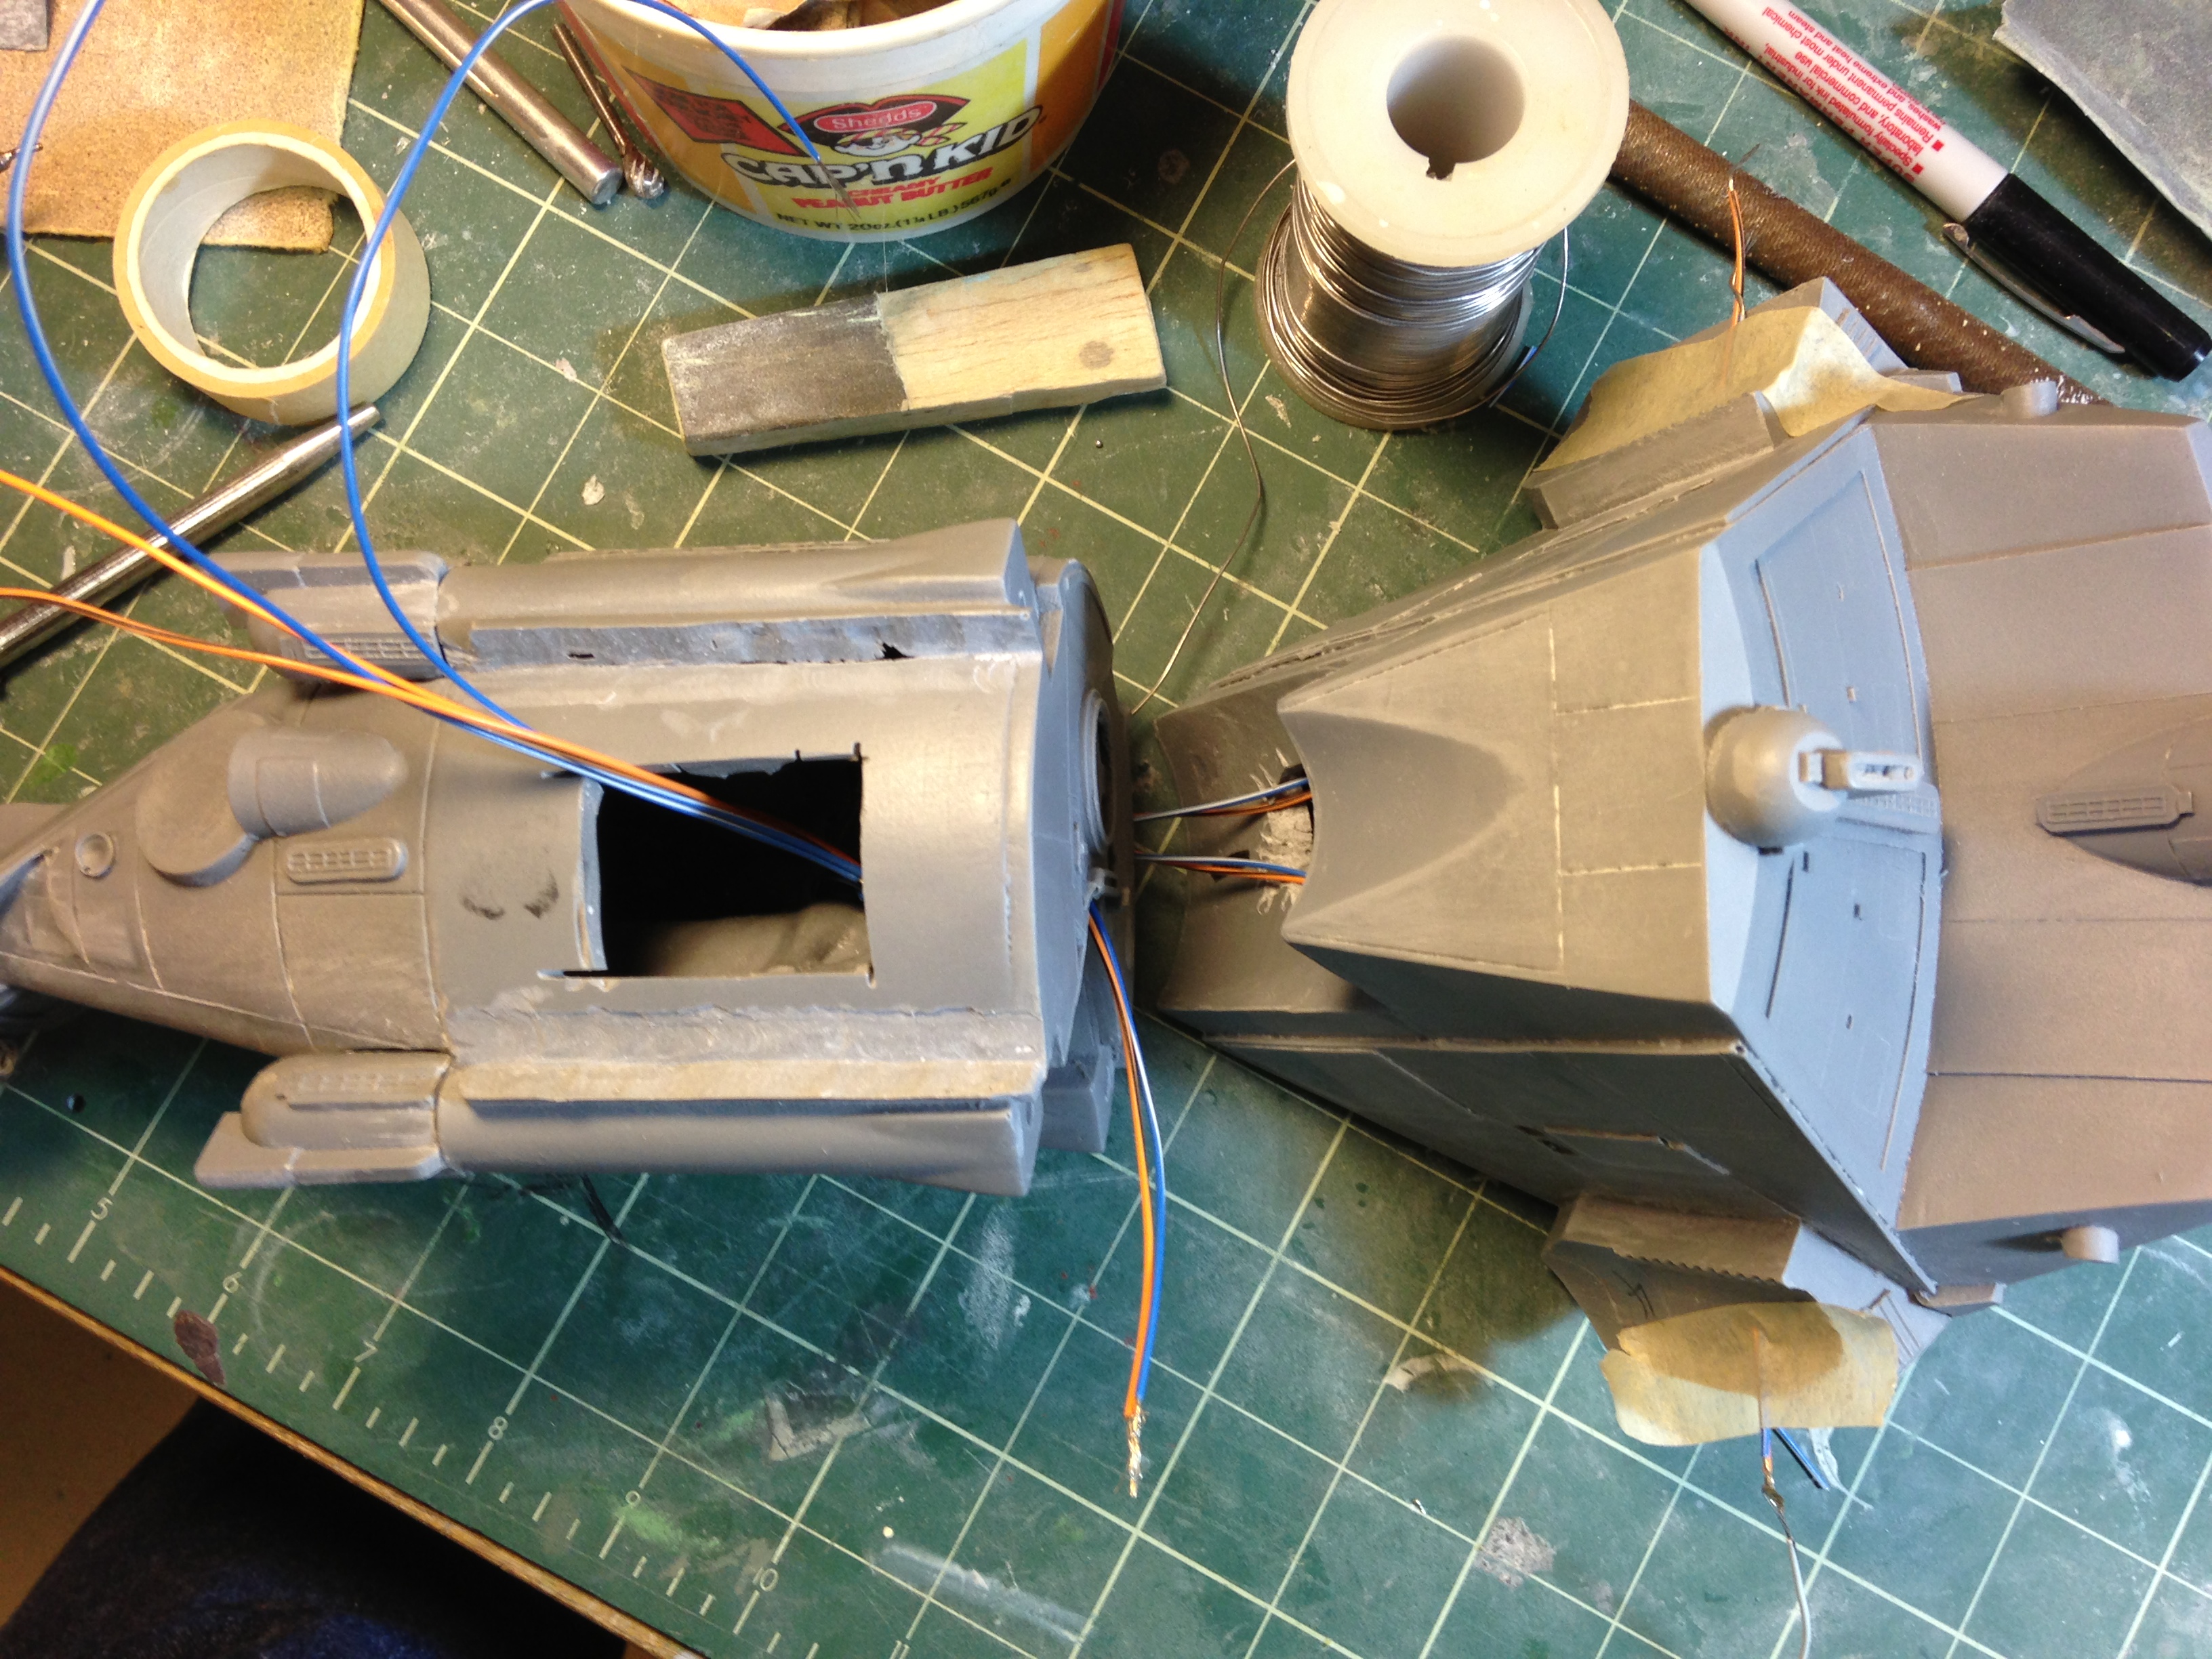
After cleaning the parts with Formula 409 to remove mold release, the main
start to construction was to open up the body, engine pods, and engines for
wiring runs. I used my Dremel with a cutting wheel to open up the body and pods.
I swapped between a drill bit and grinding wheel to open the engines and the
engine attachment point.
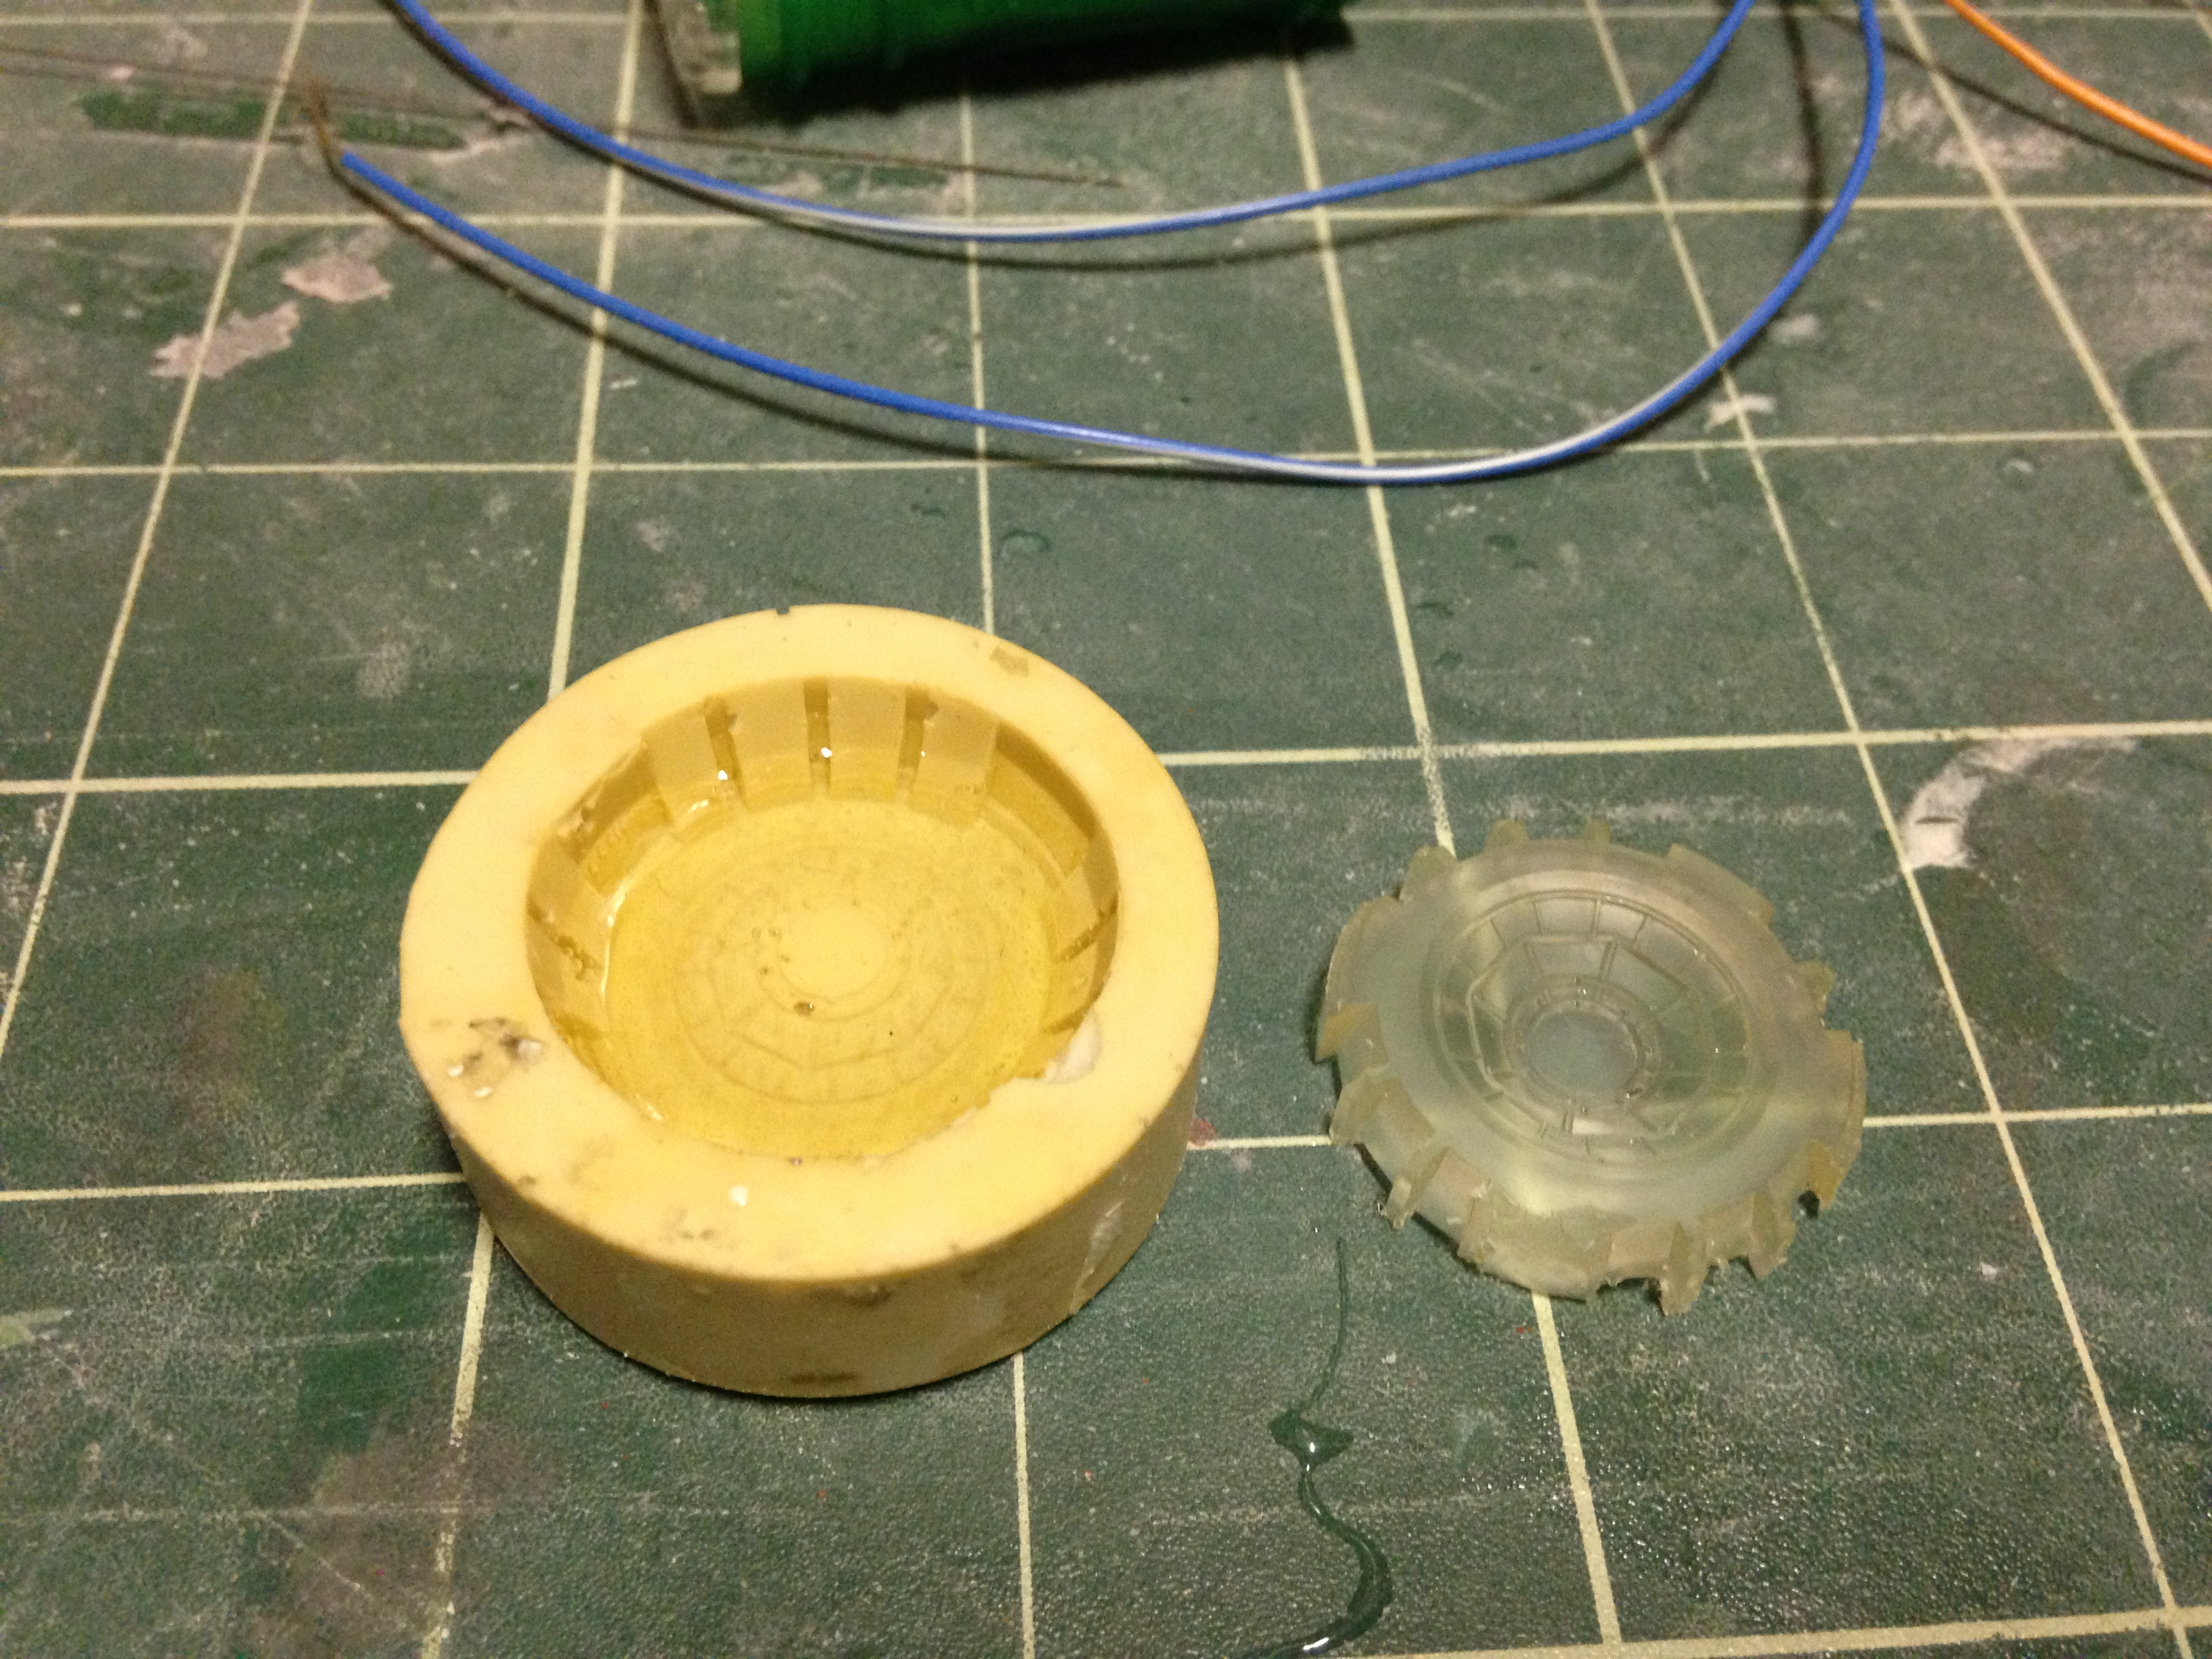
The engine aft cowlings are solid resin so for lighting I will have to
drill and bore them out so I can put in a clear insert. After a prolonged parts
box scrounge, I settled on making clear castings of 1/72 SR-71 afterburners.
|
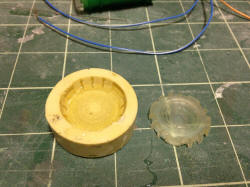 |
The castings are 2ml in volume using a 24-hour epoxy - one of those
craft clear-coats. The slow cure allows bubble-free castings. I've got
time. |
 |
With the parts opened up I ran pairs of wires for all 4 engine
mounting points. Another pair of wire runs out through a wiring port at
the base of the lift.
You may notice a lot of grinding went on at
those flanges on the side of the body. That is where the engine pod has
to fit in and the space was too narrow. There was a 1/16" gap between
the pod and body. I ground back those flanges until the pod would fit as
closely as possible to the body. |