|

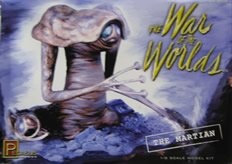
The Martian
War of the Worlds (1952)
Pegasus Hobbies
Parts:
front
|
back | lenses & books
|
 |
Stated scale: |
1/8 |
 
|
Actual scale: |
unverified |

|
Overall length: |
|
Material(s): |
vinyl, ABS |
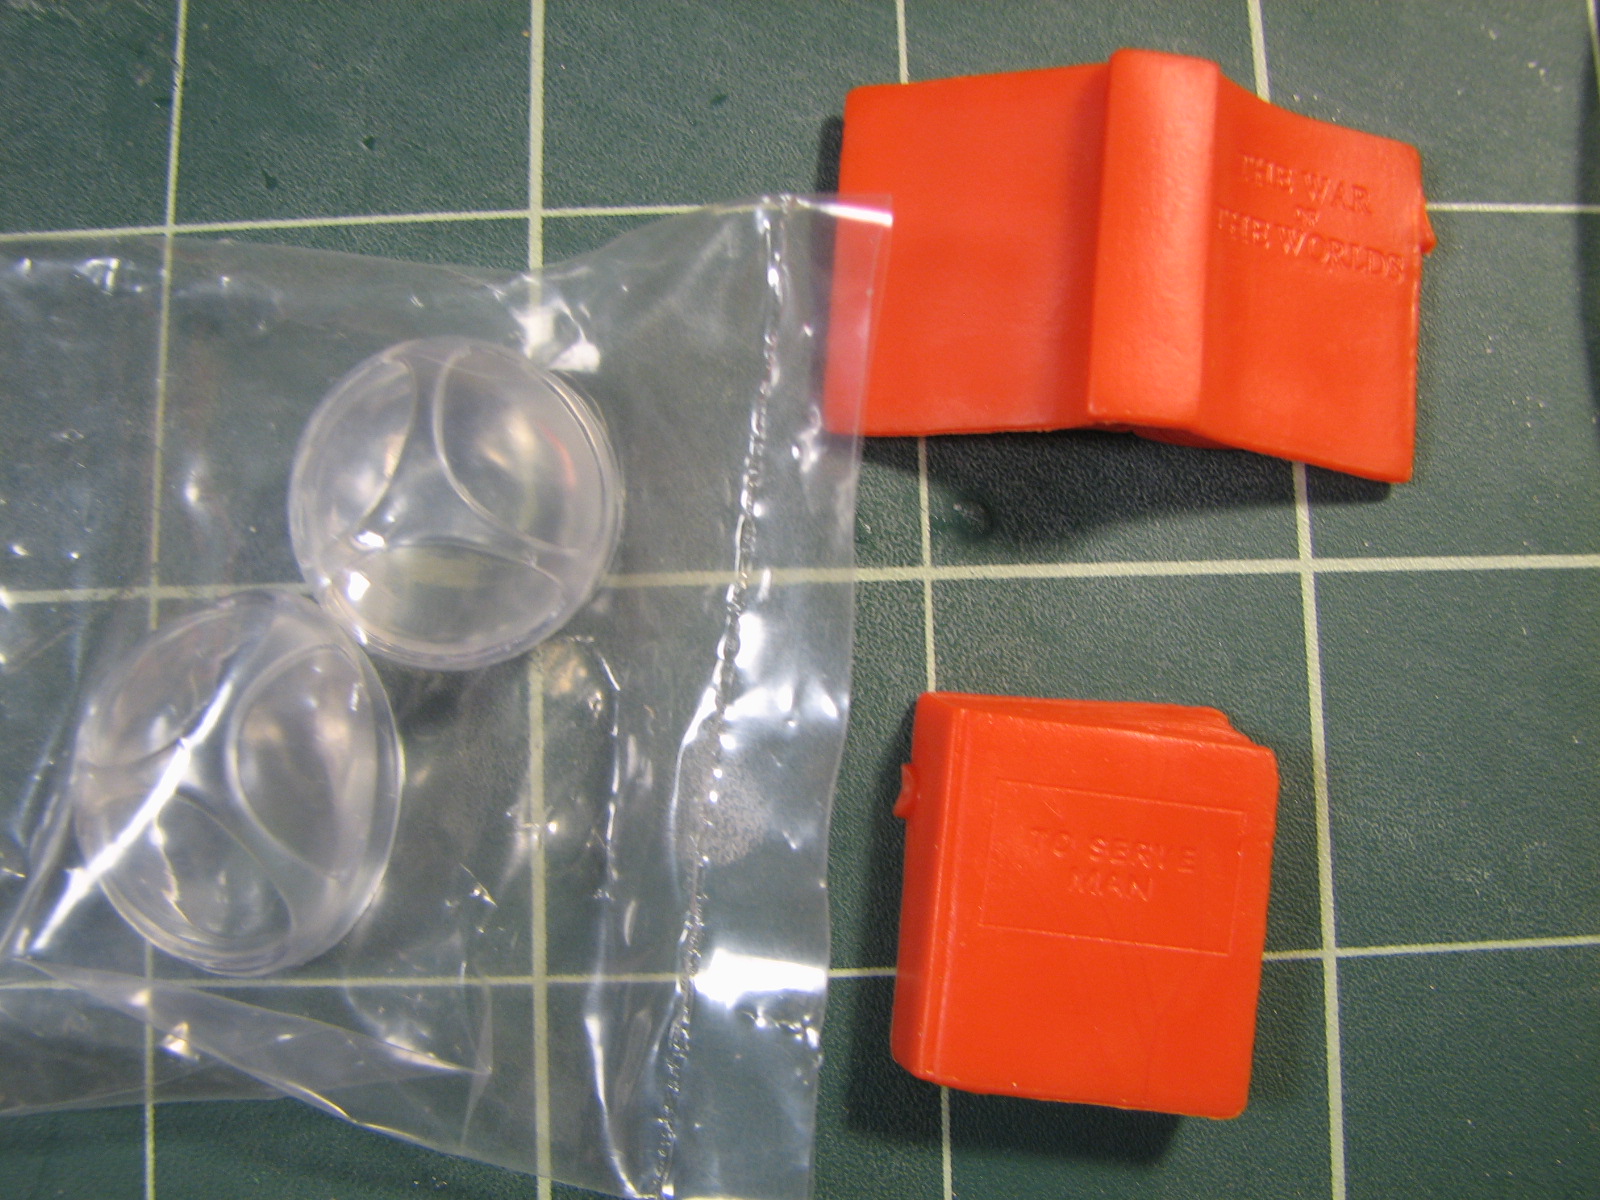
Number of parts: |
10 orange vinyl
2 clear ABS
|
Stand included? |
base |
Decals included? |
no |
My Source: |
MegaHobby |
Cost (w/o s&h): |
|

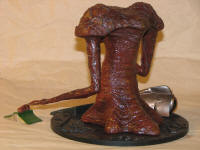
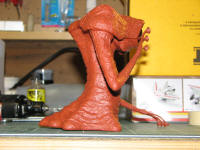
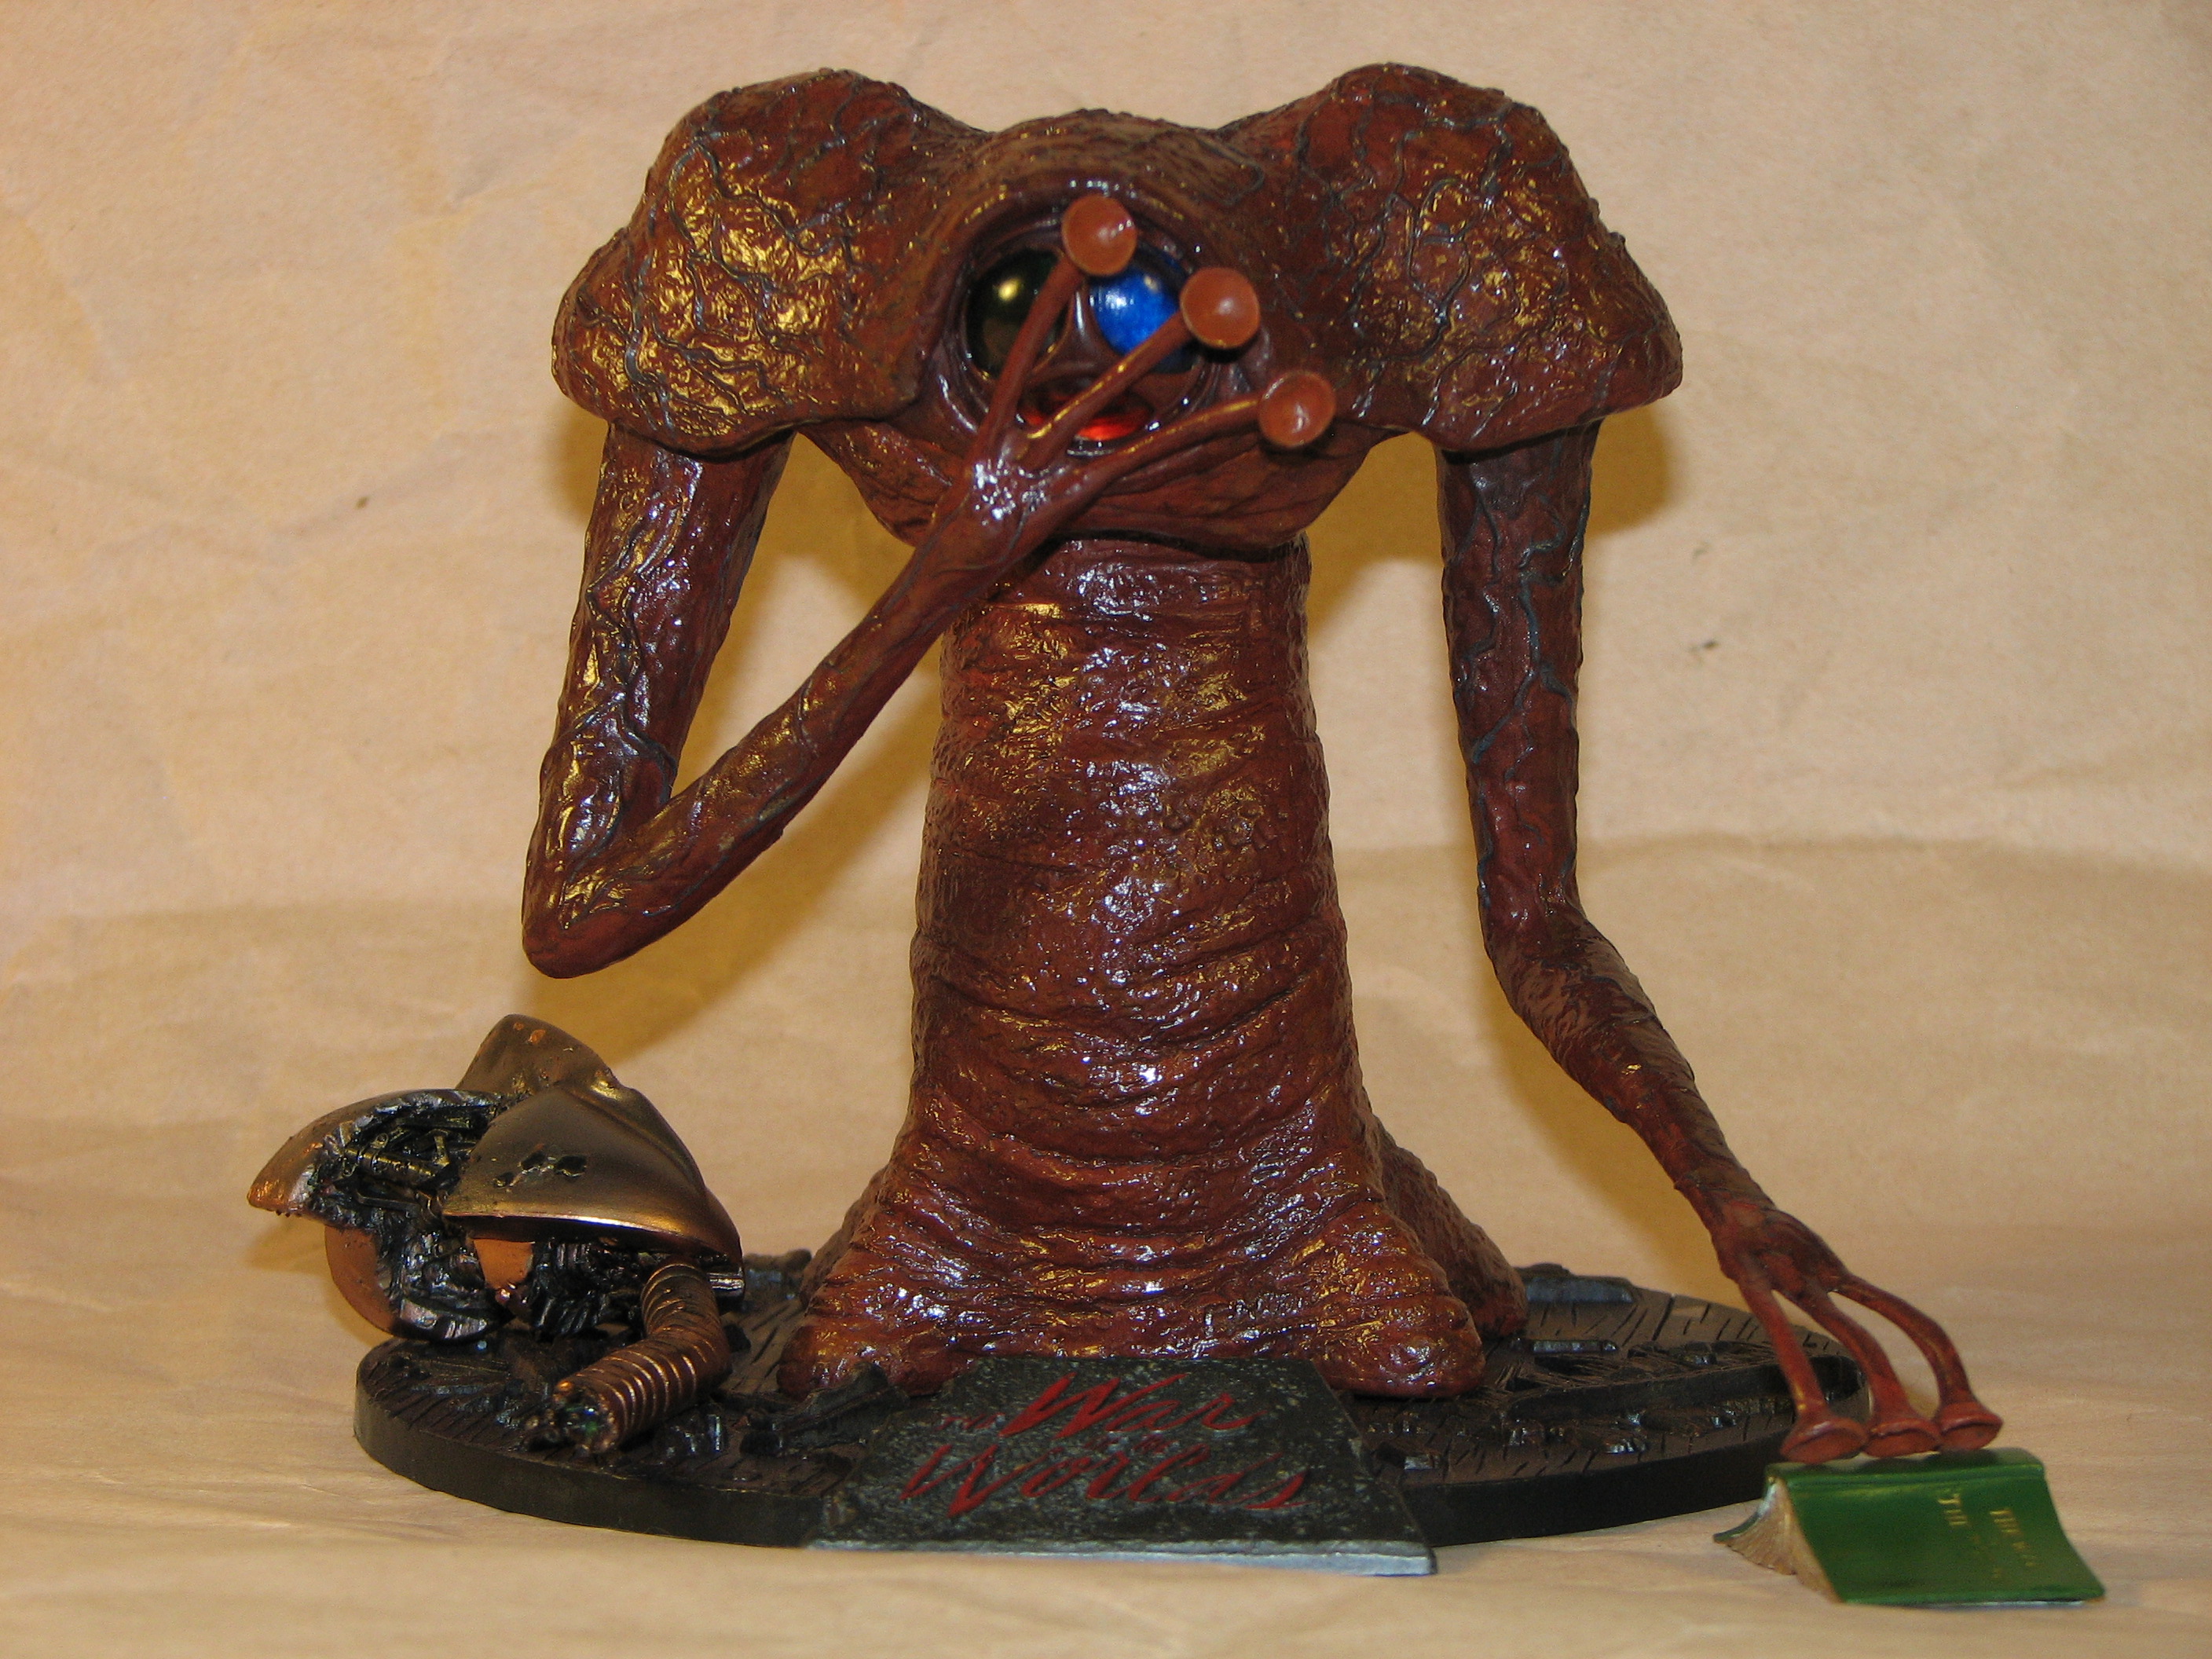
 The
Martian is one of the iconic figures from 1950s SF movies which to date hasn't
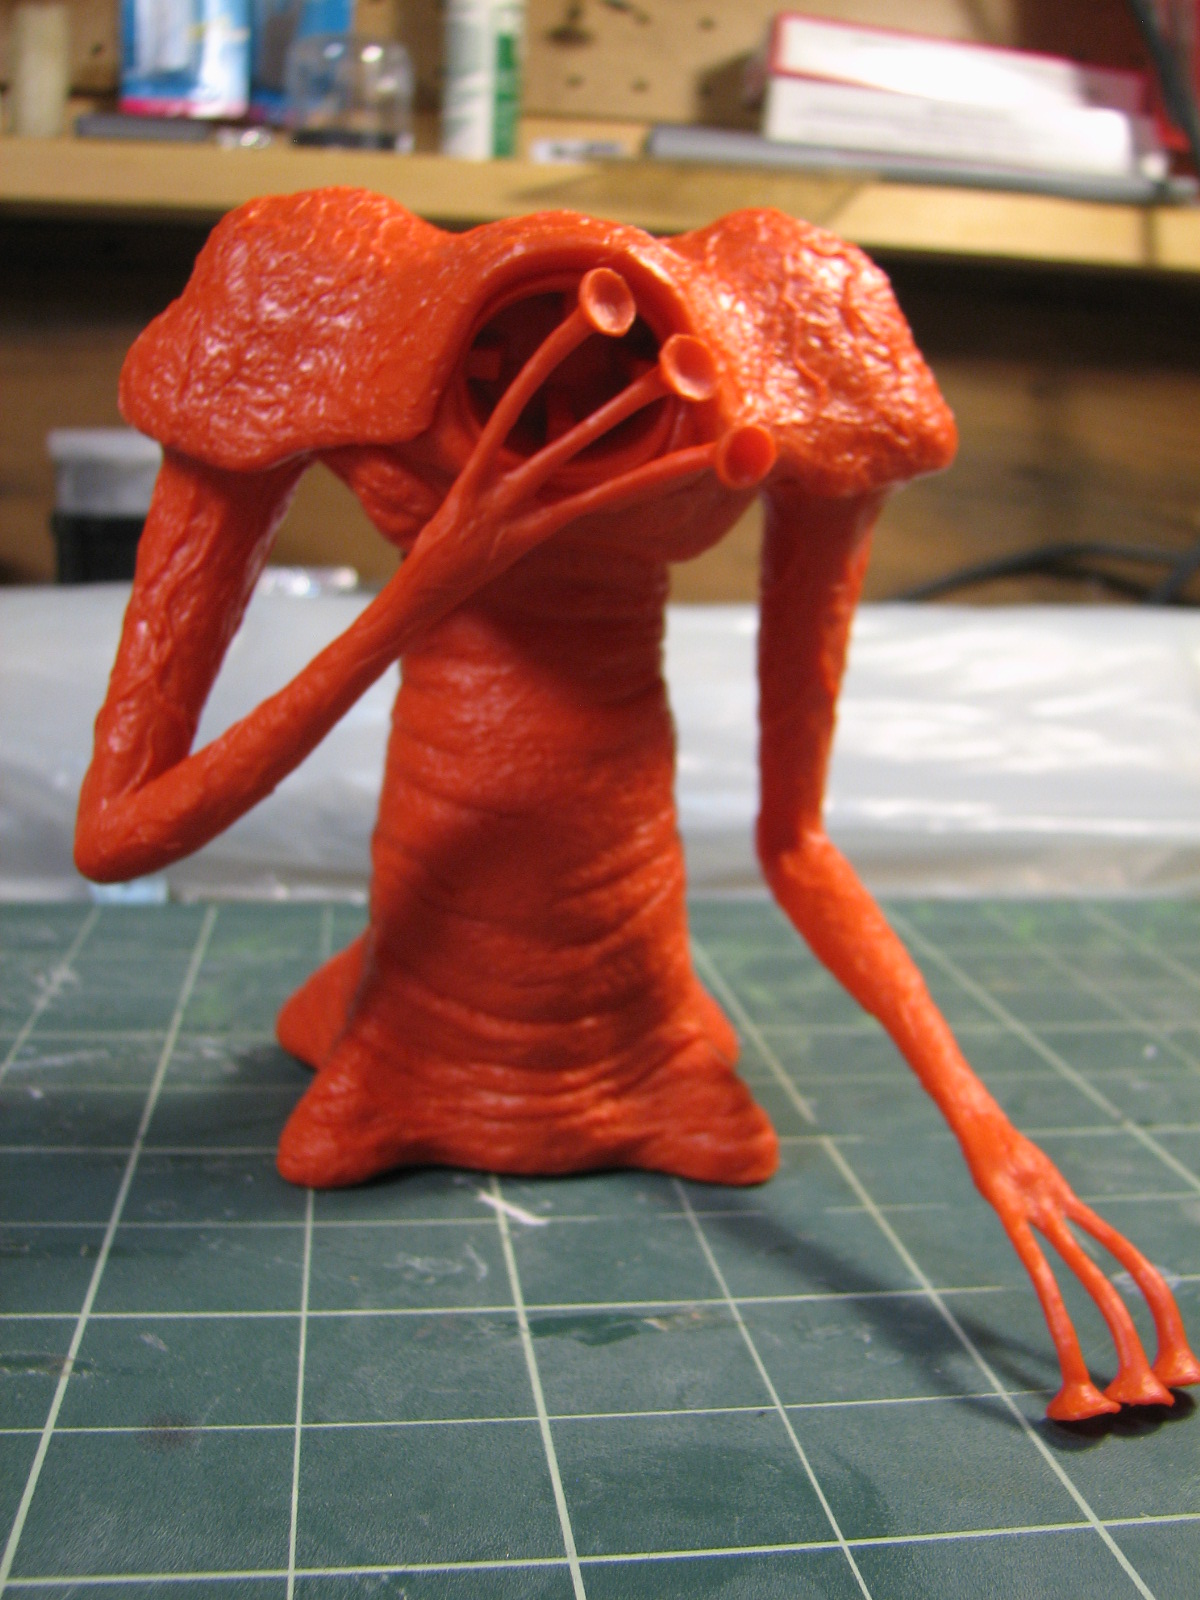
been kitted well. This kit from Pegasus remedies that situation. The figure is
cleanly molded in bright orange vinyl and hardly even needs cement to assemble.
The parts fit very well and are keyed to ensure correct
left-right placement. There are minimal seams but a little dilute putty will
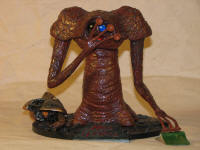
easily hide them. There are four arms included - two pose options for each arm. The base
represents the trashed farmhouse floor where Clayton Forrester and Sylvia VanBuren are trapped when a Martian cylinder crushes the house. In addition to
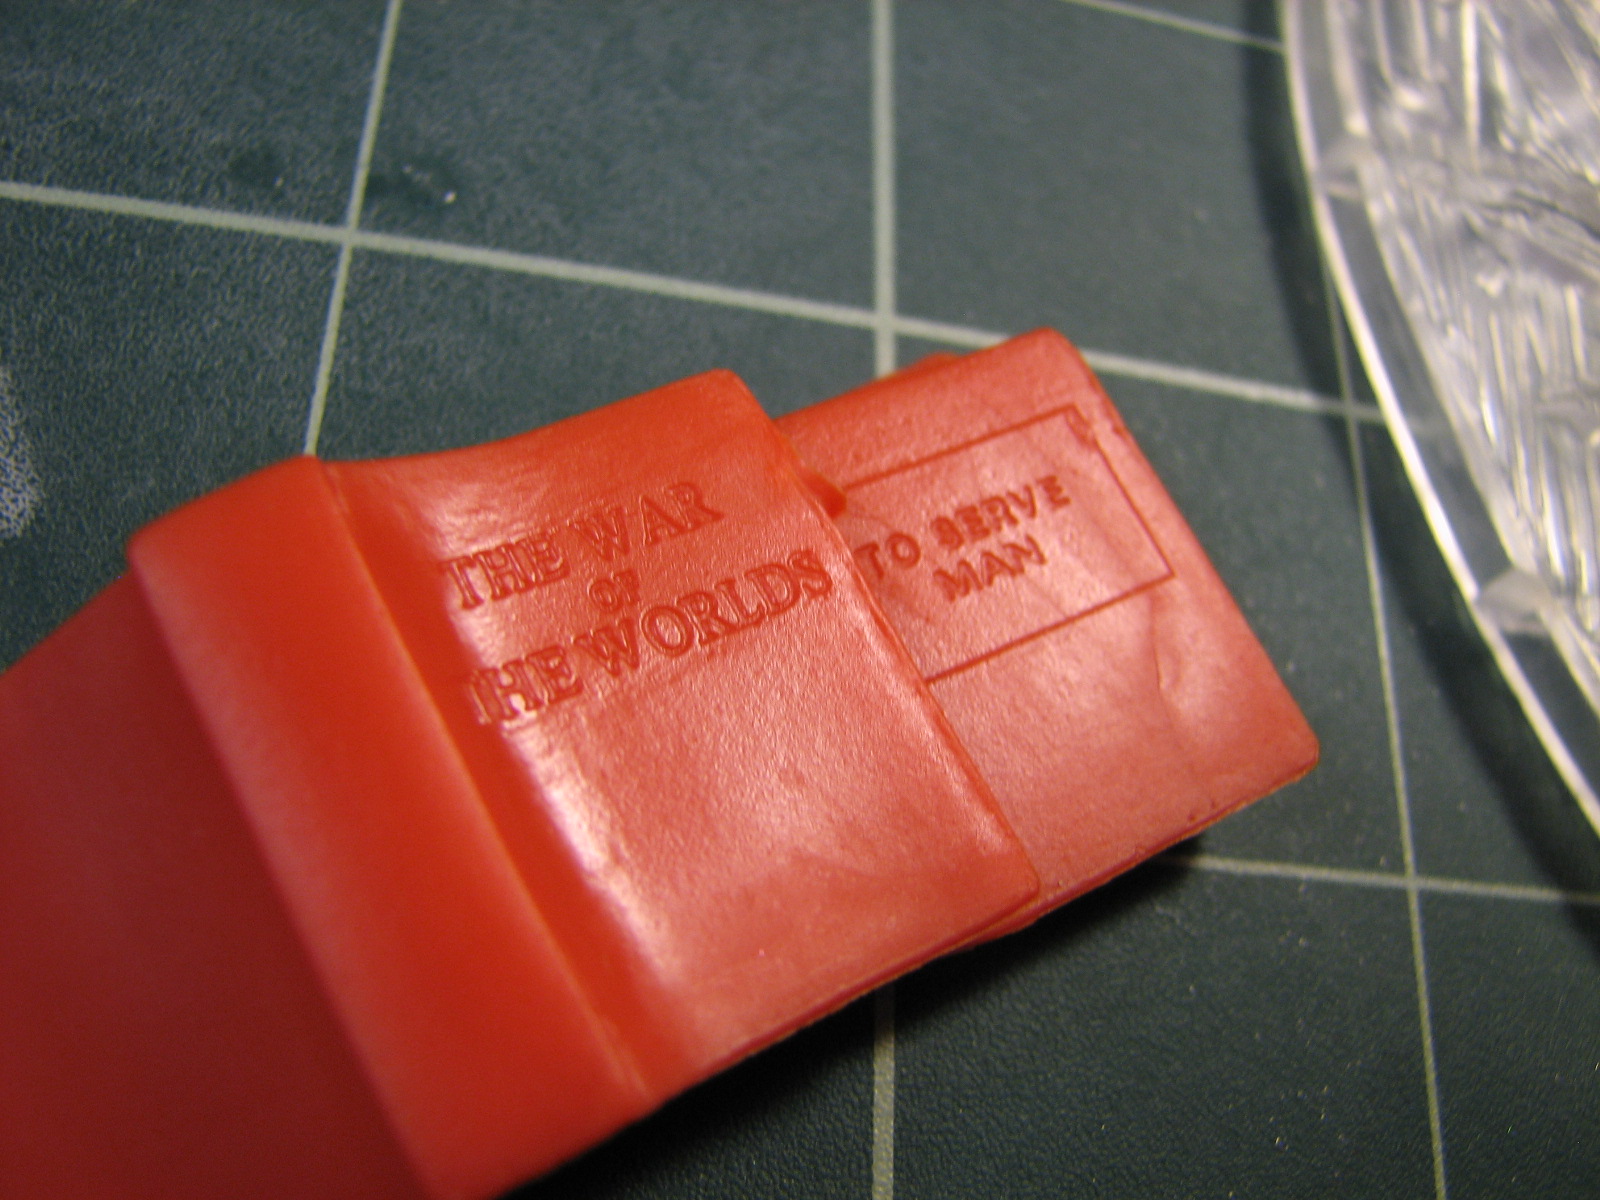
the Martian, there's an axed-up optical remote & umbilical. And you have the
option of placing two books on that floor - "copies" of The War of the
Worlds and To Serve Man. All the kit really needs to finish
it off are figures of Clayton & Sylvia.
The
Martian is one of the iconic figures from 1950s SF movies which to date hasn't
been kitted well. This kit from Pegasus remedies that situation. The figure is
cleanly molded in bright orange vinyl and hardly even needs cement to assemble.
The parts fit very well and are keyed to ensure correct
left-right placement. There are minimal seams but a little dilute putty will
easily hide them. There are four arms included - two pose options for each arm. The base
represents the trashed farmhouse floor where Clayton Forrester and Sylvia VanBuren are trapped when a Martian cylinder crushes the house. In addition to
the Martian, there's an axed-up optical remote & umbilical. And you have the
option of placing two books on that floor - "copies" of The War of the
Worlds and To Serve Man. All the kit really needs to finish
it off are figures of Clayton & Sylvia.
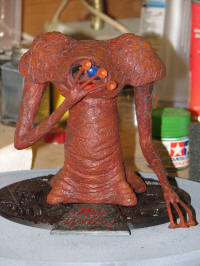
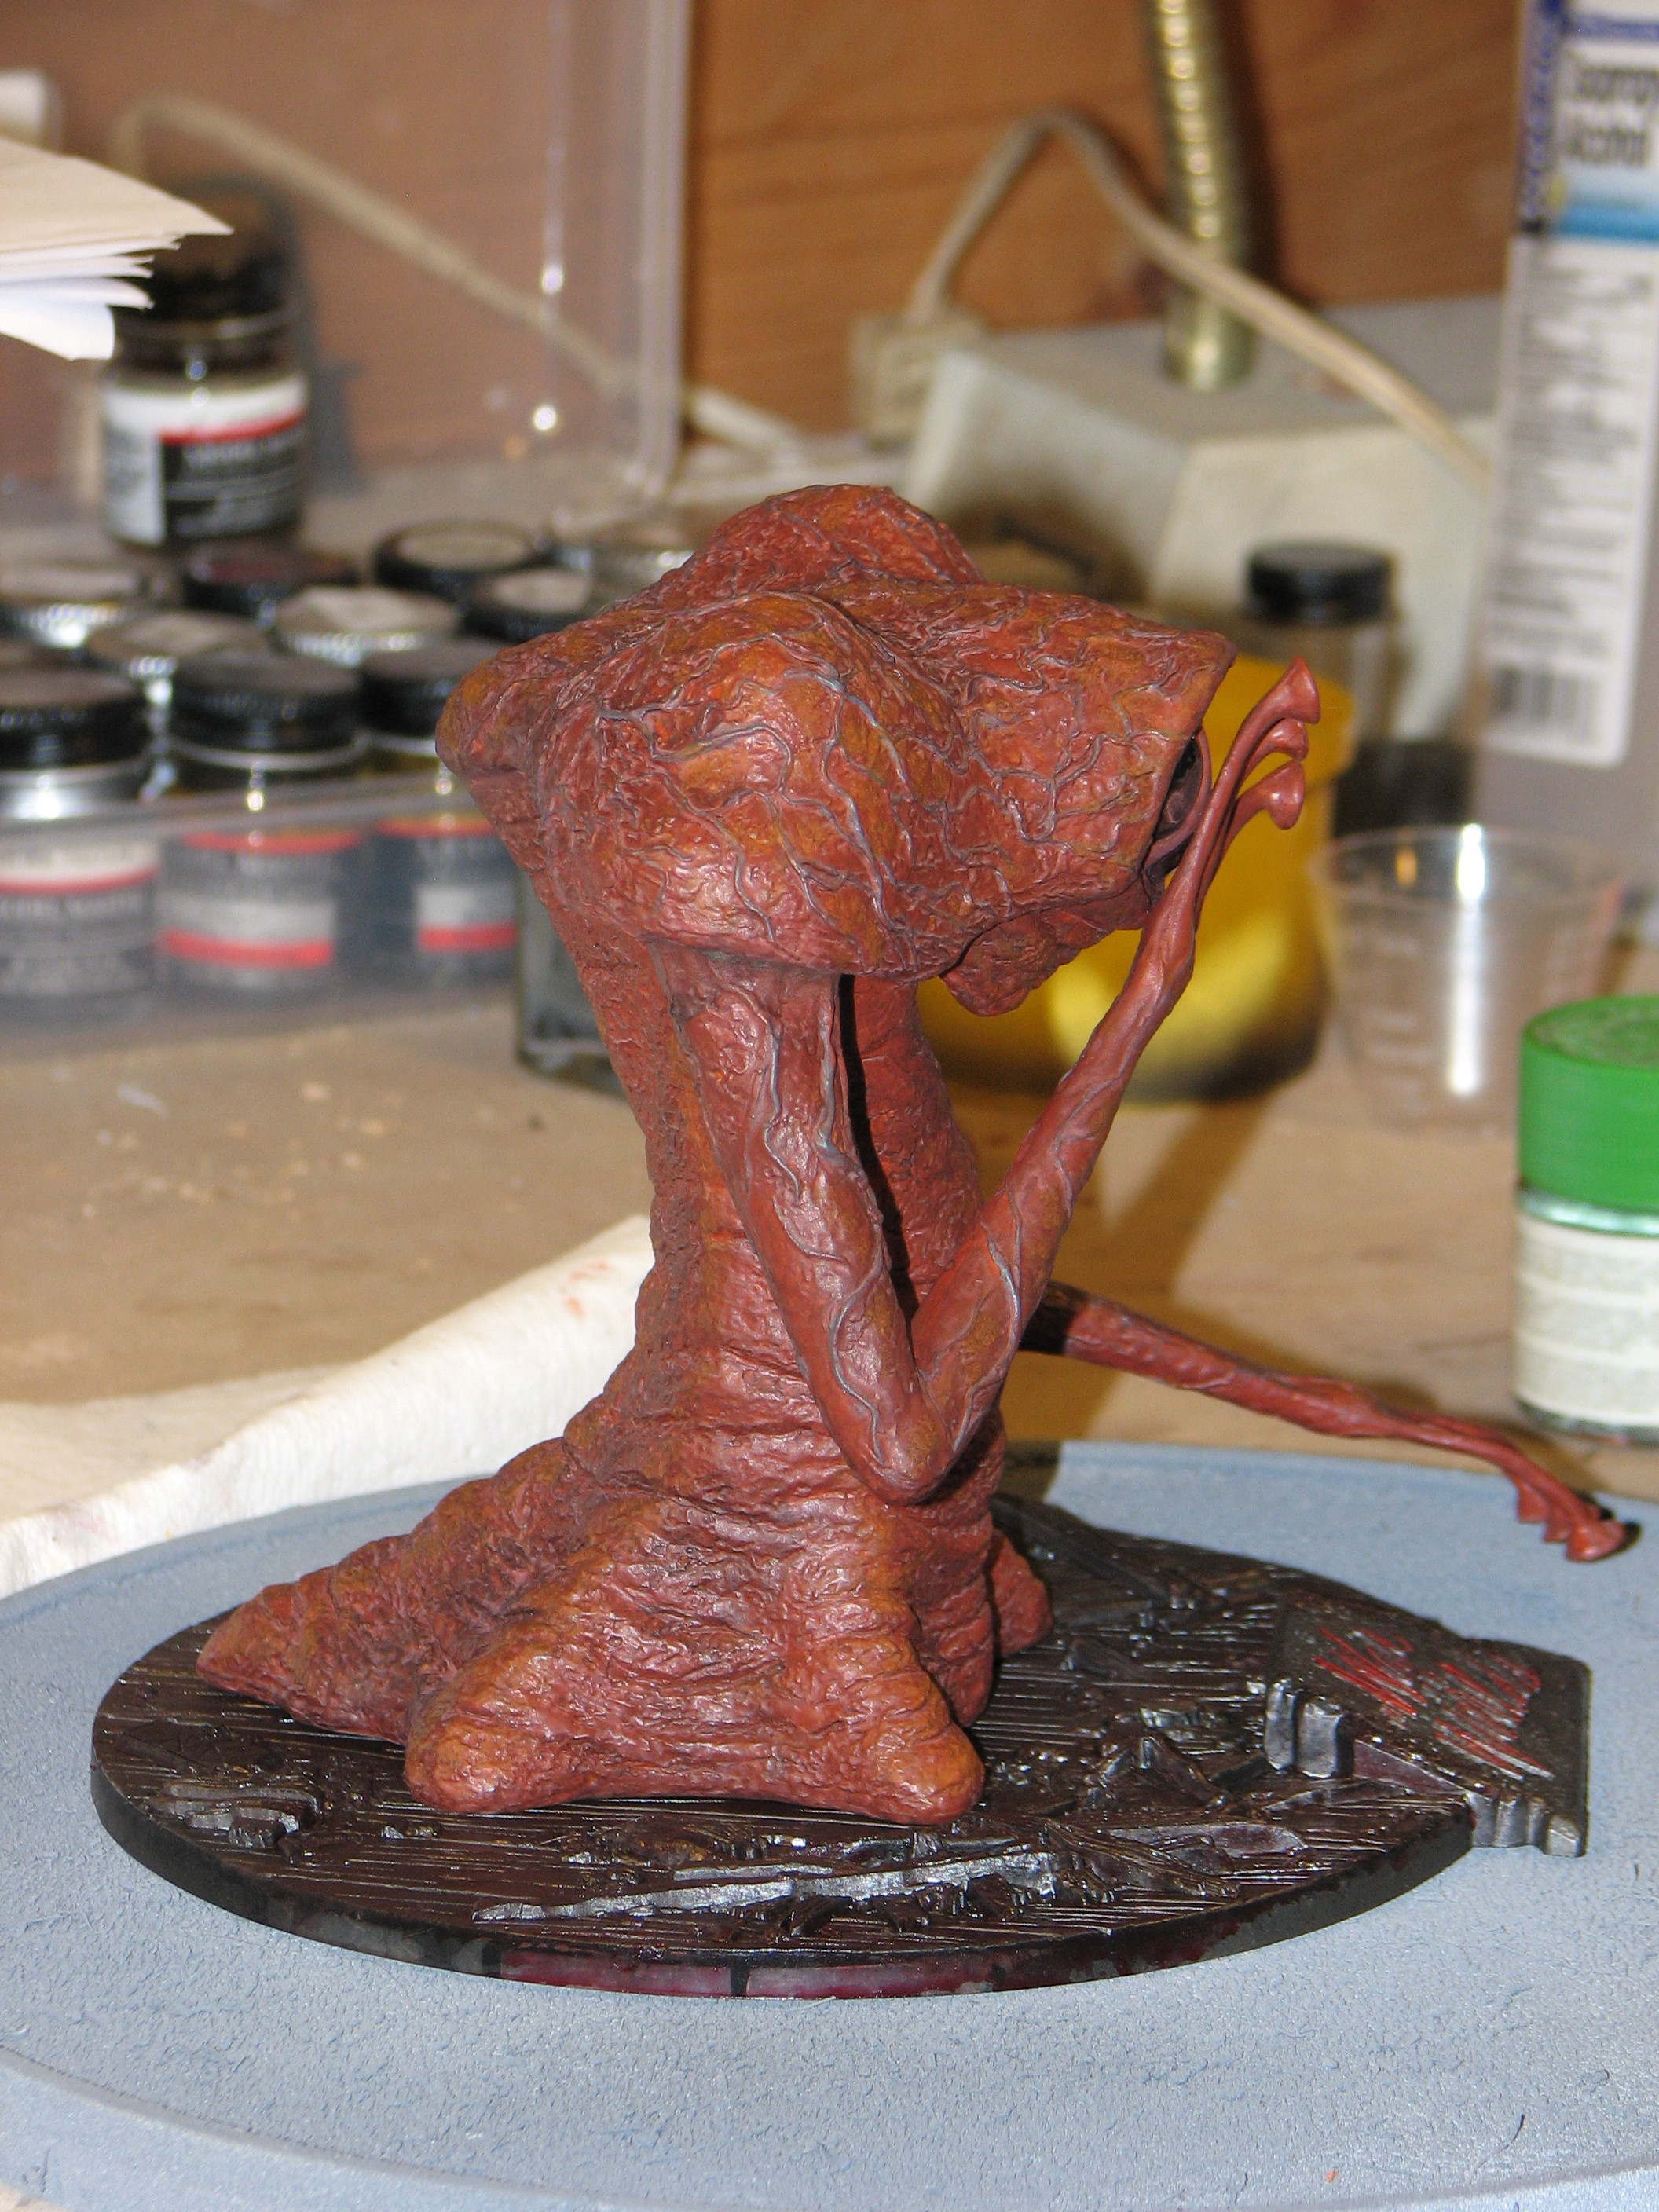
 7/23/2010
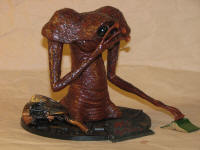
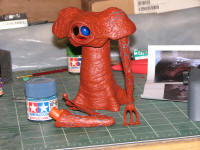
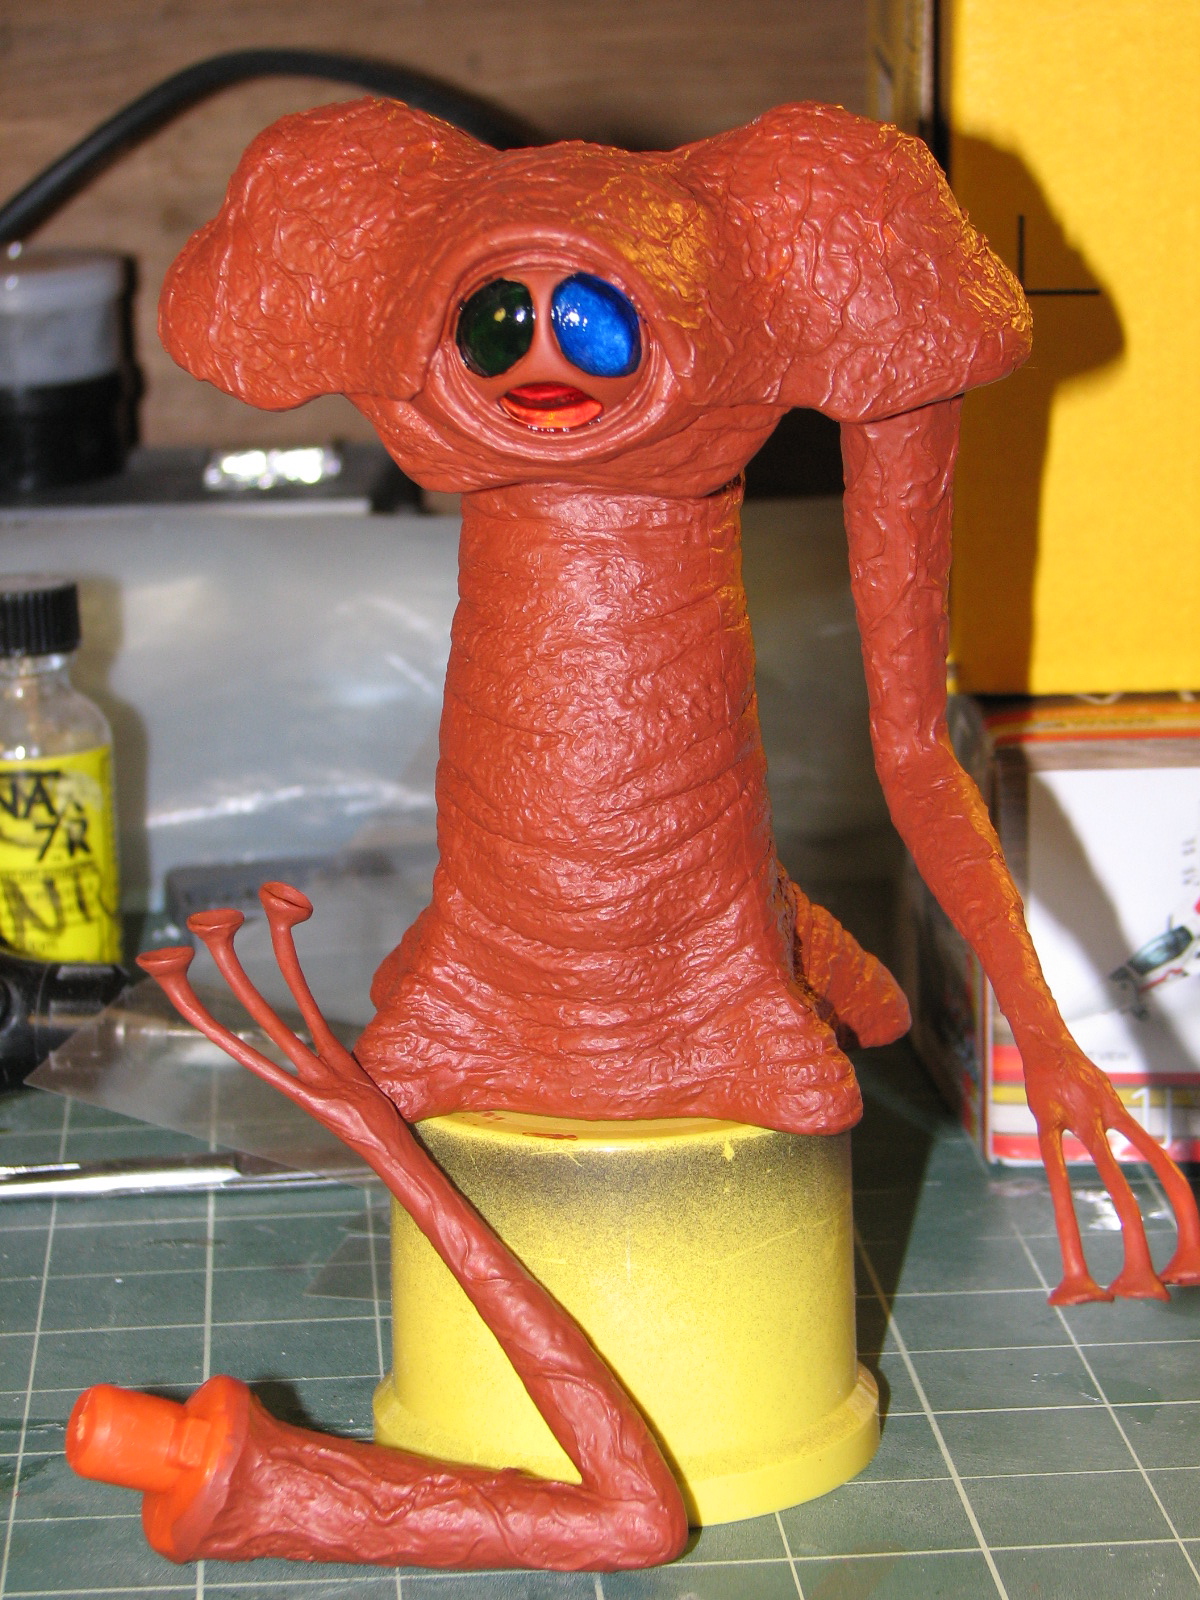
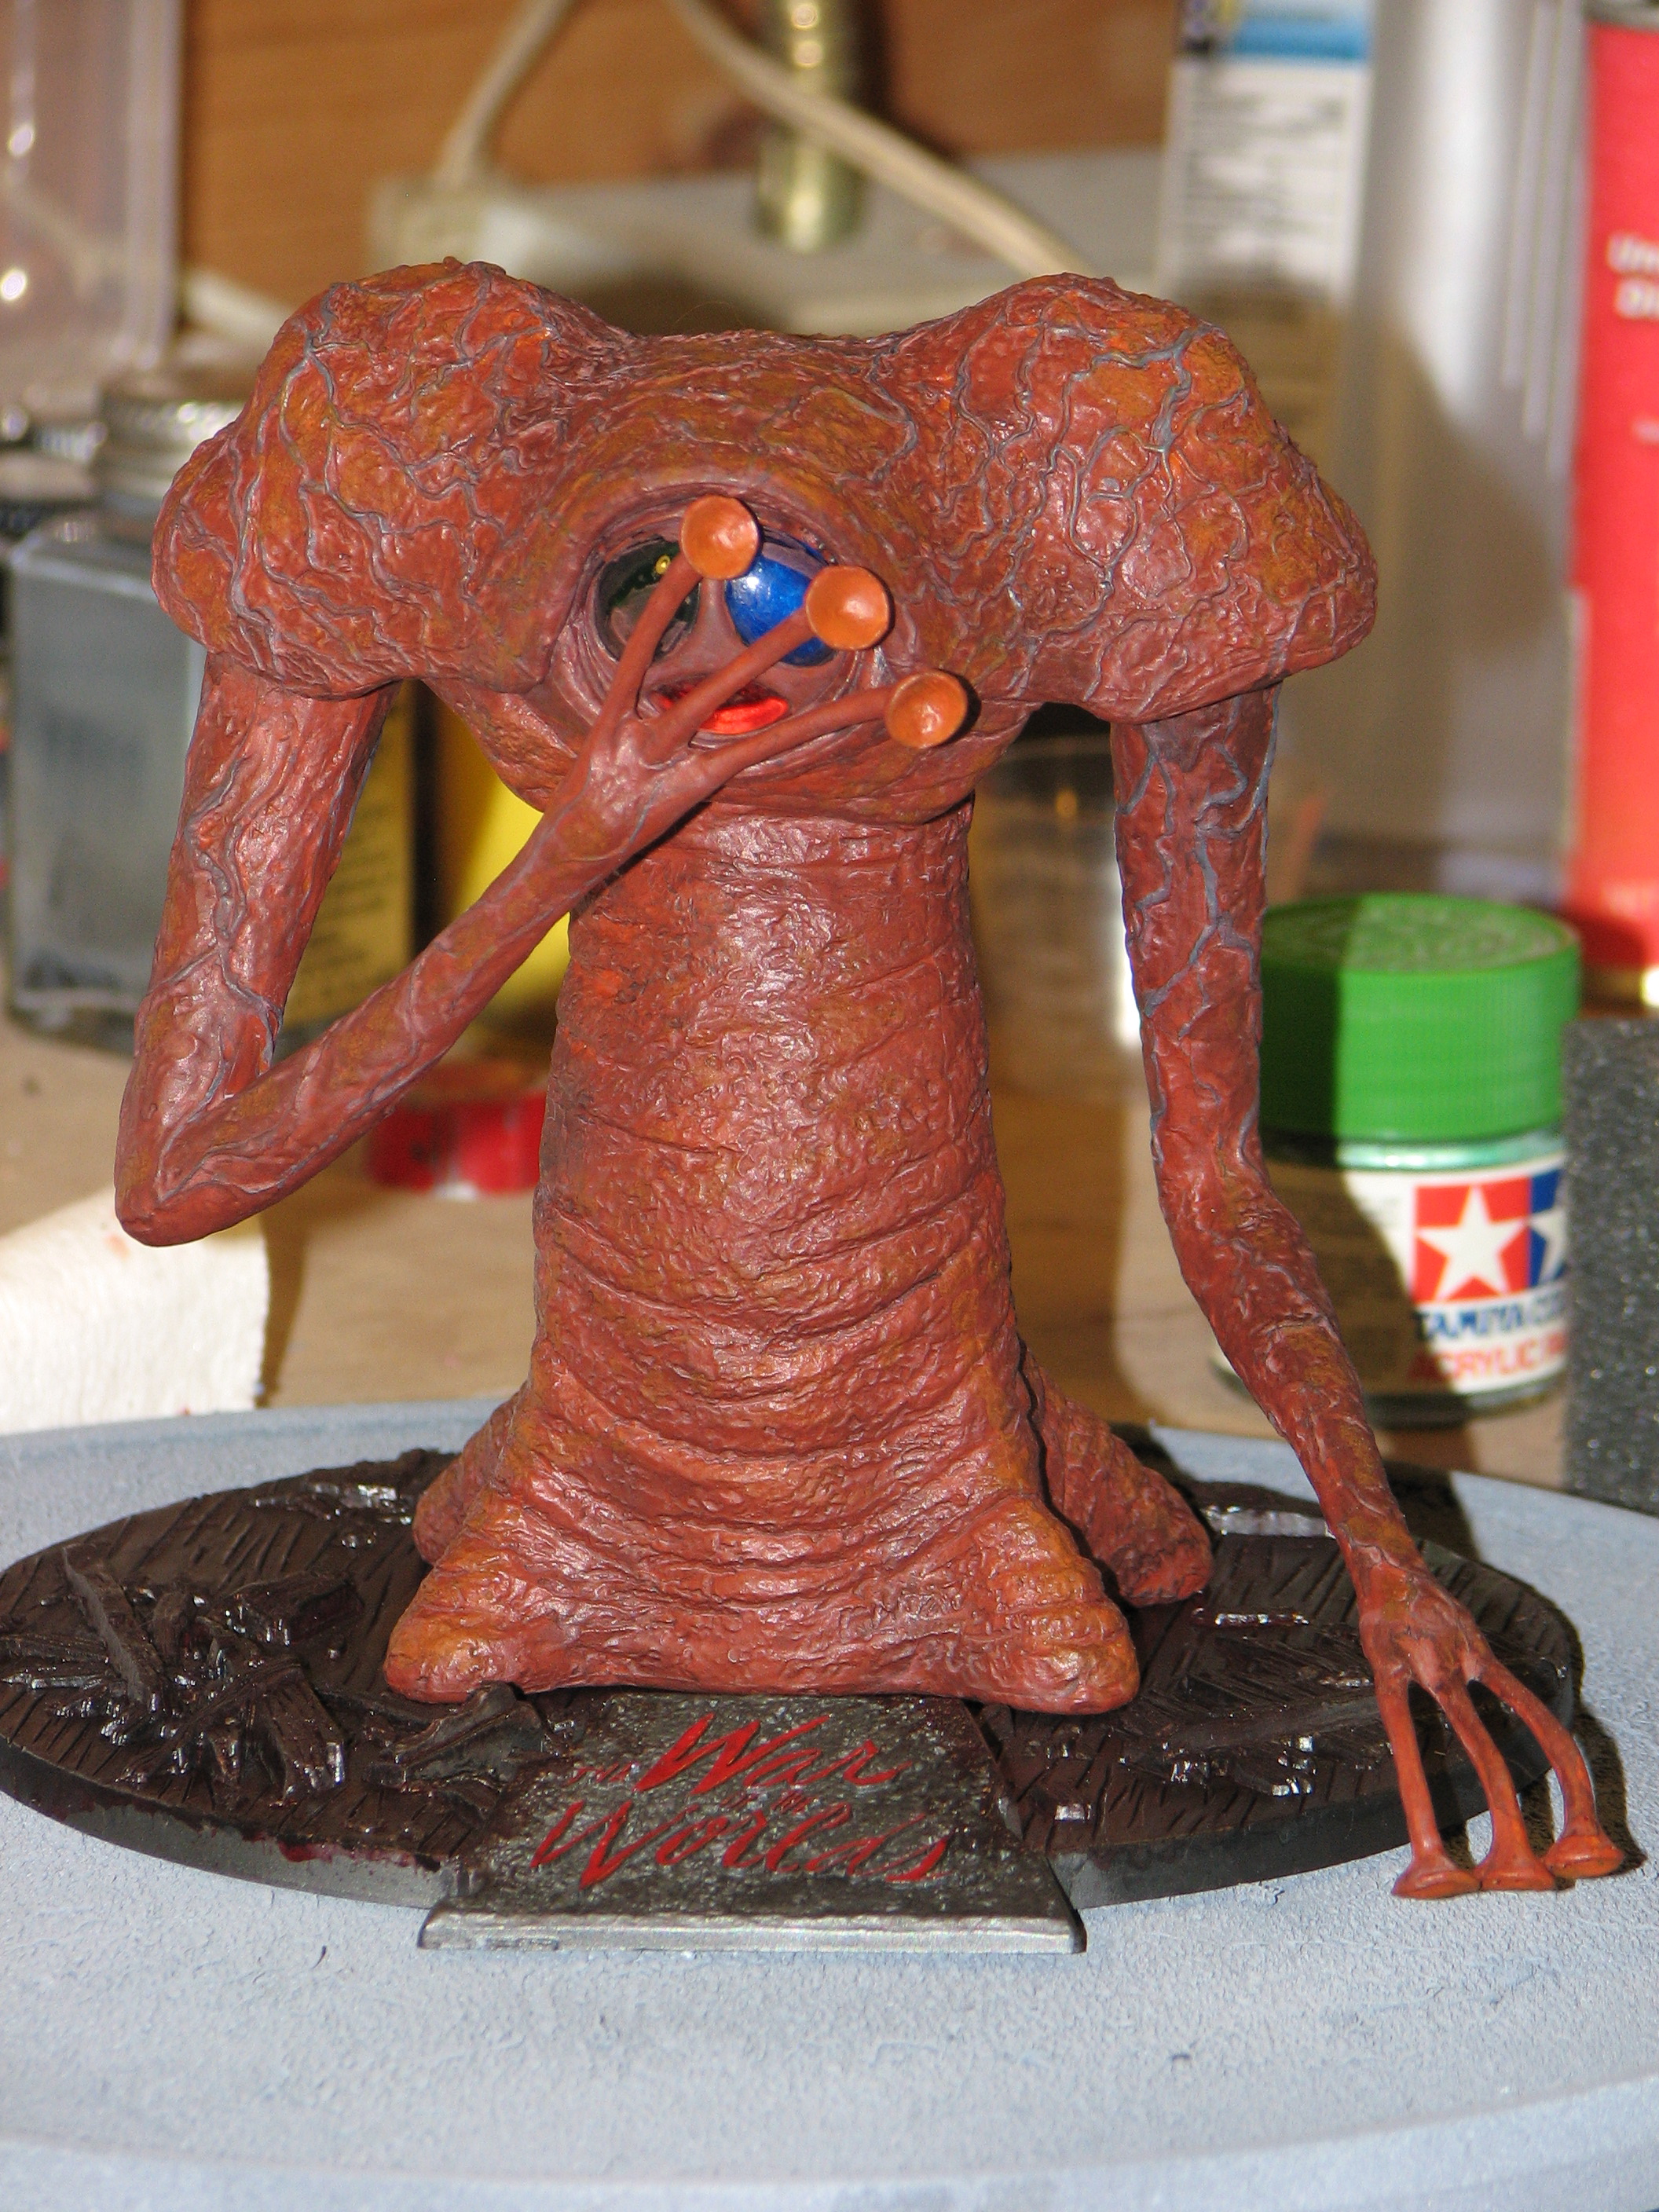
- I'm giving my Martian the "your light... it burnnssss" pose option, with one
arm held up in from of the eye. I began with scrubbing all parts to clean off
any residues. Once dry, I epoxied the head to the body, and the left arm to the
shoulder. The other arm will wait for the eye and some painting to be done.
7/23/2010
- I'm giving my Martian the "your light... it burnnssss" pose option, with one
arm held up in from of the eye. I began with scrubbing all parts to clean off
any residues. Once dry, I epoxied the head to the body, and the left arm to the
shoulder. The other arm will wait for the eye and some painting to be done.
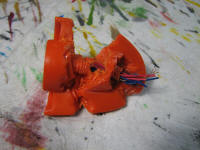
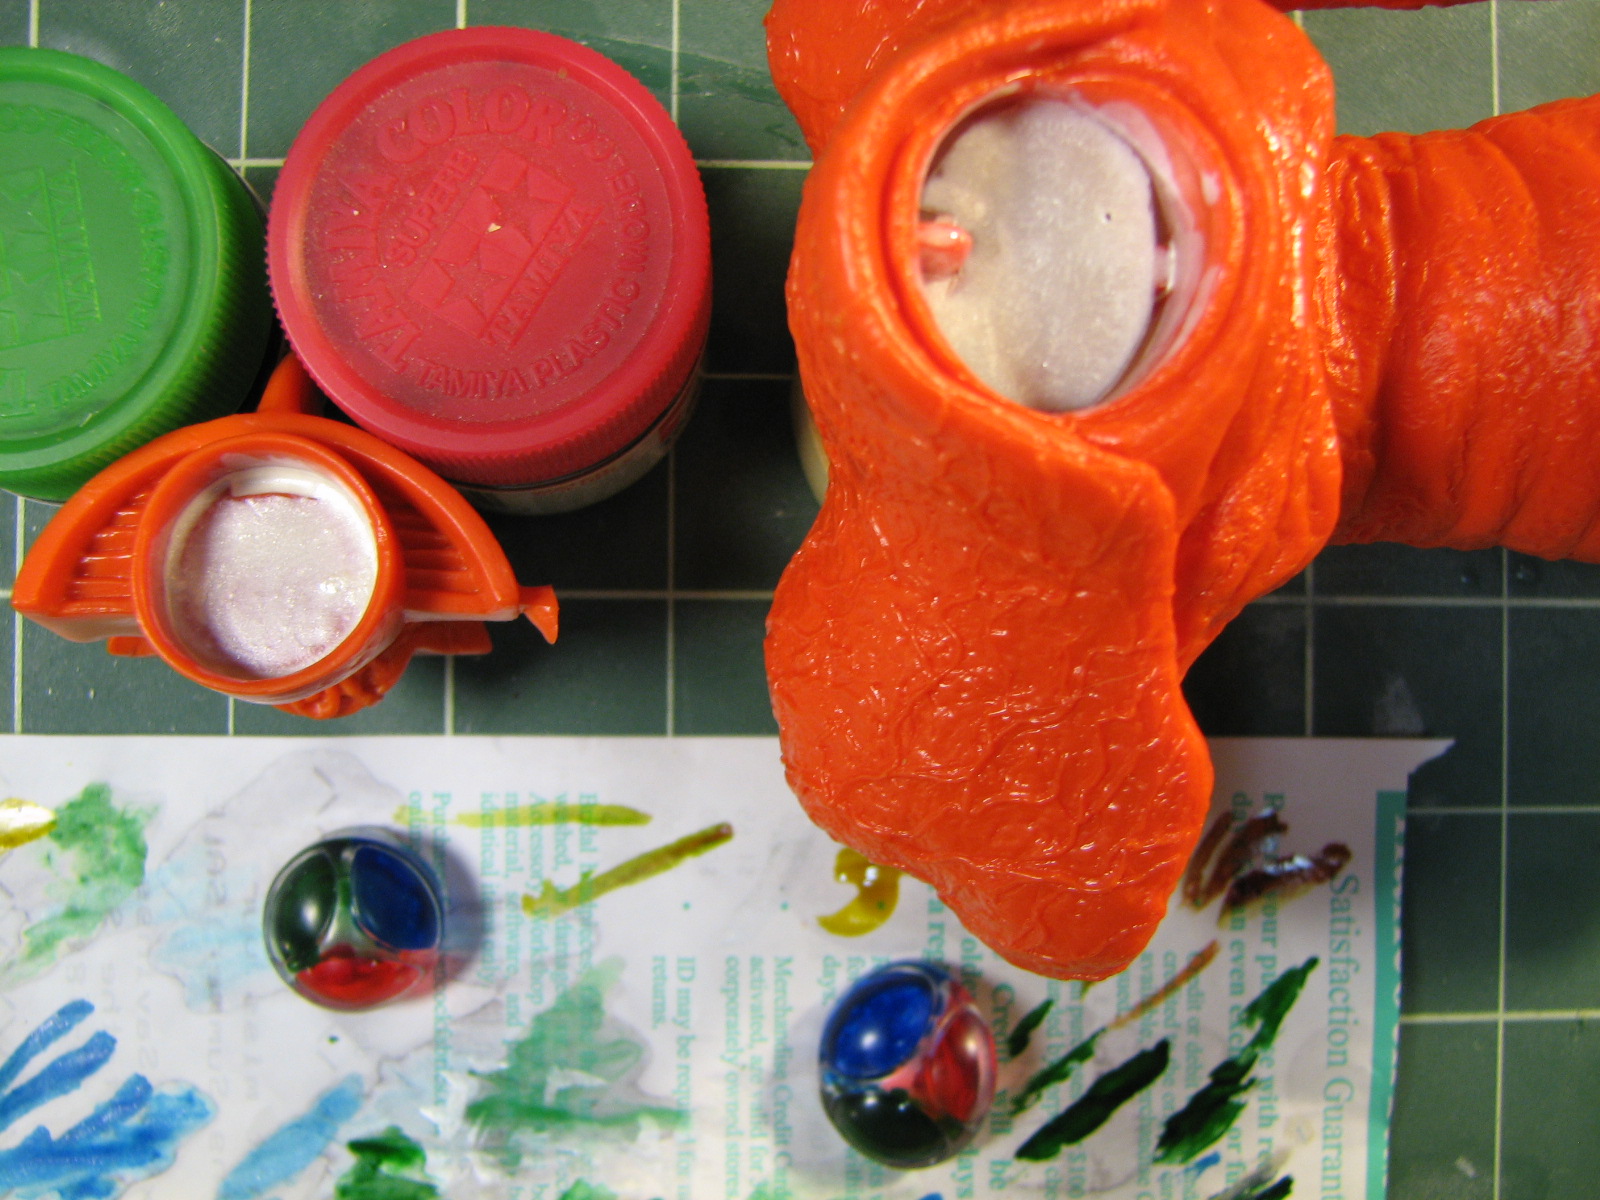
I cut a sheet of thin styrene to fit inside the eye socket and painted it,
and the remote's socket, acryl pearl white. (Running off the tricks I used for
the Omu eyes.)
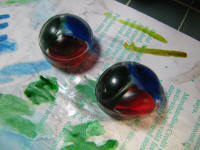
When light passes through the lens it reflects back from the pearl layer giving
the eye a lit-up appearance (see the blue lens in the primed pictures below)
I hand-painted the inside of the lenses with Tamiya transparent red, green,
and blue.


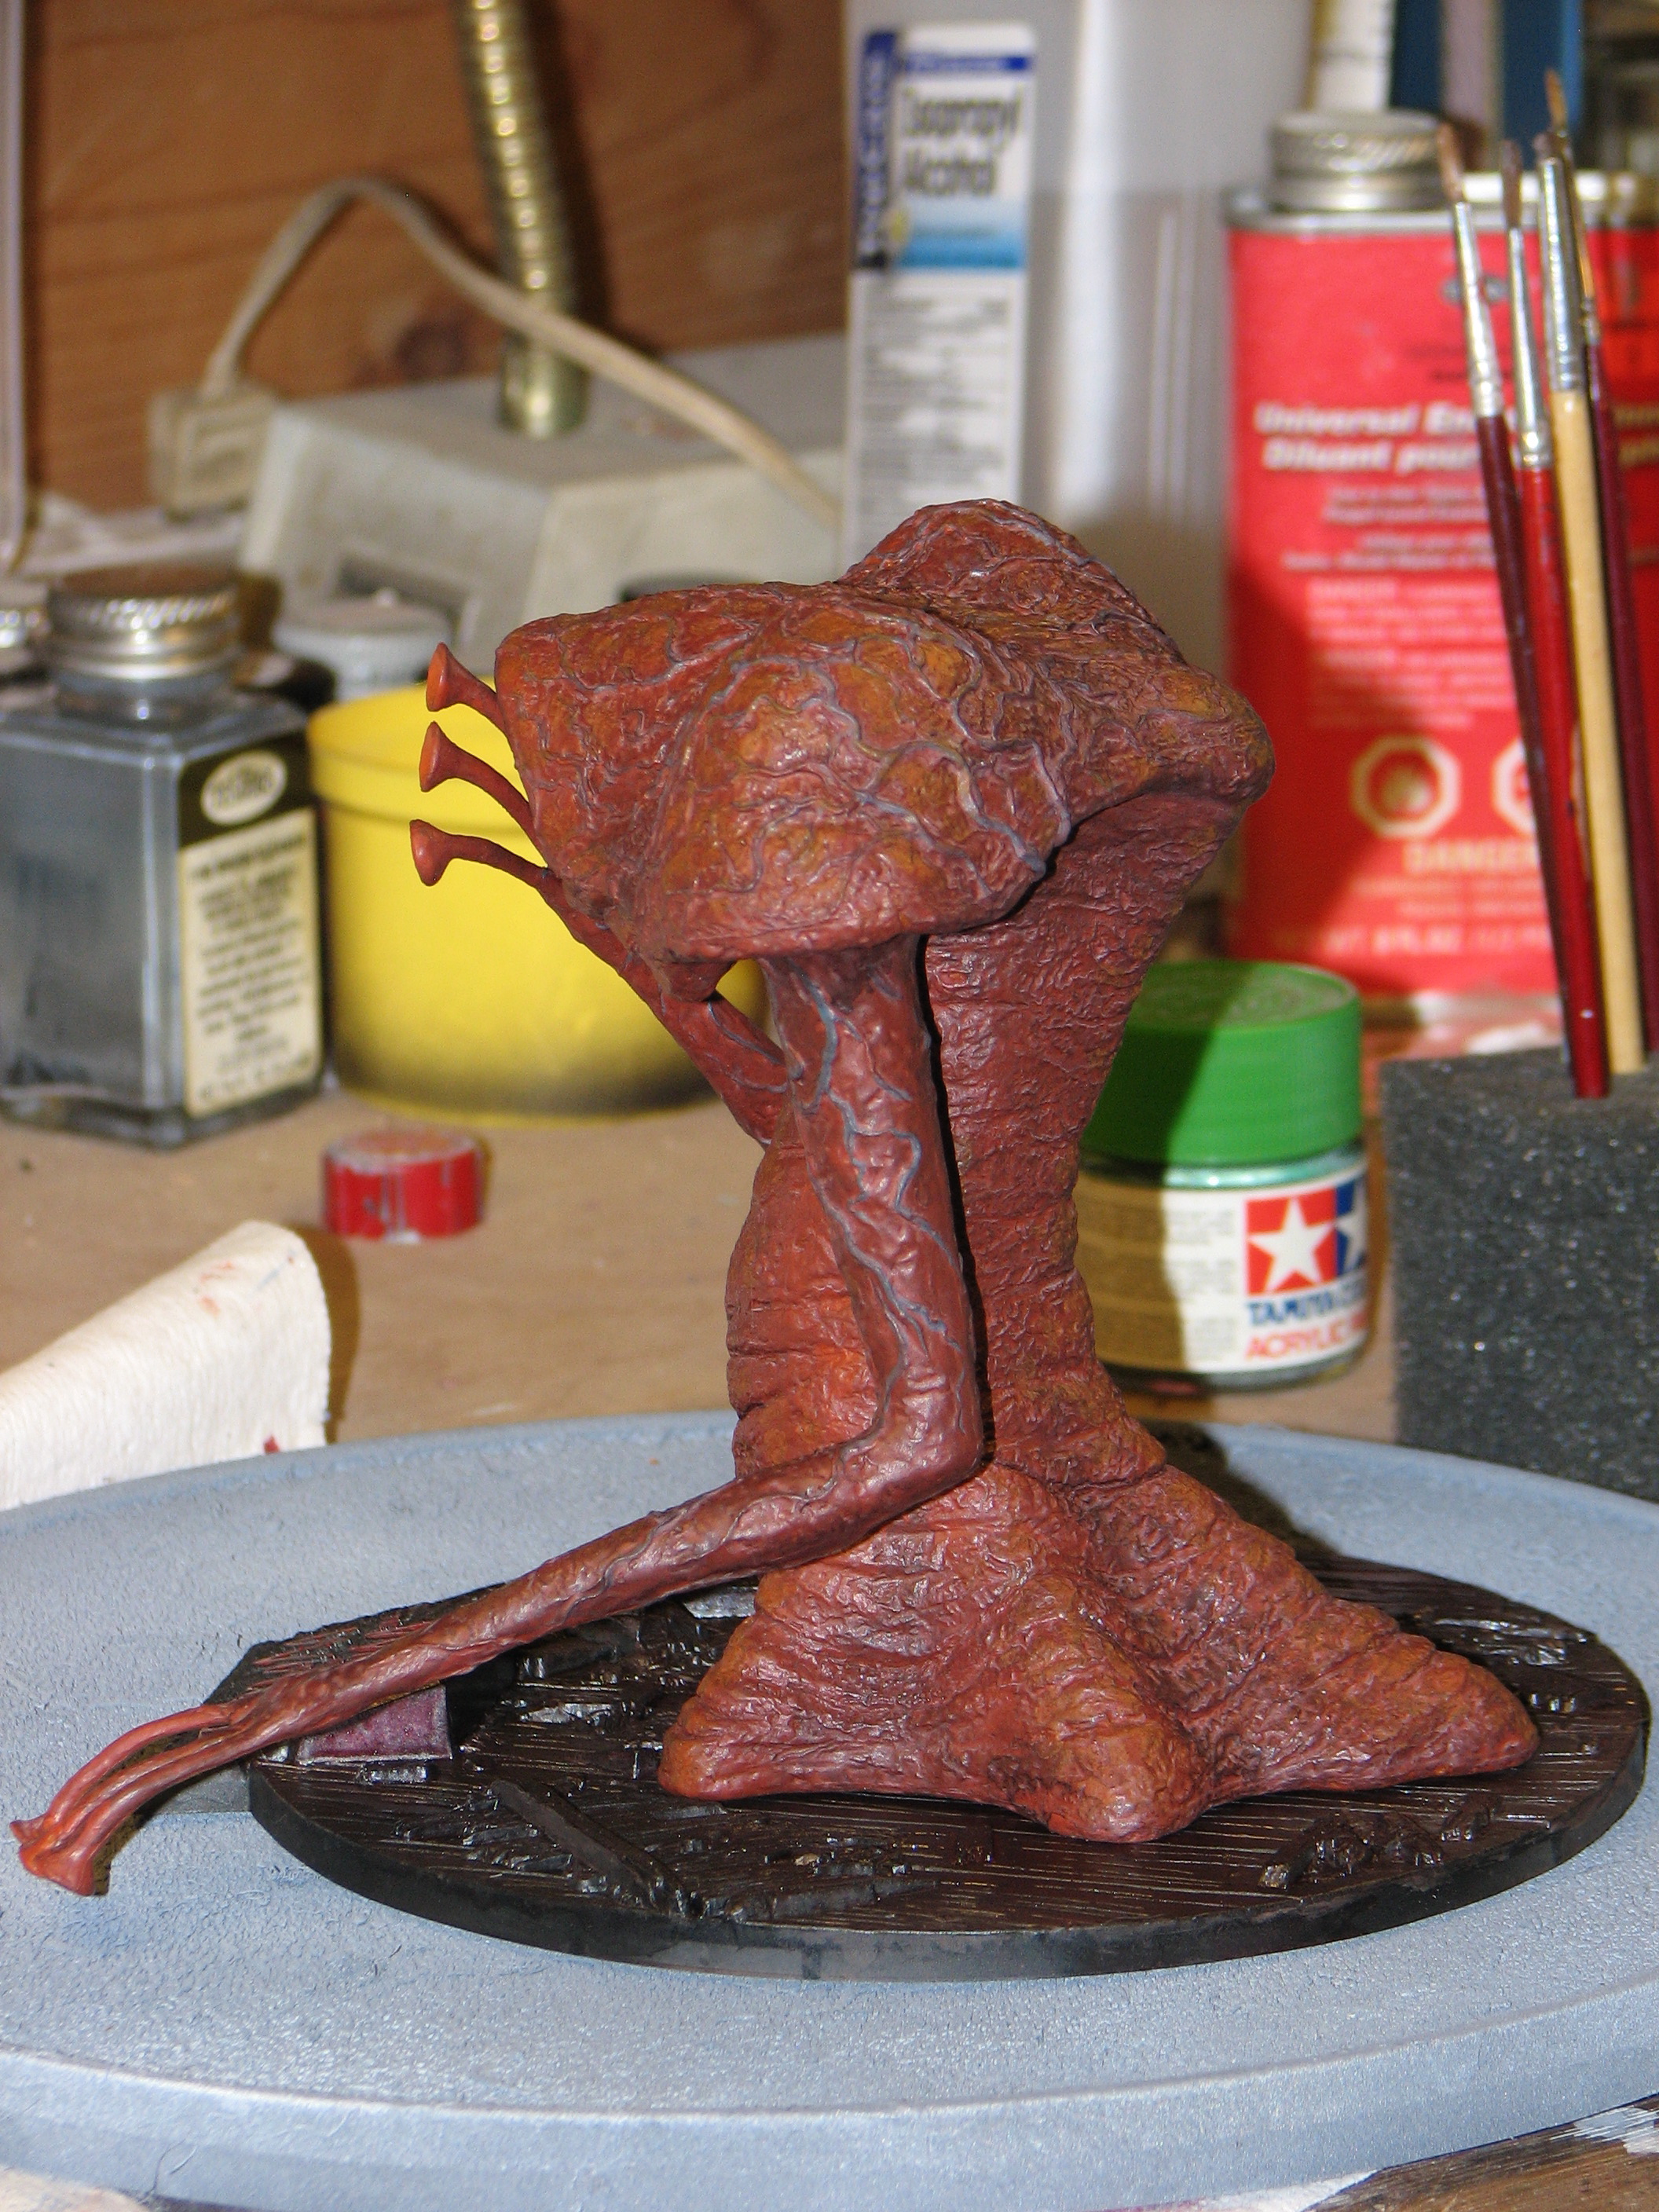
8/5/2010 - The Martian has moved on to painting. I gave the
outside surface of the eye lenses coats of their respective colors. I superglued
the left arm and the eye piece in place. The seams around the arm/shoulder and
head/body join were minimal, but still would benefit from some filling. I used
thinned green putty and brushed it out to contour it with Testor's liquid cement
(which is what I use to thin Squadron putties).
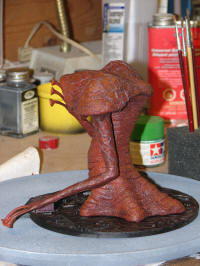
Once the putty had set I primed over the assembled body
and right arm (which I'll attach after painting). Primer is Polly Scale acrylic
zinc chromate (tan) primer hand-painted on. The primer revealed some seam lines
and stubs along the left-front leg/foot pod which I trimmed back with an X-acto
knife.
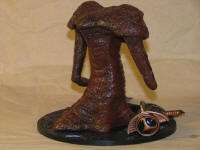
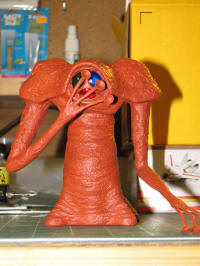
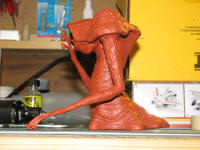
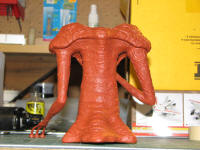
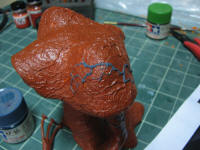
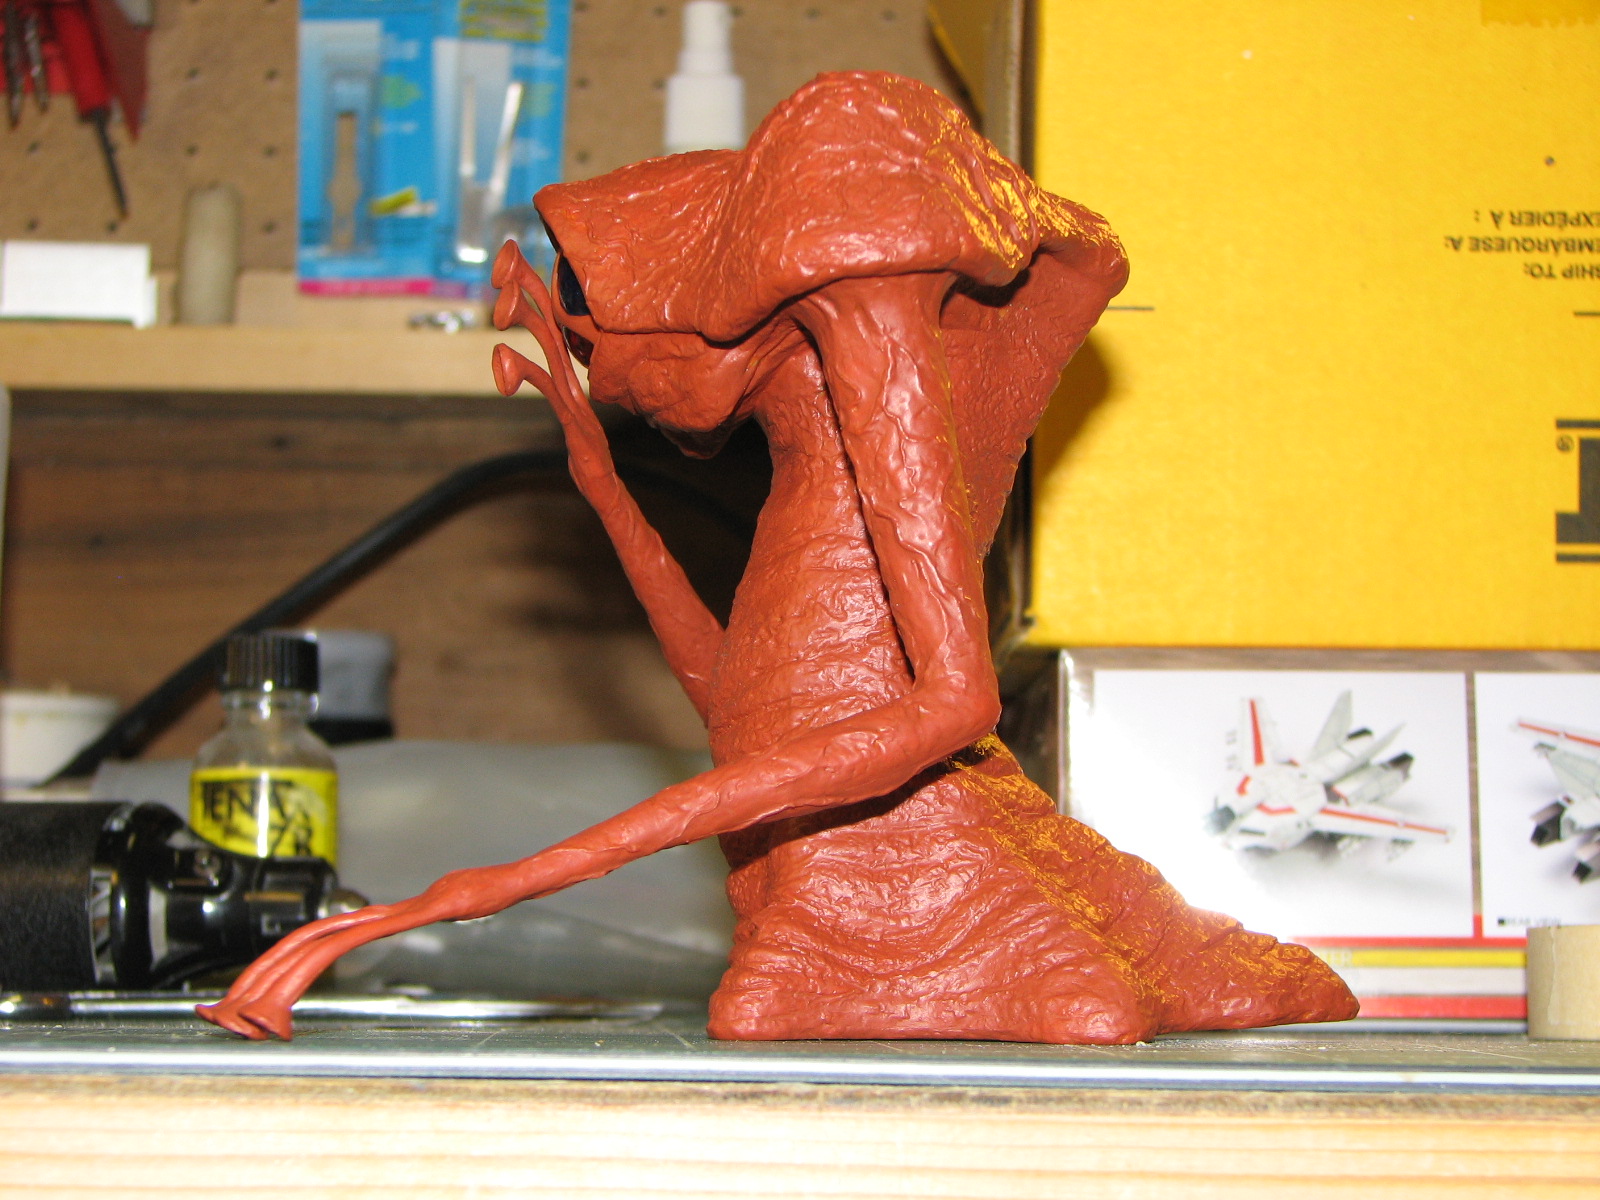
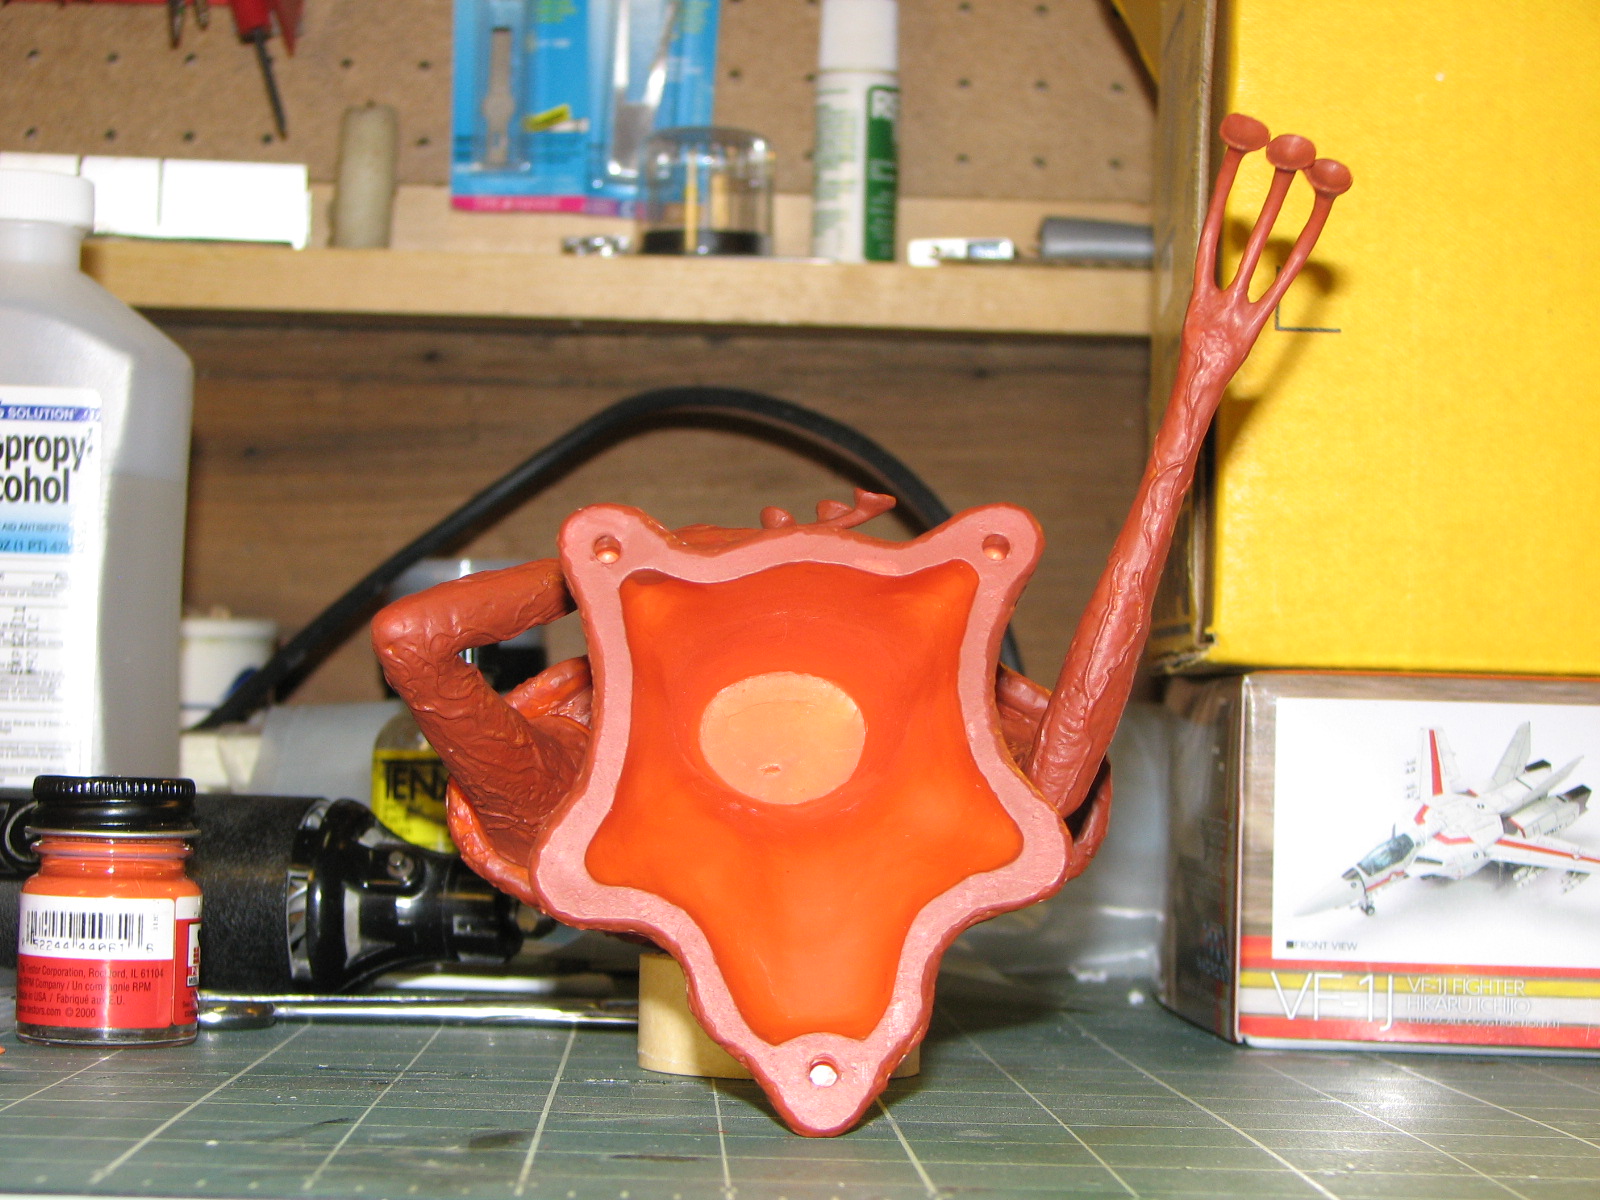
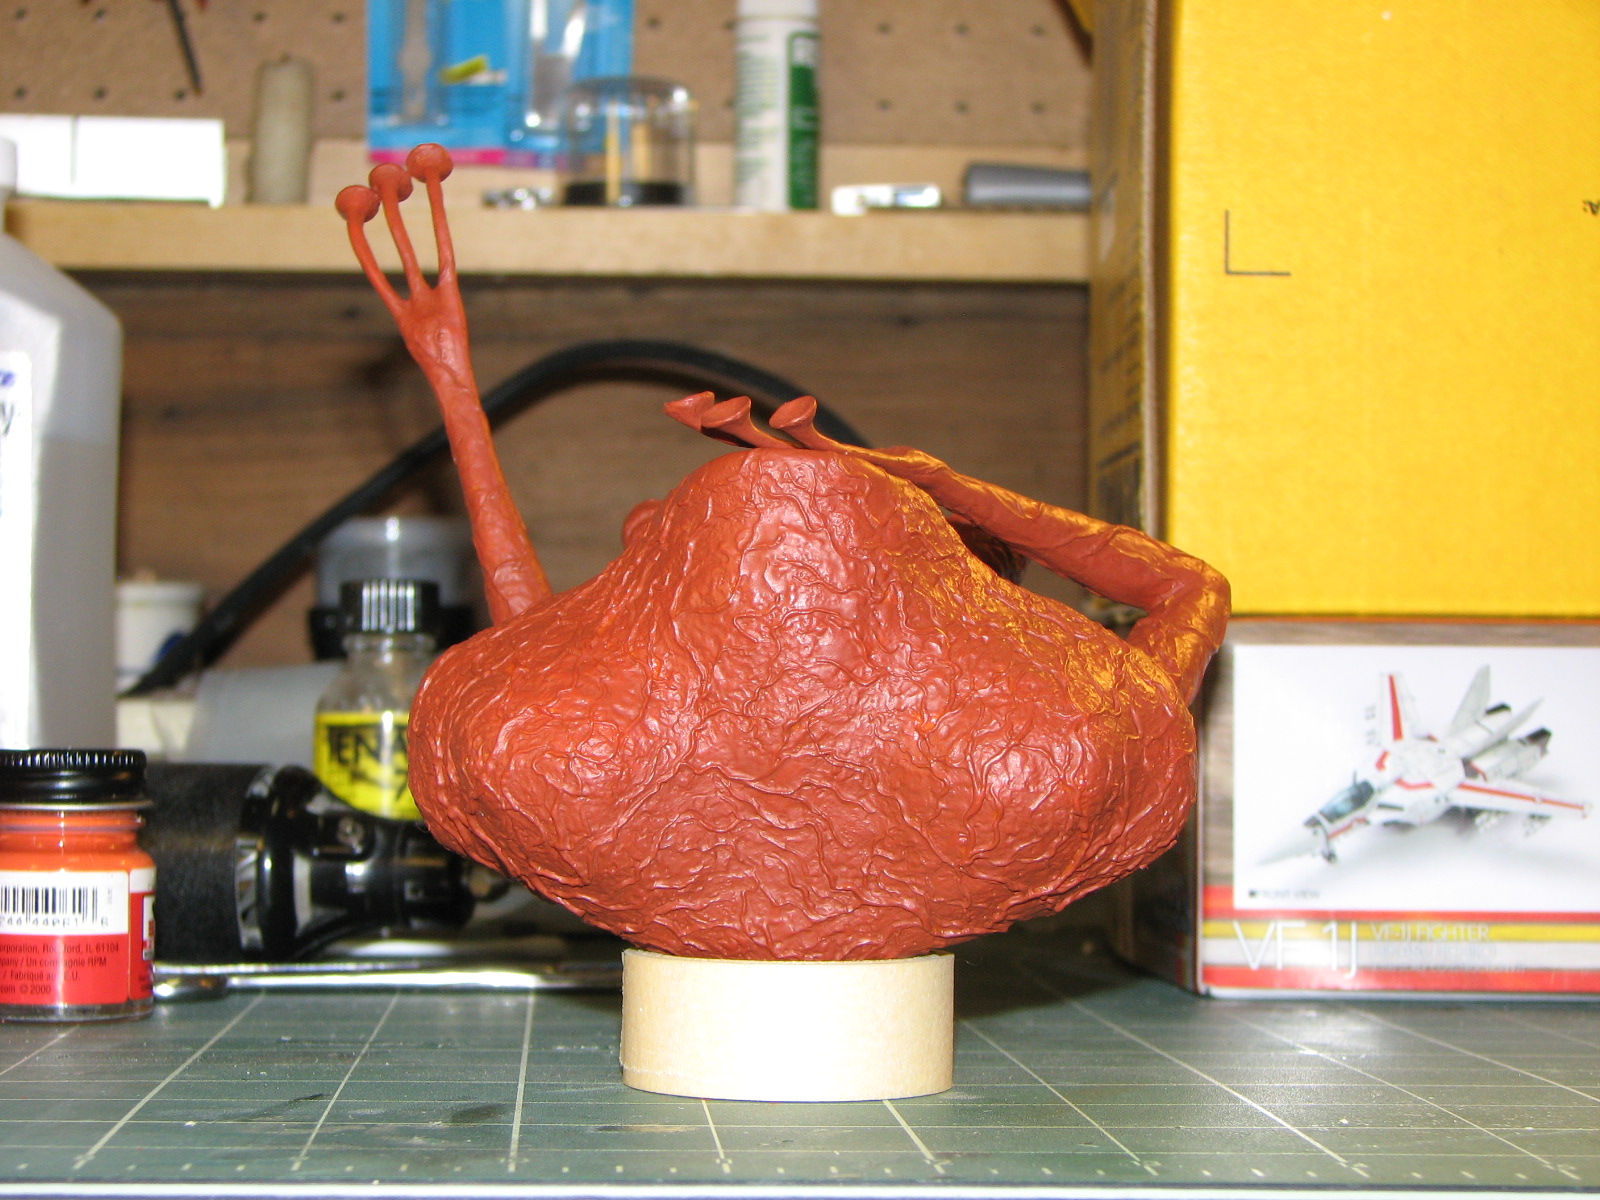
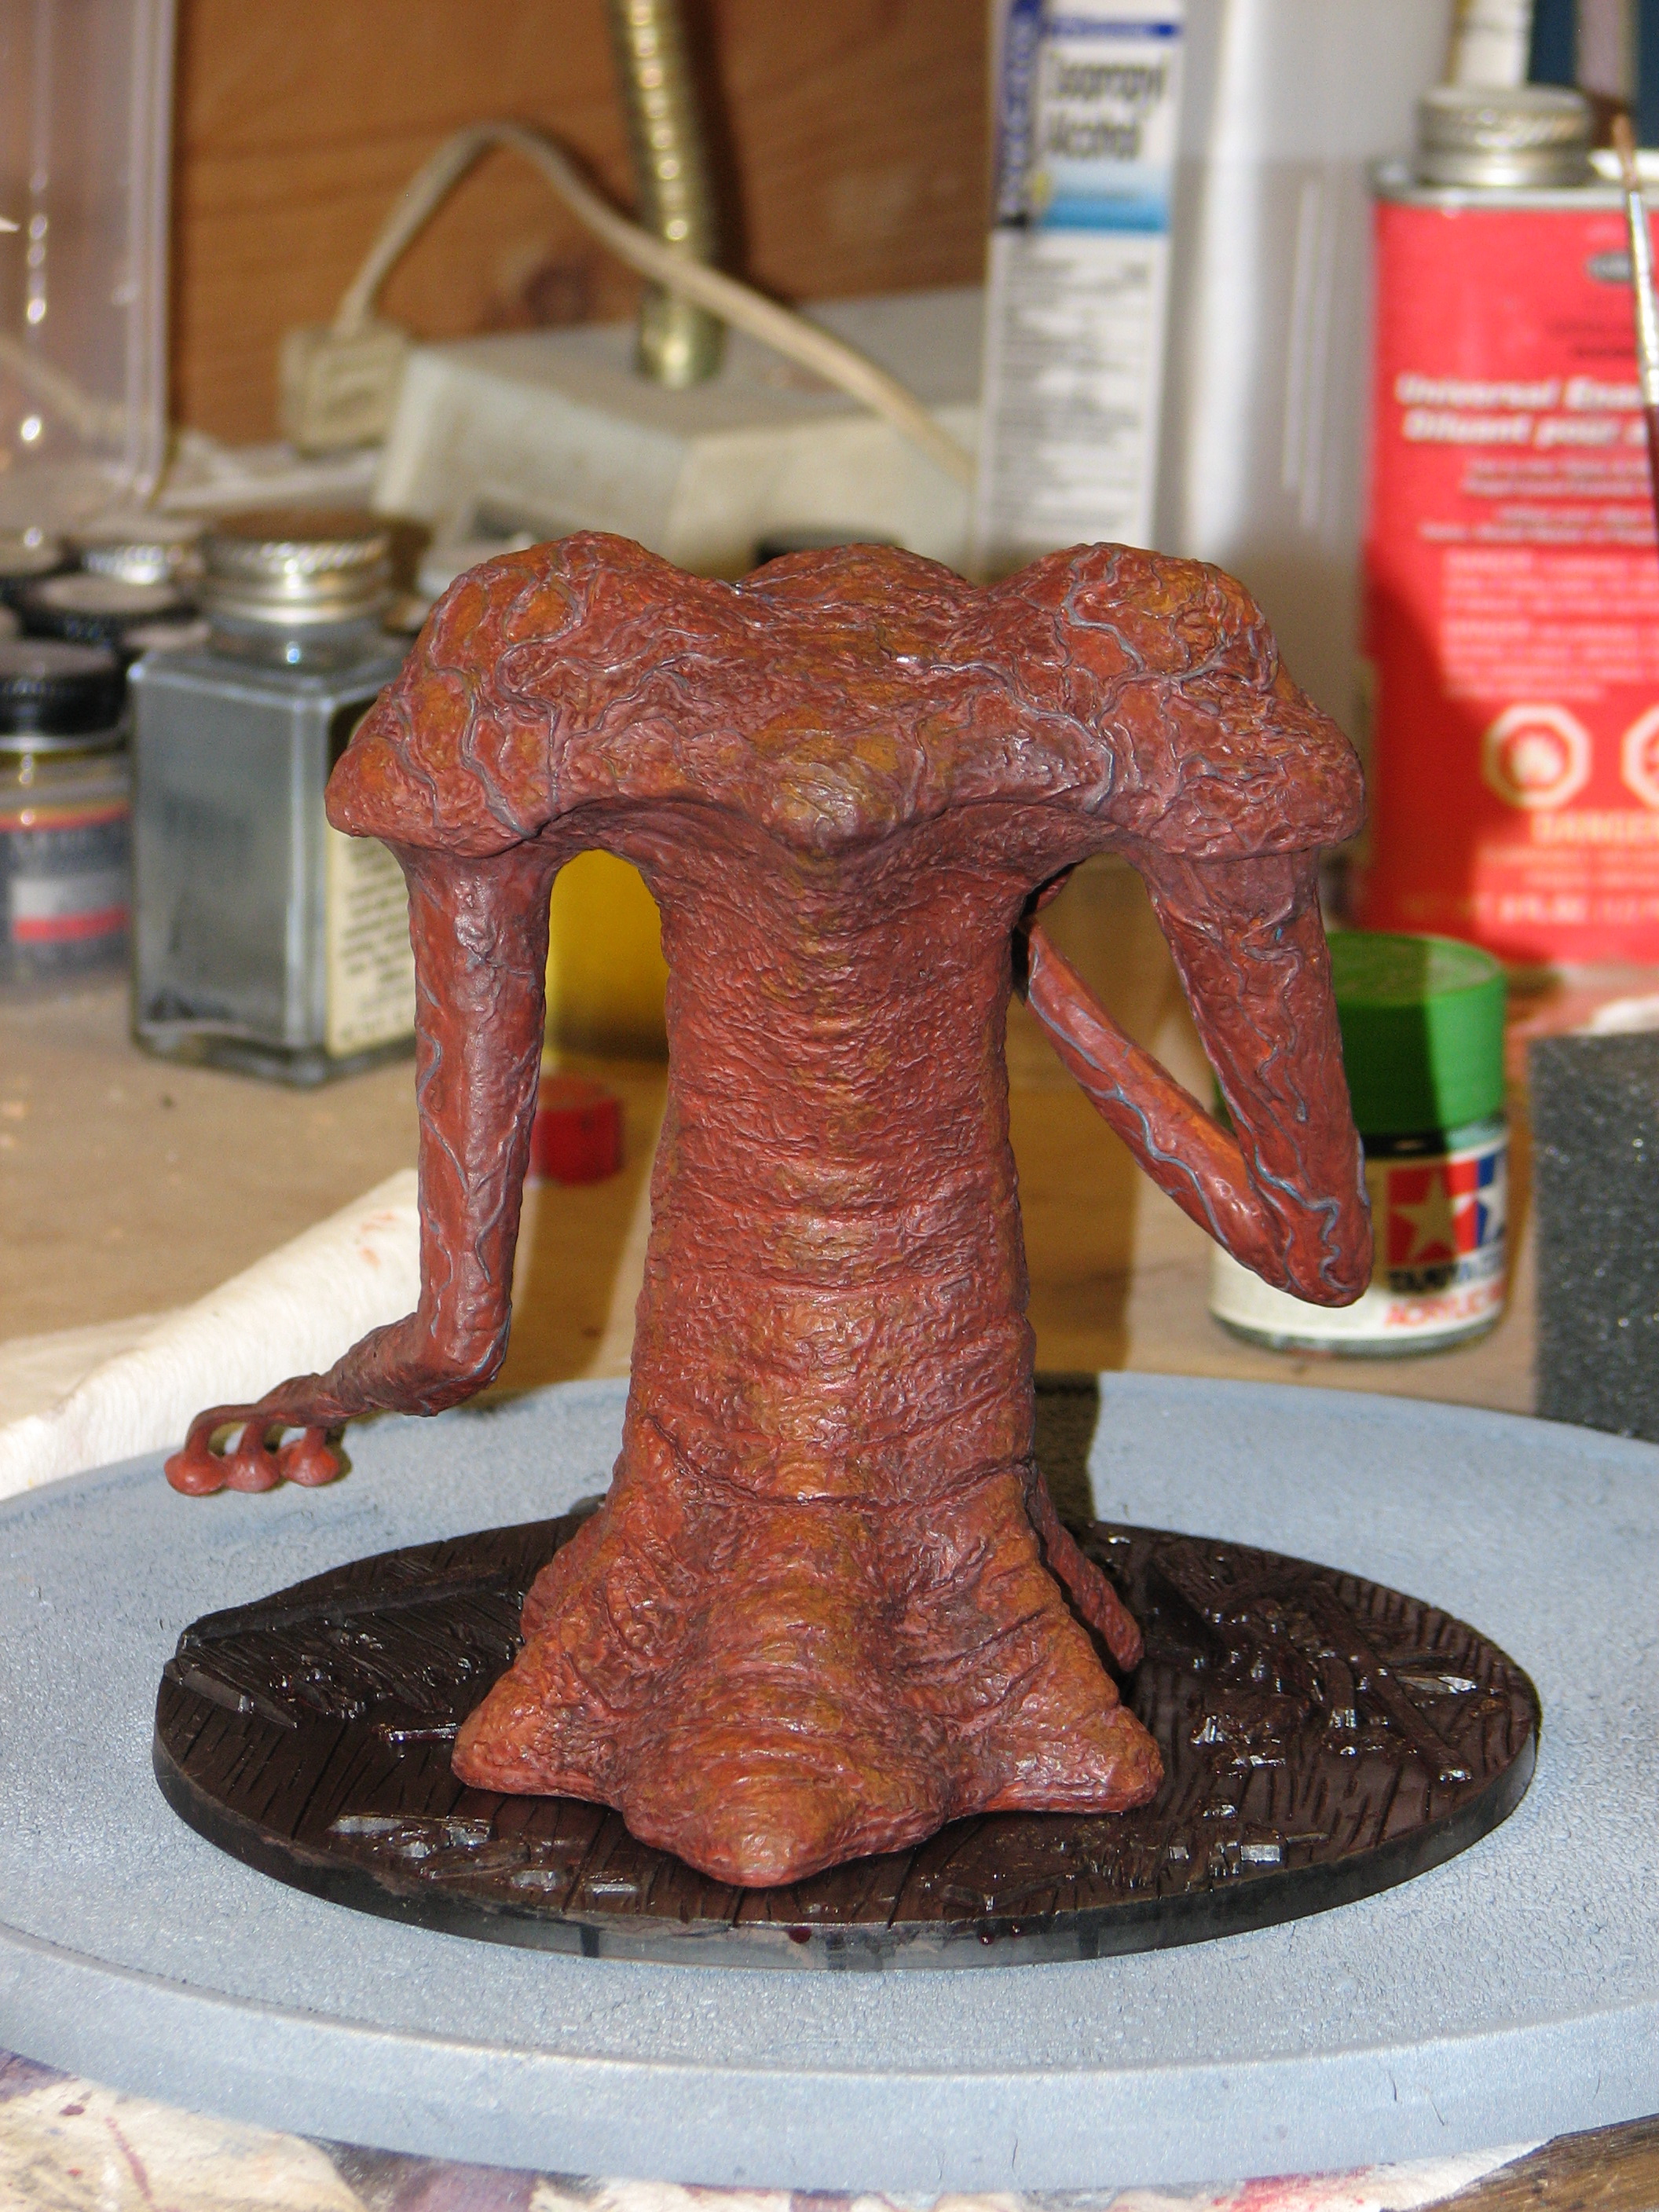
The six views below are the primed figure with the right
arm pressed, but not glued, into its socket.


While looking on the web for reference materials I
stumbled across some wonderful
production stills of the full-size prop and an account of its creation,
"How
to Make a
Martian" from Diana
Gemora, daughter of prop creator Charles Gemora.
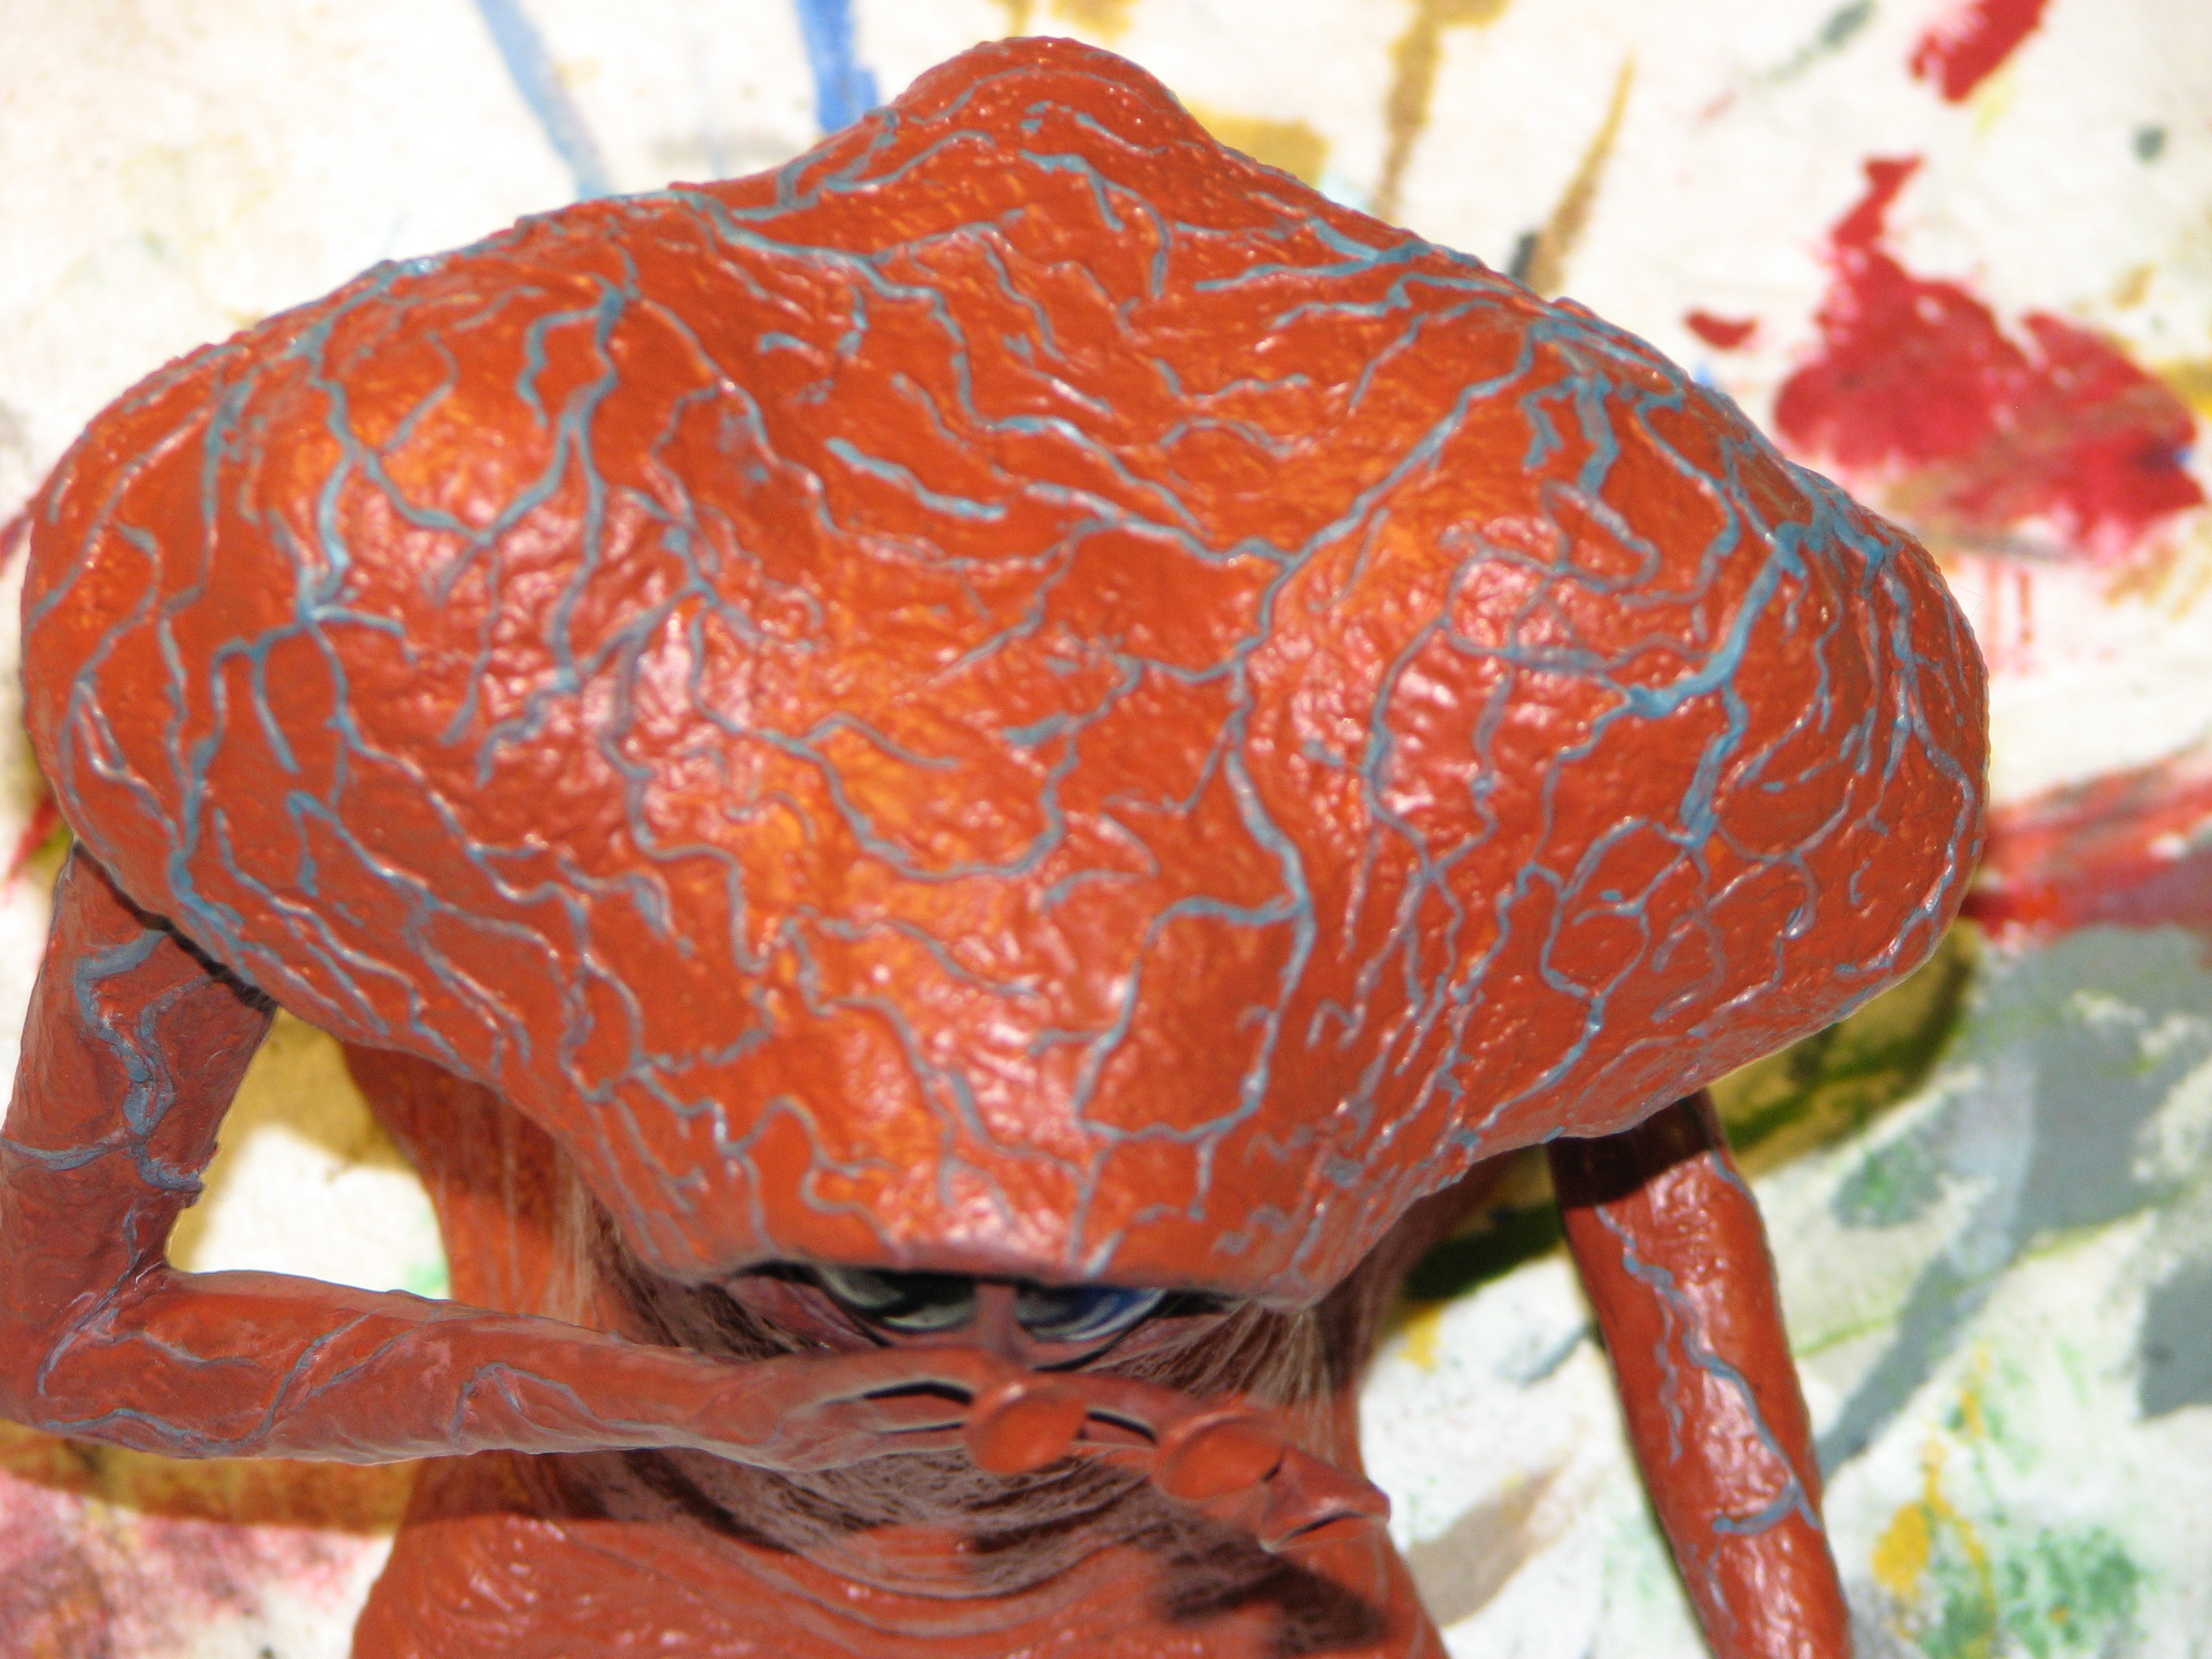
8/18/2010 - Next stage - veins. I'm handpainting them in
Tamiya medium blue.

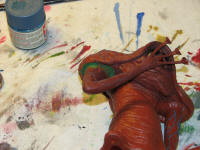
8/21/2010 - Finished up the blue vein painting today and
then applied a wash of Polly Scale Roof Red over the whole thing - mainly
focusing on the right arm and eye to get those as finished as possible. I then
superglued the right arm in place and puttied over the joint. Once the putty had
dried I primed over it and continued with the other painting steps to catch up
with the rest of the Martian.
I continued painting with washes of roof red and roof red
mixed with black in the recessed areas. I daubed on some orange for highlights
on the shoulders, eyebrow, fingertips, and foot-pod ridges.


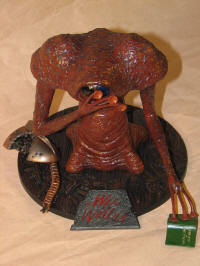
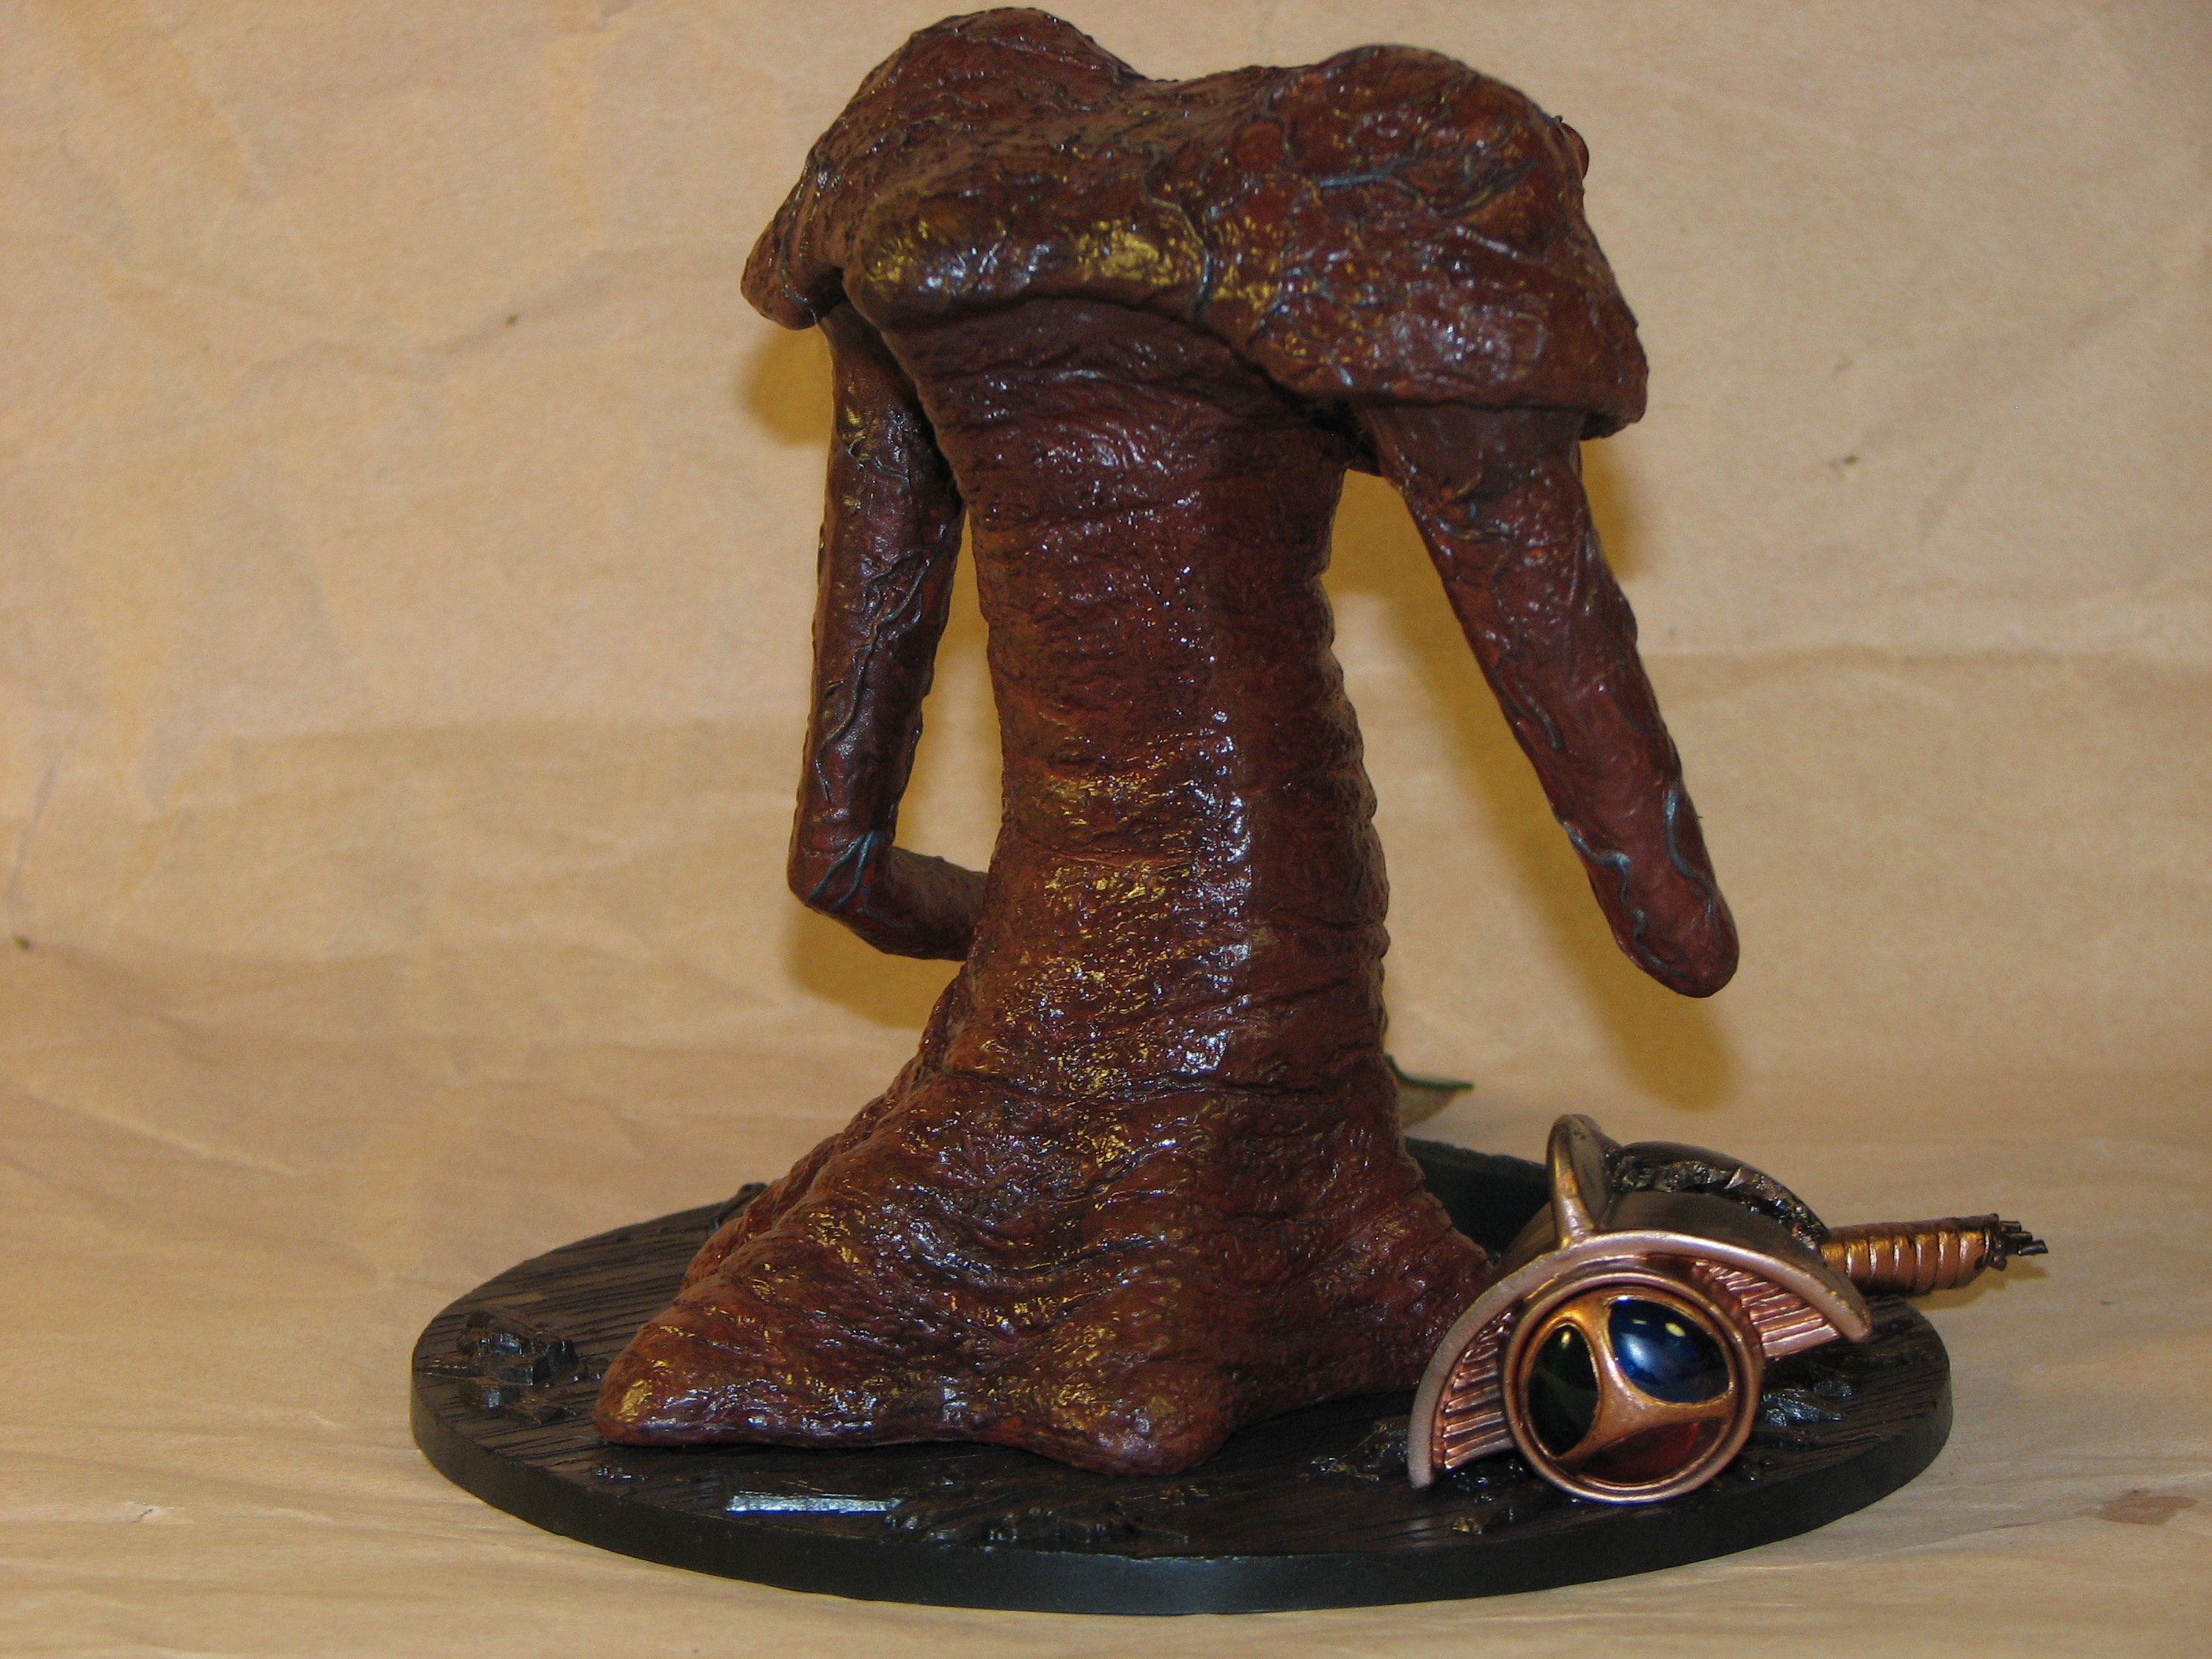
The rest of the story is the base and accessory pieces.
The ABS base was painted flat black, then washed over with Model Master Italian
dark brown. The nameplate is gunmetal and Testor's red with black wash. I
highlighted the wooden flooring and debris with Model Master leather and
Testor's brown then added a light wash of metallic red.
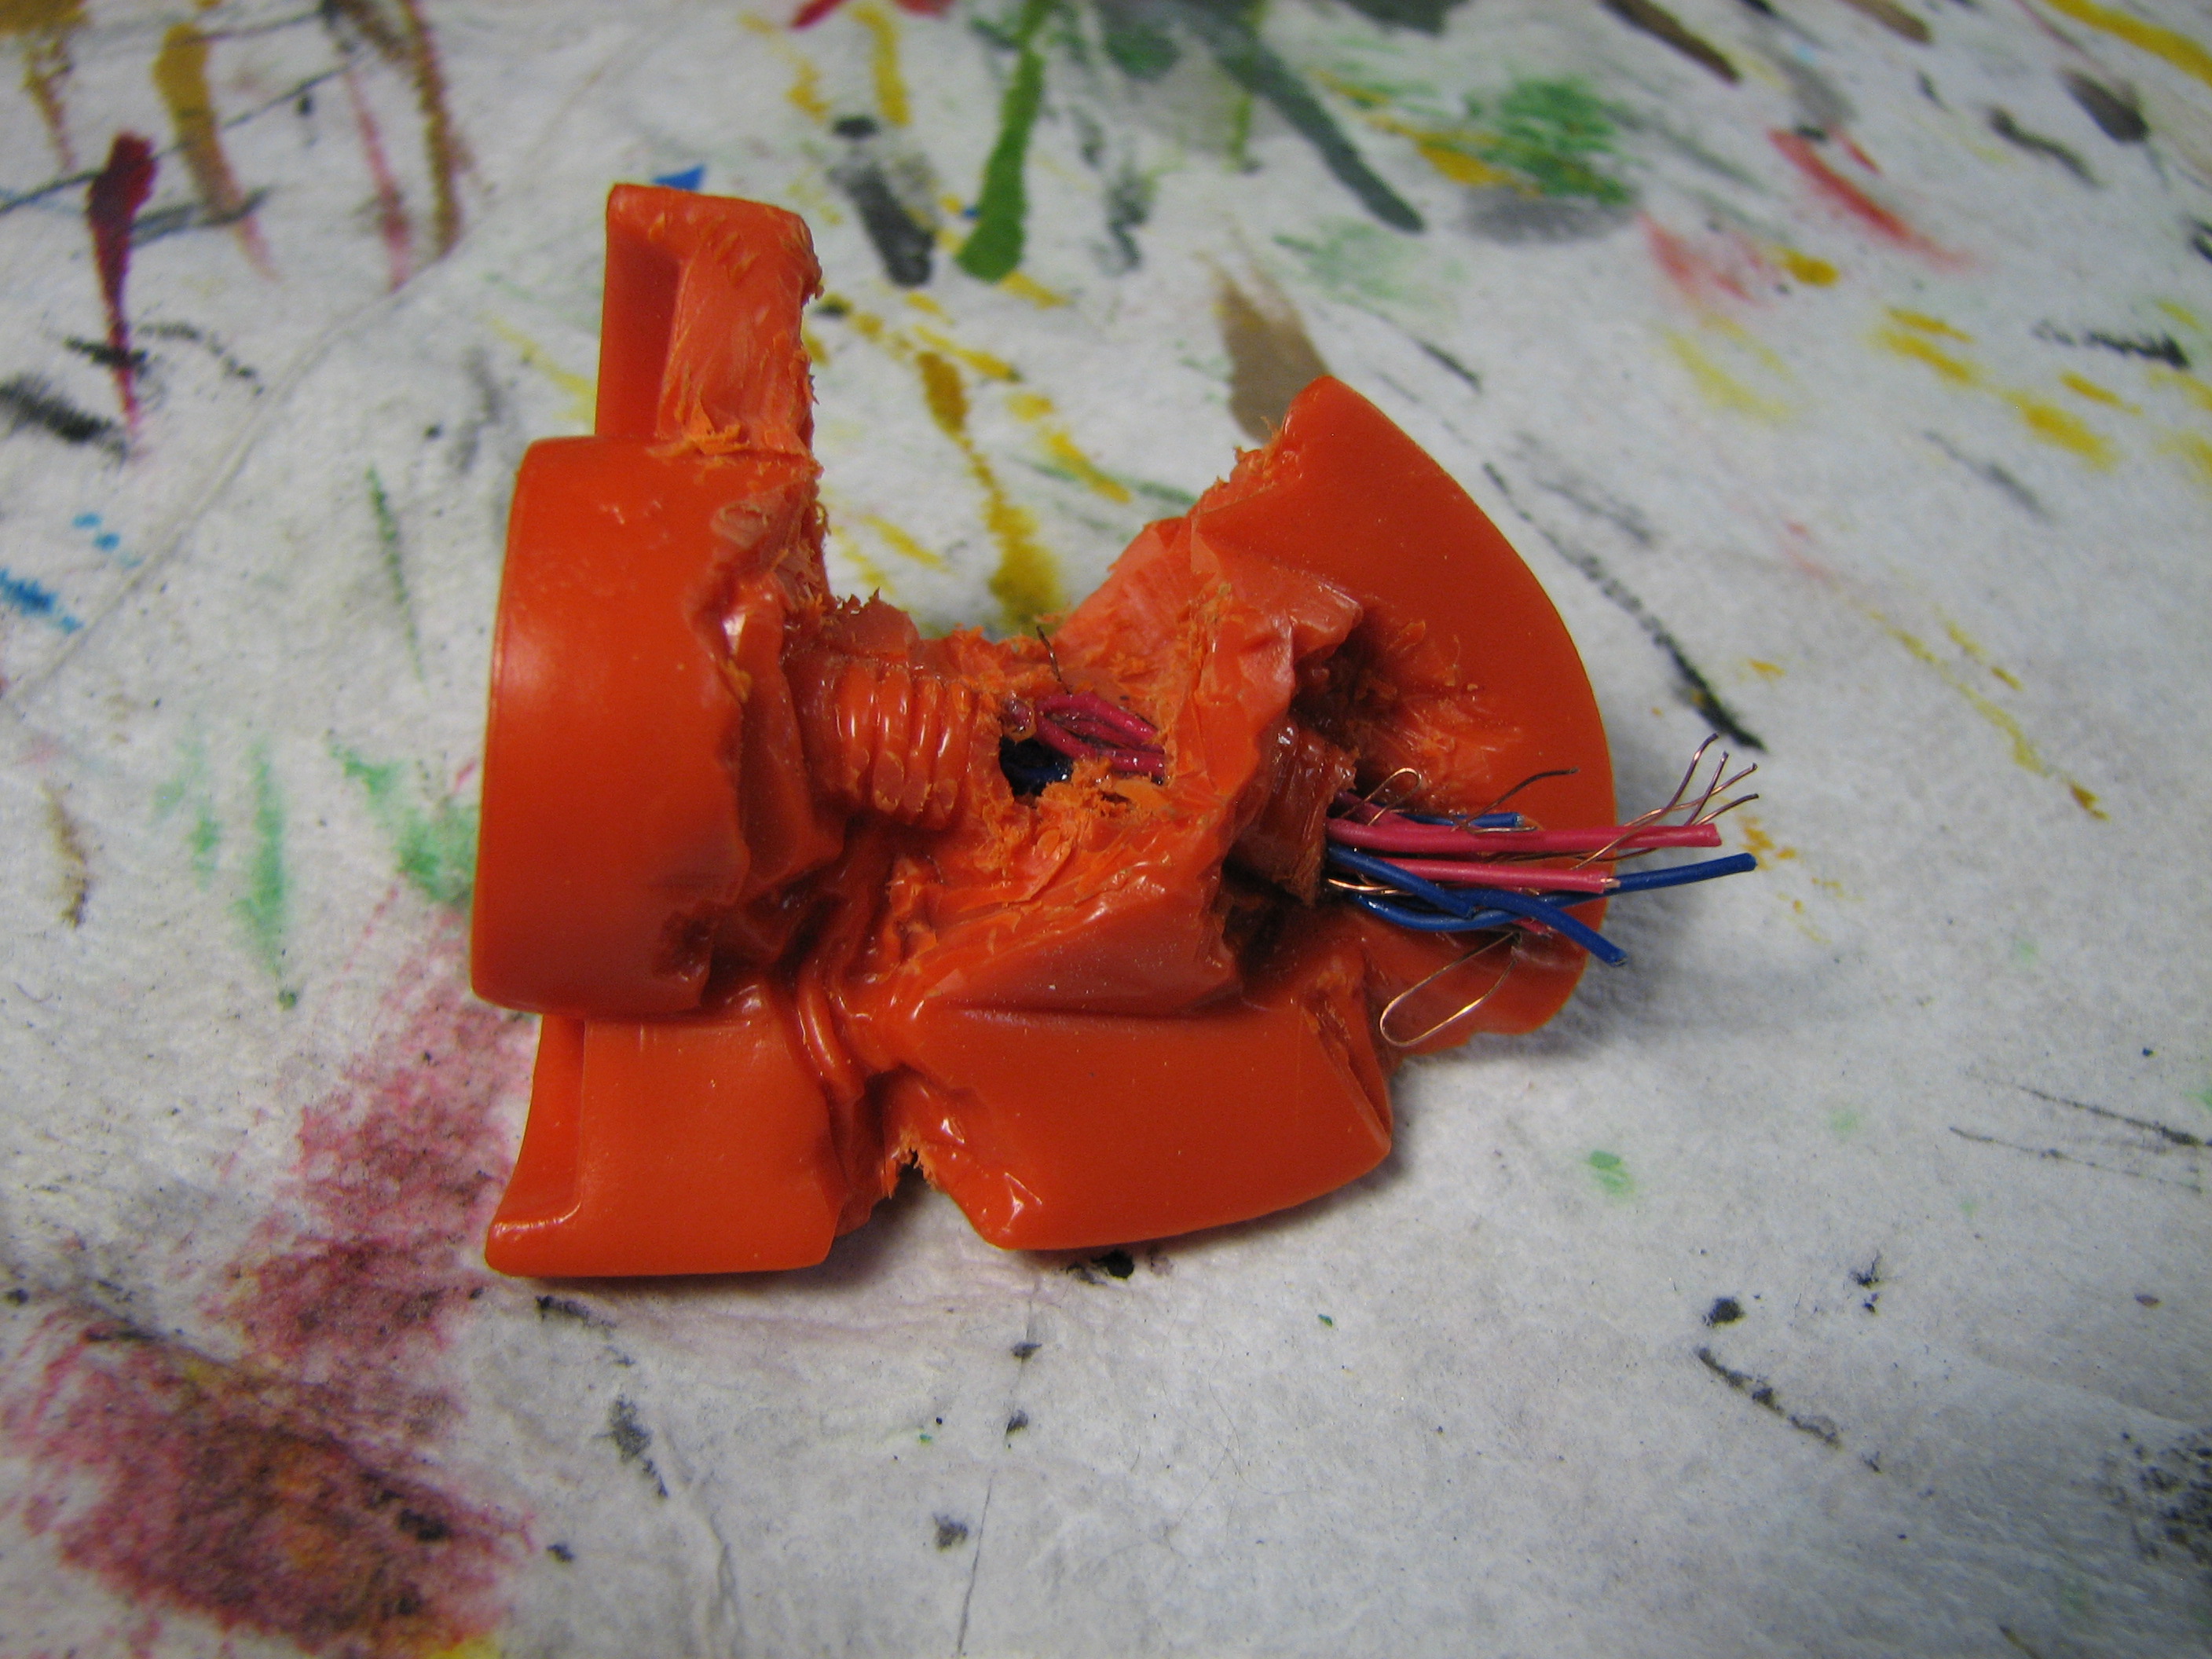
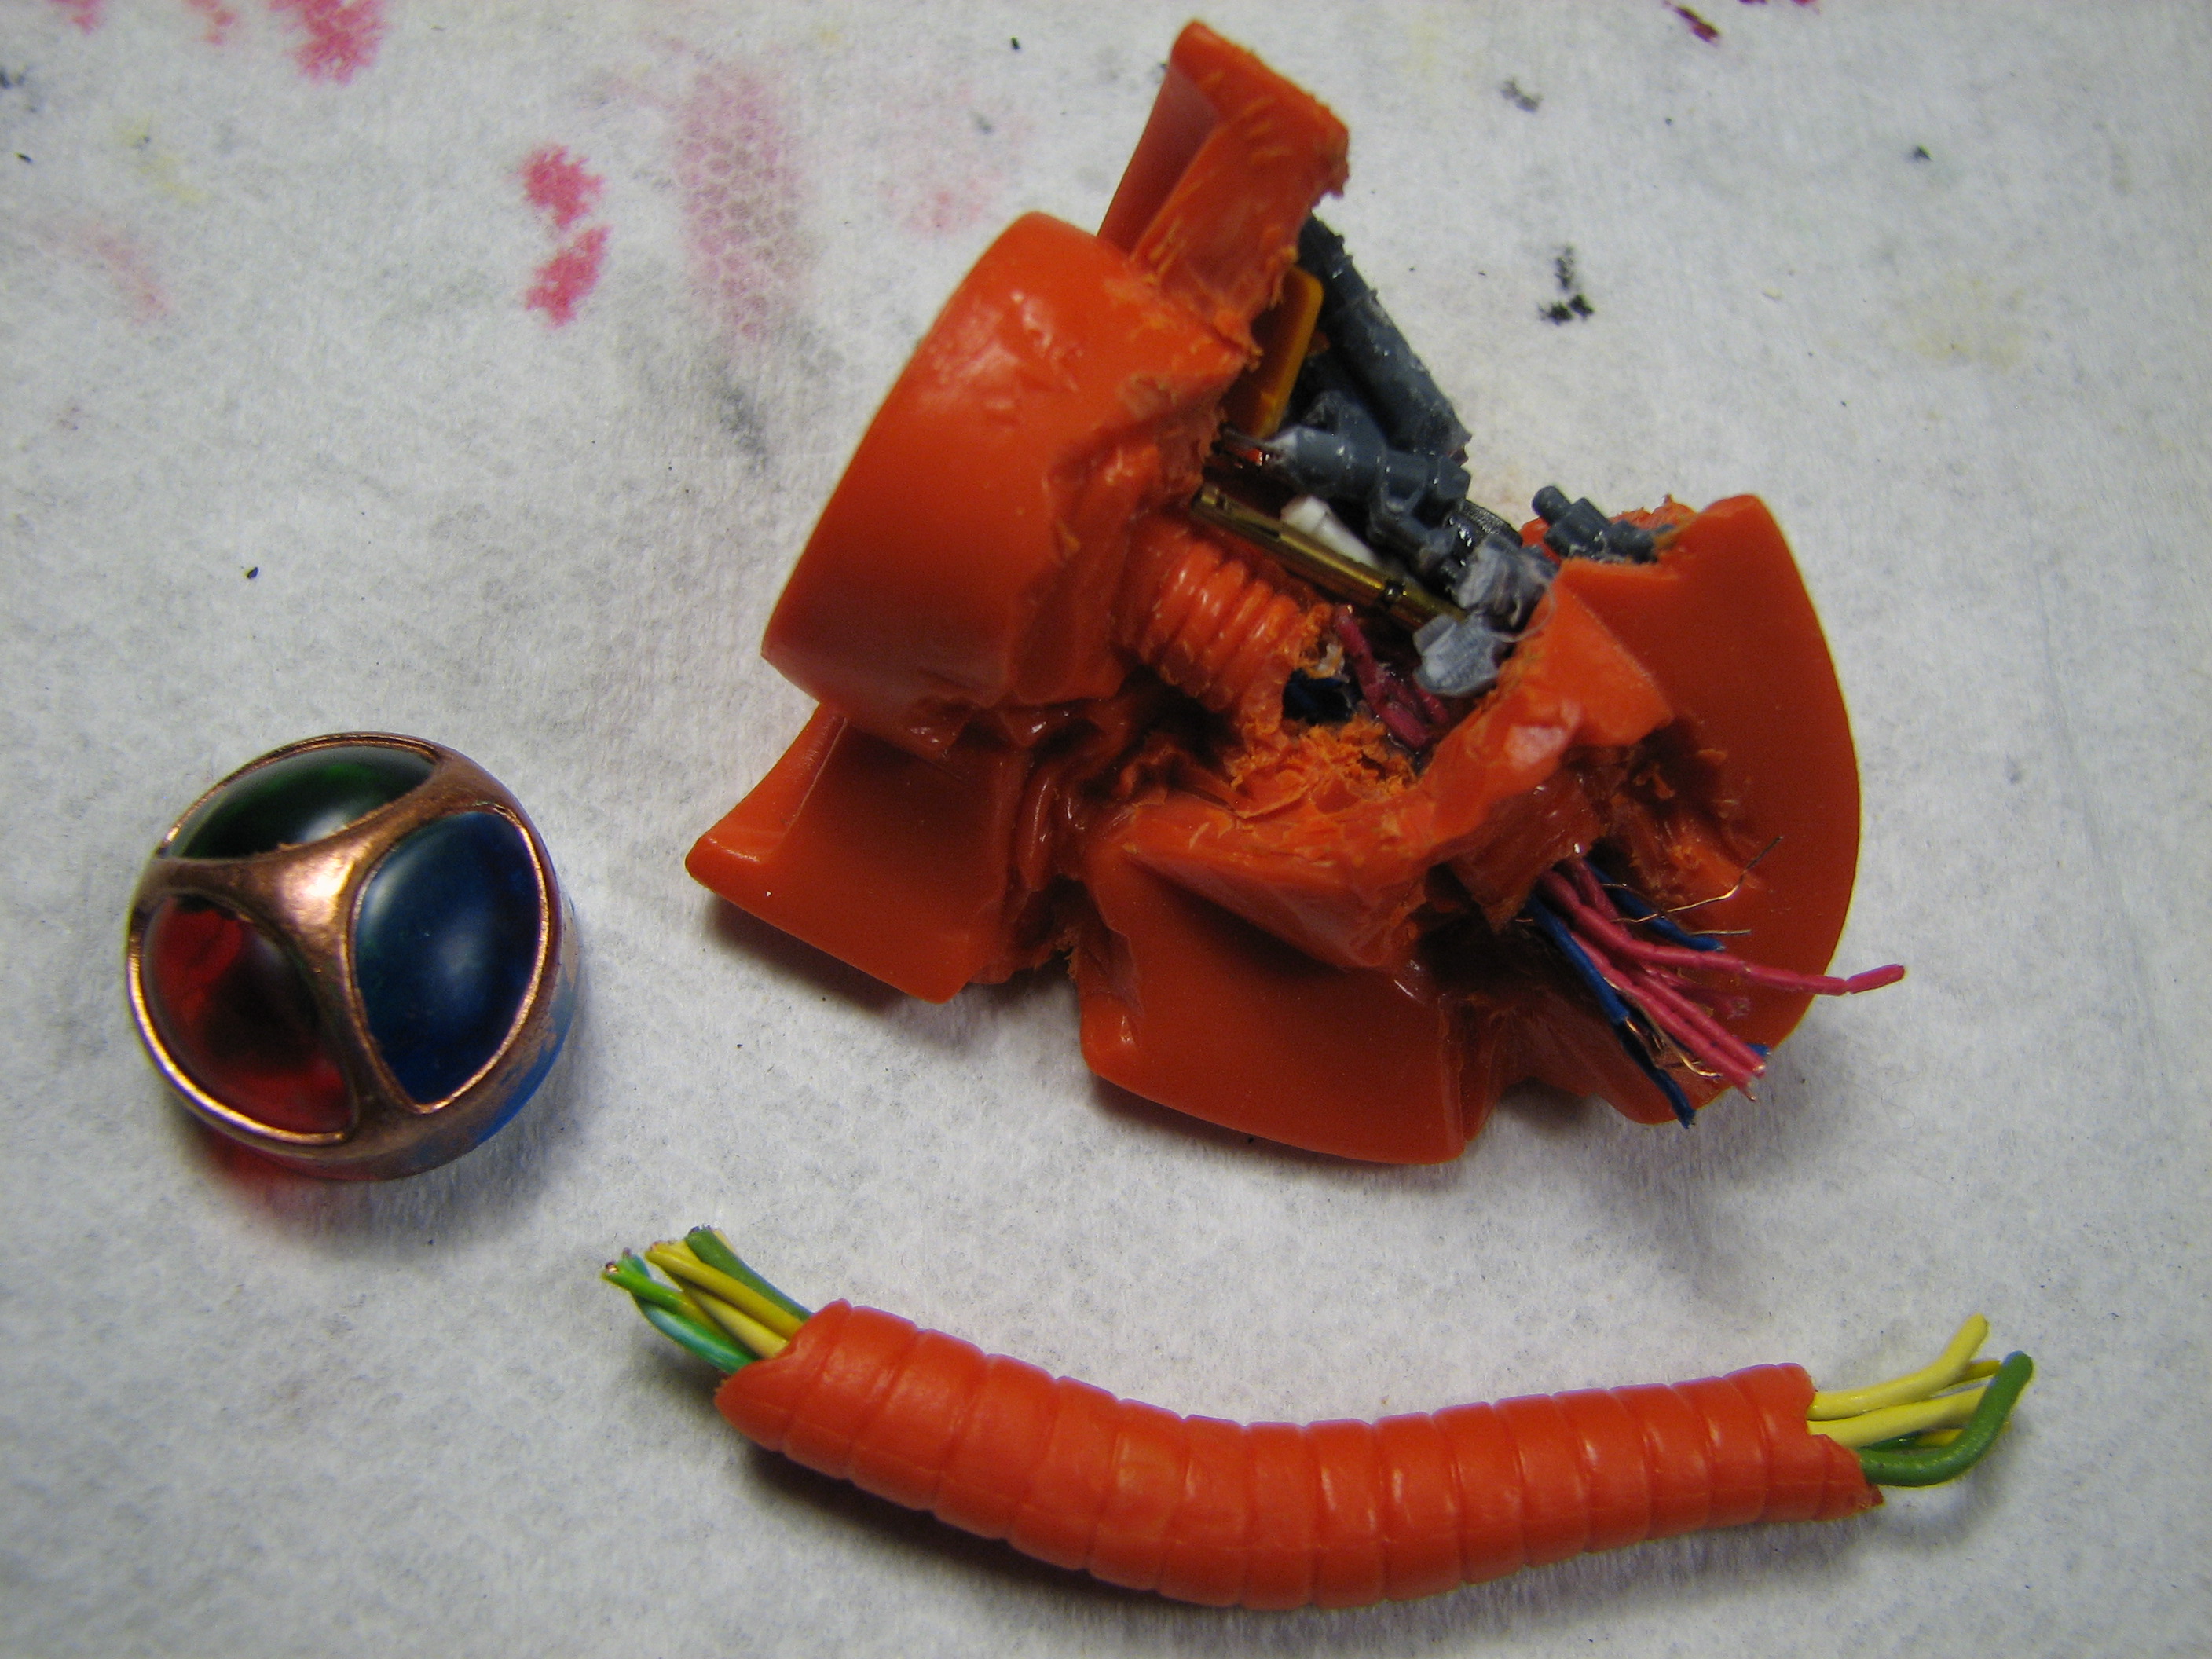
I wanted the Martian remote camera to look more realistic
so I bored out much of the inside and laid in wires and various electronic
parts-looking pieces from the spares box. I airbrushed the assembly copper then
highlighted it with a copper/titanium mix. I hand-painted the insides with gun
metal and black.


I gave the Martian its final juicy-look finish with a coat
of semi-matte acrylic spray (Plaid brand "Patricia Nimock" line) followed by
daubed-on Future floor finish then superglued it to the base. And lest the
Martian get bored, I gave it a book to read, painted Tamiya flat green with MM
Gold for gilding and the cover title stamping. I sealed the book with acrylic
spray.


