|

Wilco Model's
Martian War Machine
War of the Worlds (1953) |

|
Stated scale: |
1/72 |
    
|
Actual scale: |
unverified |

This skewed
schematic is from Starlog #6.
A
giant attacks a war machine and tears out the heat ray.
|
Overall length |
|
Material(s): |
resin |
Number of parts: |
3 opaque
6 trans green
1 opaque orange |
Stand included? |
no |
Decals included? |
none needed |
My Source: |
CS Hobbies |
Cost (w/o s&h): |
|

1/9/06 - I've decided to do this as a lighted model, which means
drilling out the insides of the solid resin body of the craft. I used 1/2" to
1/8" bits to hollow out the front and wingtips. I used the 1/8" bit to
c-a-r-e-f-u-l-l-y drill wiring conduits between the front opening and wingtips.
My plan is for a "Valley of the Shadow of Death" dio with Uncle Matthew
walking toward the war machine in a burnt landscape.
And sometime down the line, I'd like to scratch up the
walking version predecessor of this, from the War of
the Worlds TV series episode Dust to Dust.
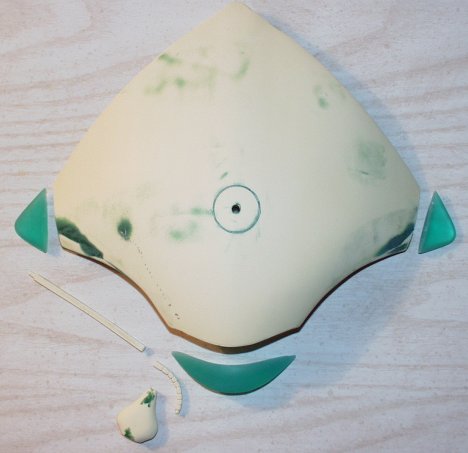
2/27/07 - Puttied the surface irregularities and the mold mis-alignment scars
on the body and heat ray emitter. Also drilled out the heat ray emitter for lighting.
Body underside | topside
mold mis-alignment
Body & emitter, puttied and drilled out - top |
bottom
3/3/07 - More sanding and puttying, and then yet more sanding and puttying.
Topside | Underside
3/8/07 - Worked on the fit between the body and the trans green pieces that
attach to it. I'm close to finished with puttying / sanding the body.
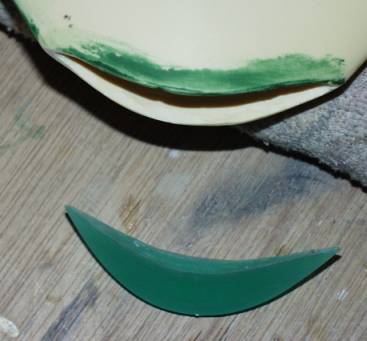
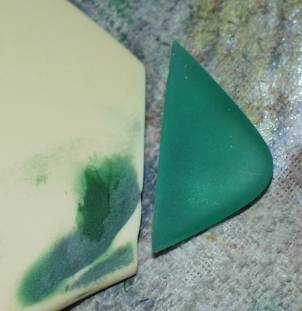
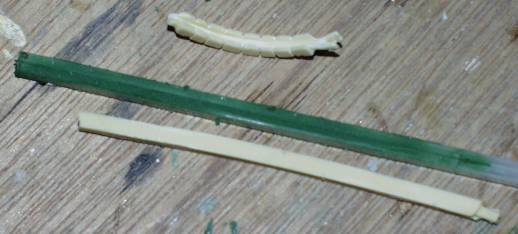
Also began work to replace the stalk of the heat ray with a straighter piece
of tubing. The original resin stalk could be straightened, but this is quicker. The tubing will allow wiring to run to the bendy part of the stalk. I Dremelled a trench in this part with an emery wheel. Once wires are embedded in
the trench, I'll putty over them.
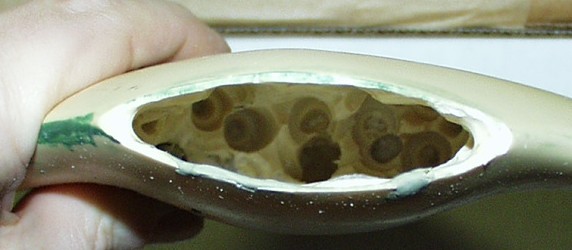
3/14/07 - Continued boring out the interior of the model to make room for
lighting & wiring. Most of the work was done with 1/2" and 3/8" drill bits. I
managed to nick the front edge in a few places, so I puttied those up with
Milliput.


![]()
![]()
![]()
![]()
![]()


