|

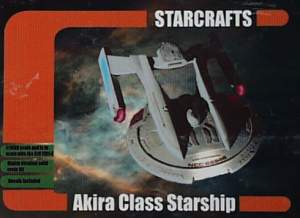
Akira Class
Starship
Starcrafts
Star Trek: First
Contact
Kit Parts,
Dorsal | Ventral
|
 |
|
Stated scale:
|
1/1400
|
    
|
|
Actual scale:
|
unverified
|

|
|
Overall length:
|
11"
|
|
Material(s):
|
resin
|
|
Number of parts:
|
6
|
|
Stand included?
|
yes
|
|
Decals included?
|
yes
|
|
My Source:
|
Federation Models
|
|
Cost (w/o s&h):
|
US$75
|

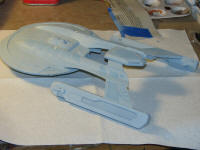
Assembled: top keel
- and now dealing with the pits and bubbles.
The seams are filled with either 2-part epoxy putty (Milliput)
or green putty.
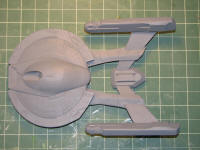
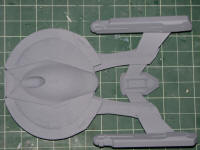
12/14/2007 - This has had some priming done, mostly to see
how much work needed still to be done on smoothing the surface. And the priming
highlighted just how ugly the windows are. So, I'm filling them in with putty.
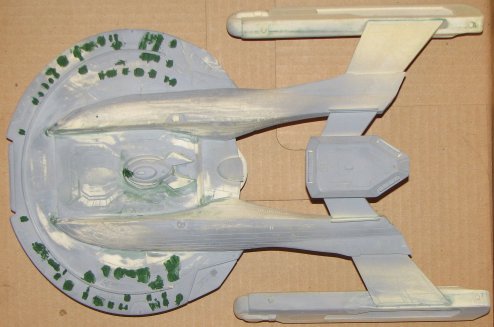
2/9/2010 - Finally tackled one of those "I hate" jobs -
rebuilding fractured detail. Those slight points aft/outboard on the saucer
needed their details rebuilt since the resin was thin and fractured. I replaced
the detail there with styrene sheet. More detail needed fixing aft on the saucer
between the hangar bays. But finally, the Akira and the other 3 "FC4" ships are
primed.
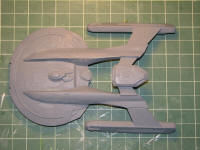
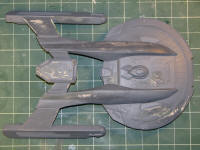
8/9/10 (and I suppose some people had to mark the
time 11:12:13 today too.)
Akira has moved on from priming. After several rounds of
applying thinned green putty to "orange peel" texture areas, and then
wet-sanding, and all the other fussy pre-painting prep work, this had moved on
to being "paintable."
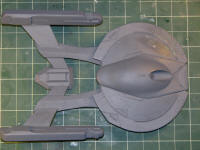
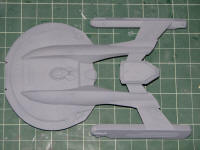
8/21/2010 - The final priming coat is on to give the main
colors a uniform undercoat. And, the search for Pantone color matches is
underway. This and the other Starcrafts FC4 ships have color callouts given in Pantone
numbers. So far the Akira colors involve mixes of Cobalt blue, Azure, FS35414,
RLM76, and white to replicate the Pantone 5415-5445 range. Typically, I mix some
paint, dab the mix onto a printed color swatch and repeat until I find a match.
I'll probably still "grey-back" the colors a bit, not quite to the point of the
virtually
all-grey color schemes in recent renderings though.
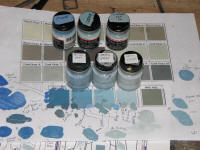 |
8/26/2010 - Pantone approximation mixes for
Akira's colors |
| 5445 - 1 RLM76 Lichtblau : 1 flat white |
| 5435 - 1 Azure blue : 1 blue FS35414 : 2 flat
white |
| 5425 - 2 Azure blue : 1 blue FS35414 |
| 5415 - possibly 1 cobalt : 3-4 FS35414 |
| |
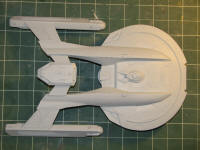
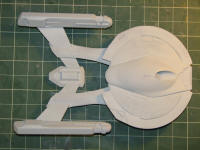
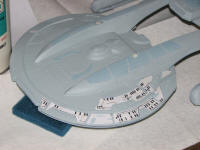
8/27/2010 - I airbrushed on Akira's base color, the
Pantone 5445 mix.
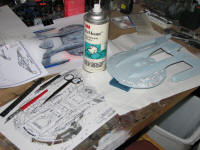
9/18/2010 - Started on the areas for the 5435 mix. For
that masking job I enlarged the JT Graphics decal placement schematic to the
same size as the ship and sprayed the backside with 3M Re-Mount. Then, I'm
cutting out the patterns an using them as mask panels - or at least as the start
of masks. The image and model don't exactly correspond.
I started making a detail piece that's missing from the nacelle, outboard
fore of the glowey panel. And there's a small detail area atop the upper hulls
that's wrong and will be replaced with correct detail.


![]()
![]()
![]()
![]()
![]()


