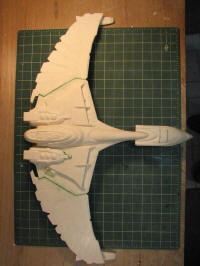
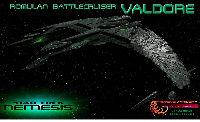
John Eaves has published
several renderings of the Valdore in his blog, which confirmed my suspicion
that the head of this kit is waaayyy too wide.
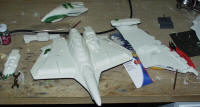
2/7/07 - I began work on this a few months ago, scrubbing the resin surface
with Bon Ami and cleaning up a few of the edges - filing and sanding. This time
around, I did some more serious clean up work and filling on the port wing, main
body, lower neck, head, and port outboard pod. I also began the task of drilling
holes for alignment pins, since the kit has very few.
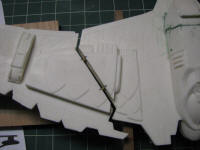
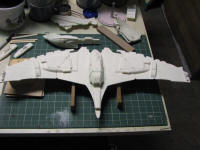
3/20/09 - Back to it after a long break! I finished
drilling the alignment holes in the wings and fitted brass tubing into the
holes. I set up wood blocks to support the body and hold the wing in what seemed
to be the right position. Other than making the joining surfaces fit as flush as
possible, there's no indication of the correct angle to fit them together. So...
best guess.
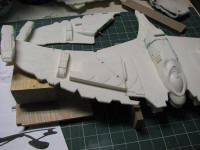
The gluing rig was simply wooden blocks placed under the
body and under the wing while the epoxy set. I marked the point on the wing
where it rested on the block and marked the same spots on the opposite wing so I
could match the location of the block for gluing up that piece.
| Prepping the wing joint |
Gluing rig to ensure symmetry
on the wings |
Both wings glued up |
 |
 |
 |
3/29/09 - I did some extensive putty and clean up on the
underside near where the lower neck joins to the body. once that clean up was
done, I attached the head and lower neck using 5 minute epoxy. I also attached
the outboard wing pods.
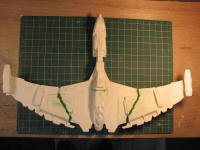
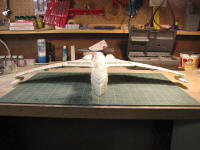
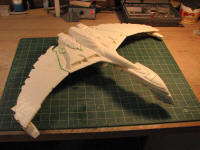
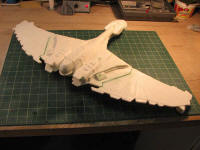
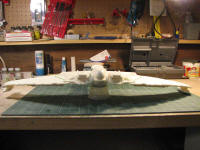
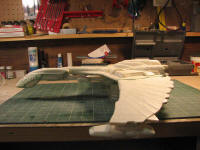
3/31/09 - Attached some of the underside detail pieces and
worked on sanding & filing out the wing joint.

![]()
![]()
![]()
![]()
![]()

