|

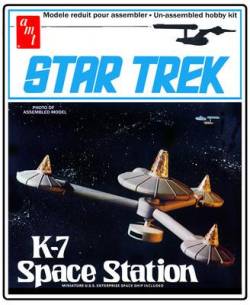
K-7 Space Station
AMT
Star Trek The Trouble with Tribbles
|
 |
|
Stated scale:
|
1/7600
|
    
|
|
Actual scale:
|
~1/850
|

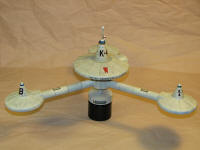
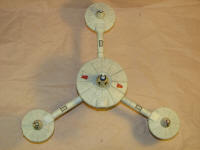
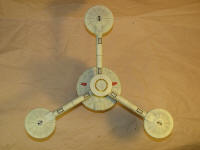
|
|
Overall length:
|
16.8" diameter
|
|
Material(s):
|
styrene
|
|
Number of parts:
|
21
|
|
Stand included?
|
yes
|
|
Decals included?
|
yes, in re-release
|
|
My Source:
|
long ago, LHS
|
|
Cost (w/o s&h):
|
|

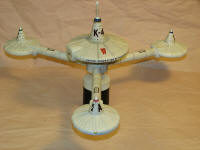
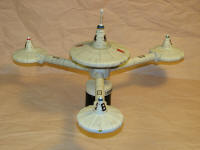
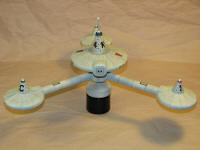
K-what? It's a K-something station, but not K-7. Given low-rez 1960s television we probably
couldn't tell that this kit was a crude approximation of the K-7's actual
appearance. With the station's later appearances in DS9's Trials and Tribble-ations,
TOS remastered and on Blu-Ray, we can see quite well what this kit should look like. The kit has ribbed modules whereas the studio version has a
sort of stepped-clamshell look, as though the modules could open up like huge
hangar bays. It's not that obvious in the original TOS show but gets more
noticeable in HD. The lower hangar bay should be thicker vertically than on the
kit. Studio has markings on the cone-domes that the original-release kit doesn't have - K-7 on
central dome; K-A, K-B, and K-C on the three outer module domes. Many other
details on the studio model do not match the kit either.
Compare this
http://memory-alpha.org/en/wiki/Deep_Space_Station_K-7
vs
http://www.round2models.com/models/star-trek/k7-space-station/amt644-05
These are interesting too -
http://www.projectrho.com/SSC/station.html and
http://www.startrekman.us/pages/4/page4.html?refresh=1112186182747
My working hypothesis: this model is of another K-series station. So.... (shake-a-shake-a-shake-a-rollll a d6).
OK, K-4 it is.
The upcoming re-release of the kit gives a scale of 1/7600, which seems based
on the size of the 1.5" long Enterprise in the kit and assumes it's in scale
with the station. However, using the shuttlecraft (visible in the Trials and Tribble-ations
model photos) in the K-7 hangar as a benchmark,
the station is in fact only about 360m diameter and scales out to about 1/850. The re-release
includes a decal sheet with the appropriate markings for the K-7 station.
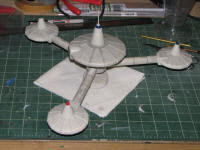
1/31/2010 - Assembly of the model was fairly easy and didn't require a
lot of puttying, except around the join between station arms and core. I filed
and sanded down the raised grid on the clear cones, which I interpret as being
the main habitat areas of the station. After finishing up the putty work I gave
it a coat of white primer.
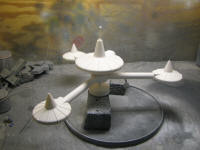
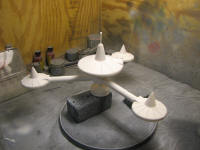
10/10/10 - Yep, primer's dry. I gave the
station a base color coat of camouflage gray. Based on measurements of the
habitat cones I made CAD templates (Autodesk Autosketch) of the cone frustums which will serve as the
basis for K-4 station markings.
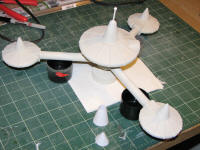
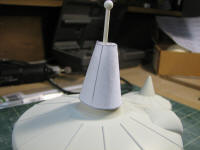
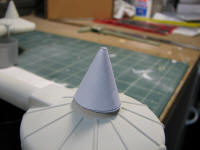
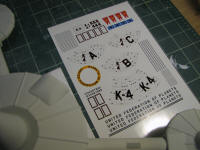
10/18/2010 - I added some light gull gray detail color
areas and, while off at a conference, got the artwork well underway for the K-4
decal sheet (Adobe Fireworks is the app I use for the majority of the artwork).
I printed the decals on an HP Photosmart D7160 printer using the "other photo
paper" and "maximum dpi" printer settings. I sealed the sheet with a coat of Krylon
crystal-clear. (3/3/2011 added note - Testors decal sealer
spray works much better than Krylon)
On to a bit of other painting - I trimmed back those paper cones to
mask off the cones for painting their tips - beret green, Chrysler engine red and
blue angel blue.
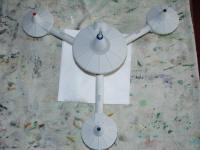
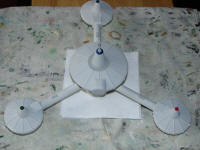
10/24/2010 - ...and ready for decals. Over the past couple weeks this has
gotten its grid lines, lightly-drawn with thin-lead mechanical pencil and then
chalk shading in light-mid grays with a few darker gray bands. I cut paper
templates for edge masks when applying the chalks. I sealed this with a coat of
glosscote lacquer in preparation for application of decals.
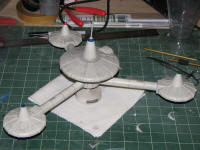
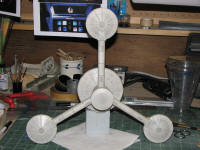
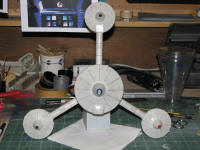
10/25/2010 - Decals, day 1. No, the K-4's marking are not like the K-7 markings. They're
not the best decals, but then again they're not the worst I've ever worked with
either. For my first major foray into home-made decals, it's acceptable. Microscale Microset worked as a setting agent for them, as long as I
didn't poke at them too much. Fortunately this model has a very smooth surface so the
decals did not have to get settled into deep detail.
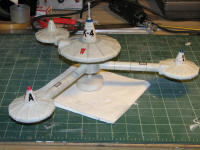
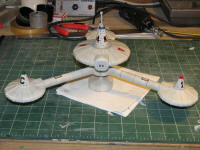
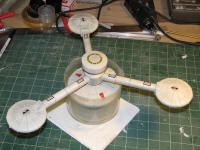
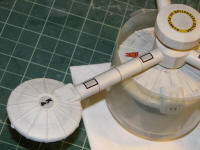
10/27/2010 - Finished up the last few decals and details -
painted the beacons with pearl white and transparent yellow then gave the whole
thing a few coats of Dullcote lacquer. Finito!


![]()
![]()
![]()
![]()
![]()


