|

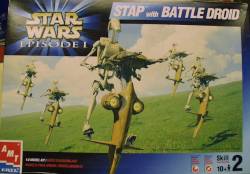
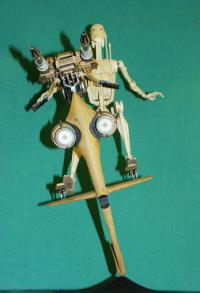
AMT/ERTL's
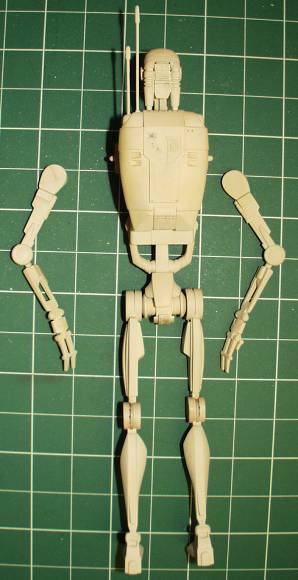
STAP with Battle Droid
|
 |
Stated scale: | 1/6 |
  
|
Actual scale: | unverified |

|
Overall length: | |
Material(s): | styrene |
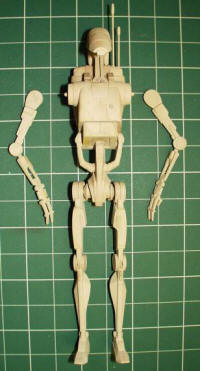
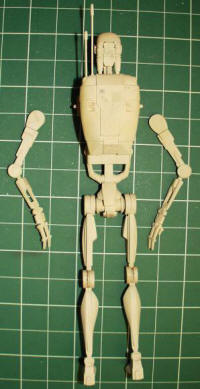
Number of parts: | STAP: 30
Droid: 31 |
Stand included? | yes
1 pc. styrene + 1 metal pin |
Decals included? | no (1
needed) |
My Source: | local shop |
Cost (w/o s&h): | ?? |

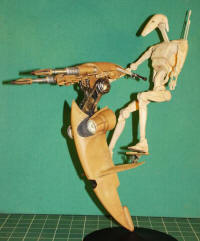
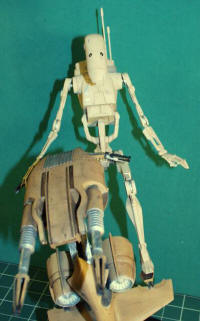
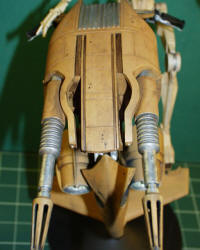
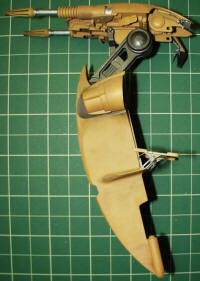
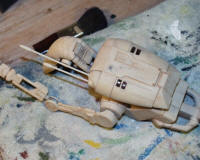
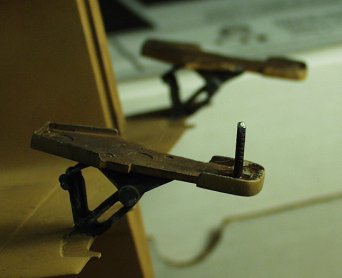
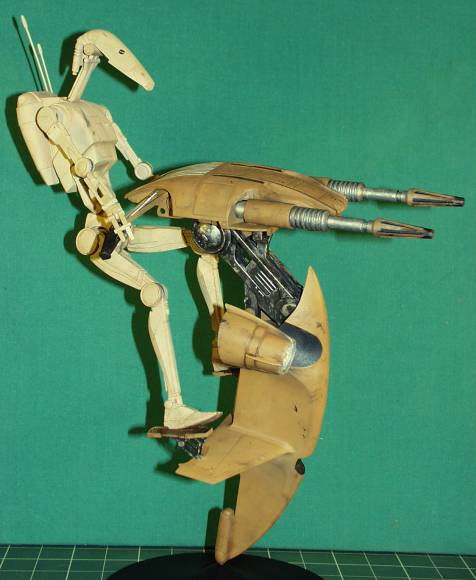
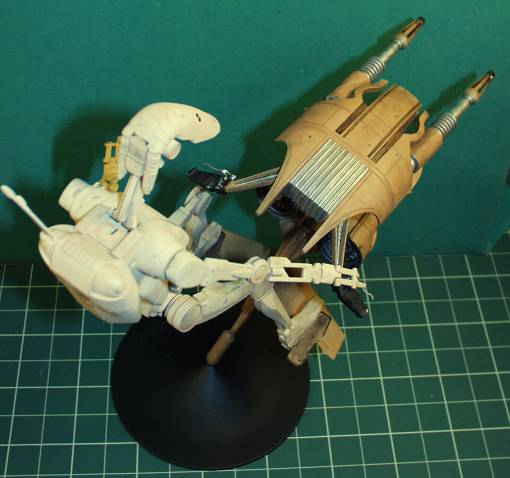
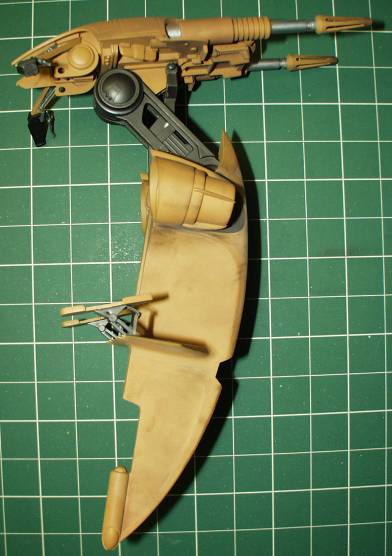
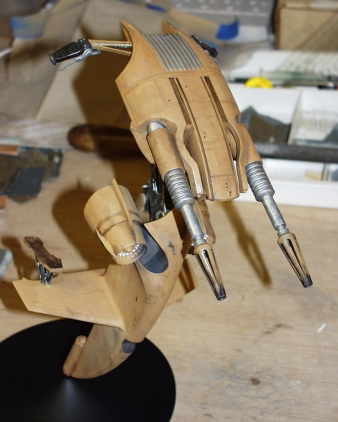
1/31/07 - Weathering is underway. This had been assembled
and base-color painted for a long time (So what else is news?). Base color on
the STAP is Model Master wood & Metallizers gunmetal and aluminum; base for the
battledroid is Model Master radome tan. Weathering is, as (almost) always, being
done with chalk & brush, and paint washes.
STAP Weathering...
Droid weathering...
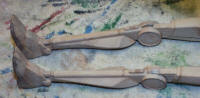
2/13/07 - Weathering has continued, with work done in washes of Testor's 'rubber' on the STAP
and Model Master military brown on the droid. Metal wear was added by applying silver leaf Rub'n'Buff
over the gunmental and aluminum areas. The STAP engines have had a coat of Acryl
pearl white dropped into the wells, preparatory to simulating their glow.


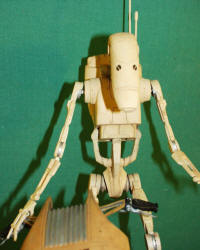
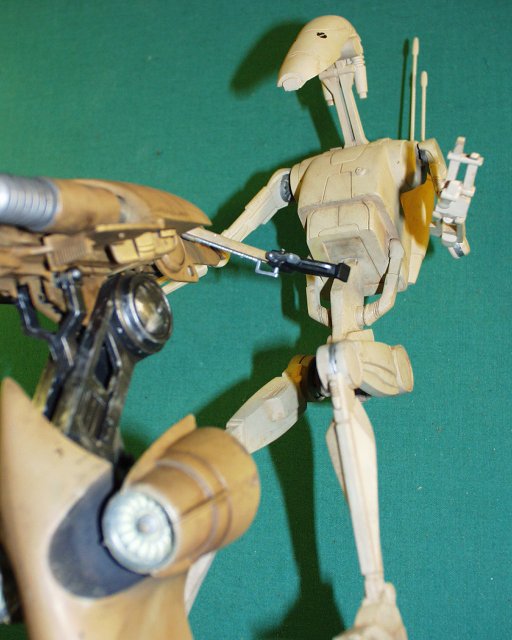
And no, your eyes aren't deceiving you. I've bent the mounting pin so the
STAP will be canted over at an angle. The droid won't exactly be in full control of his
ride.
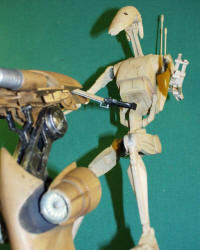
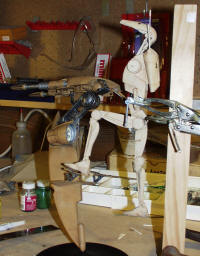
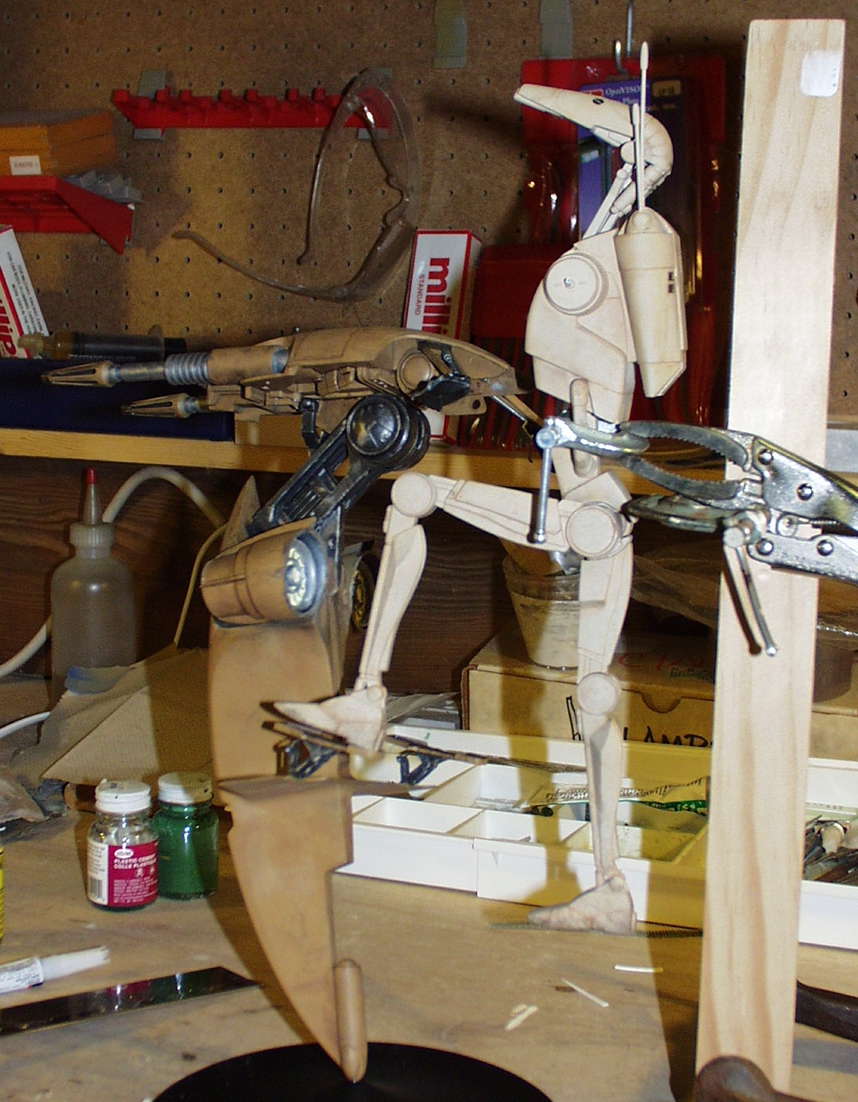
2/14/07 - Mounting up! I roughed up the mounting pin with a metal file and
superglued the STAP to the base. The droid got clamped and vise-gripped roughly
in place, and now the fun begins - how to get a pose that's precarious, yet
firmly attached to the STAP. I began with supergluing
the left foot to the STAP (below left) The other attached limb will be the right
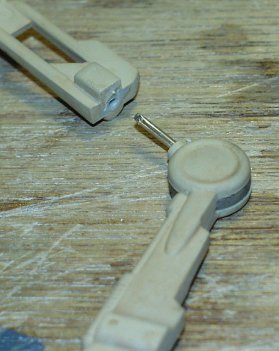
arm, which needs articulation at the elbow, wrist and fingers. I drilled holes
and added wires to the joints (here the elbow, below right) to make
them articulatable.
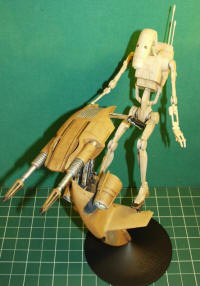
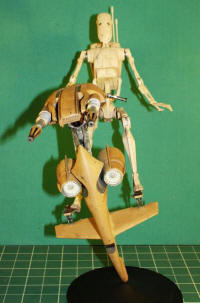
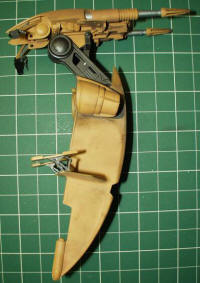
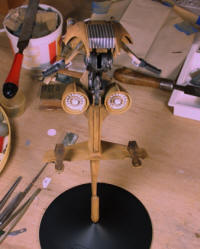
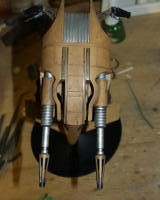
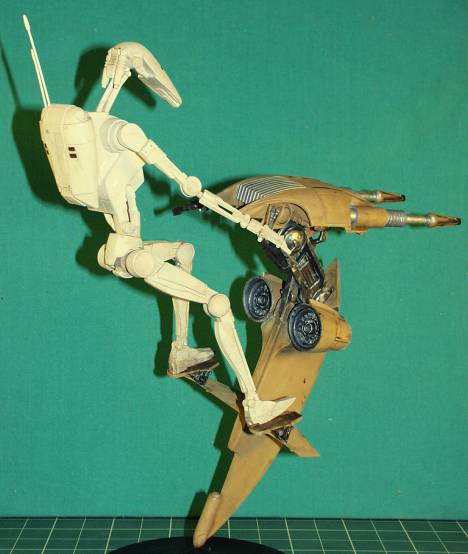
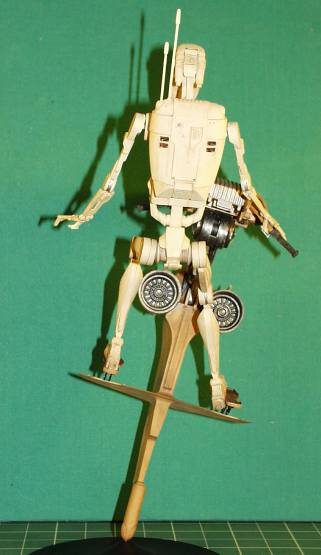
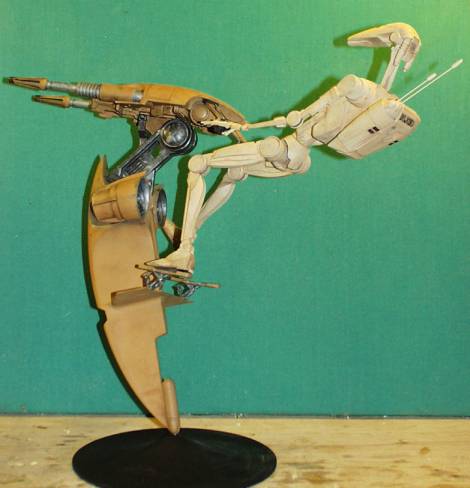
2/21/07 - FINISHED!
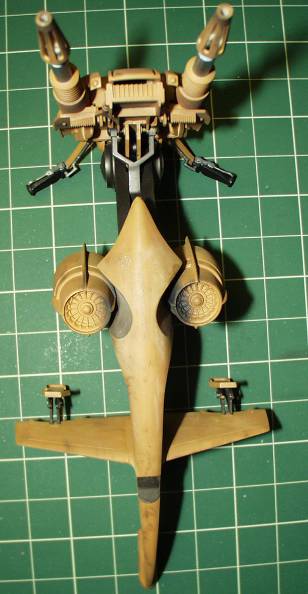
For the power plants, I airbrushed over the pearl white with a light misting
of acrylic white, transparent yellow, and pearl. It looks fair in room light,
but worked out pretty well when hit with the camera flash.
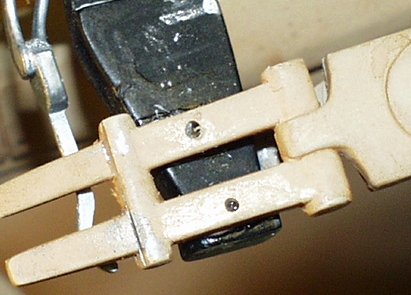
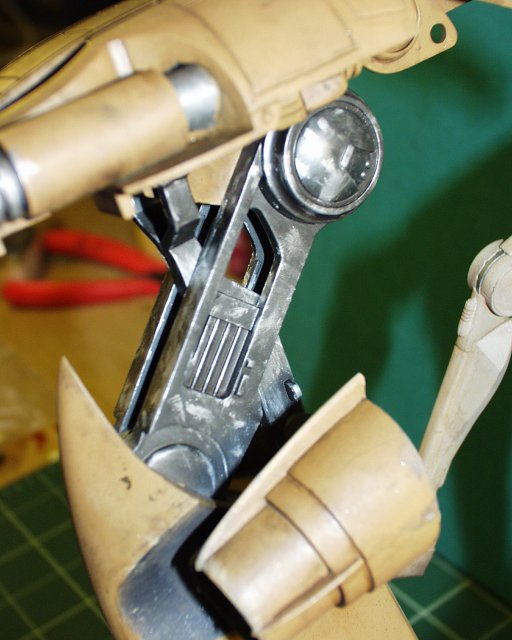
I tried the final mount-up with only the left foot and right hand attached to
the STAP, but... well, it wanted that 3rd point of contact to be really stable -
so the right foot is attached to the side of that pedal. All three
points-of-contact are superglued. Once I had those points made, I shot a few
drops of Tenax into the leg & arm joints.
OK, maybe not so finished. I still need to get the droid's number on his comm-pack, and a few more bits
of detail color need to go here and there - mostly fingers & joints.
You don't ever really finish a model, you just choose when to stop working on
it.
2/26/07 - OK, NOW "finished"!
Except.... I added
a custom decal to the droid's commpack.
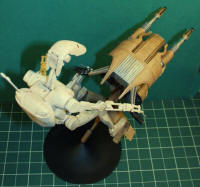
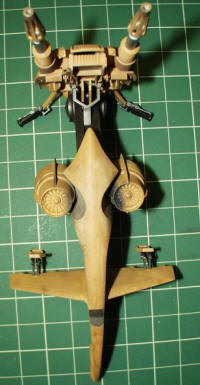
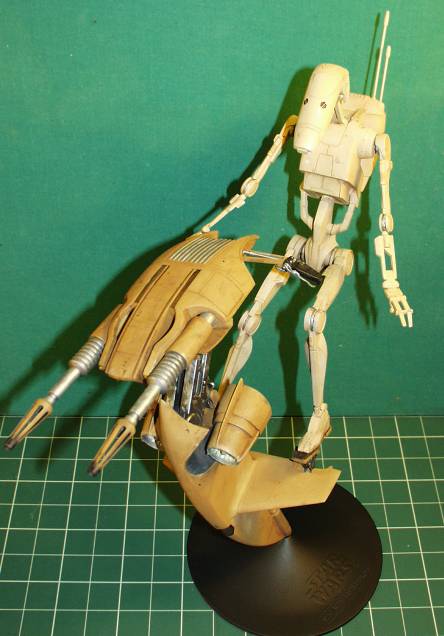
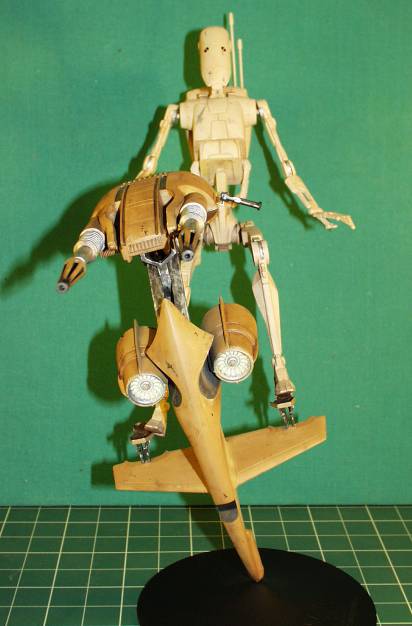
| 3/9/07 - We've been on a road trip. I took a number of
models to display at Marscon in the
Twin Cities (MN, US), the STAP & Droid among them. The superglue holding
the droid to the STAP didn't hold up well; both feet came loose. So,
it's back in the shop for a little more work. I've wanted to adjust its
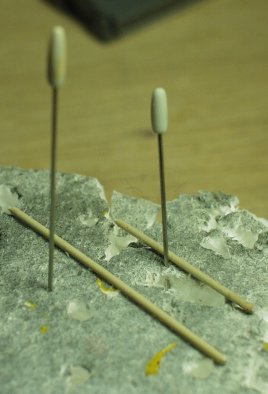
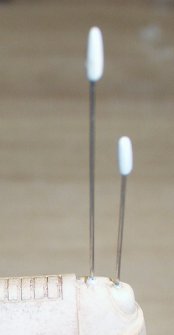
pose anyway. OK, not finished. I've also decided to replace the antenna stalks with
thinner wire to replace the thicker styrene stalks.
I trimmed away the styrene stalks (below, laid on the styro block next to the
new wire stalks), filed the cut surfaces smooth and drilled them out with a
1/32" bit held in a pin vise.
|
 |
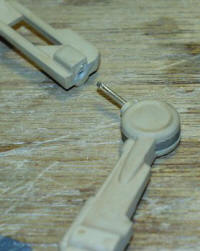
| To strengthen the mounting points between the droid's left foot and STAP, I
drilled a 1/16" hole in the foot rest, inserted a trimmed nail through it from
underneath and superglued it in place. I drilled a matching hole in the sole of
the droid's left foot, which will be fitted over the nail. |
 |
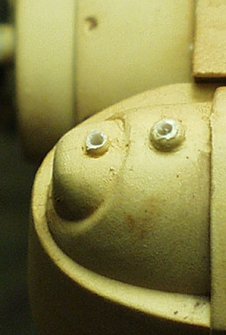
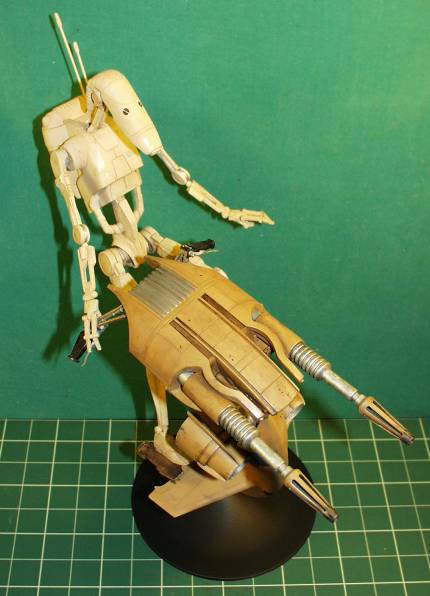
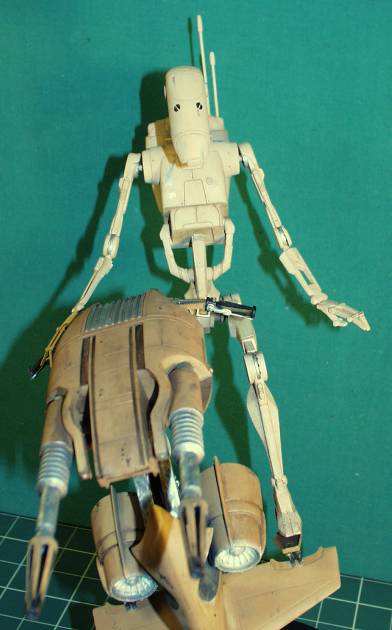
| 3/10/07
- I installed the new antennas onto the droid's commpack. To attach the metal to
styrene, I first applied Tenax7R to the styrene and then positioned the styrene
piece. After the Tenax had set, I applied superglue to the joint.
|
 |
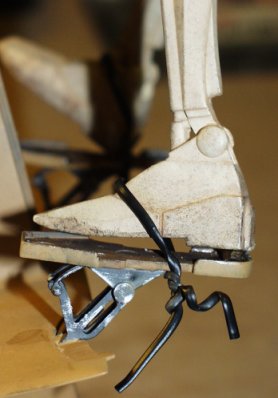 |
To mount the droid to the STAP (again) I fitted the left
foot over the nail stub and secured it with a wire twistie tie. I moved the left
hand into position on the hand grip and drilled holes through the fingers into
the grip. I pinned the hand through these holes with short bits of wire and
superglued them in place. I covered the wire holes with putty & touched up the
paint. |
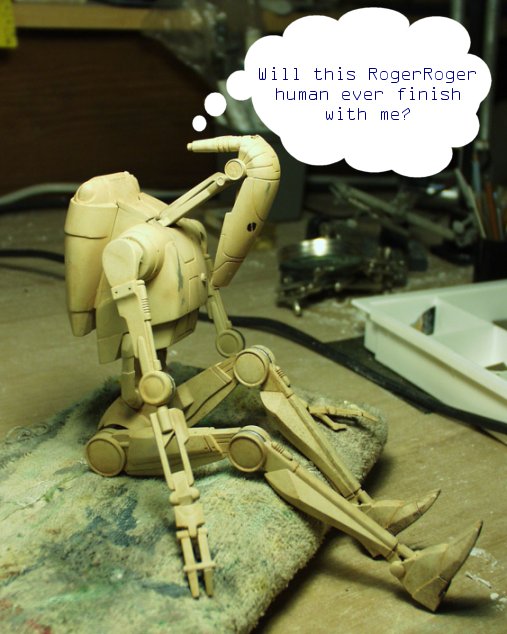
Really... this time...
FINISHED!


