Parte the Fifthe and Finale
Parte the Fifthe and Finale
Final Assembly
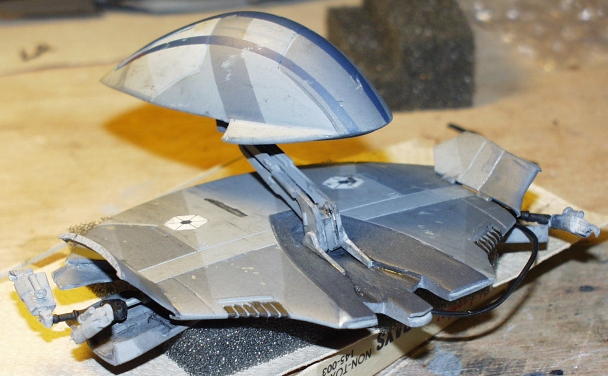
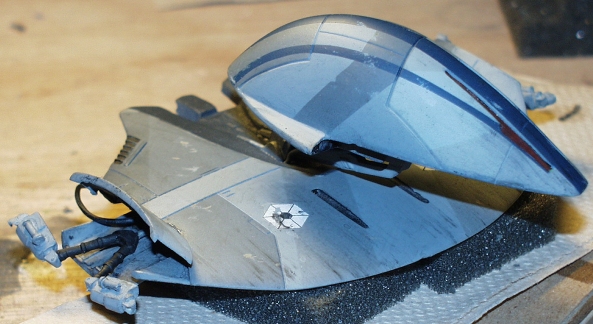
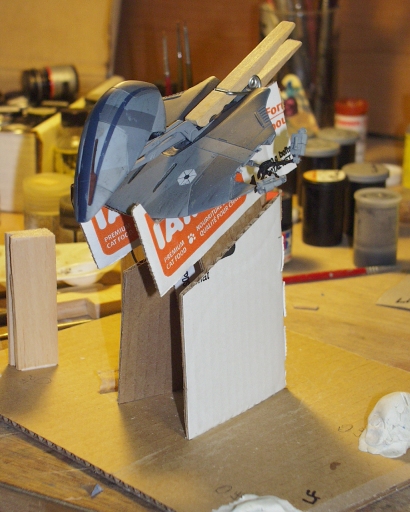
With all parts finished, the only remaining task was to put it all together. I began with the head-body assembly. I first attached the neck to the head, running the eye-light wire along the inside of the neck. I had drilled small holes into the resin piece in the body. The wire runs from the neck into the right side of the body and out through the right-side strut bay. After threading the wire, I attached the neck to the body.
Next I attached the leg struts, then positioned and attached the strut bay doors. I used small shims of balsa to prop the bay doors in position while the cement set.
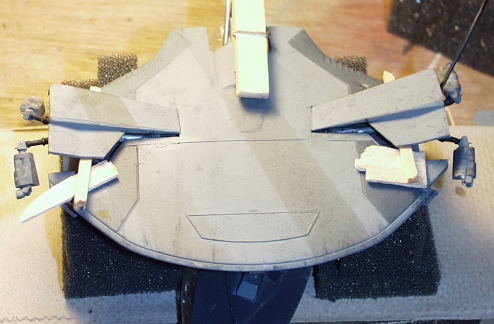
Attaching the Legs
With a little more time and engineering this would have gone easier. The plan was to place the body assembly on a cardboard jig to hold the body in its proper walking posture, superglue the leg assemblies to the struts, and then transfer the model to a display once the superglue had set and the model was stable. Stable. Yeah. Right.
First off, I had forgotten to rotate the leg struts when I installed them, to account for the 15-20° tilt of the body in walk position. And of course, superglue always takes longer to set than you want to give it. And all this was happening under a deadline for submission to an online model contest.

It looked good on paper - or rather, on cardboard and sculpey. But the strut joints just didn't want to hold for the transfer to display base. I should have had more of a socket-fit for those parts. So, the end result (with about eight hours to go before the midnight deadline) was that I assembled the thing onto the display base. And, because of the non-rotation of the struts, the left rear leg just wanted to be about 3/4" up off the base, so it's mounted on a small acrylic block step-up.
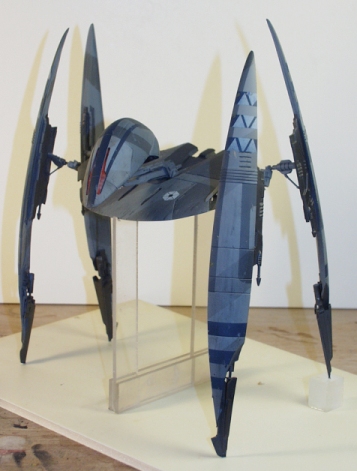
So, finally it's together. And not going anywhere, being glued to the base. The base is an 8x10-inch sheet of foamcore topped with a sheet of acrylic glazing. The center support - necessary 'cuzza that darned gravity thing - is also acrylic glazing cut to strips. Eventually, I'll detail & paint the base so it looks like a bit of starship surface. But, for now, there it stands.
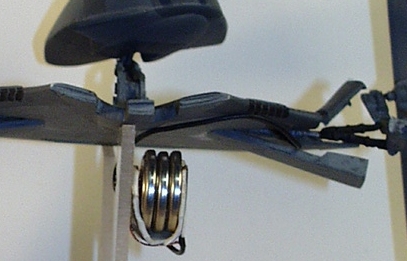
The final thing was to add the battery pack - three 3V lithium 'coin' batteries fitted into a clip made of heat-softened sheet styrene which I wrapped around the battery stack. I ran the ends of the wire through the sides of the clip.