|

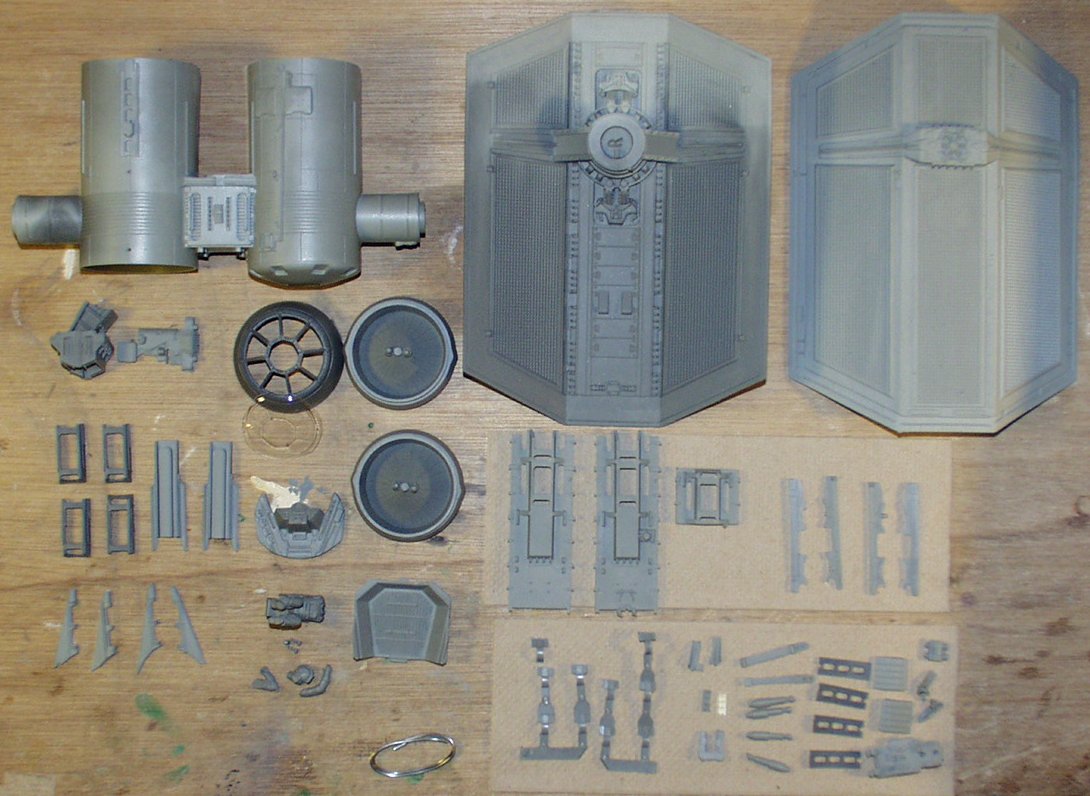
Backlot Studios
Imperial TIE Bomber
parts |
 |
|
Stated scale:
|
"studio"
|
  
|
|
Actual scale:
|
1/42
|

|
|
Overall length:
|
18.6 cm
|
|
Material(s):
|
resin, styrene, solder wire
|
|
Number of parts:
|
63 resin
1 vac-form clear
1 solder wire
|
|
Stand included?
|
yes
|
|
Decals included?
|
no / none needed
|
|
My Source:
|
Rider's Hobby
|
|
Cost (w/o s&h):
|
$150
|
 This is an impressive piece of work created in
"studio" scale, i.e. in the same scale as the studio filming mini.
Since that model was built using parts from the MPC Darth Vader TIE
fighter kit as the basis for the bomber's wings,
one might think that makes this kit
in the same scale as the Vader TIE - the 1/53 scale neighborhood.
Not so, with a
stated length of 7.8m it scales out to about 1/42. |
Week of 1/1/06
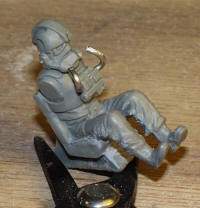 |
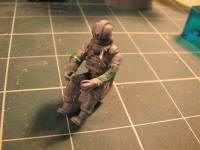
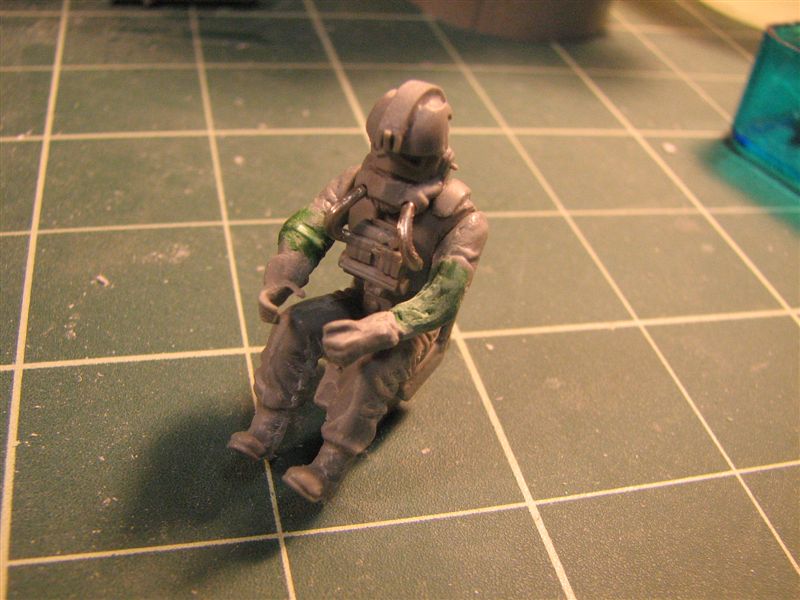
Pilot cleanup
and installing helmet-to-chest package tubes. The solder wire included with the
kit is to make the tubes which run between the TIE pilot's helmet and chest
package. Using a pin vise and .05" drill bit, I drilled a hole across the chest
package. I threaded the solder through the hole, trimmed it and bent it to
connect to the helmet. |
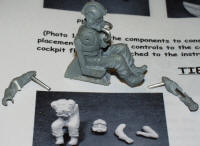 |
The pilot's arms don't reach the console
controls. I used a razor saw to open the arms' elbows. The right arm just needed
a chip of styrene inserted to extend the reach. The left arm needed more
extensive work. I cut the arm into two pieces and drilled holes to use extra
solder wire as a temporary elbow joint. Once I got a good posture for the arm, I
built it up with green putty. I also drilled out and wired the shoulder joint to
make it easier to attach the arms.
|
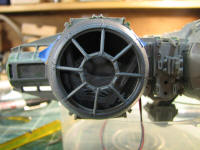
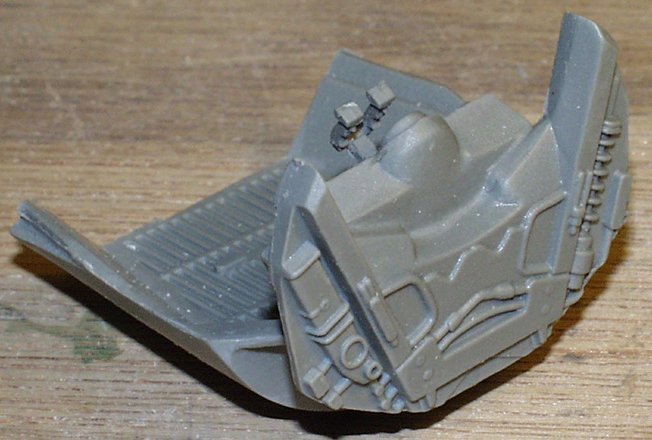
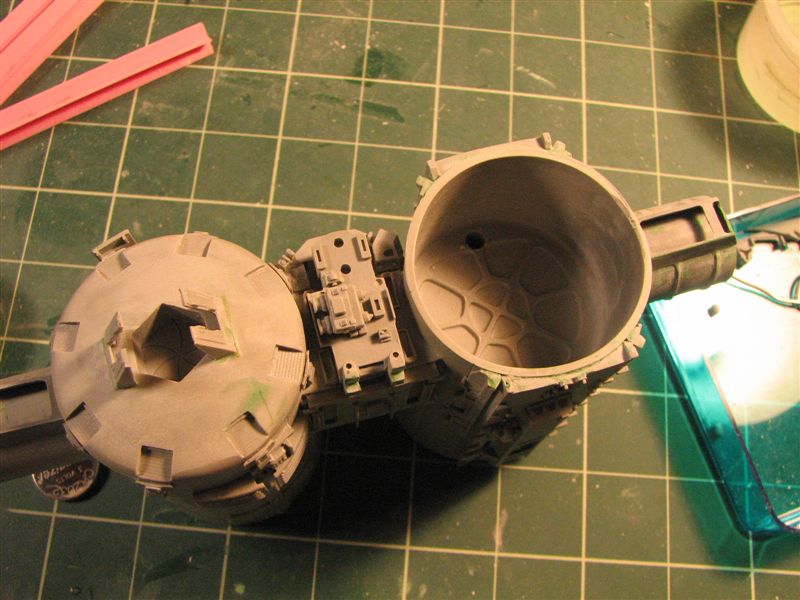
Cockpit
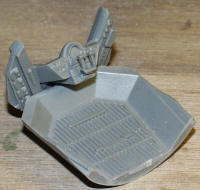
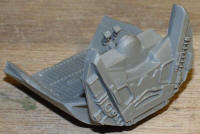

Above, the
assembled cockpit pieces. But that cockpit
interior looks awfully bare. May need to trick out those side walls with
some TIE-ish details. 'Course, then I'd have to drop in some lighting to show it
off. And then I may as well light the engines. And thus we go mad.
Week of 1/8/06
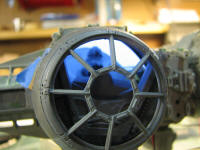
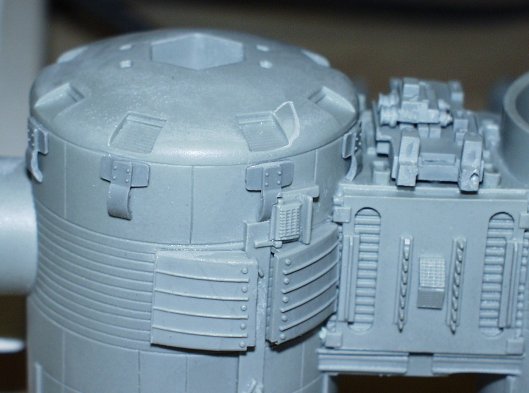
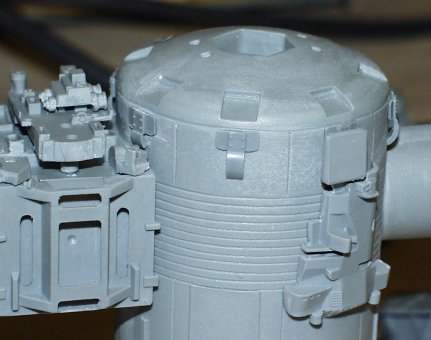
Wing panel details are attached
to the insides of each wing panel. The wingward ends of the pieces attached to
the T/B of the hub benefited from being sanded off at an angle and having a
couple small notches filed in 'em.

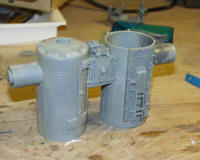

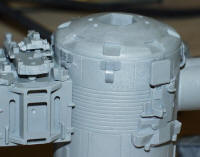
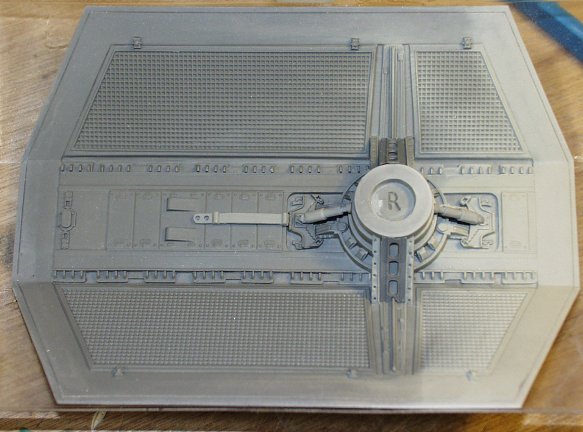
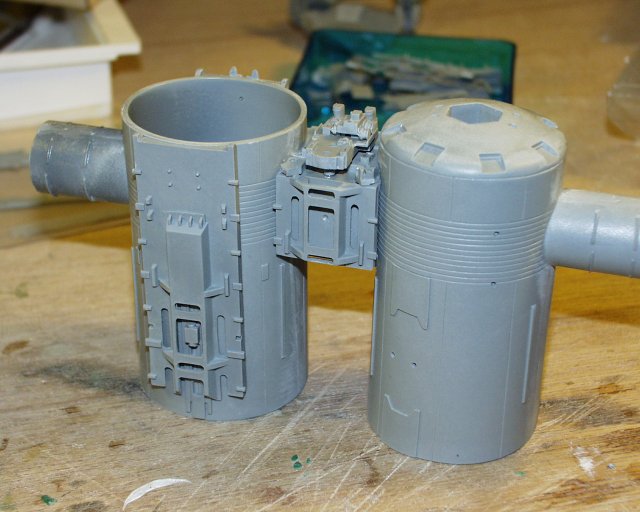
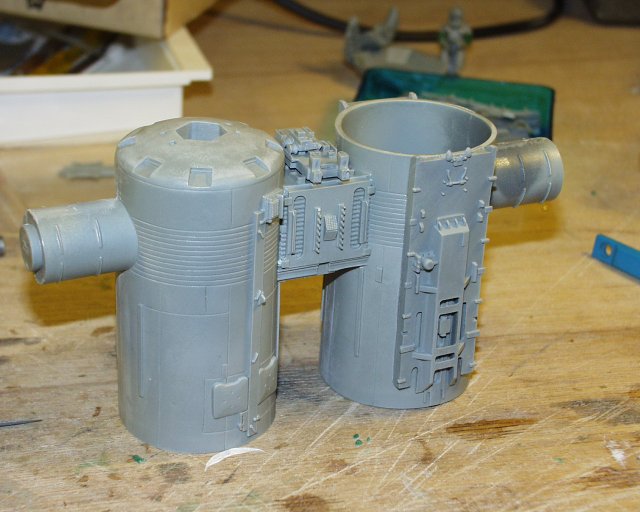
The first wave of detail pieces
are attached to the fuselage (above left 2 shots), and the second wave
(above right 2 shots).
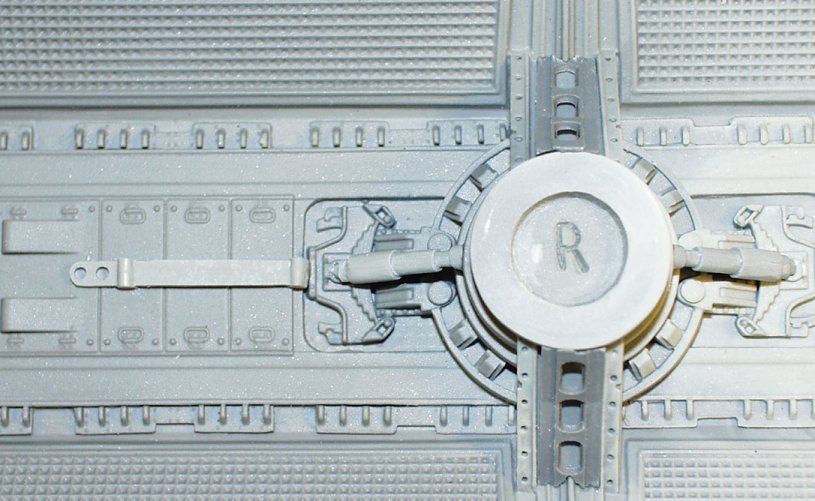
Three of
the clips surrounding the fore ordnance fuselage had to be trimmed
to fit, per instructions. And all the while cleaning them up, not a one went
diving for the floor. Nice, well-behaved parts.
Gave the model it's first round of puttying, sanding, and
filing. Some mold mismatches in the fuselage needed to be puttied up. Otherwise,
it's just filling gaps and a bubble here and there. There are some areas on the
wing attachment arms with small piping detail - some of this peeled loose, so
I'm taking off all the piping to replace. Or maybe I'll just decal it on since
photos of the studio model pretty clearly show the "piping" to just be drawn-on pencil lines.
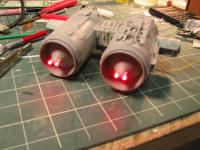
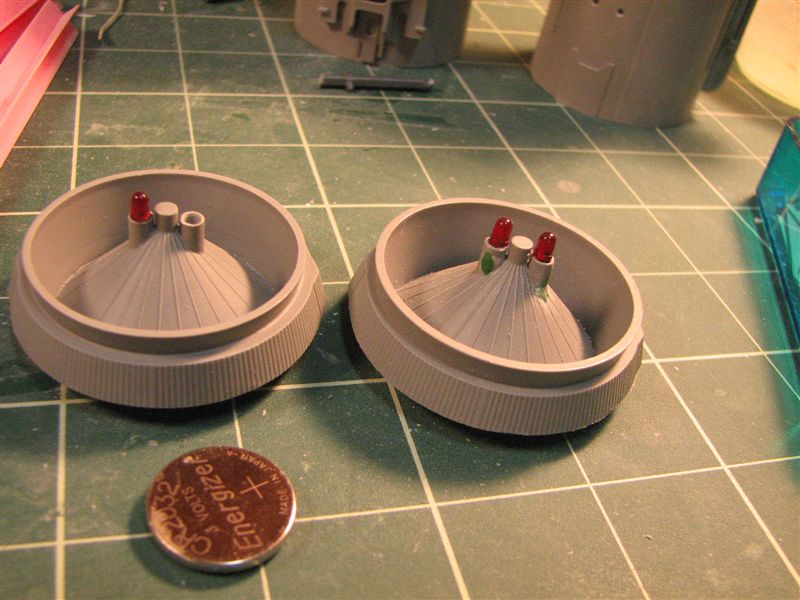
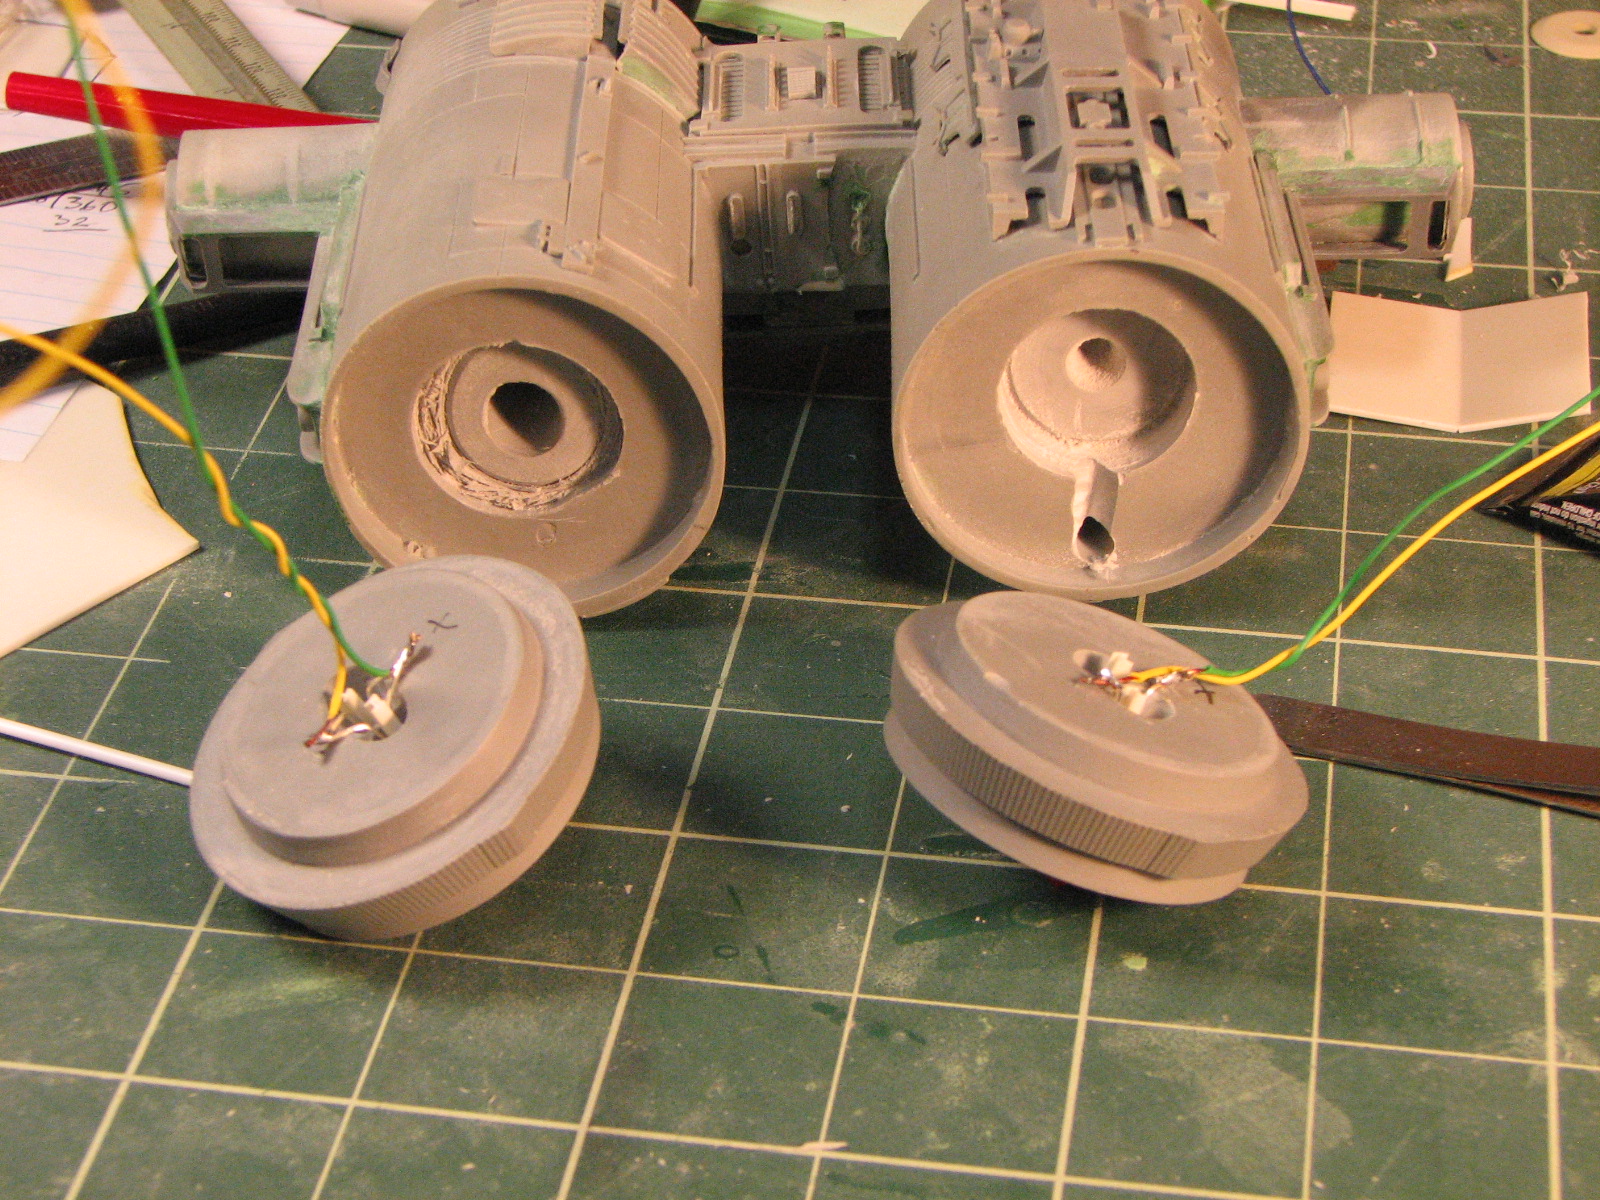
10/13/09 - Well, over 3 years
later... superglued the pilot's arms in place, with hands positioned so they
reach the control yoke in the cockpit. And madness struck in the form of
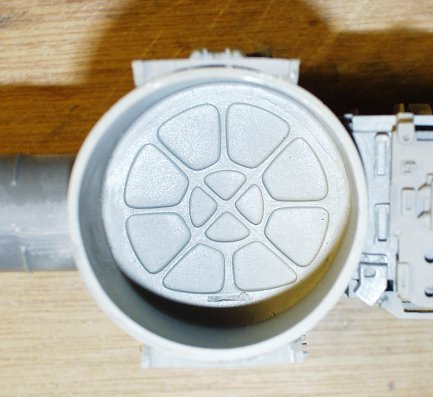
drilling for LED lighting of the TIE engines. I cut off the molded engine nubs,
drilled out holes that LED leads can fit through. 3mm LEDs fit suitably sizewise in place of the resin nubs. Now, I just need to scrounge up one more of
those LEDs.


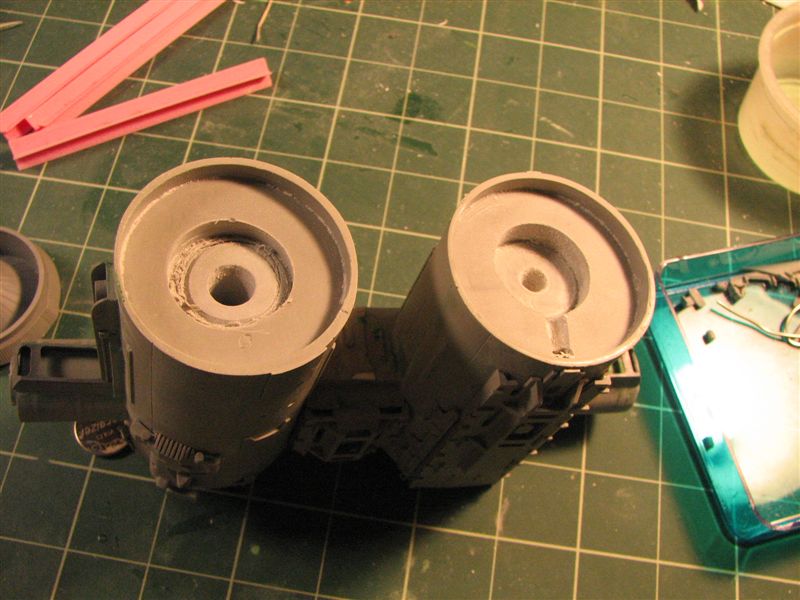
10/17/09 - Installed 4 matching LEDs in the
engines, ran wiring, and attached the engine caps. And yes, tested the diodes
and wiring before I closed it up.
And, it occurs to me... if this bomber has QUAD ion
engines rather than TWINs, shouldn't it be a QIE Bomber, rather than a TIE
Bomber?

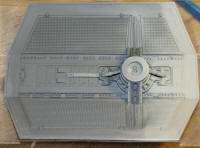
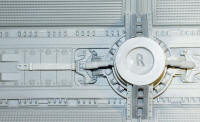
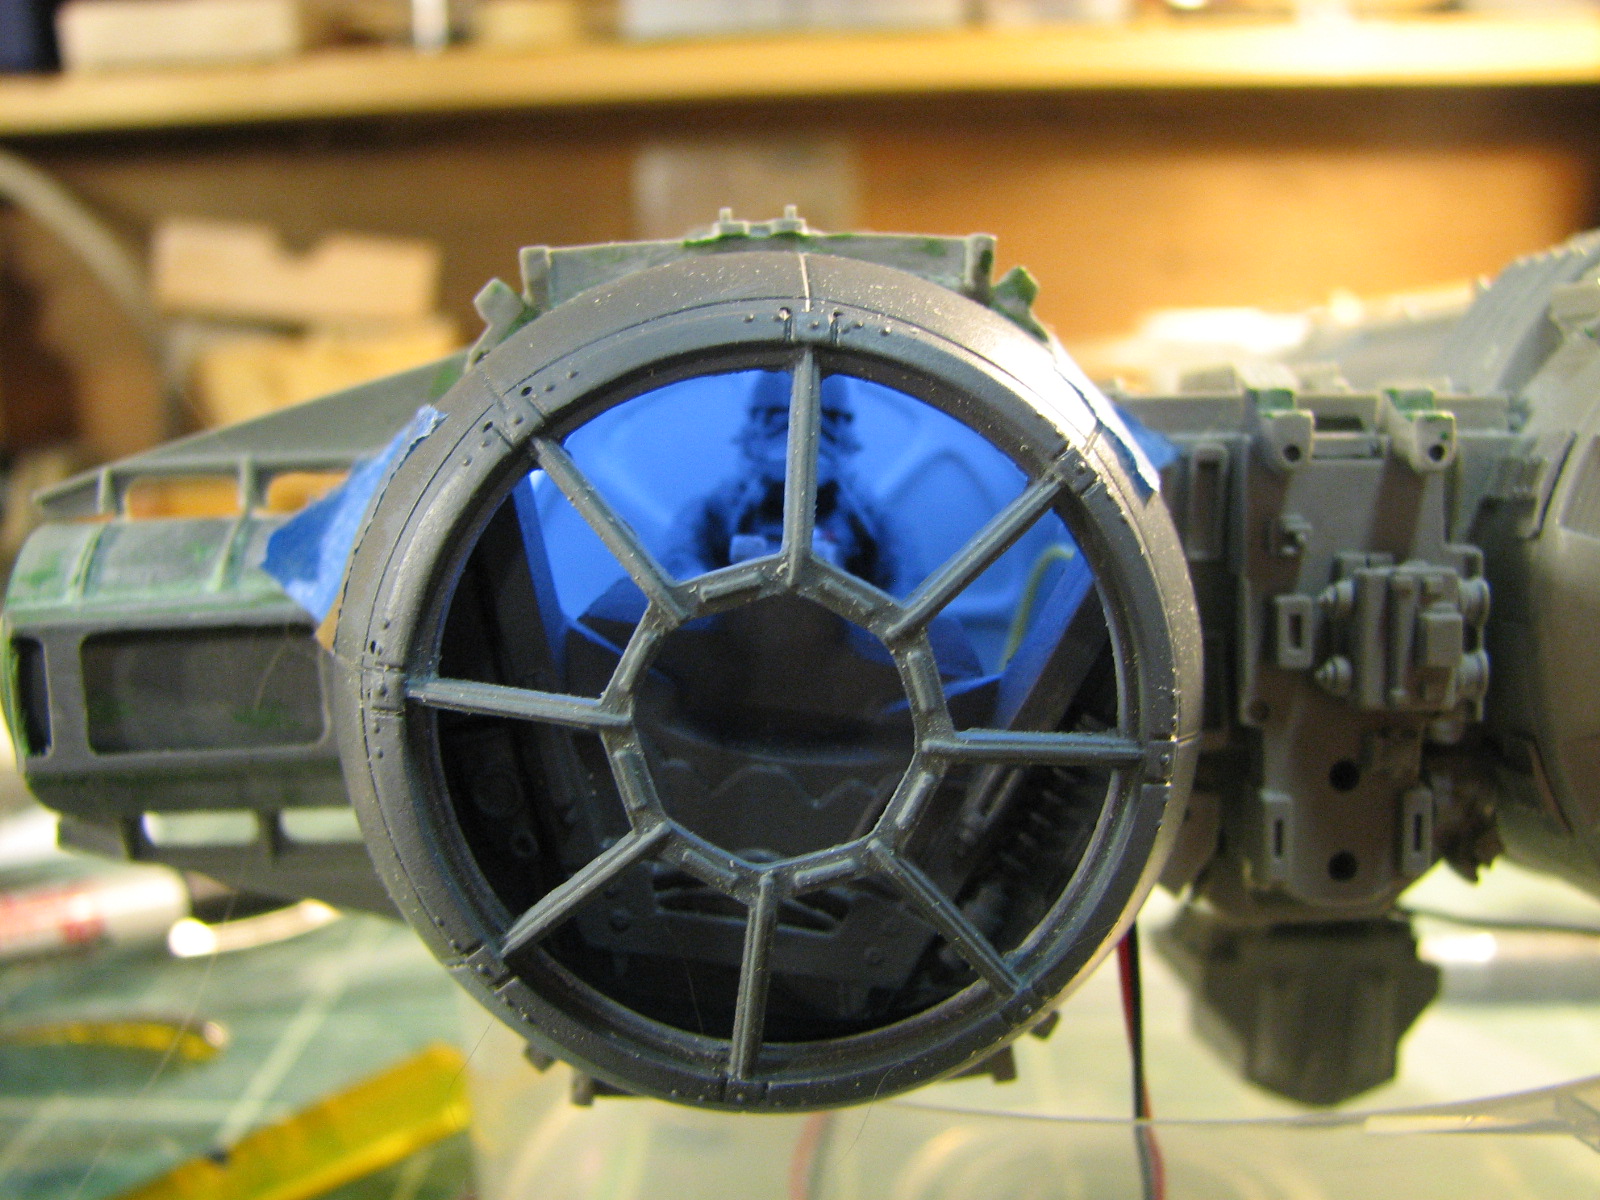
11/16/2009 - What would be the point of making a detailed
cockpit if it only ended up looking like this?
So, here's a quick lighting test with a small sheet of EL "lightsheet" material
in the cockpit. Covered with some sort of spiffy printed transparency and
scratch-built detail pieces... yeah, that'll work.


