|

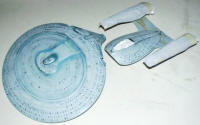
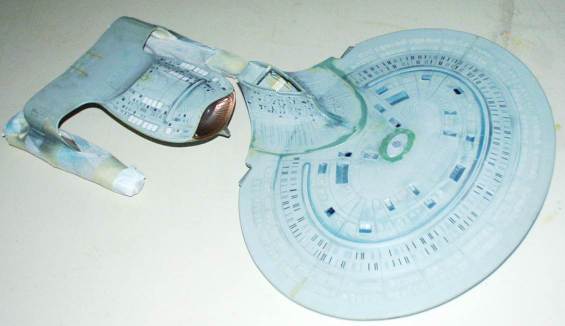
ERTL U.S.S. Enterprise 1701-D
|
|
|
Stated scale:
|
1/1400
|
  
|
|
Actual scale:
|
unverified
|

|
|
Overall length:
|
|
|
Material(s):
|
styrene
|
|
Number of parts:
|
19 opaque
8 clear
|
|
Stand included?
|
yes, 2
|
|
Decals included?
|
yes
|
|
My Source:
|
local
|
|
Cost (w/o s&h):
|
|

Set the Way-Back Machine to 1988. People were either
loving or hating the first season of TNG. As usual, I was on the fence,
generally liking it. And there on the hobby shop shelves was a model kit of the
newest Enterprise. To be brutally honest, my first thought upon opening the box
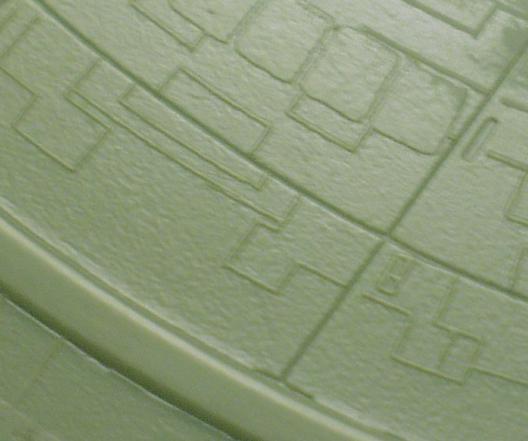
was, "molding defects." There was this awful
orange-peel texture on all the
pieces. And there were hideously overscale raised panel lines. After seeing
friends' kits, the sad truth dawned. This kit was awful. The "defects" were
intentional "detail." It was going to be a long haul.
 Job 1 was to first sand and file off the texture and
raised lines. Next, I re-engraved and cleaned up the inset panel lines.
Job 1 was to first sand and file off the texture and
raised lines. Next, I re-engraved and cleaned up the inset panel lines.
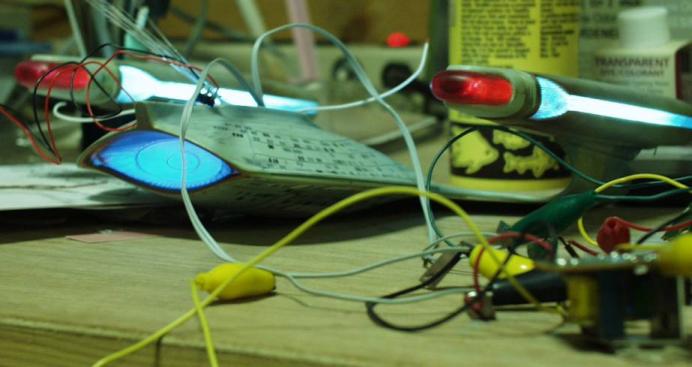
The following parts of the model would be lit up: the warp engines,
nav deflector area, impulse engine, running and formation lights.
Warp Engines - back in the days before white LEDs,
lightsheet, and CCFs, what were the options to light up warp nacelles? Well, 5"
mini-fluorescent lamps worked best for me. I cannibalized two battery-powered "closet light"
fluorescent fixtures for the 6-Volt electronics which run the lights. To
accommodate the wiring to the nacelles, I routed out channels in the nacelle
struts on the lower 2° hull half.
And then there was the fact that the nacelle grids had to be copper-colored when
the engines were off. At the time, Metallizer paints were their own brand (now
Testors owns the brand) and had a copper metallizer. I found that a light
misting of metallizer over clear plastic was effectively invisible when backlit
by those fluorescents. So, the nacelle grids were painted Tamiya clear blue on
the inside and misted Metallizer copper on the out side.
Nav Deflector - I lined the 2° hull with aluminum foil to
prevent light leaks through the plastic. I painted the inside of the clear dish
parts with Tamiya transparent blue, and the outside... Ohhh @#&**! When Testors
assimilated Metallizer they discontinued the copper! Would copper enamel work as
well? Mercifully, yes - highly thinned and lightly misted, just enough to look
coppery with no light behind it. Many years later, I'd have lightsheet behind
the dish, rather than a 3v flashlight bulb in a makeshift reflector.
| In 2005... |
 |
|
Lights on...
Lights off...
|
| |
Running & Formation Lights - I ran thin optical fiber to
the lights' positions on the hulls. The trickiest ones were the four lights on
the 2° hull aft edge (best seen when Tasha fires the aft torpedoes in
Encounter at Farpoint). I engraved channels in the piece to run fiber,
superglued it in place, and puttied over it.
I also did the main assembly work on the
two hull assemblies.
HIATUS 1 - Some 10 years and a move from Michigan to
Minnesota later...
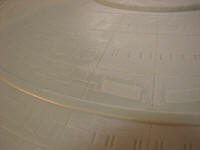
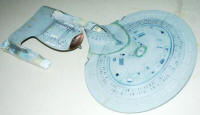
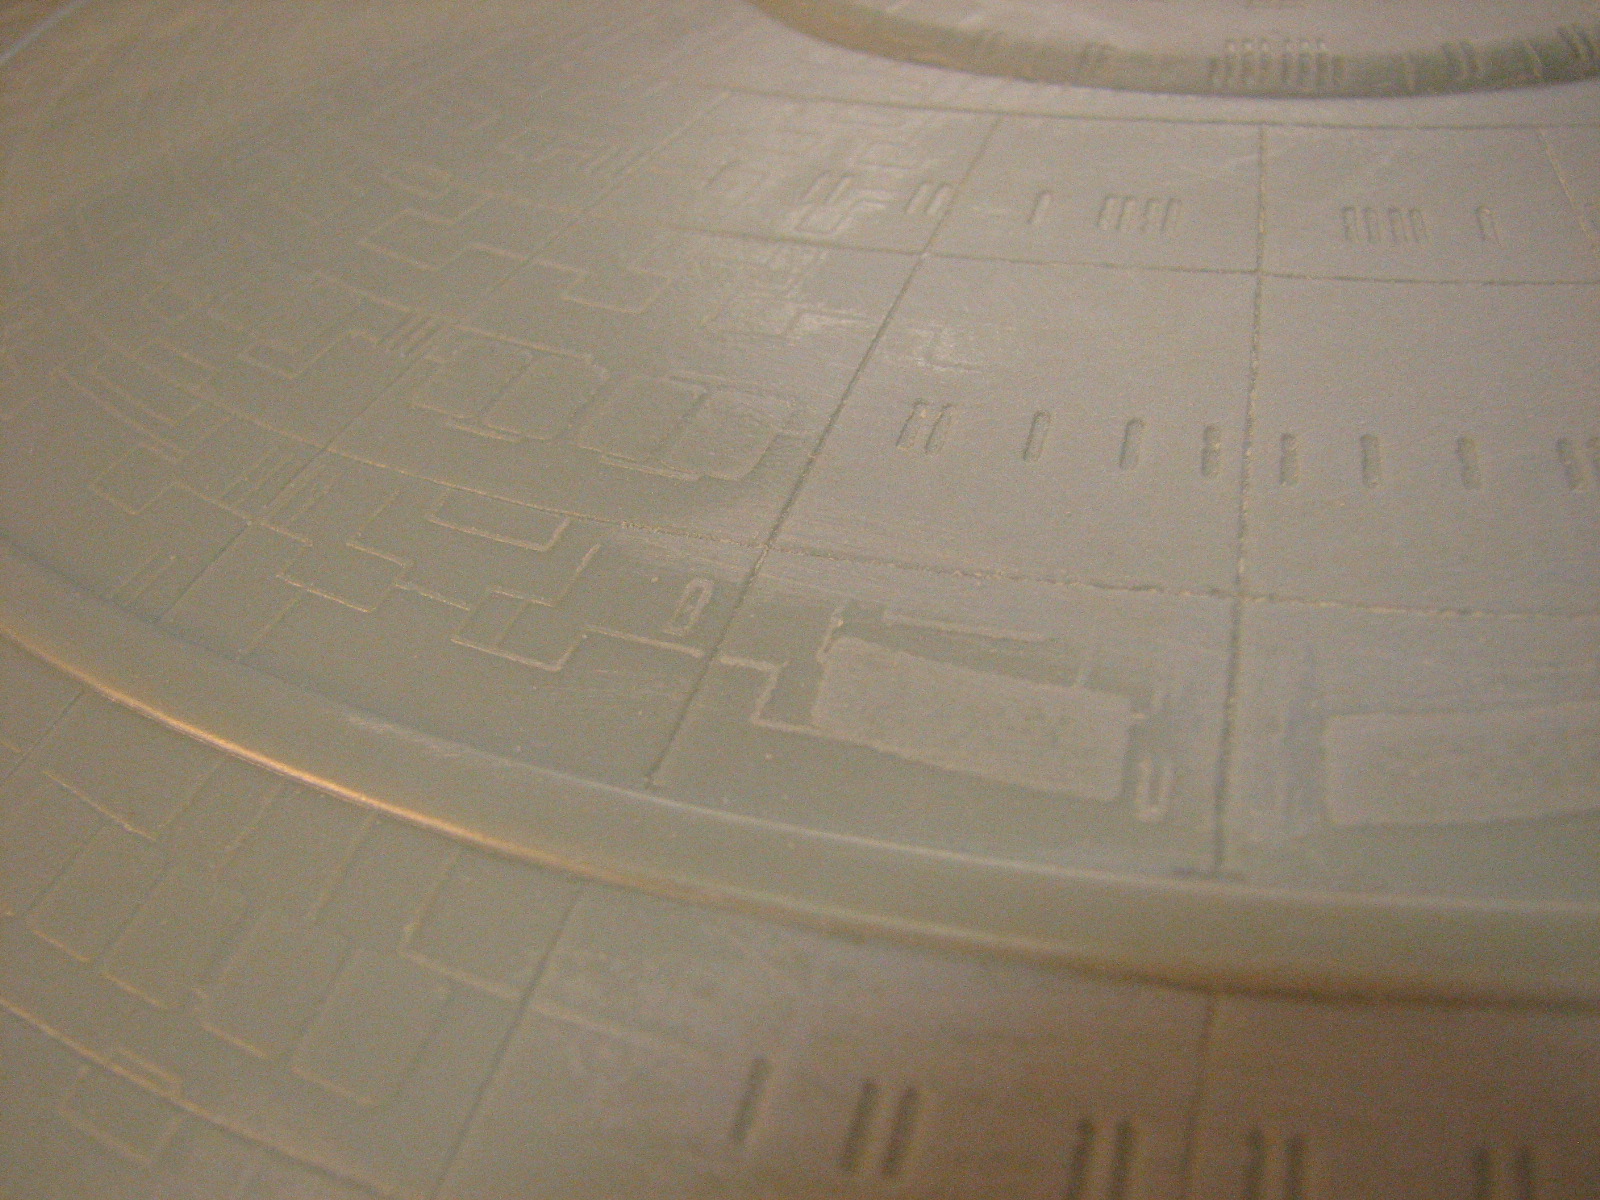
May 1999 - As part
of the "orange peel" texture removal, the raised detail on the hull were
unavoidably removed, including the lifeboat hatches.
I replaced the hatches with 0.005" sheet styrene, cut to
size, with corners slightly rounded. 432 hatches. It makes one's mind go a tad
wonky. So I composed a little song, to the tune of "100 bottles of beer"...
432 'boats on the 'D'
432 'boats...
You cut from strip
& glue't to the ship
431 'boats on the 'D.'
and so on
HIATUS 2 - Aside from occasional futzing, 7
years and a move from apartment to house later...
2006 -
8/20/2006 - In the past month I've gotten a couple
timesavers - a detail piece to add a set of windows left off the model by ERTL,
and precut painting templates (see Don's Light
and Magic). Decided I'd also light up the saucer navigation deflector. Huh? Those
four big "windows" on the lower saucer surface, centered just inboard of the
phaser ring. While never stated in the series, the aftermarket tech manual identifies these as a nav def for the saucer, presumably when flying solo.
To light this means I need a clear piece there.
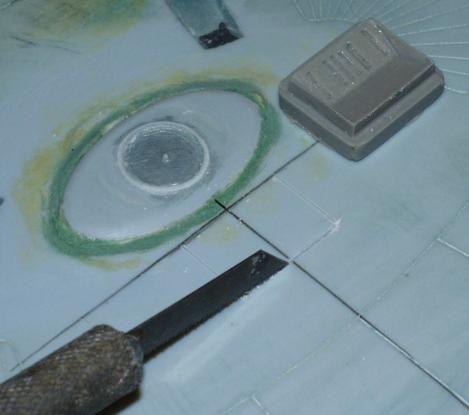
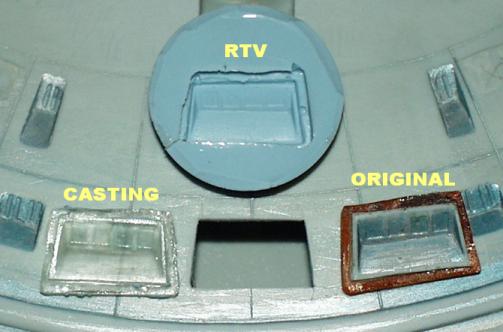
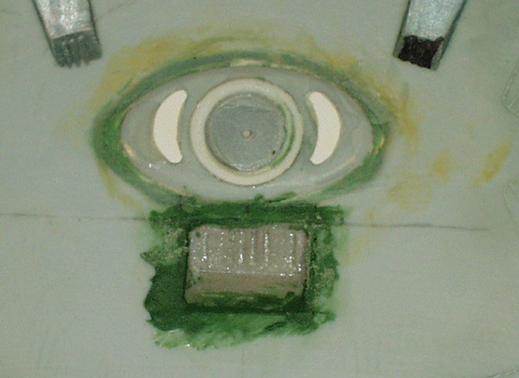
So, as long as I was cutting into the ship to install the
DLM window piece, I also cut out the deflector. I backed the cut-out piece with
a layer of plastic (woowoo! orange lexan!) so the clear piece would have a lip
when put in place, made an RTV mold of it and then the casting using Easy Cast
clear epoxy.
|
 |
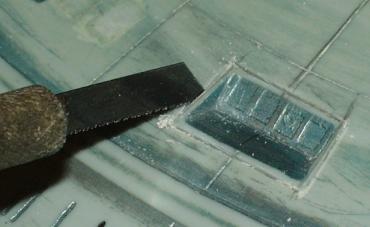 |
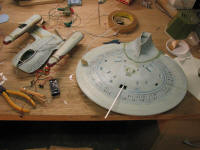
| Above: Making the cuts for the DLM window detail piece
and for the saucer navdef. Right: Saucer navdef original piece, RTV mold, and clear
casting. |
 |
Also got to thinking that as long as I've got those paint
masks, I should move my Nebula along as
well.
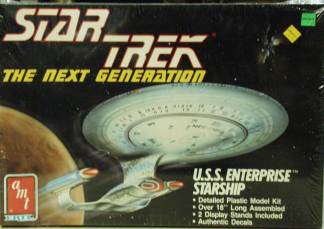
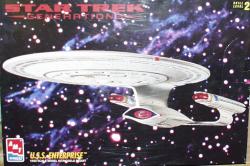
| And, as an odd aside... here's the box from the ST:
Generations release of the kit. Ever notice that the Captain's yacht is
attached upside down? Gotta love ERTL's attention to detail.
 |
 |
| 8/24/06 - I've added the rest of the
re-detailing to the underside of the Calypso (the ship's gig, aka
"Captain's yacht"). I used 1/2" styrene tube for the ring and cut the
arcs from sheet styrene. I also installed &
puttied around the DLM window piece.
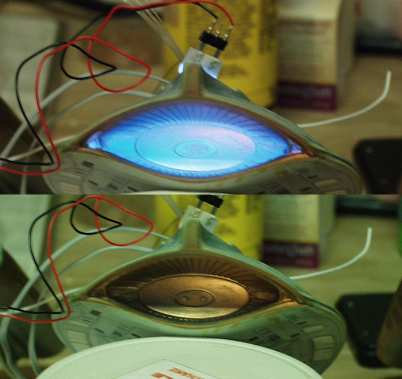
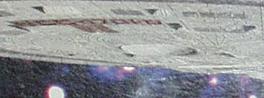
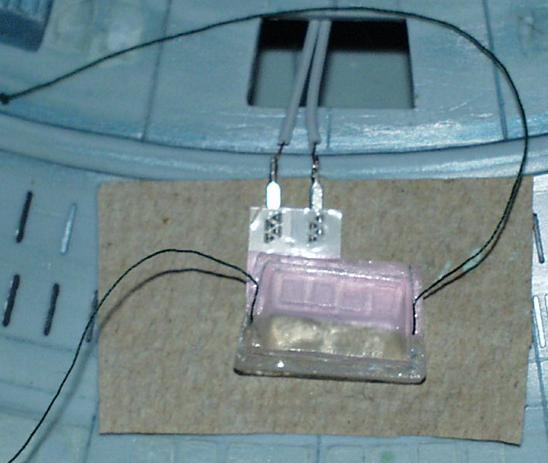
Below is the saucer navdef piece set up for
installation. I've added a backing of lightsheet (pink material. The
threads attached to the piece are to keep it from getting lost when I
pop it in through the opening, and so I can pull it up into place while
the superglue sets. |
 |
 |
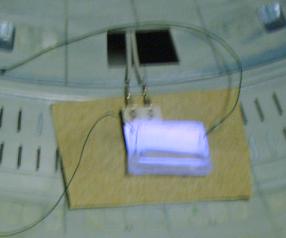
Saucer navdef lit up. 'Tis a tad
blurry, since I couldn't use the flash for this shot. |
Would you believe another 3 years have passed? Of course you
would.

