|

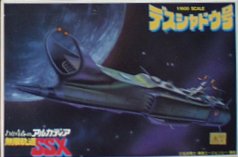
Death Shadow
Bandai
My Youth in Arcadia
|
|
|
Stated scale:
|
1/1600
|
  
|
|
Actual scale:
|
unverified
|


|
|
Overall length:
|
|
|
Material(s):
|
styrene
|
|
Number of parts:
|
|
|
Stand included?
|
yes
|
|
Decals included?
|
yes
|
|
My Source:
|
|
|
Cost (w/o s&h):
|
|

7/13/06 - Finished up the long-stalled assembly by
attaching all the wee spiky bits, after making them truly spiky by filing /
sanding the blunt tips.
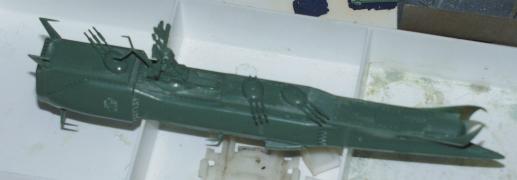
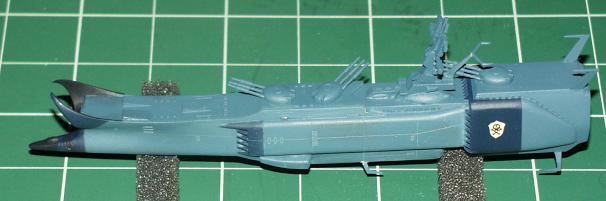
7/16/06 - Primed ...
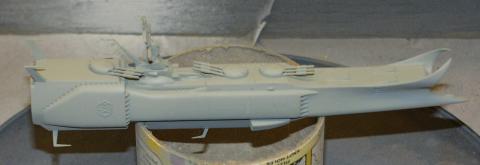
...and with the green base color first coat painted.

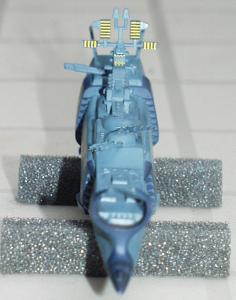
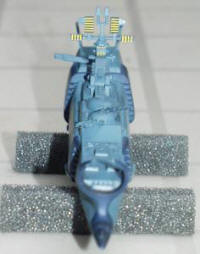
There is lighting in this model too. During construction,
I ran optical fiber from a small hole in the bottom of the model to the tips of
the bow "horns." With an LED in the base, the horns will be lit up just
like in the movie.
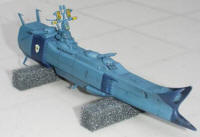
7/19/06 - For this to be the
My Youth in Arcadia Death Shadow, it needs one fiddly detail: the colors
Harlock was ordered to strike as he came in with his load of refugees.
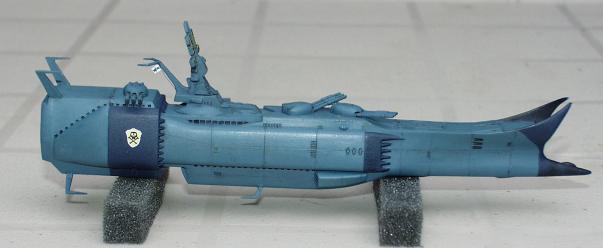
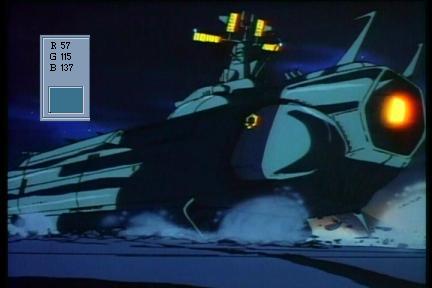
And now, the horns of a dilemma: screen caps from the
movie show the ship to be overall a dark blue-gray. The green livery appeared in
the SSX follow-on series. Hmmm... repaint time.
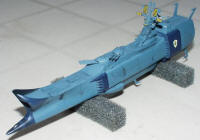
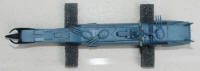
7/25/06 - Started work on a paint mix to duplicate that blue-teal-gray color
(on average R50 G100 B115), which also appears somewhat metallic. This ought to
be fun. Time for some
high-tech color matching.
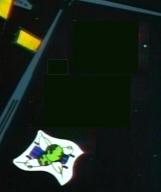
| Sampled from crash
landing sequence:
 |
From in-flight frame:
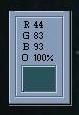 |
Averaged
swatch:
 |
|
This mix is reasonably close to the averaged swatch above:
6 parts Medium Gray
4 parts Ford Engine Blue
3 parts Flat Sea Blue
1 part Euro Dark Green
(all colors are Model Master enamels)
|

7/27/06 -
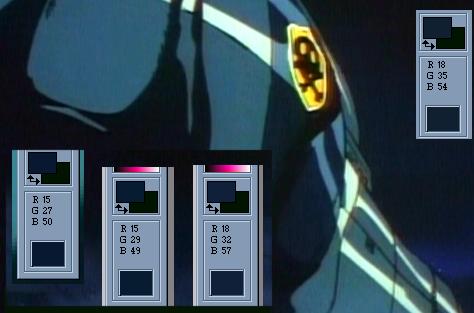 |
The darker blue areas
(bow spike, horns, panel behind Harlock crest) average R16-17 G31 B53.
Paint mix is a 3:3:1 mix of Insignia Blue, Blue Angel
Blue, and Flat Sea Blue.
|
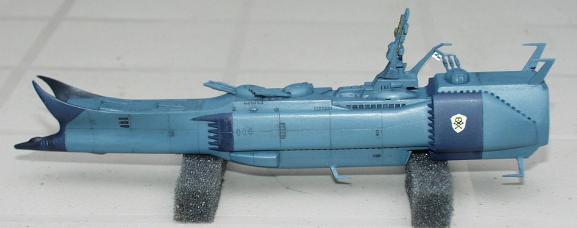
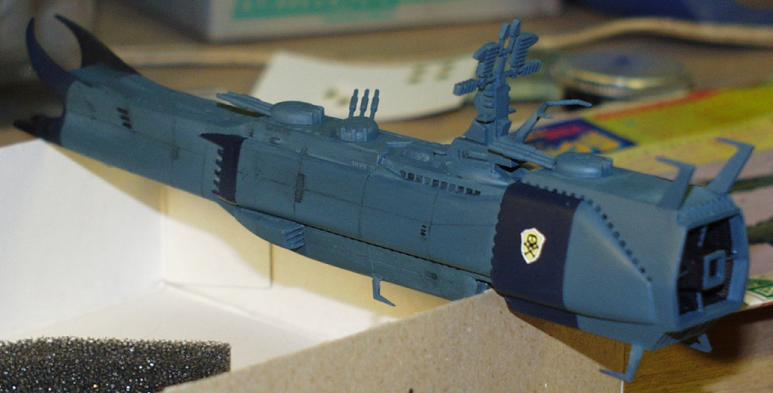
8/5-6/06 - This final push is underway. Here,
the model is masked off and has the darker blue color airbrushed on.
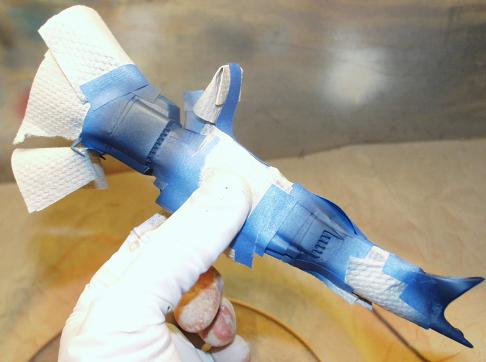
Unmasked... a few spiny-tenna casualties.
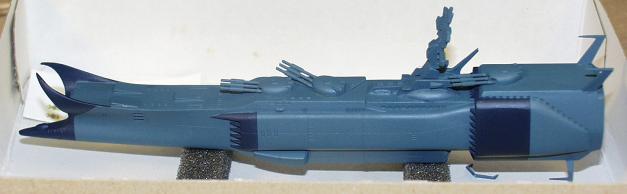
I applied one of the spare home-made decals from my
Messerschmitt Arcadia
to each side of the ship. I had filed/sanded off the raised border lines from
that area
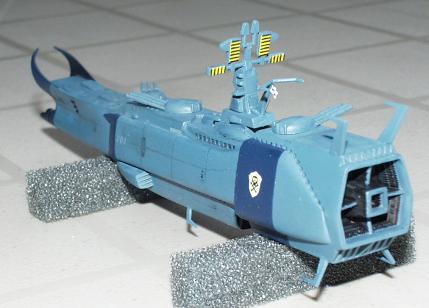
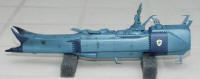
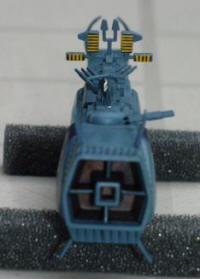
Shading is now underway. Parts of the nose and
interior of the horns are shaded with black pastel. I'm using thinned black
acrylic for the inset details & lining here. I used Burnt Iron metallizer
inside the engine area.
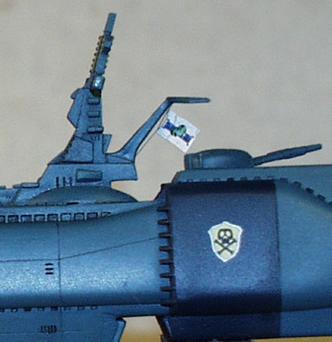
| 8/15/06 - Back after a vacation! Still shading,
detail painting, & making the flag smaller... and smaller... trying to
get the right size. This one's still too
big.
I've superglued a small piece of the thinnest
nylon thread I could find along the mast. The thread is colored black
using a permanent marker. |
 |
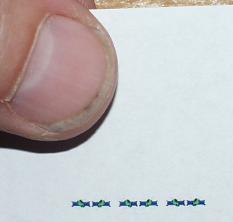 |
The new flag is half the size of the
previous one. This is printed double-sided on paper. I attached the flag
to the line using gel super glue.

|
 |
And with that, it's done!