
Huge Tarantula Diorama
AMT/ERTL "Gigantics"
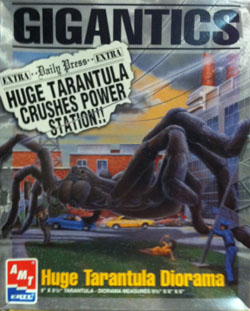
Stated scale:
unstated
![]()
![]()
![]()
Actual scale:
none

Overall length:
Material(s):
styrene resin
Number of parts:
Stand included?
cardboard diorama
Decals included?
My Source:
local shop
Cost (w/o s&h):
|
Huge Tarantula DioramaAMT/ERTL "Gigantics" |
|
|
Stated scale: |
unstated |
|
Actual scale: |
none |
|
Overall length: |
||
Material(s): |
styrene resin |
|
Number of parts: |
||
Stand included? |
cardboard diorama |
|
Decals included? |
|
|
My Source: |
local shop |
|
Cost (w/o s&h): |
||

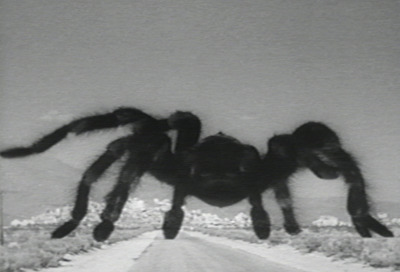
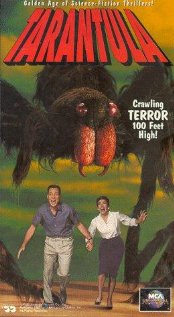 After having this and its companion kits (Mantis and
Scorpion) around for quite some time I finally decided the thing to do was make
dioramas from the three giant arthropod movies these could represent. For the
1955 movie Tarantula!, I
decided to adapt the scene near the end where the heroes of desert Rock try to
dynamite the Tarantula and it moves along a desert road toward town.
After having this and its companion kits (Mantis and
Scorpion) around for quite some time I finally decided the thing to do was make
dioramas from the three giant arthropod movies these could represent. For the
1955 movie Tarantula!, I
decided to adapt the scene near the end where the heroes of desert Rock try to
dynamite the Tarantula and it moves along a desert road toward town.
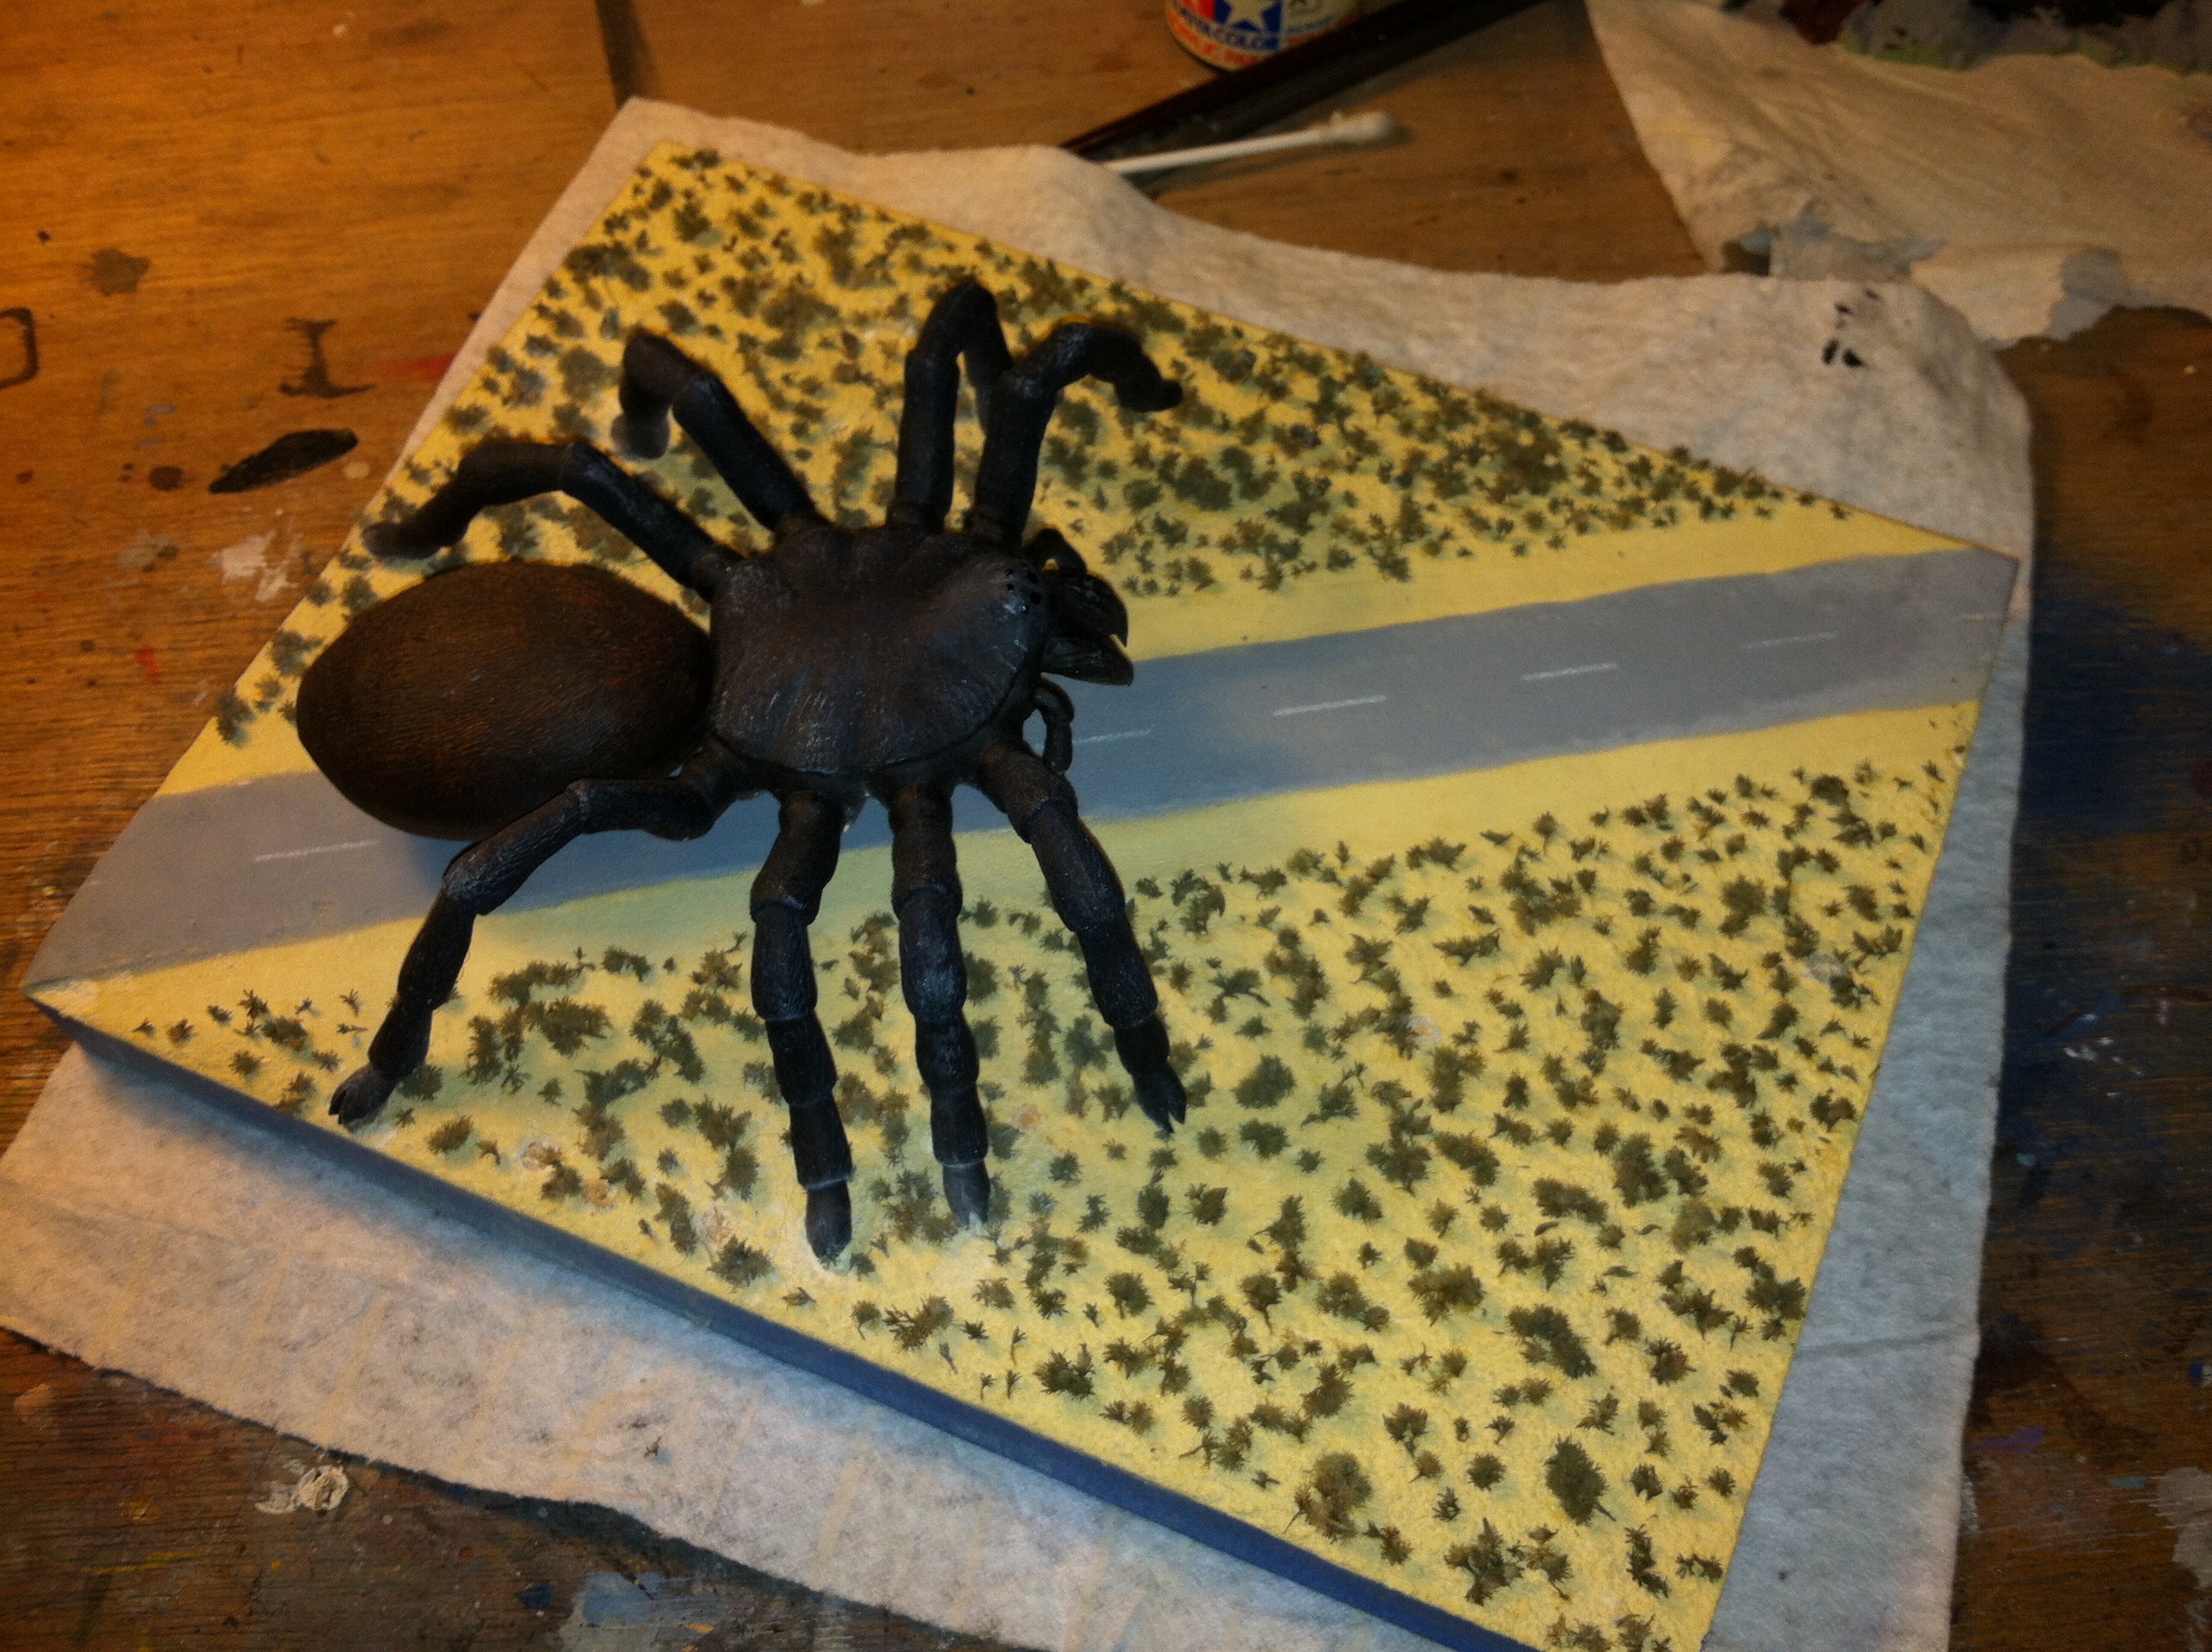
I don't have any details on assembly of the tarantula. Here it is, primed, alongside the scorpion. I followed this with a coat of rattlecan flat black.
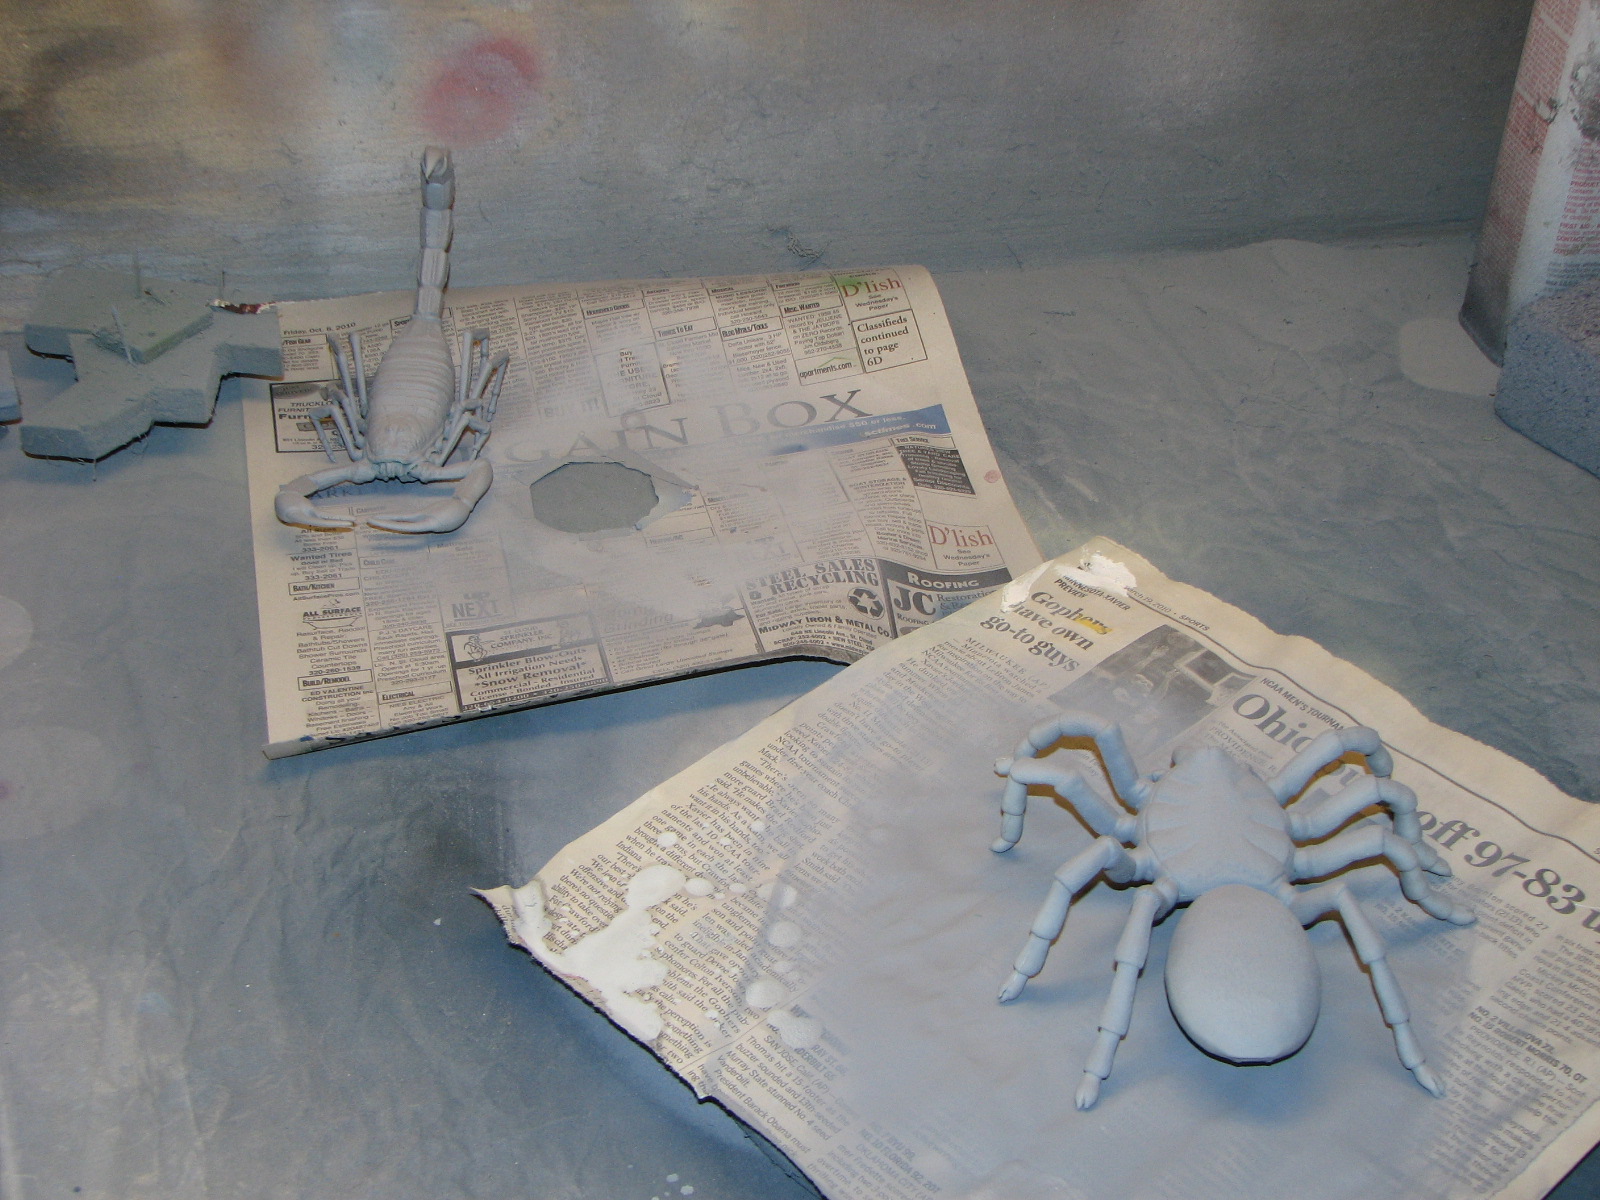
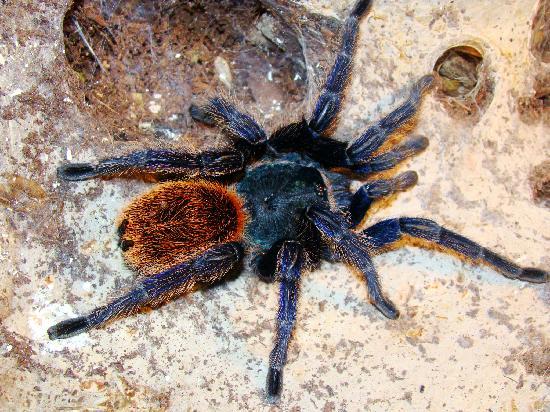
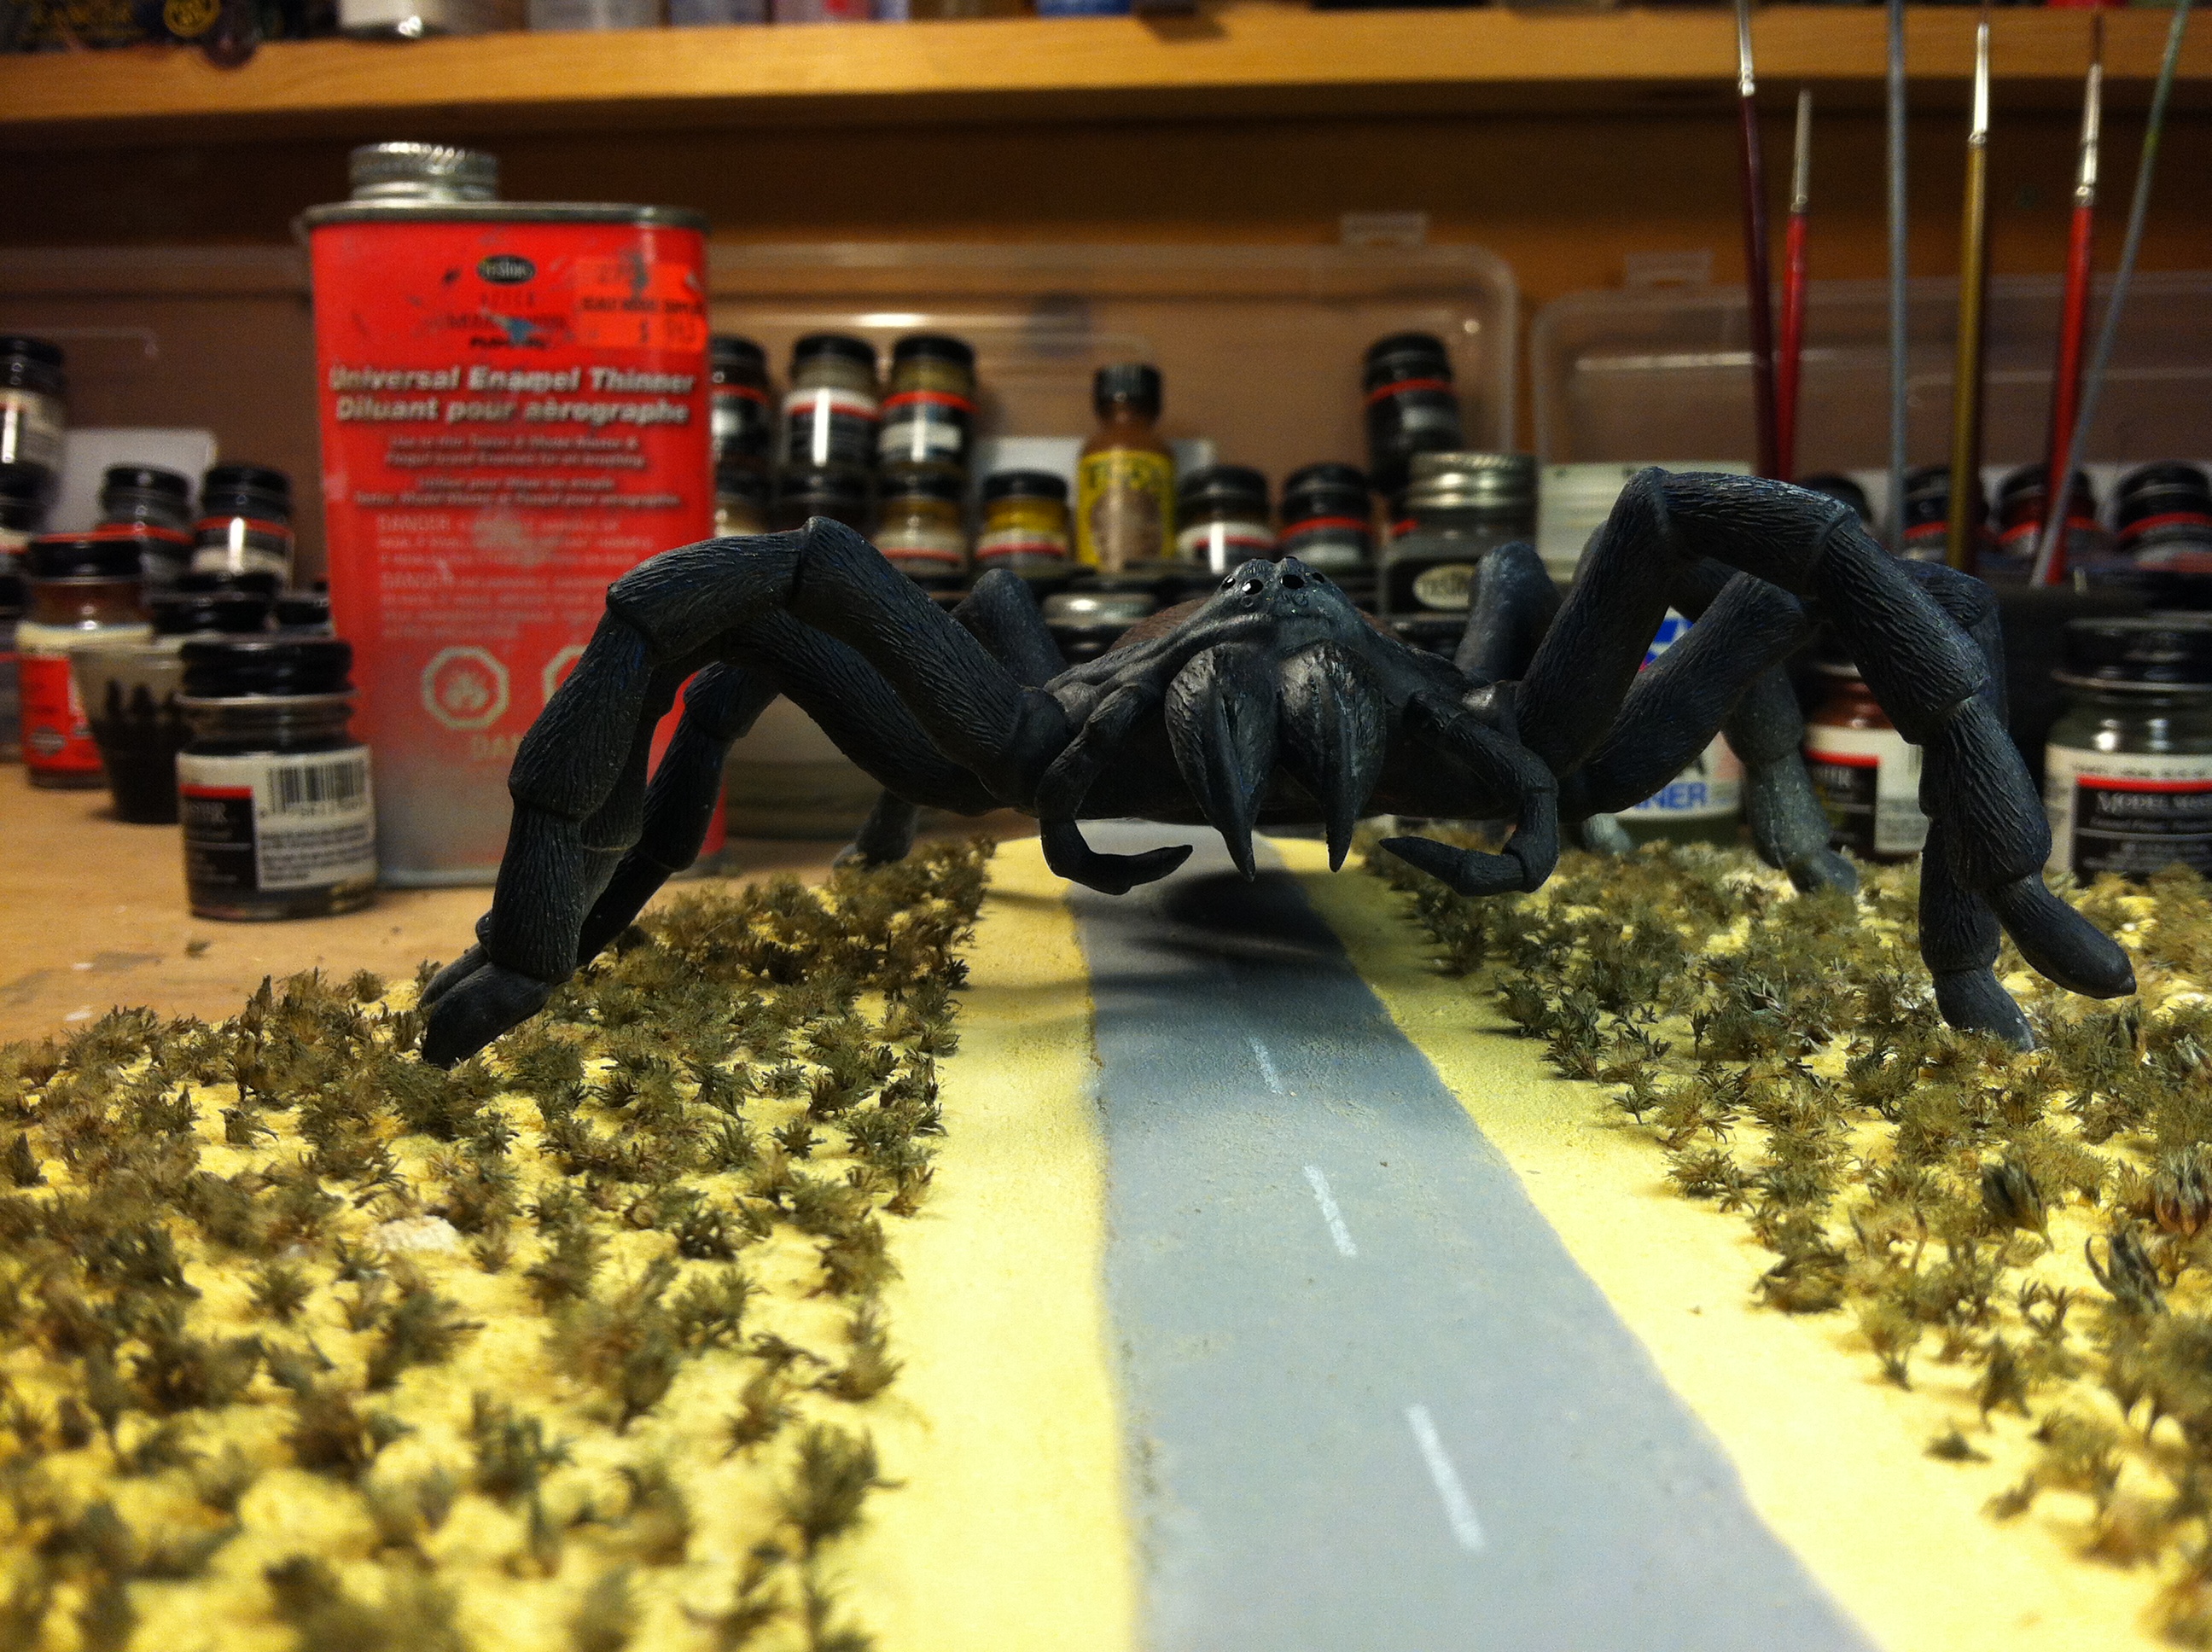
The tarantula used in the movie is most likely a red-knee. There are some tarantula scenes where a lighter shade of hair at the leg joints is visible. But just to be a little different I opted for one along the lines of the greenbottle blue. I used Model Master (MM) raw umber and leather washes on the abdomen, with Liquitex acrylic tube red oxide dry-brushing. The rest has a very thin MM Blue Angel blue wash with duck egg blue and flat white dry brushing. The eyes (ocelli) are dots of Tamiya acrylic black
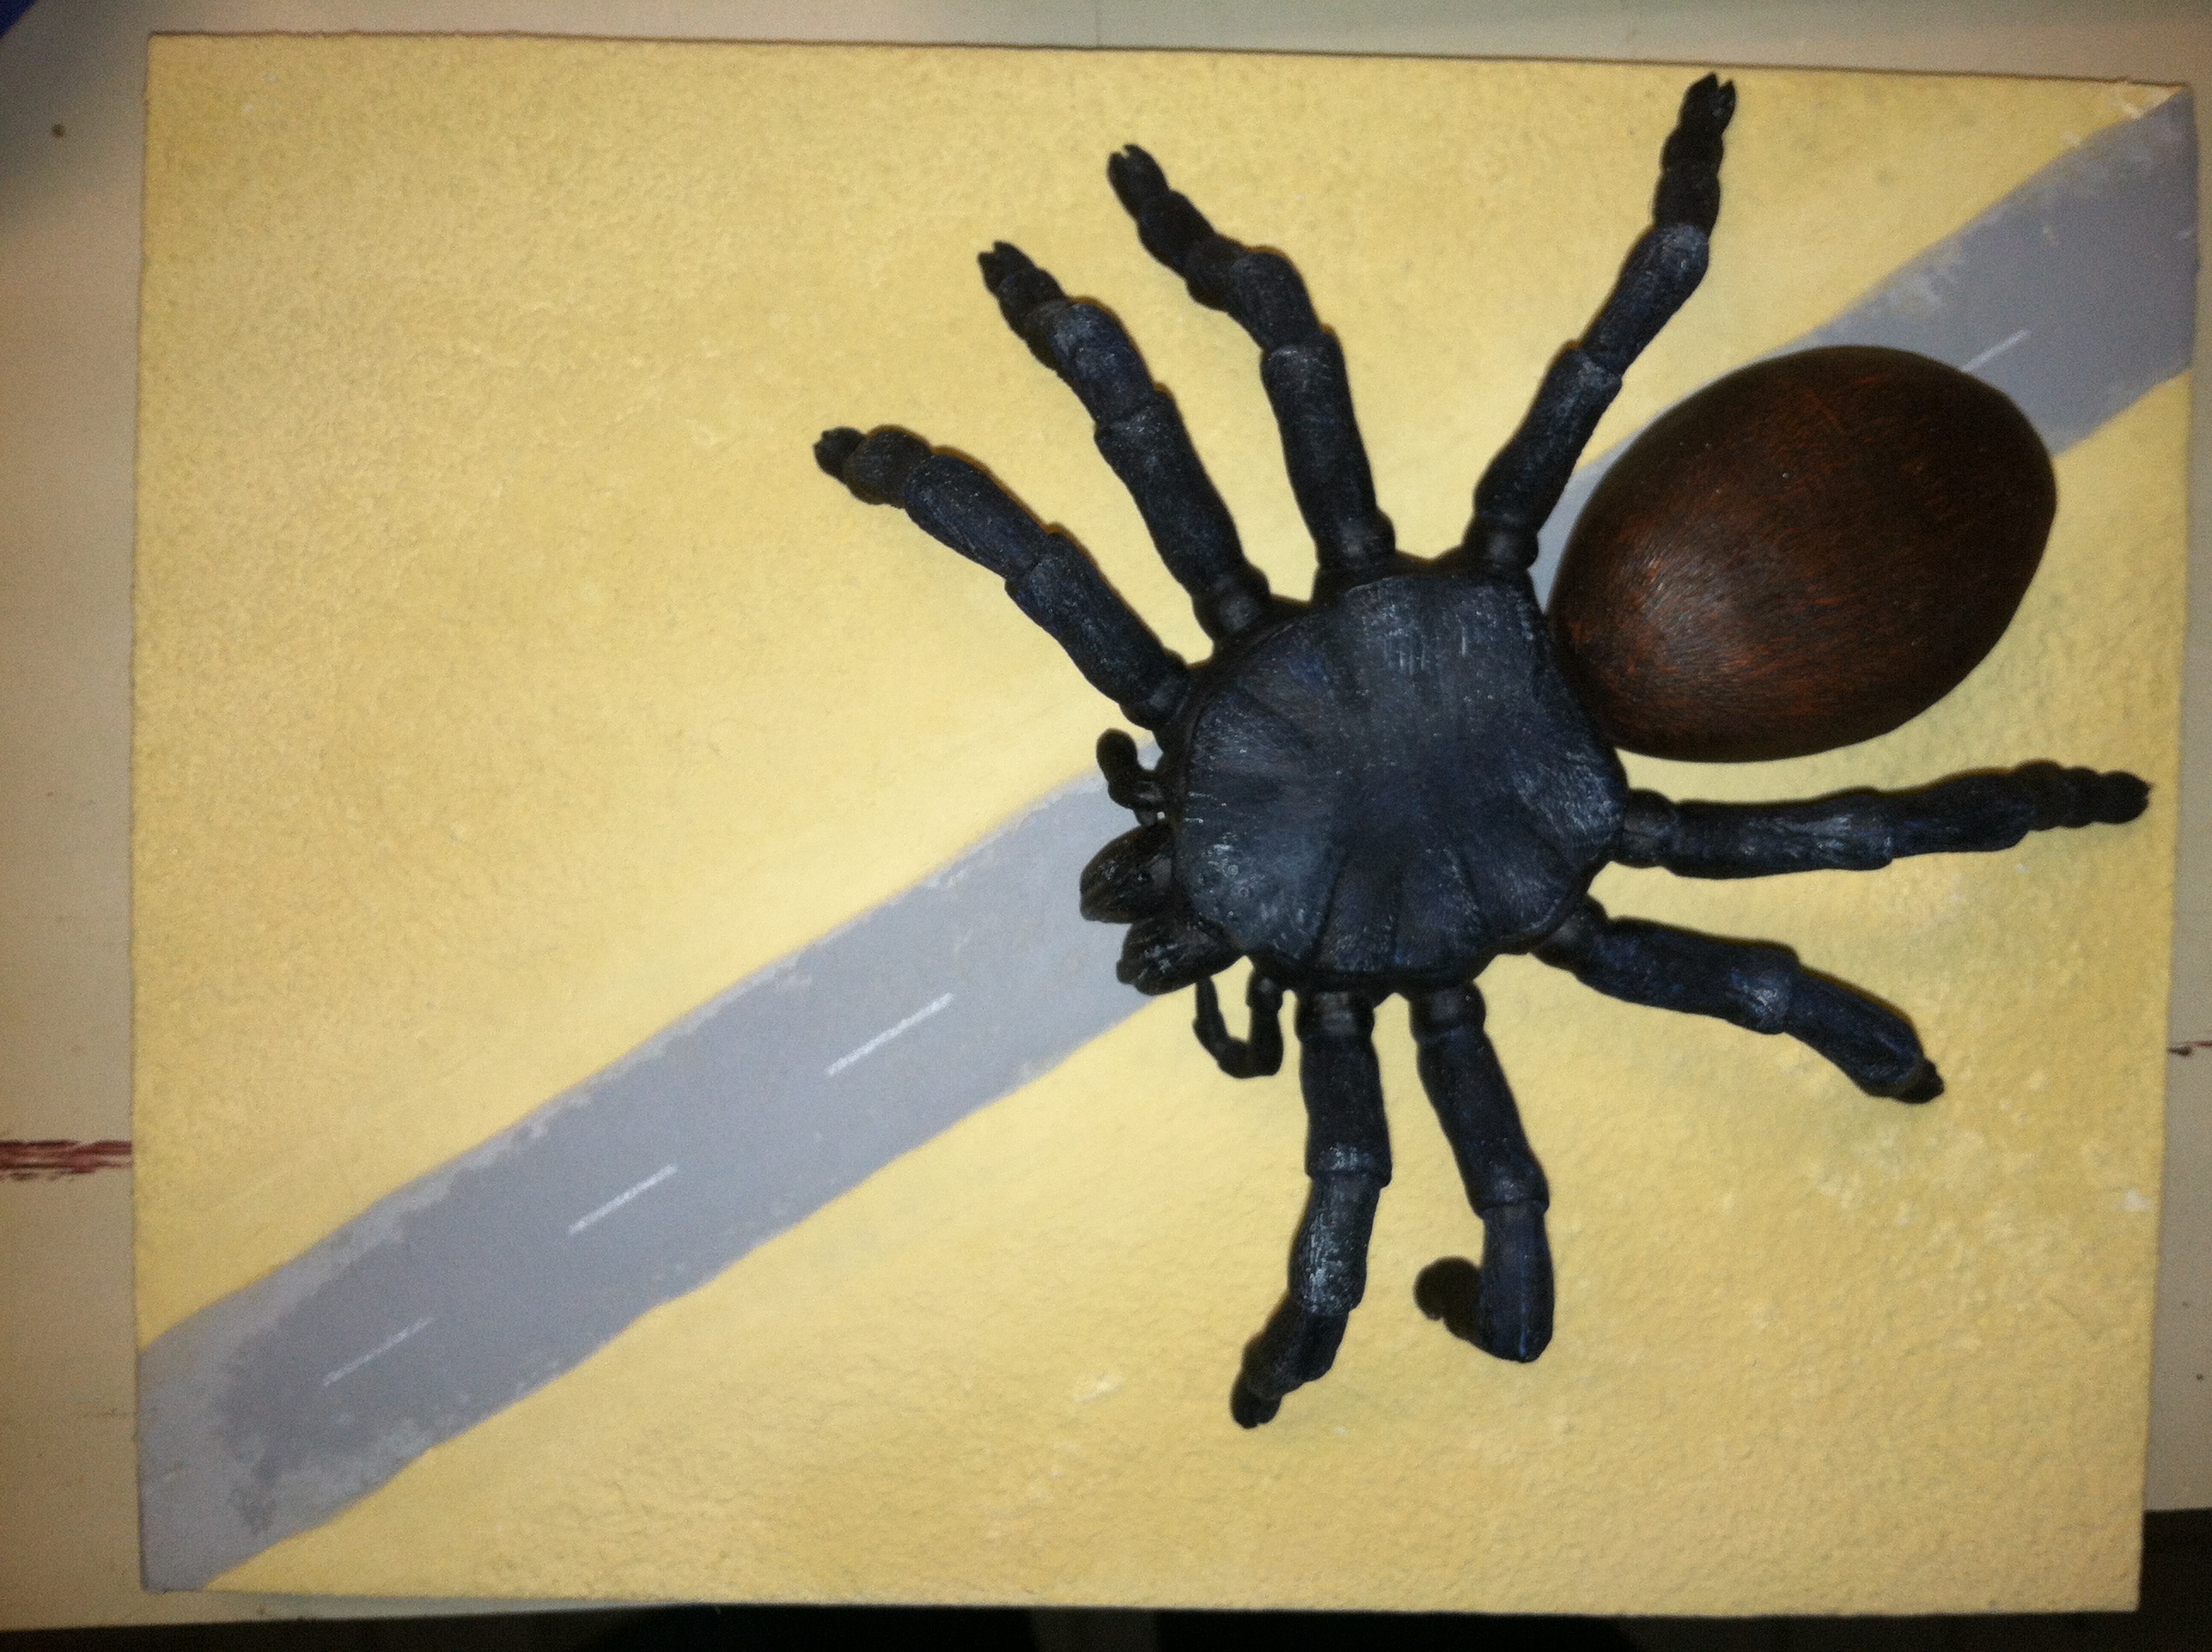
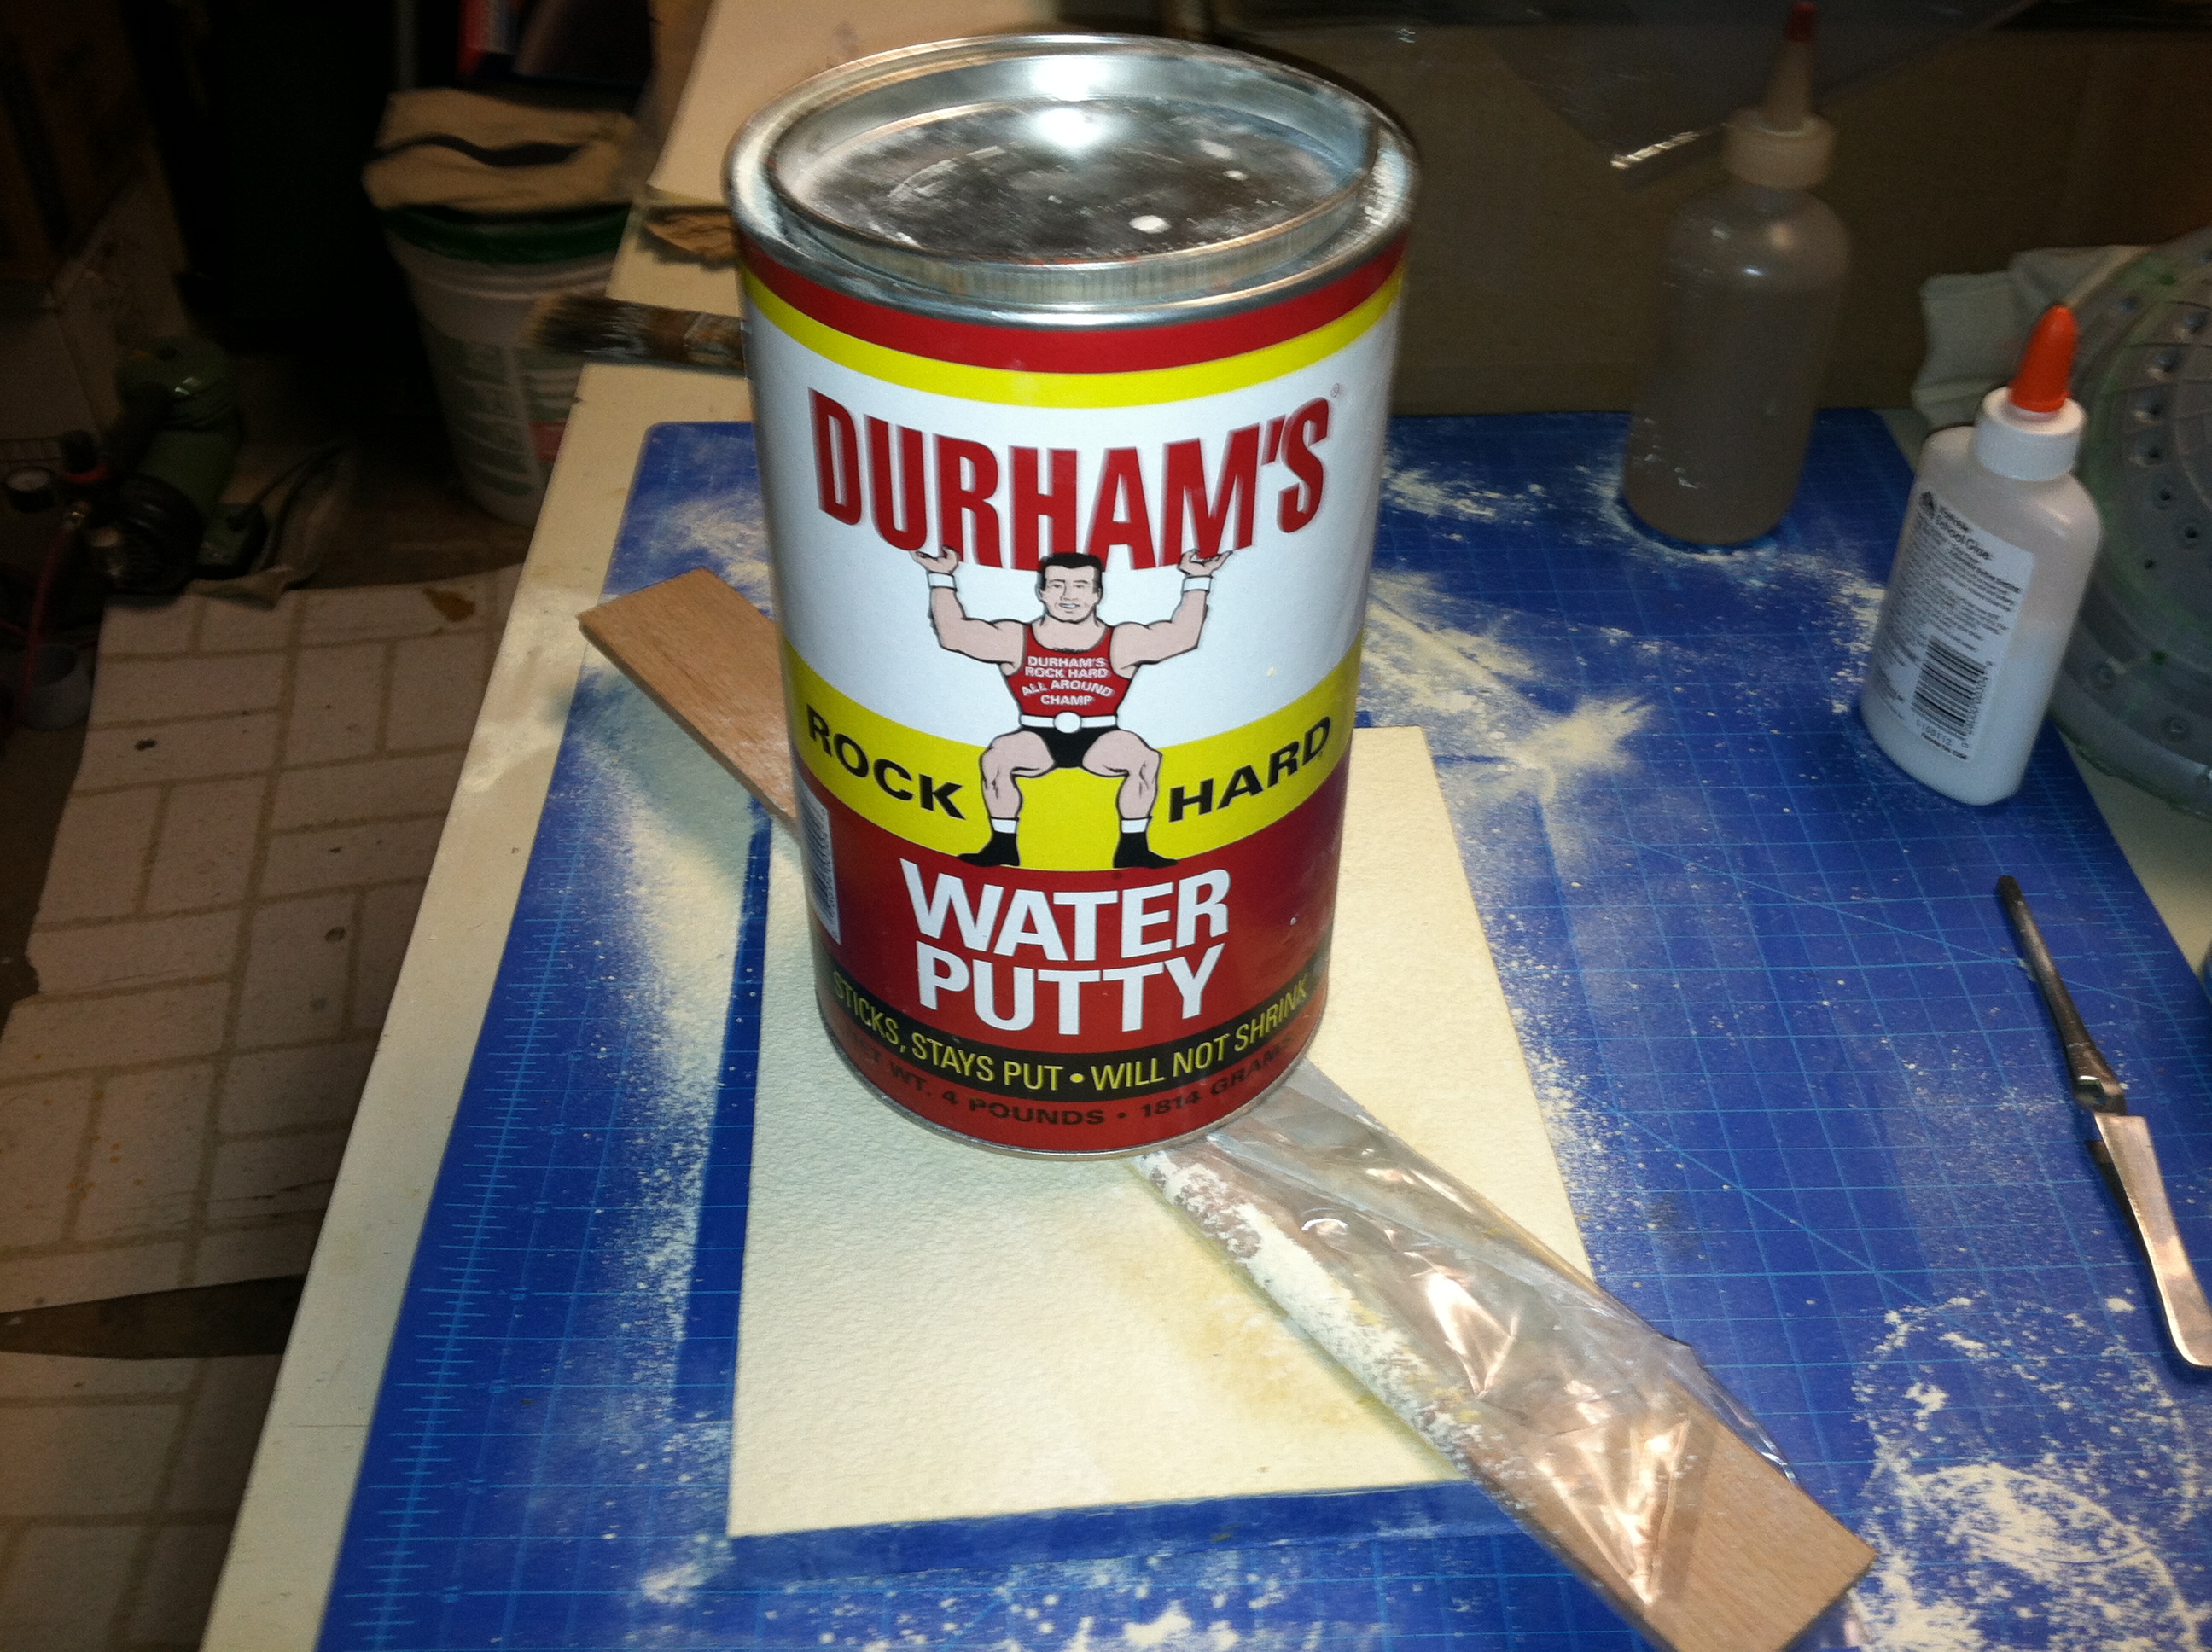
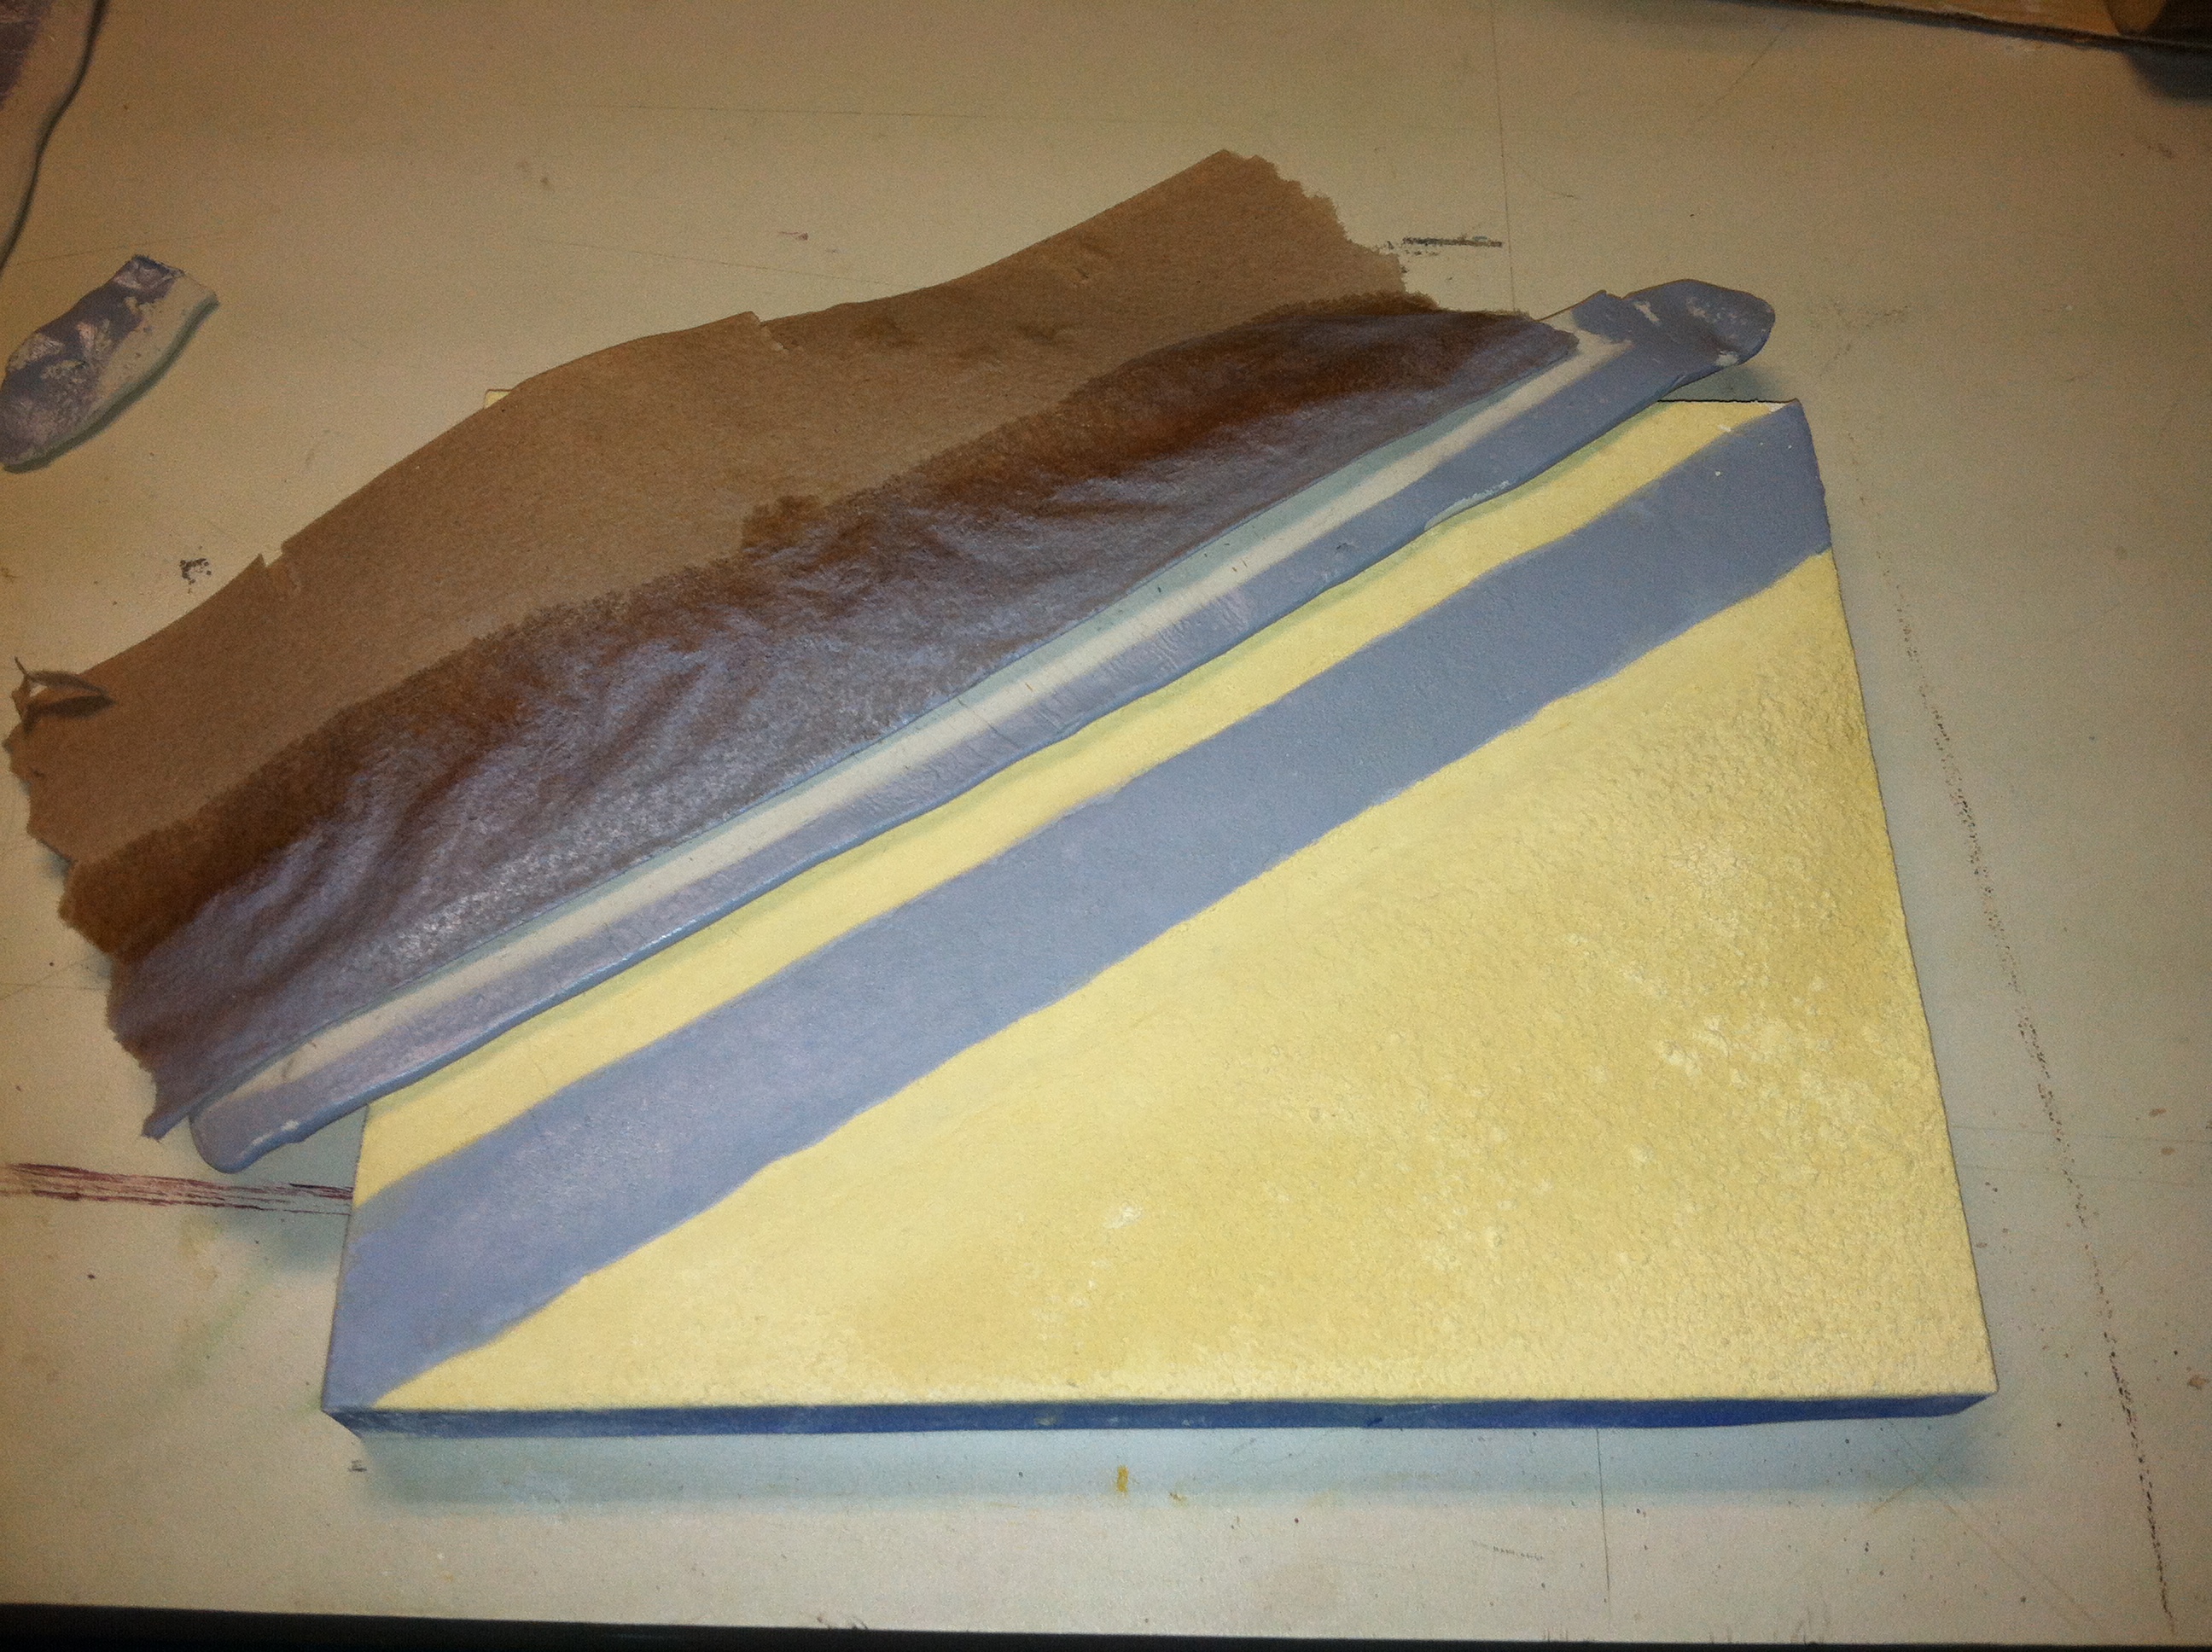
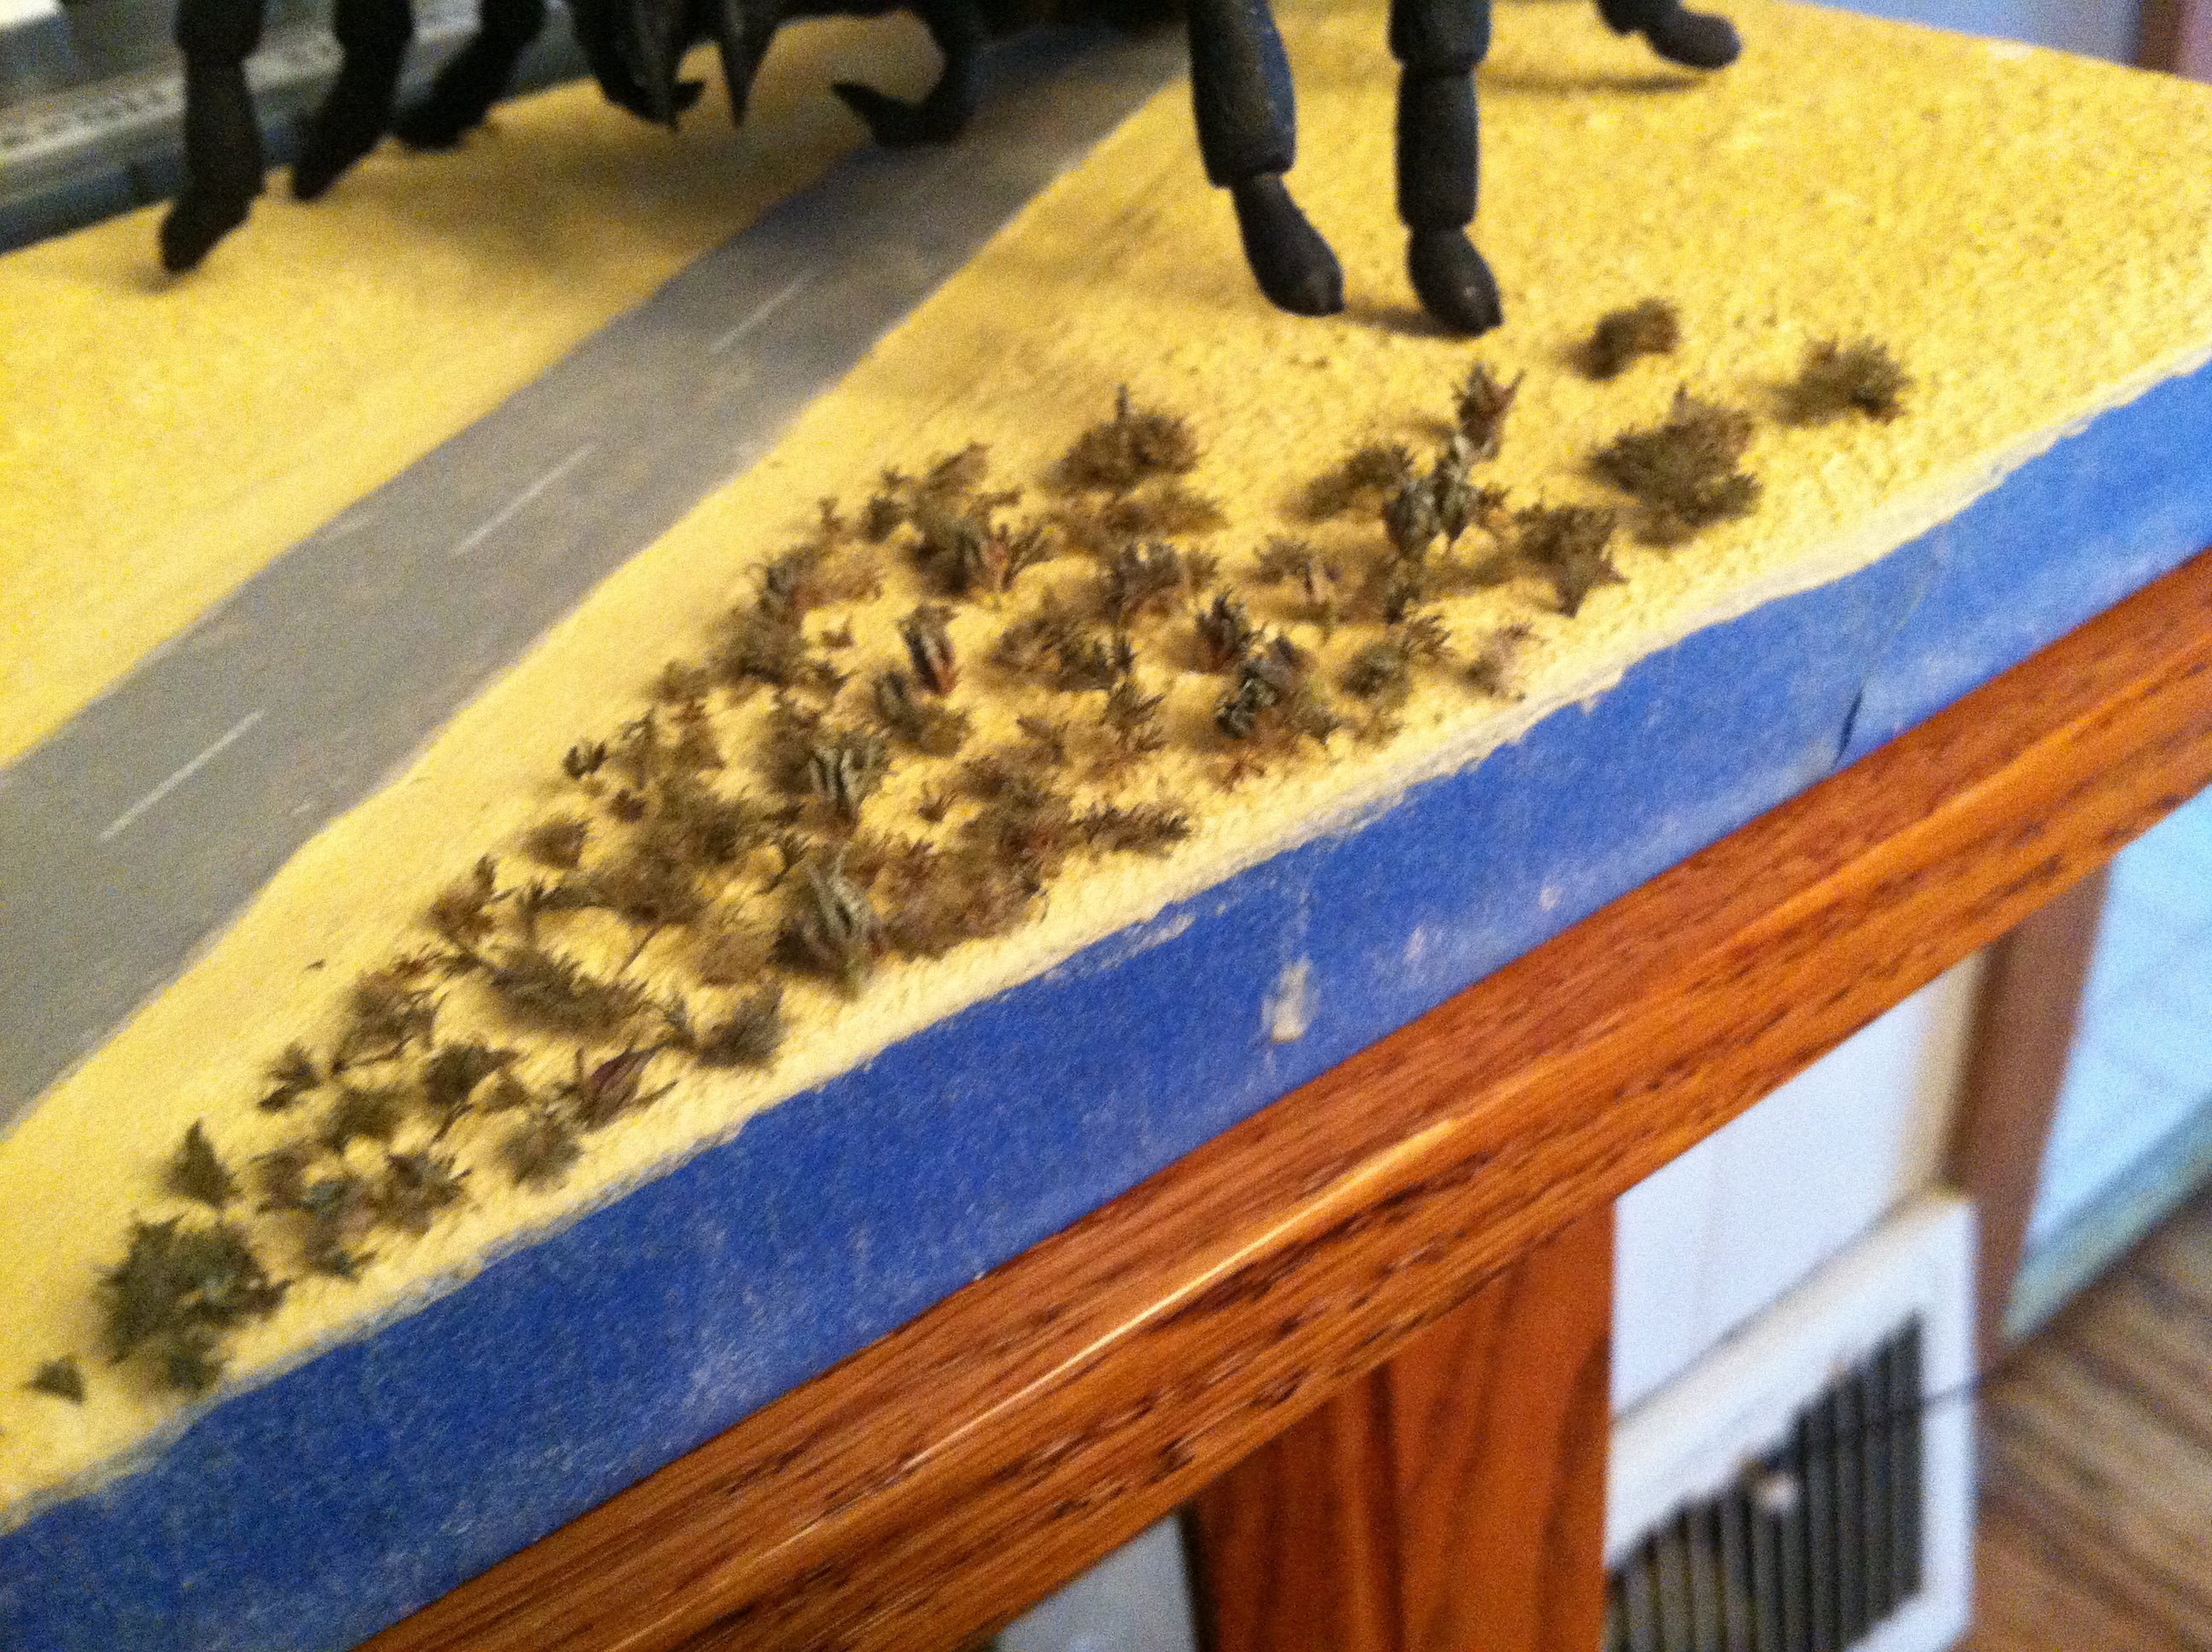
10/24/2012 - With the tarantula finished I moved on to the diorama base. Based on movie stills I decided on a roadbed about 2" wide, with the road pavement about 1 1/4" wide - close to railroad N-scale or about 1/160. After making a base layer of water putty on the board I added a 2nd coat that I pressed flat down the center of the base under a strip of wood wrapped in plastic and weighted down while the putty dried. This would eventually become the roadbed. With the plastic still in place I built up another sifted layer of putty outside the roadbed. This layer is for the desert ground.

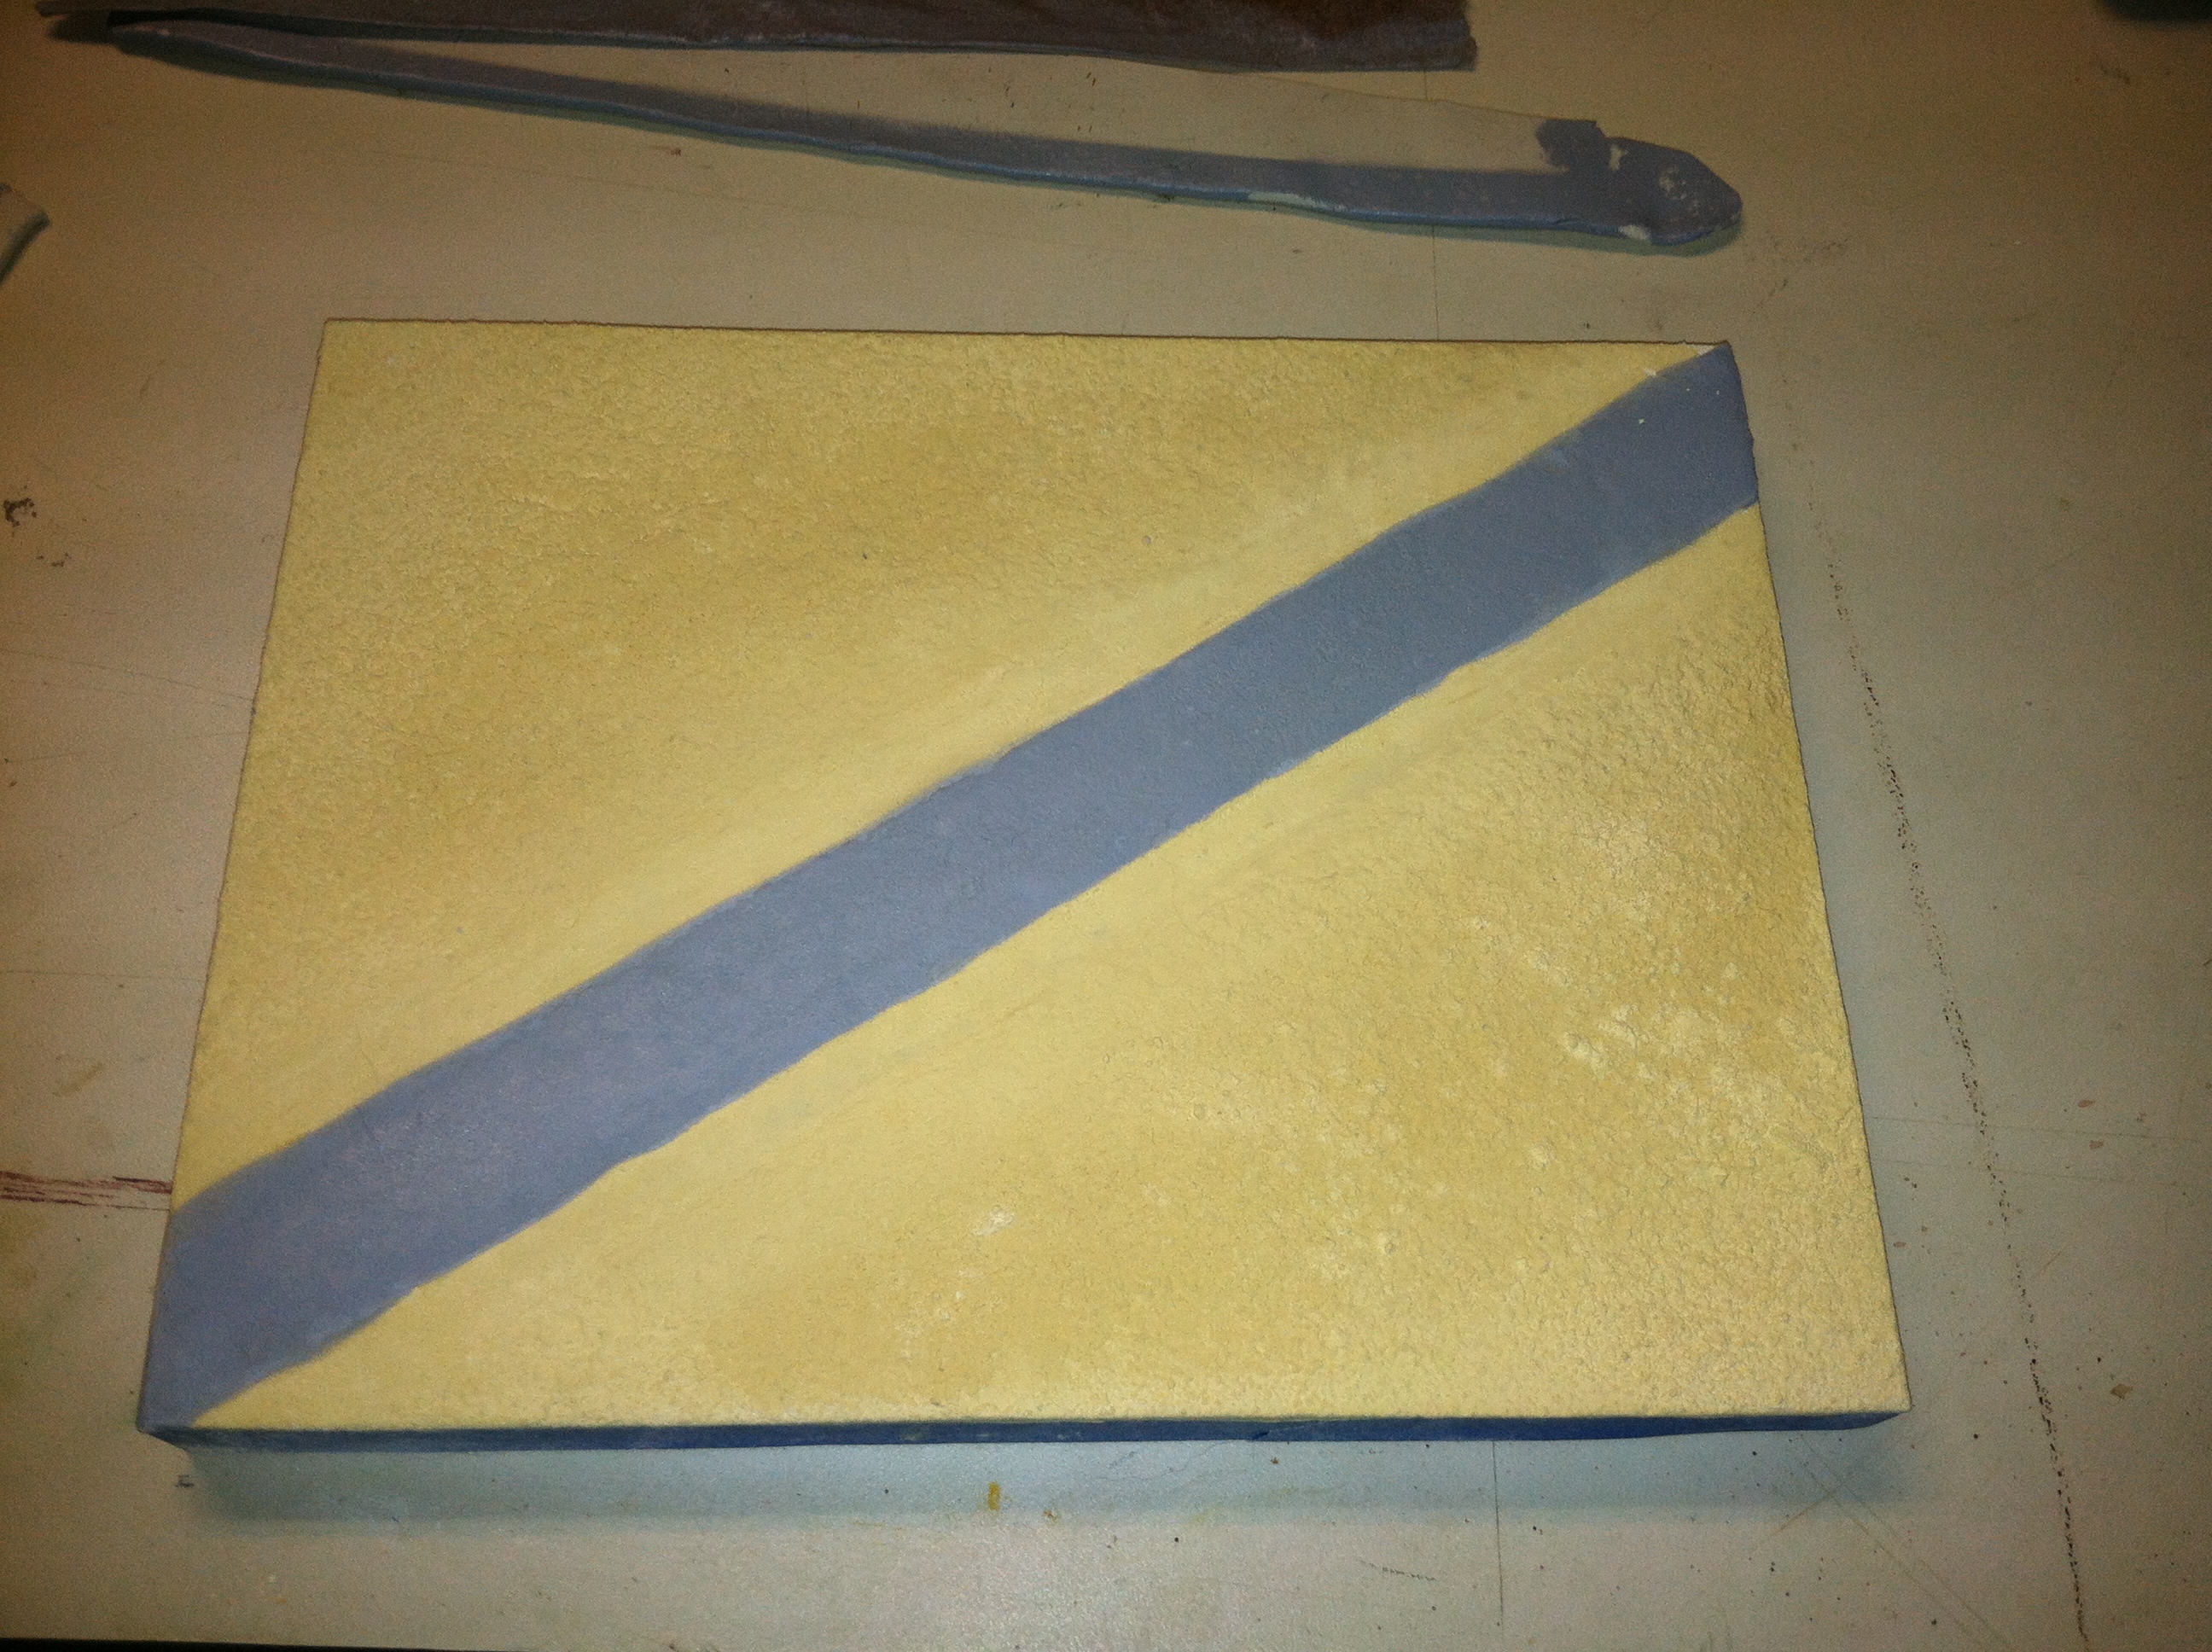
10/26/2012 - For the road pavement I laid down two wood strips to cover the roadbed shoulders and then sifted putty between them, spray on water and then I pressed this flat to dry. With the strips removed I now had a raised pavement. I sifted a light layer of putty onto the whole roadbed to make the shoulders sandy and give the pavement a slight texture.
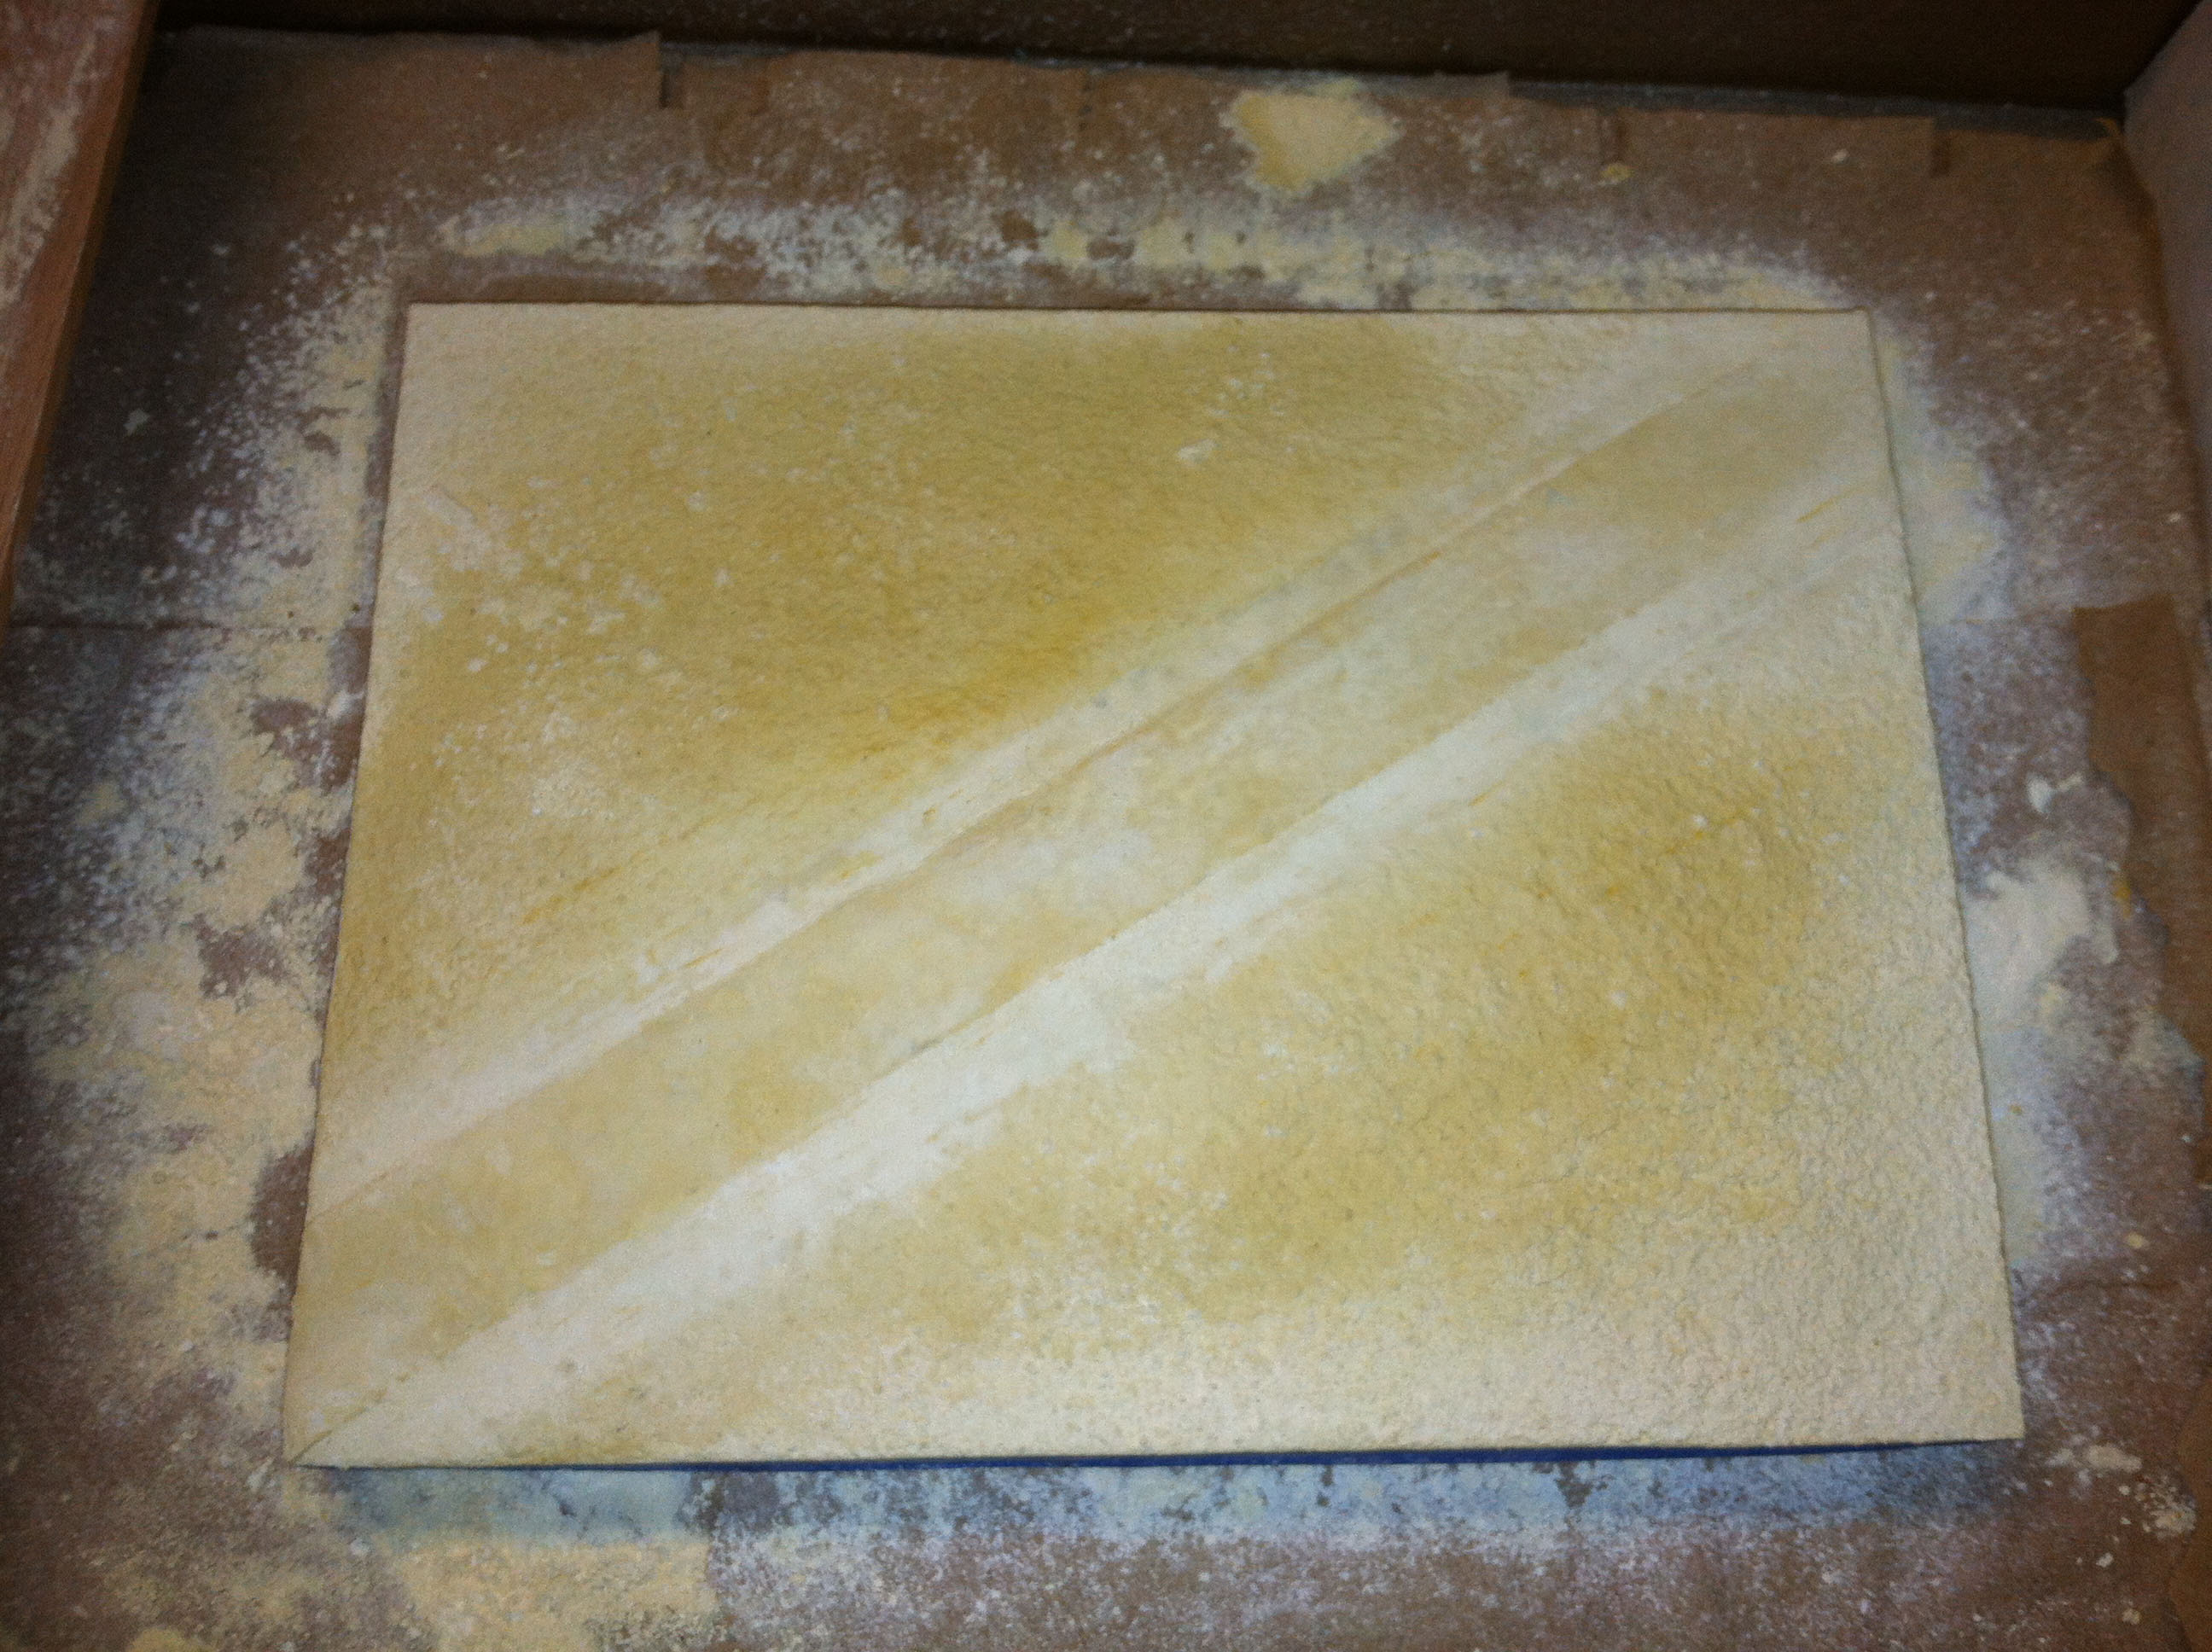
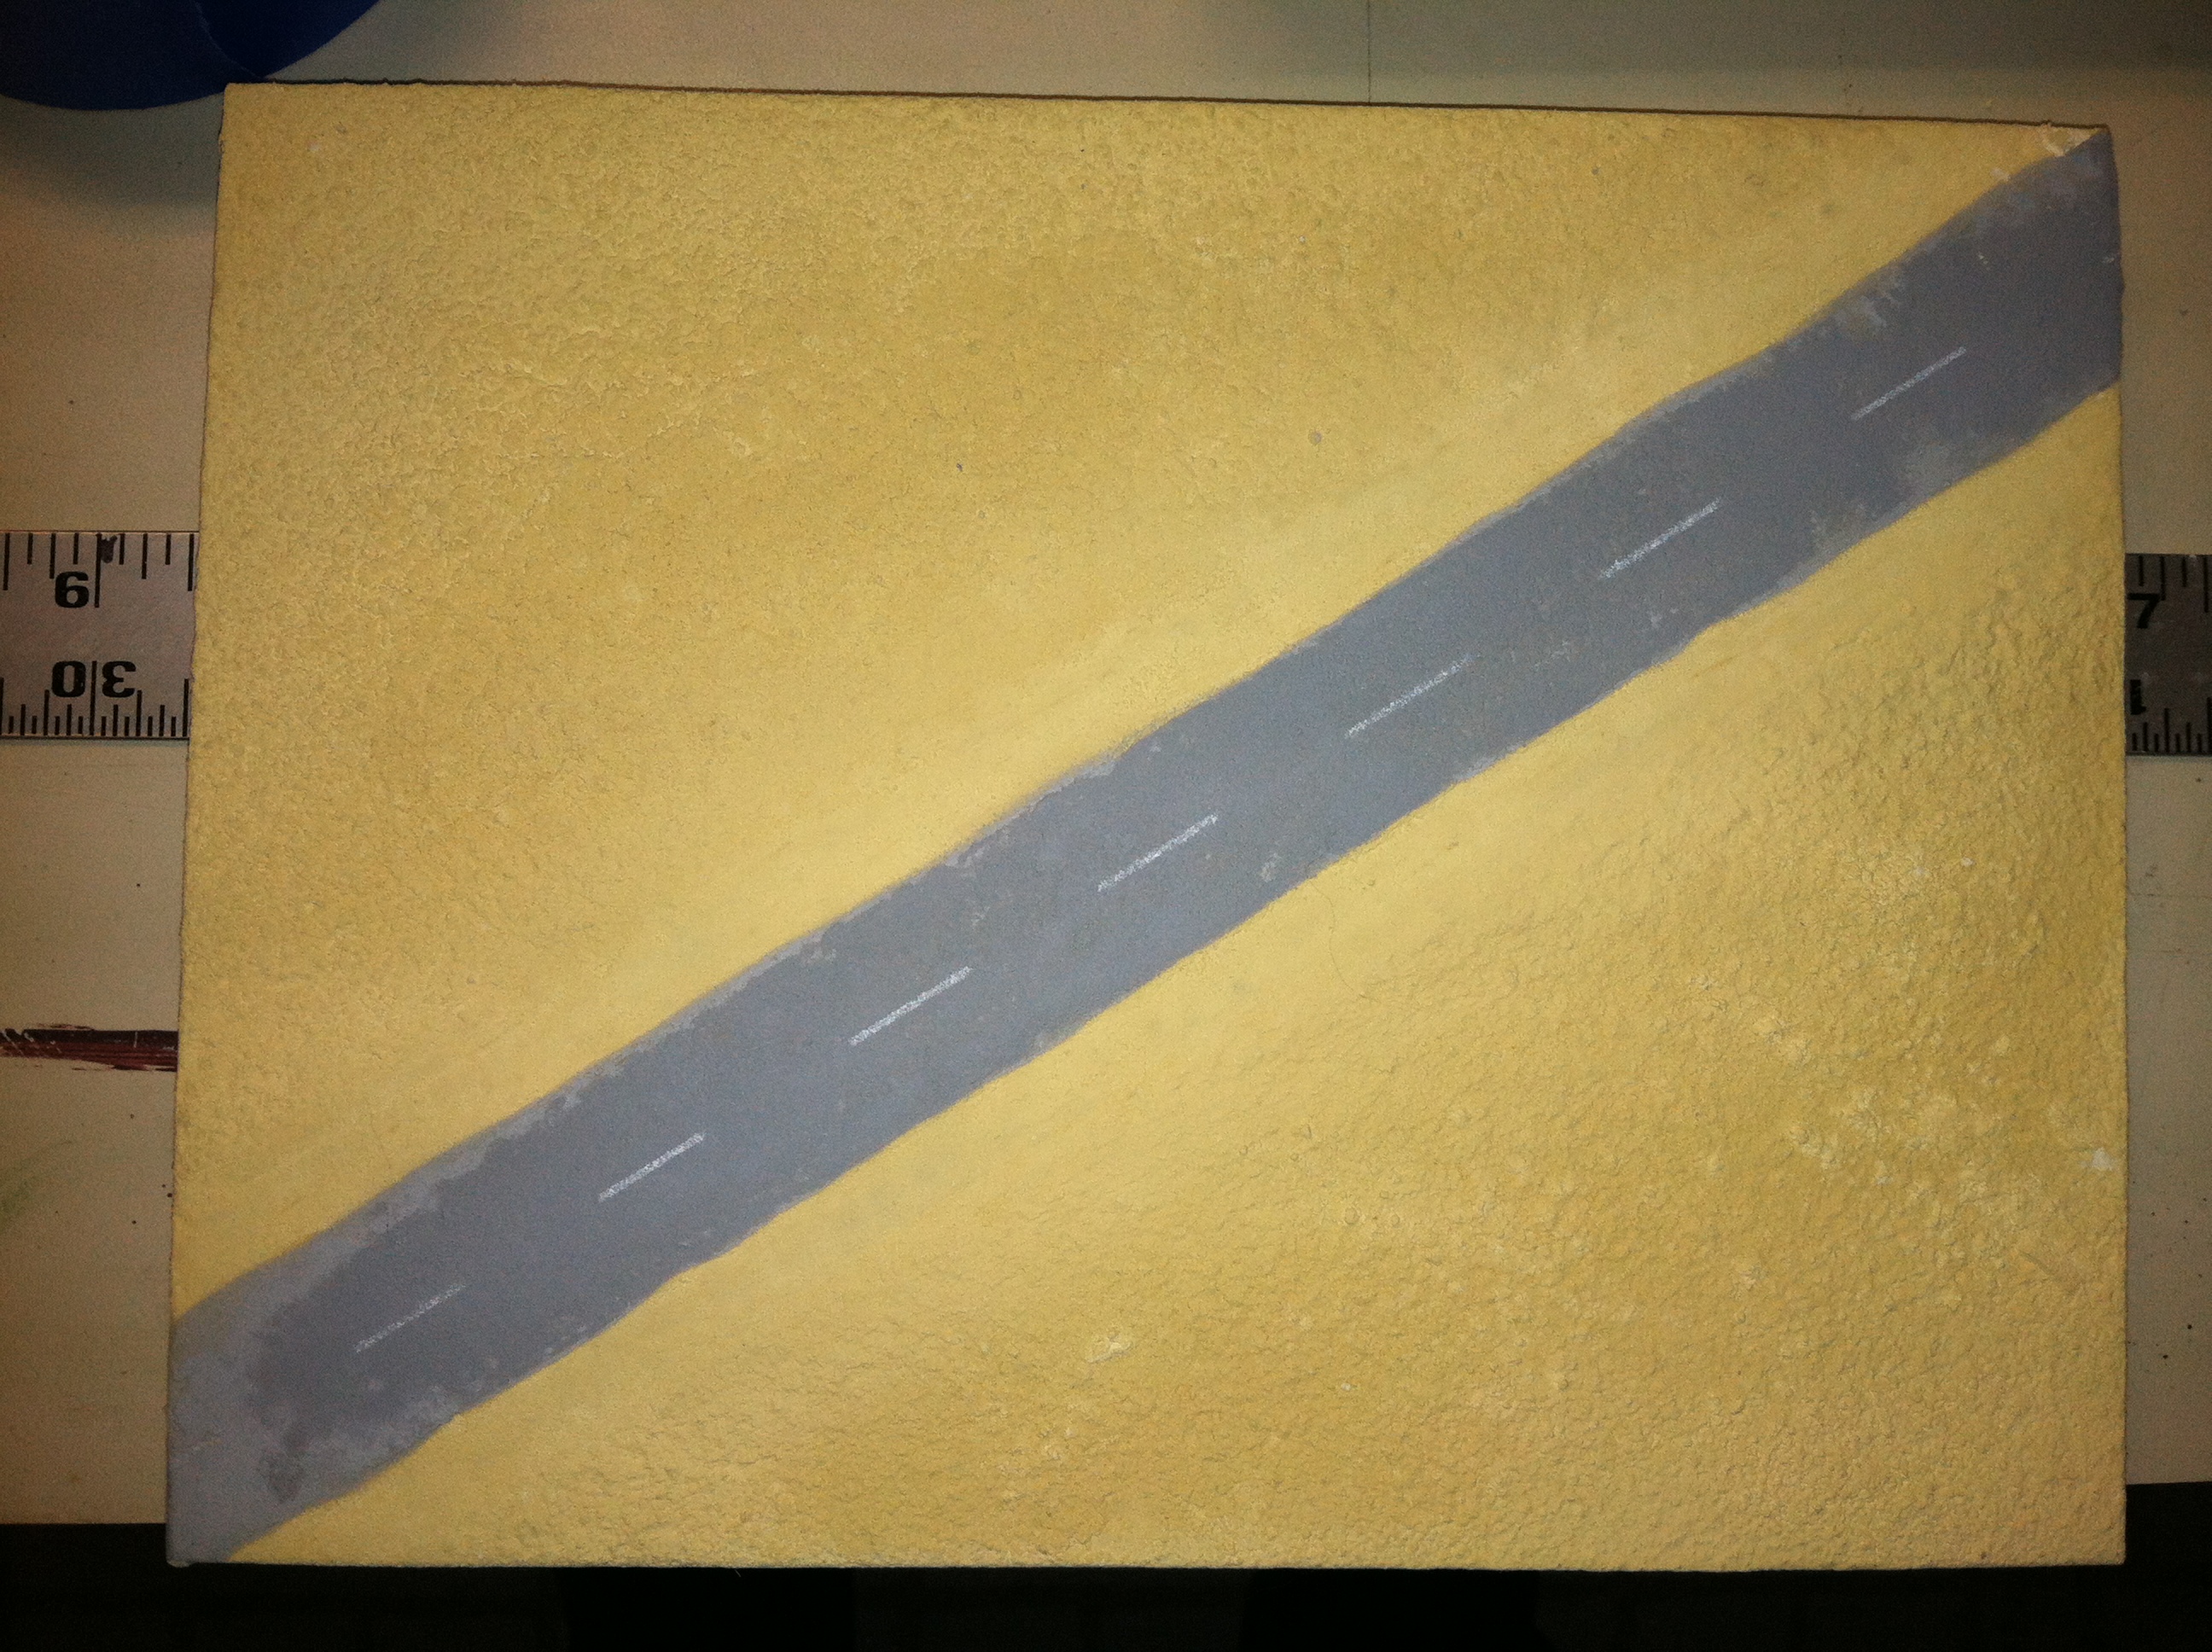
10/27/2012 - I sprayed the whole based overall with rattlecan MM modern desert sand. I masked the pavement off with strips of clay to give a slightly irregular edge and sprayed a gray primer onto the pavement. I applied blue-tape masking and shot a light coat of flat white over the pavement to make centerline stripes.
10/29/2012 - On to what would be most time-consuming part of this project - desert scrub vegetation. To the back yard! yes... that'll work... and that.... I harvested some deadhead goldenrod and sedum and gave them a shot of sage green spray (Rustoleum "satin oregano") with a misting of modern desert sand. And so the work began of plucking off a bit of plant material, dipping the end in white glue, and sticking that onto the desert ground. Easy, right?
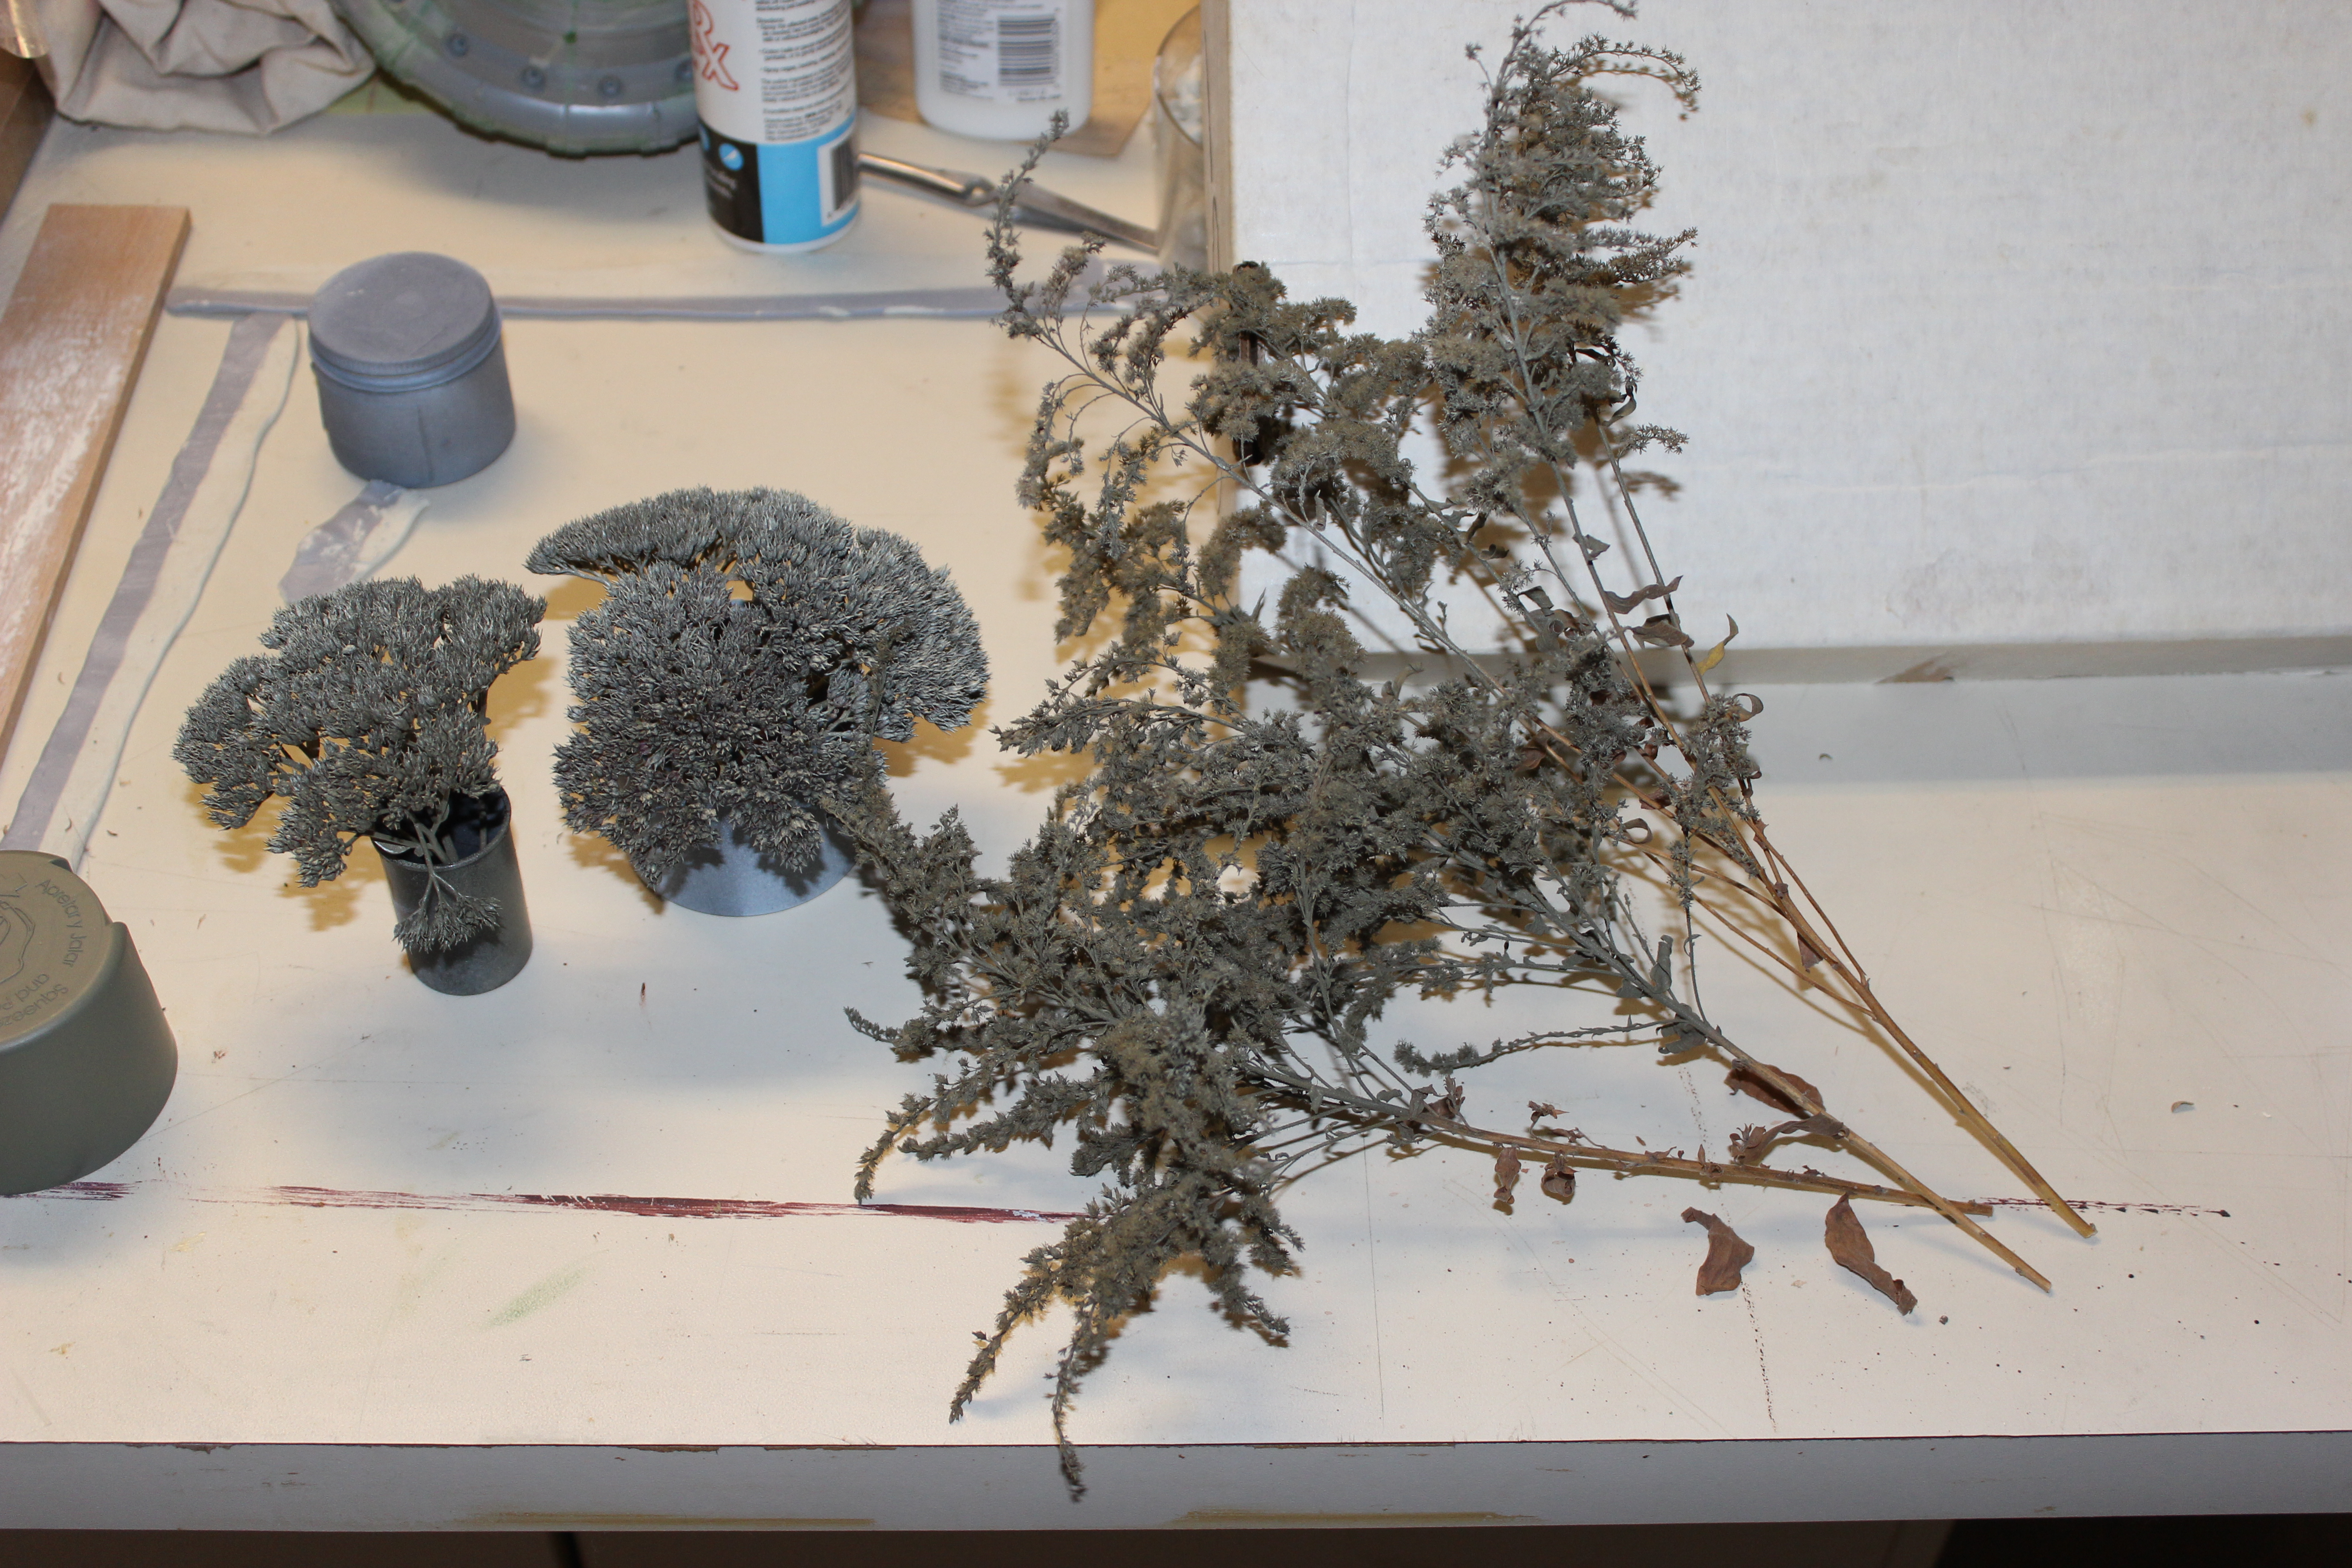
Time passes...
11/11/2012 - An hour here, two hours there... watching a movie, a disc of season 1 Dark Shadows... Voyager... All told, probably about 10-12 hours went into gluing down scrub vegetation. But, the end effect is pretty decent.

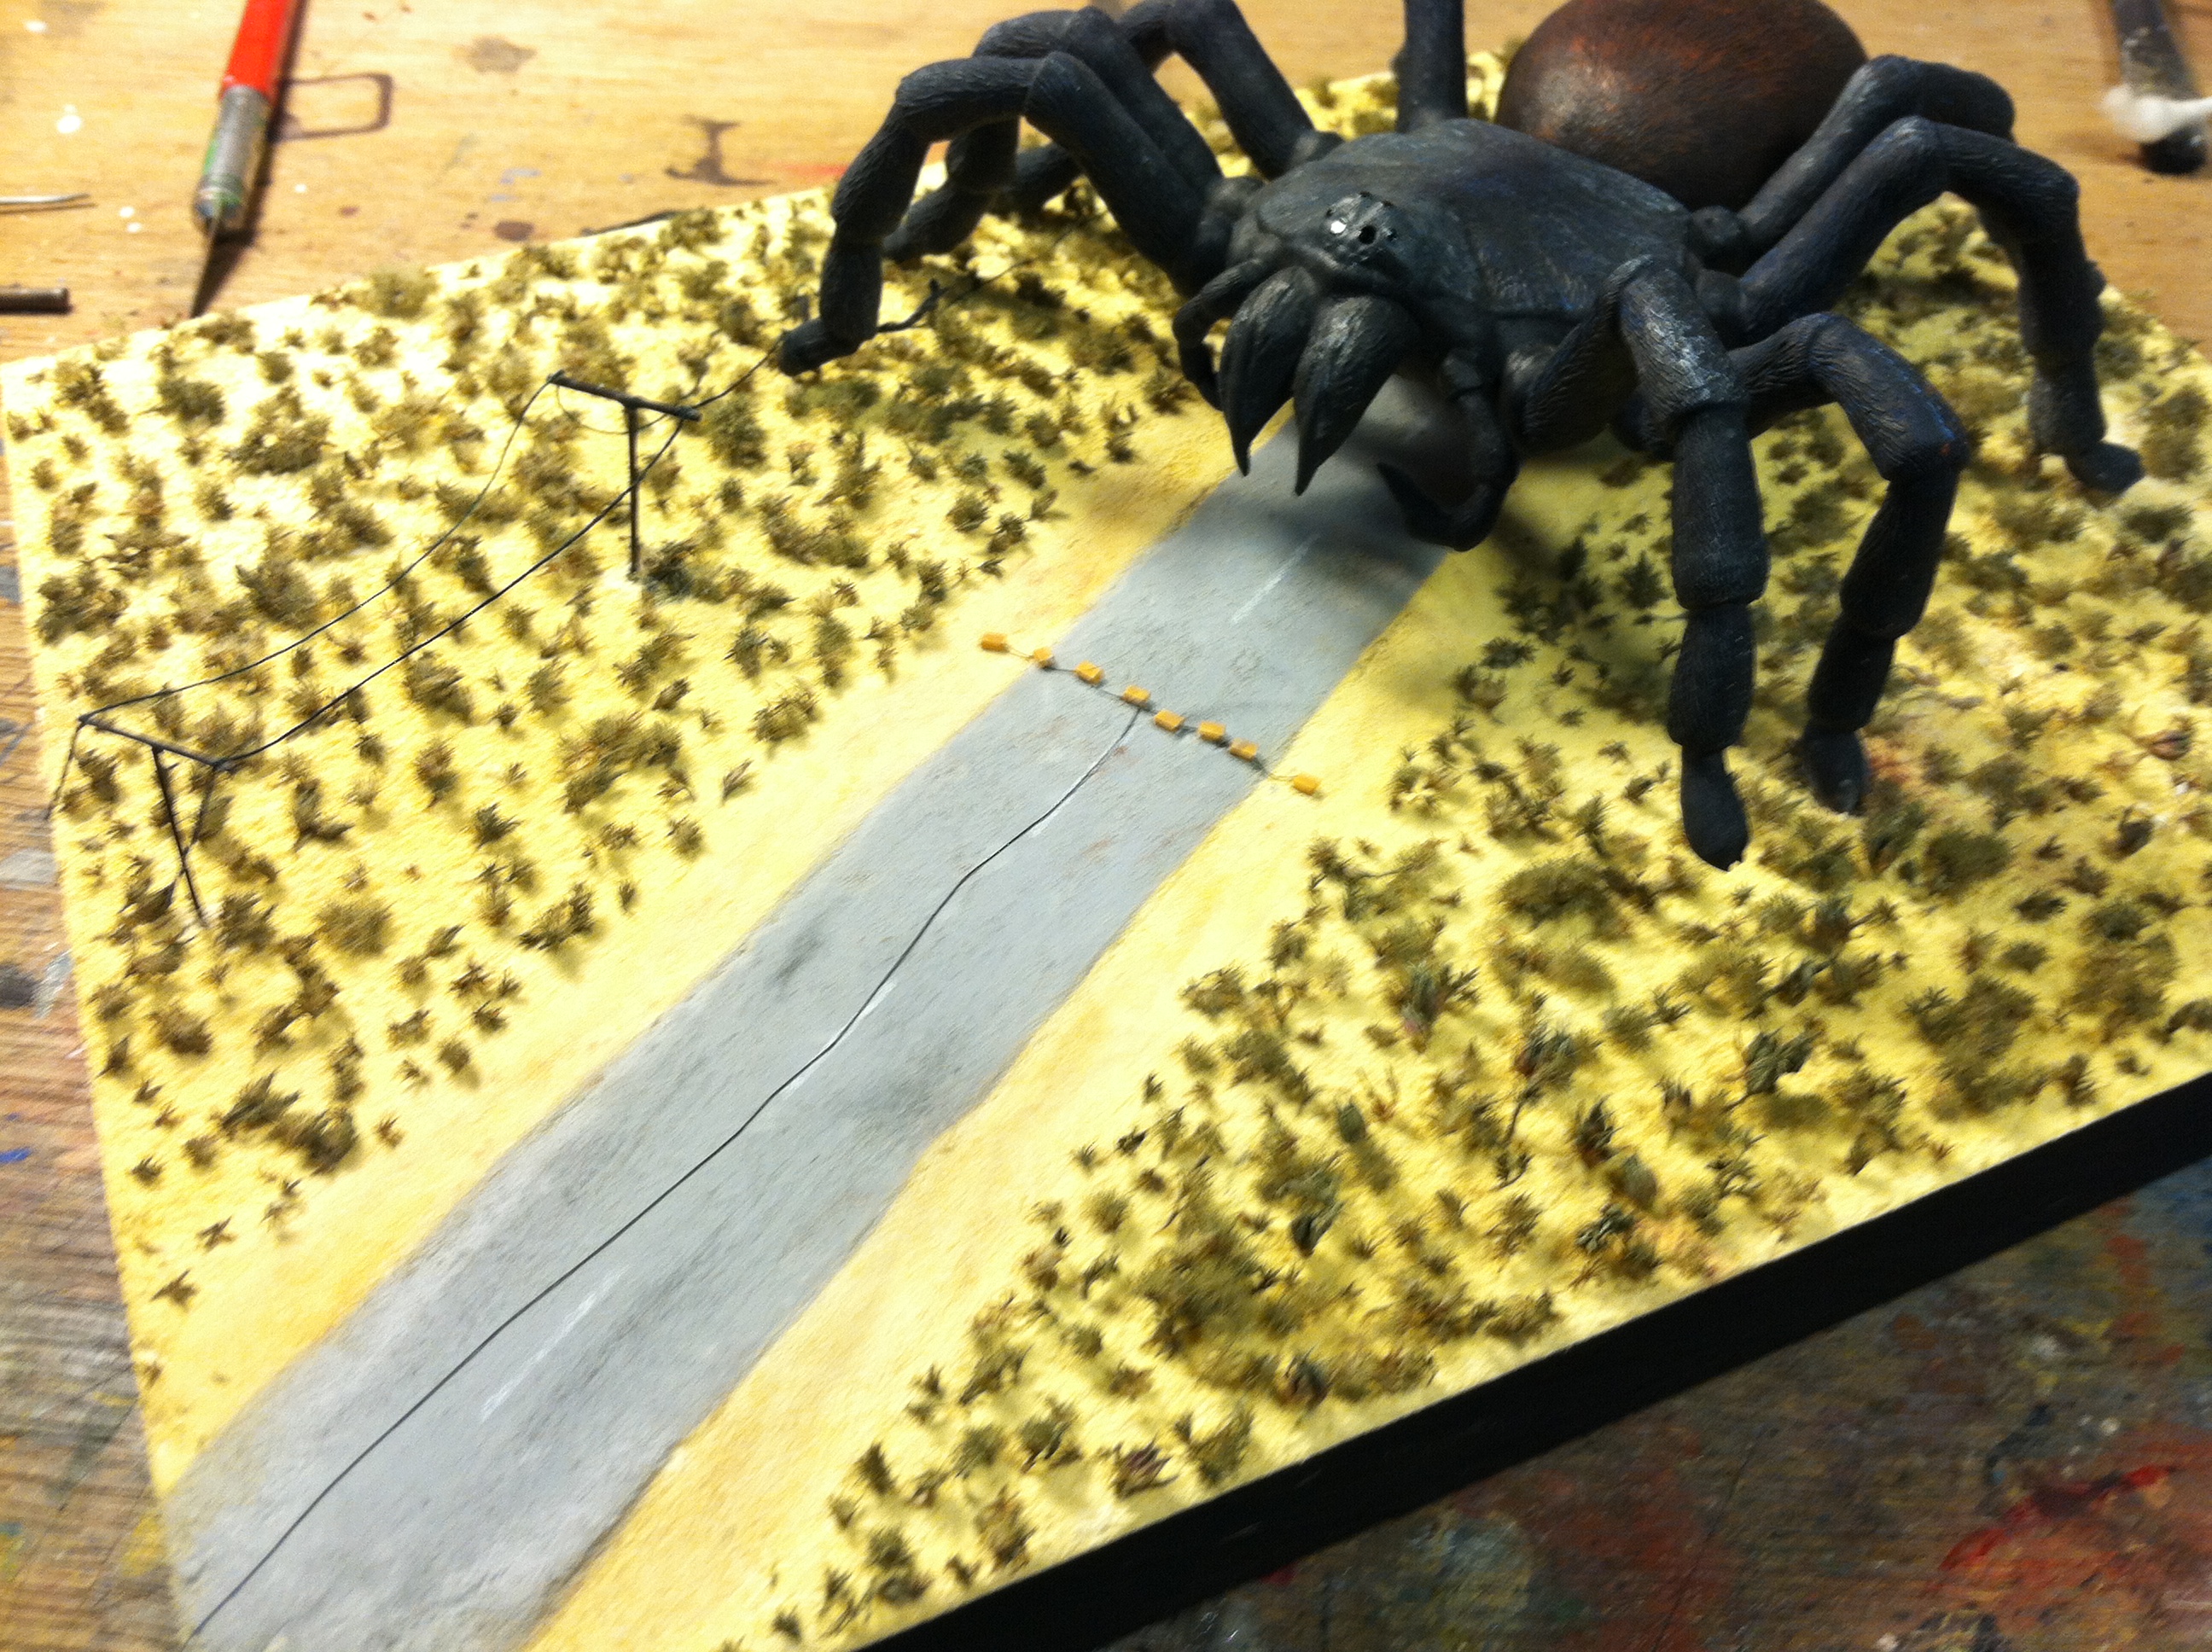
And hey! We're into the final details. I had at times gone hunting for some N-scale figures and a 50's Ford stakeside truck, but nothing was quite right, so for now this will be truckless and personless. I added some telephone poles and wires along the roadside. While not specifically shown in the dynamite sequence, I had the tarantula wrecking the poles and wires at it heads for Desert Rock. The townies have set a line of dynamite boxes in the spider's path.
The telephone poles are stretched sprue, cut and glued to a T shape and brush painted Testors rubber. I made four; two are intact and two are mowed down and broken. The wire between poles is black thread, with thinned black paint applied to stiffen the thread so it will hold shape. I used super glue to attached thread to poles and also to make the thread sag between poles and lie on the ground.
The dynamite boxes are cut from .04" x .06" strip styrene, painted MM wood and superglued to the road. I used very thin silk thread (suture silk) to add ignition wire between the boxes and running up the road to the (nonexistant) explosives truck. A few more steps and it's BOOM time!


11/13/2012 - I think I found the truck I need... http://www.megahobby.com/1954fordf350mowpickuptrucksantafe2nscaleclassicmetalworks.aspx
It'll need the bed walls replaced with stake-sides, but the front end looks right. And there are some decent N-scale people made by Preiser too.