-- NOTE: WIP; photos and other goodies forthcoming --
Often when making a diorama, or when I have a character figure or some vehicle to display, I�ll make a custom base for it that matches the setting where the subject appeared, such as the acid lakeside in Nausicaa, the dusty desert of Deloyer (Dougram), or the rocky paths of ancient Greece (Arion). These bases are typically made from foam and Durham�s water putty.
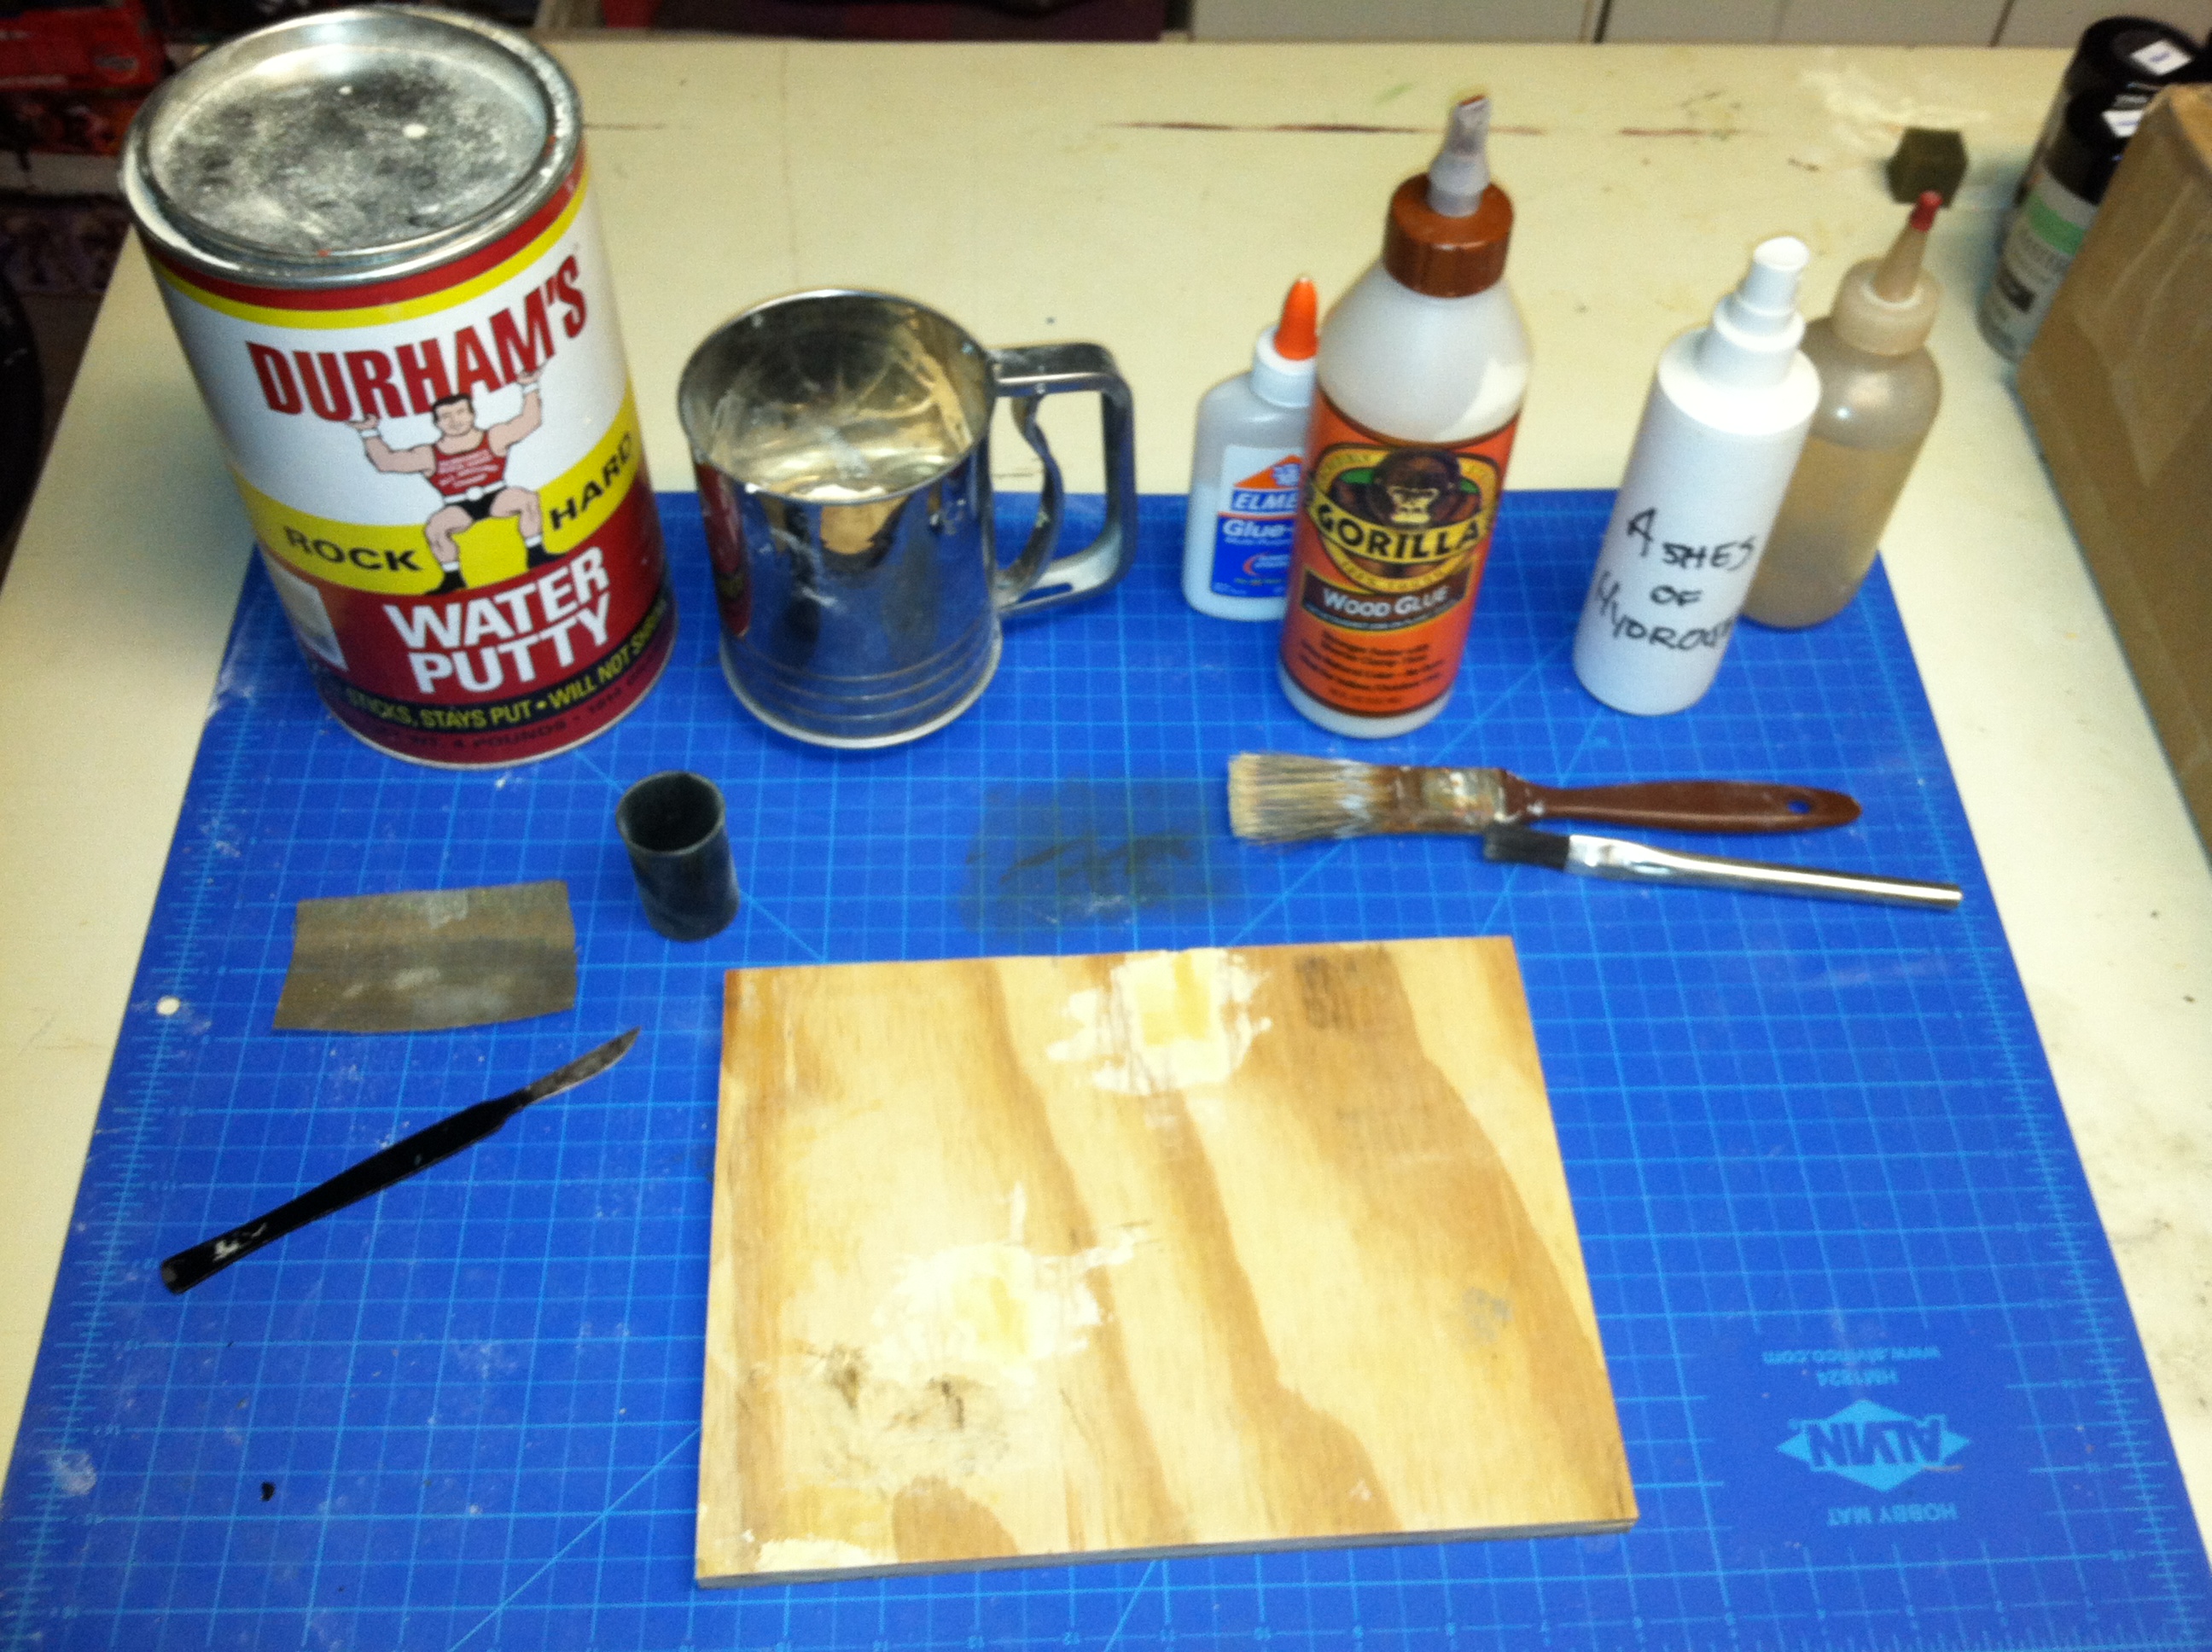
TIP: While making your main base, have a smaller test base next to it and treat it the same as the main base. You can then poke at the smaller base to test for putty dryness without messing up the main base.
Step 1: Planning


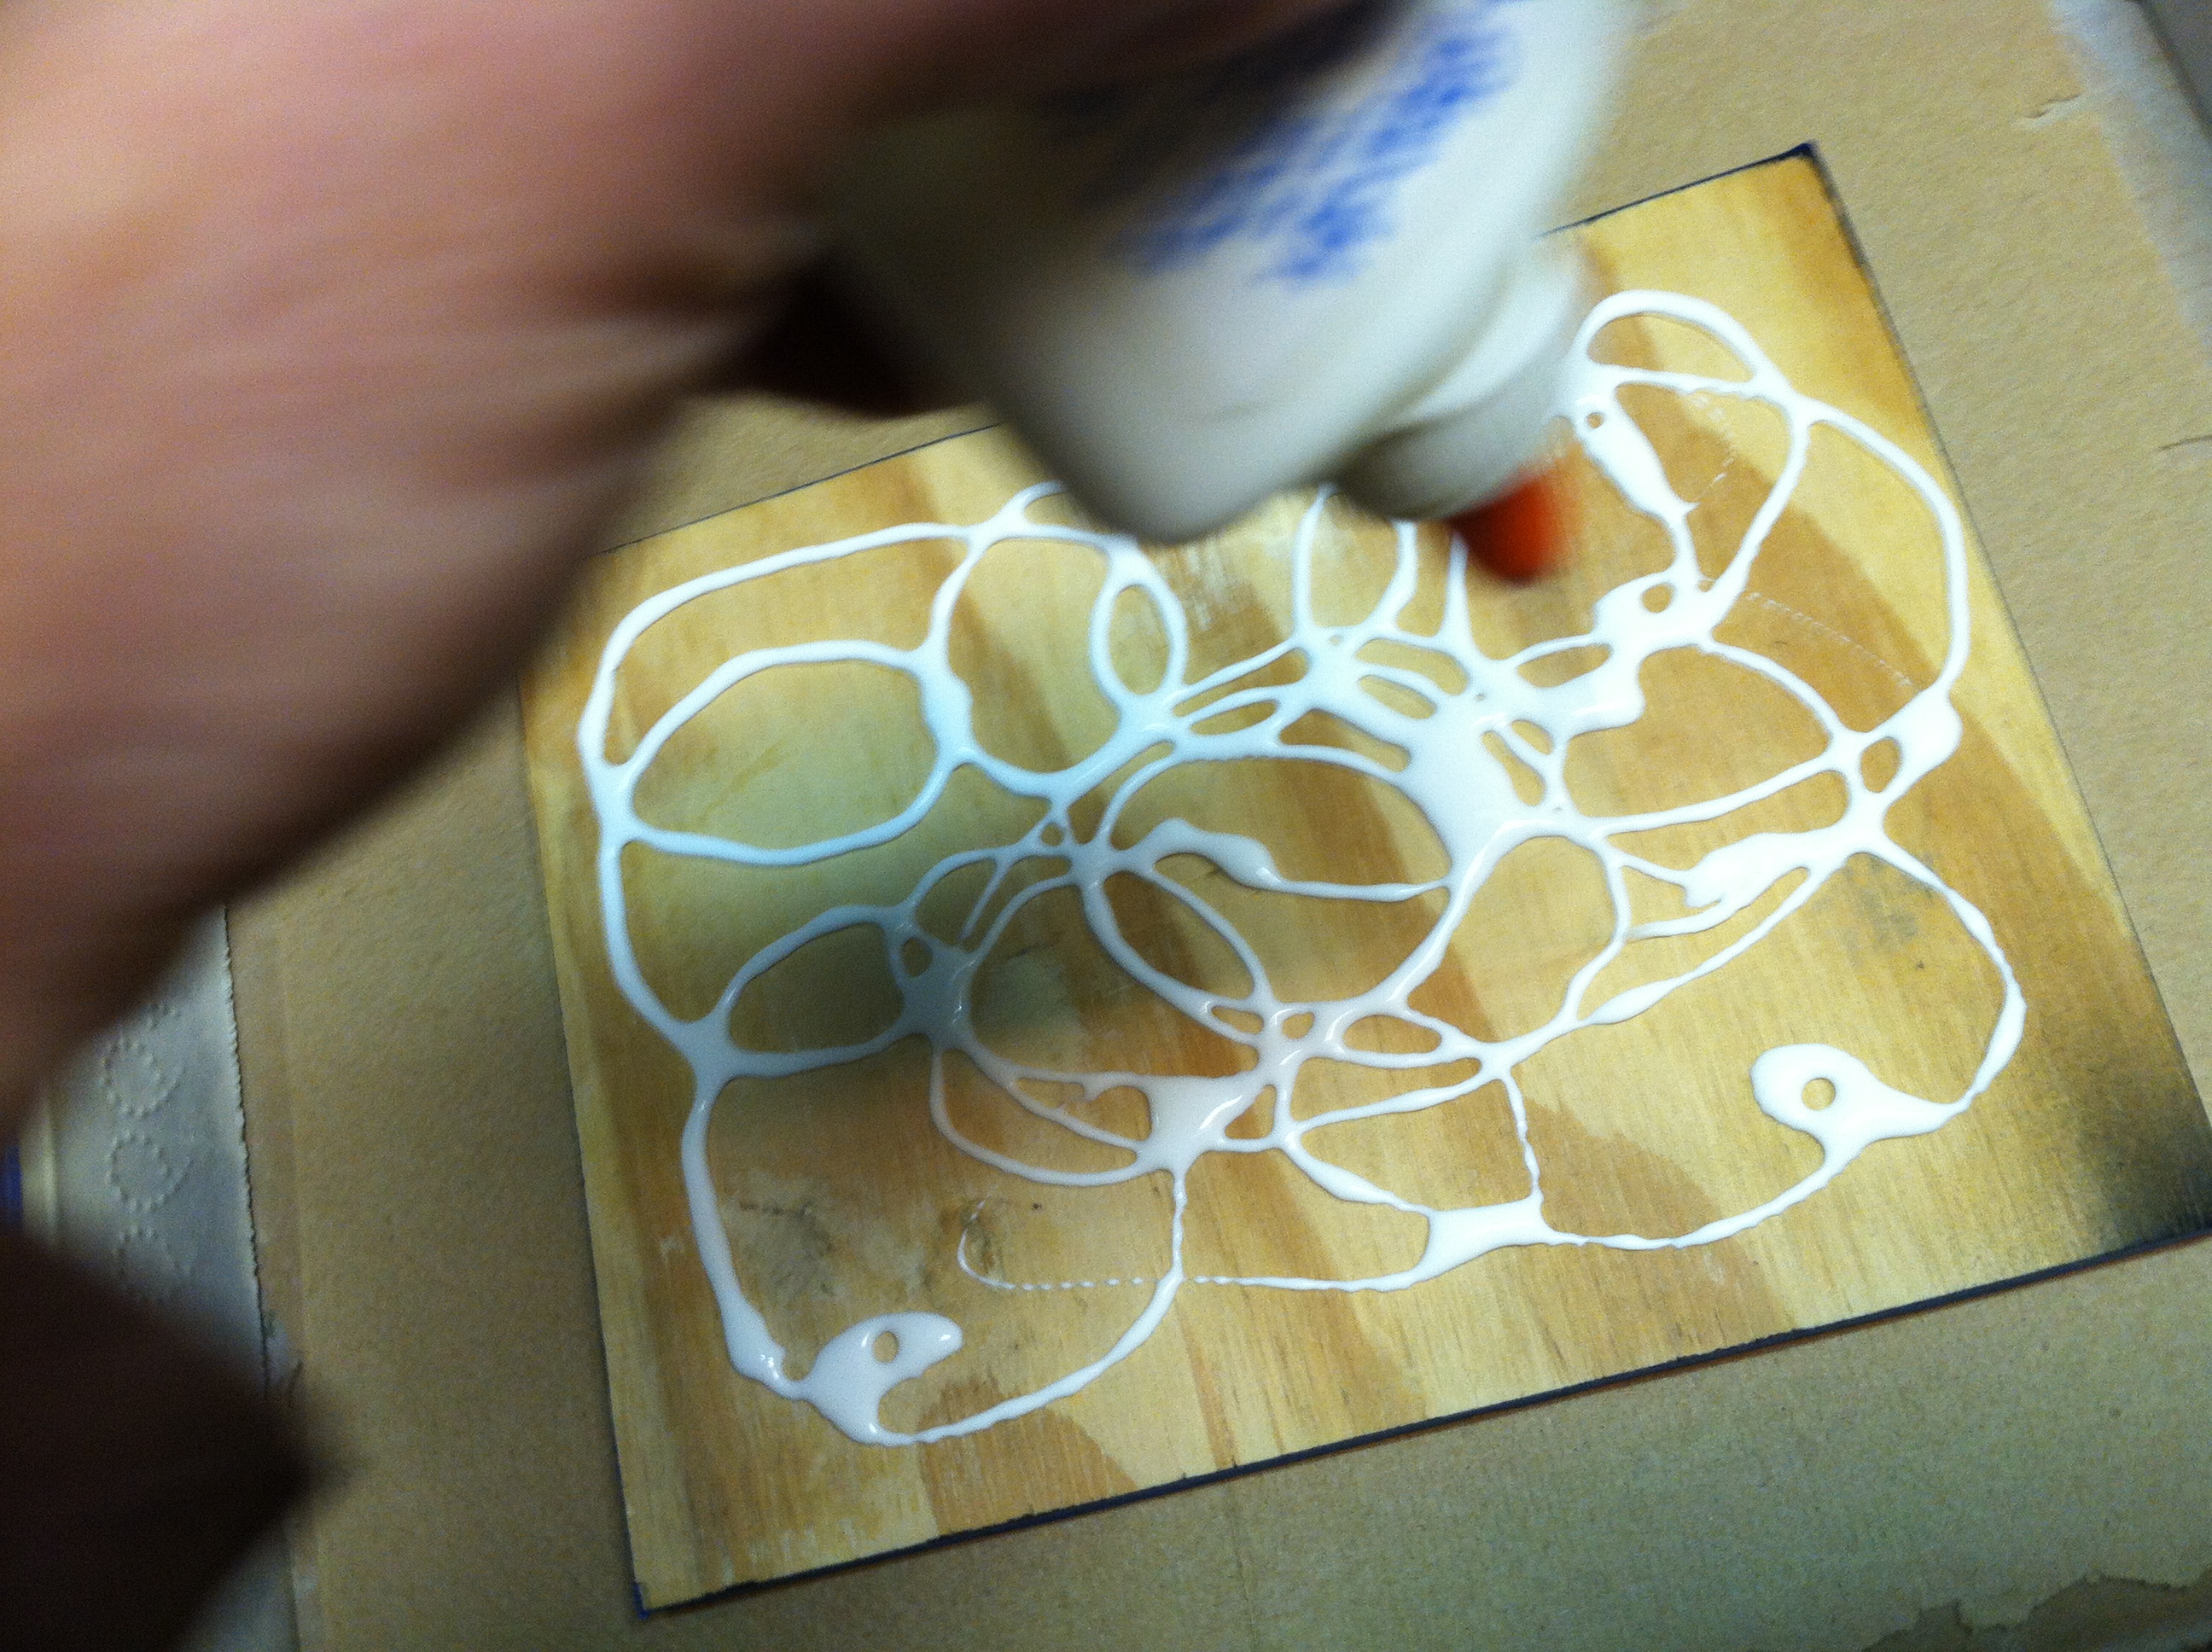
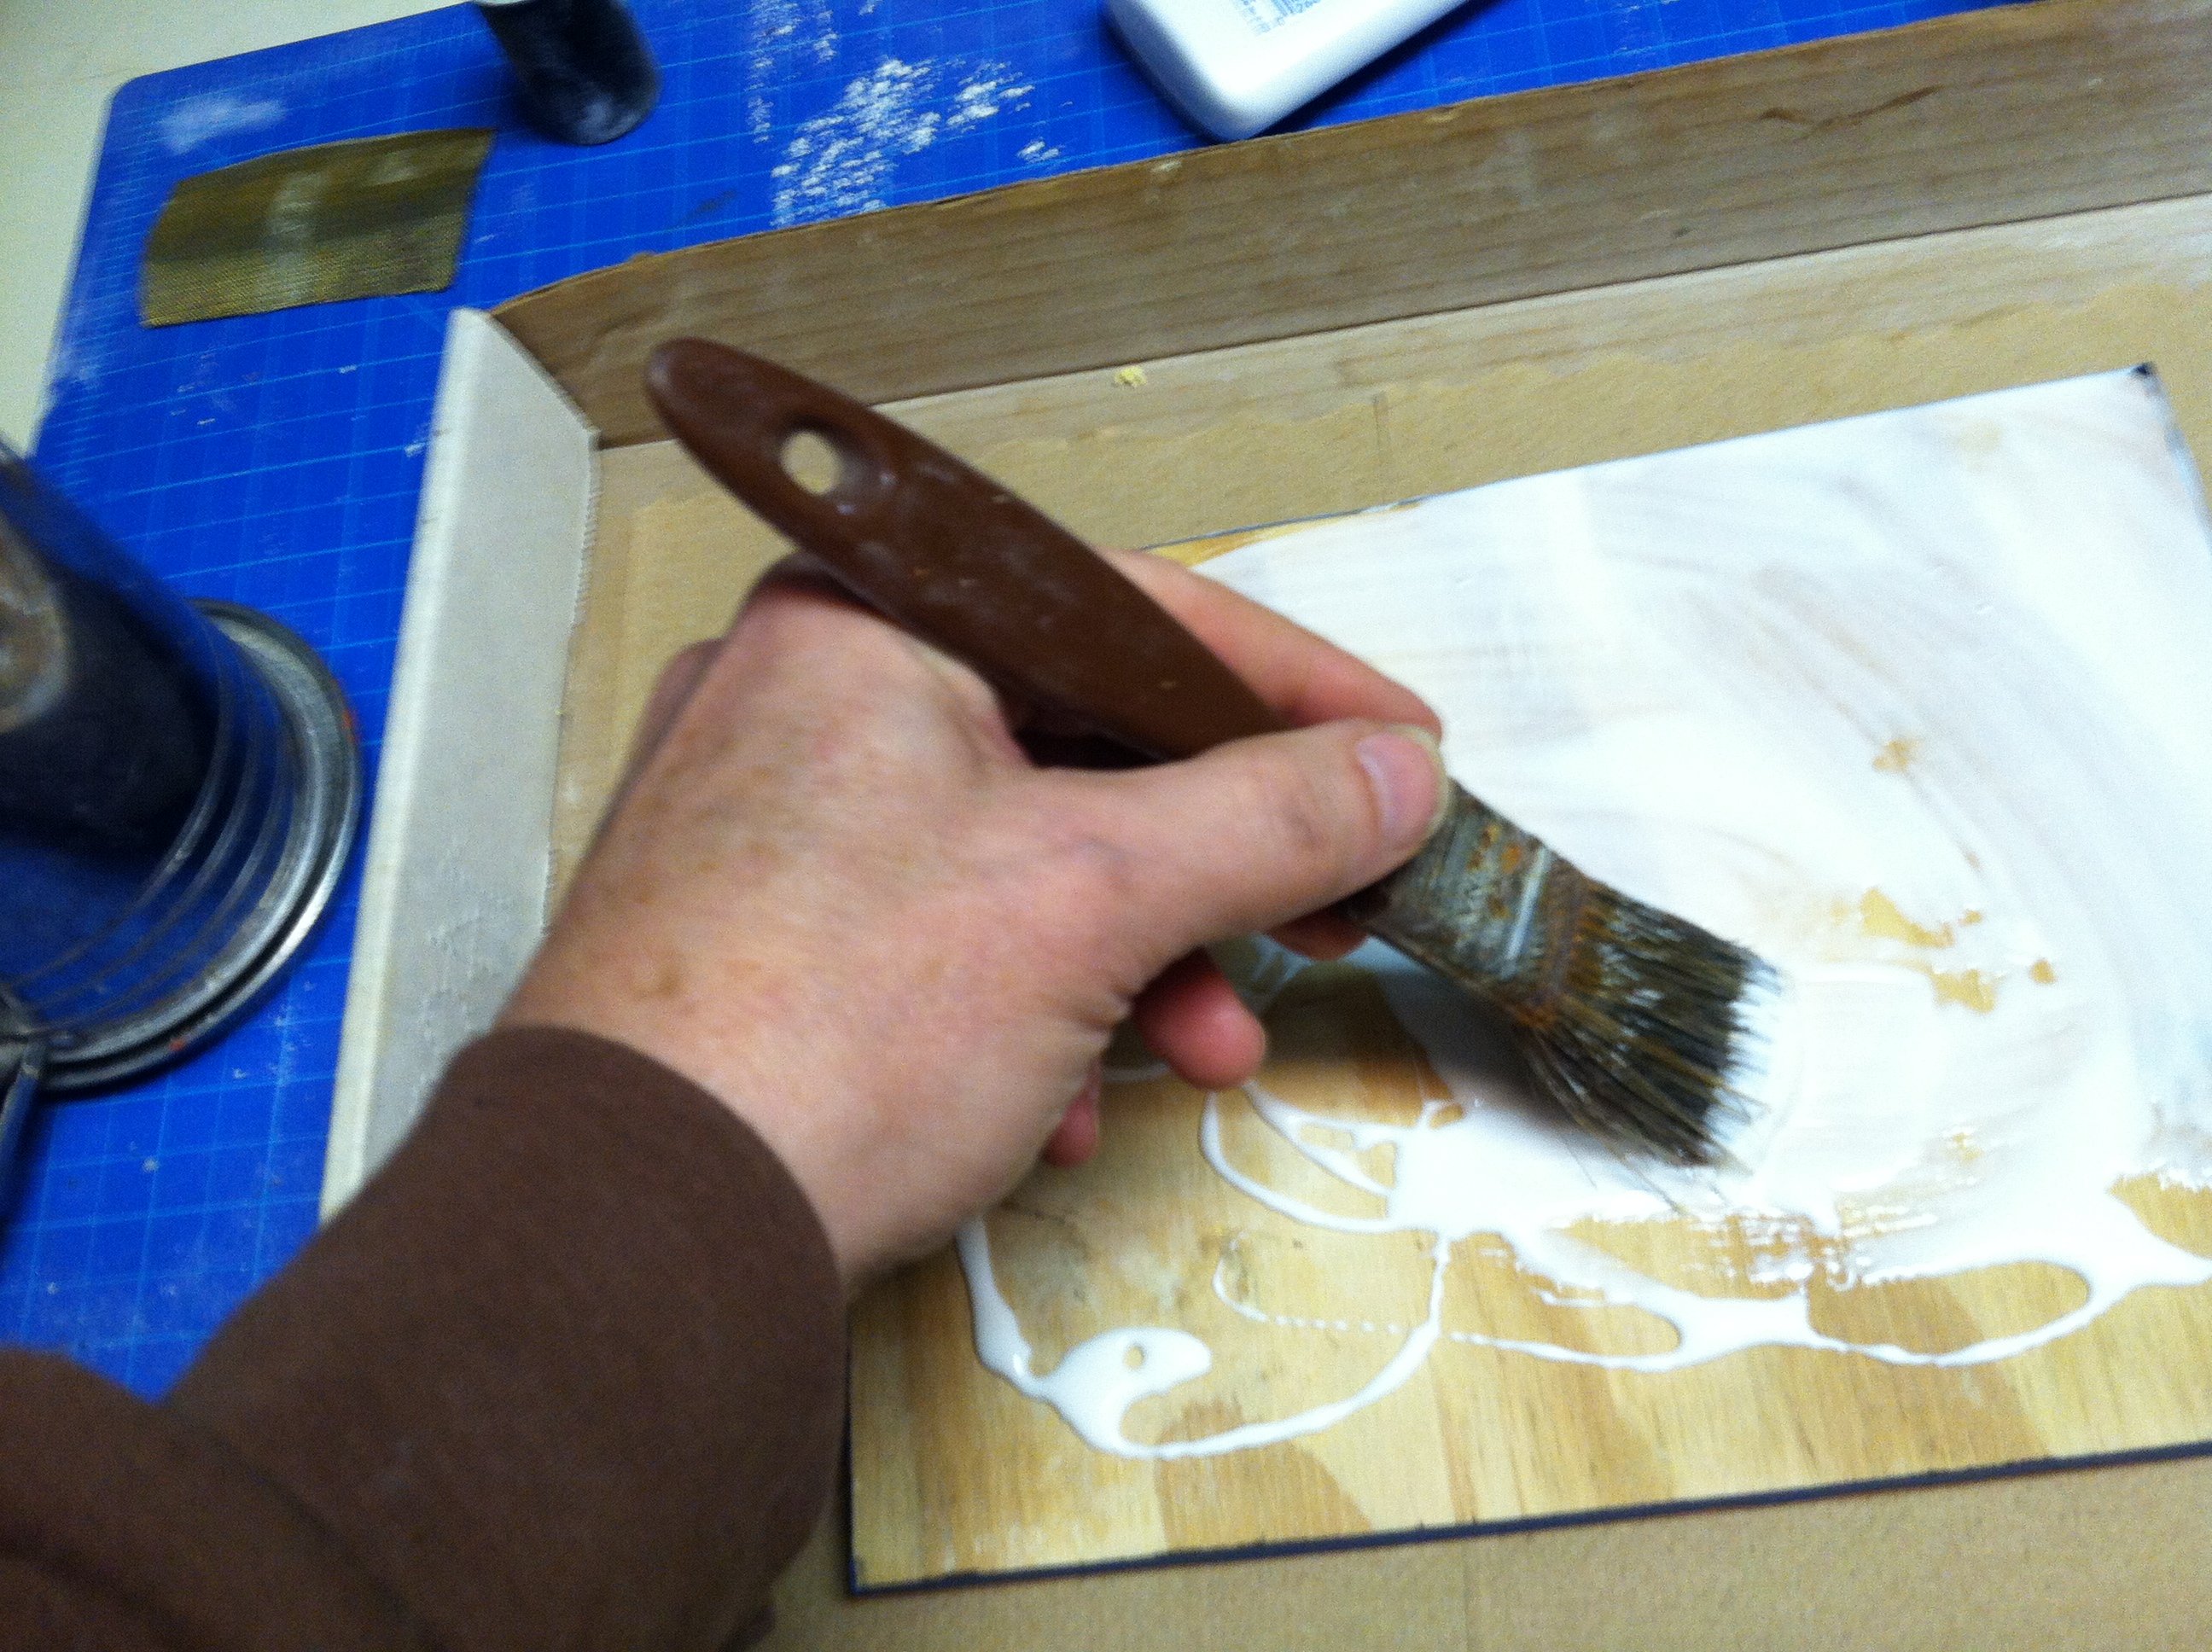
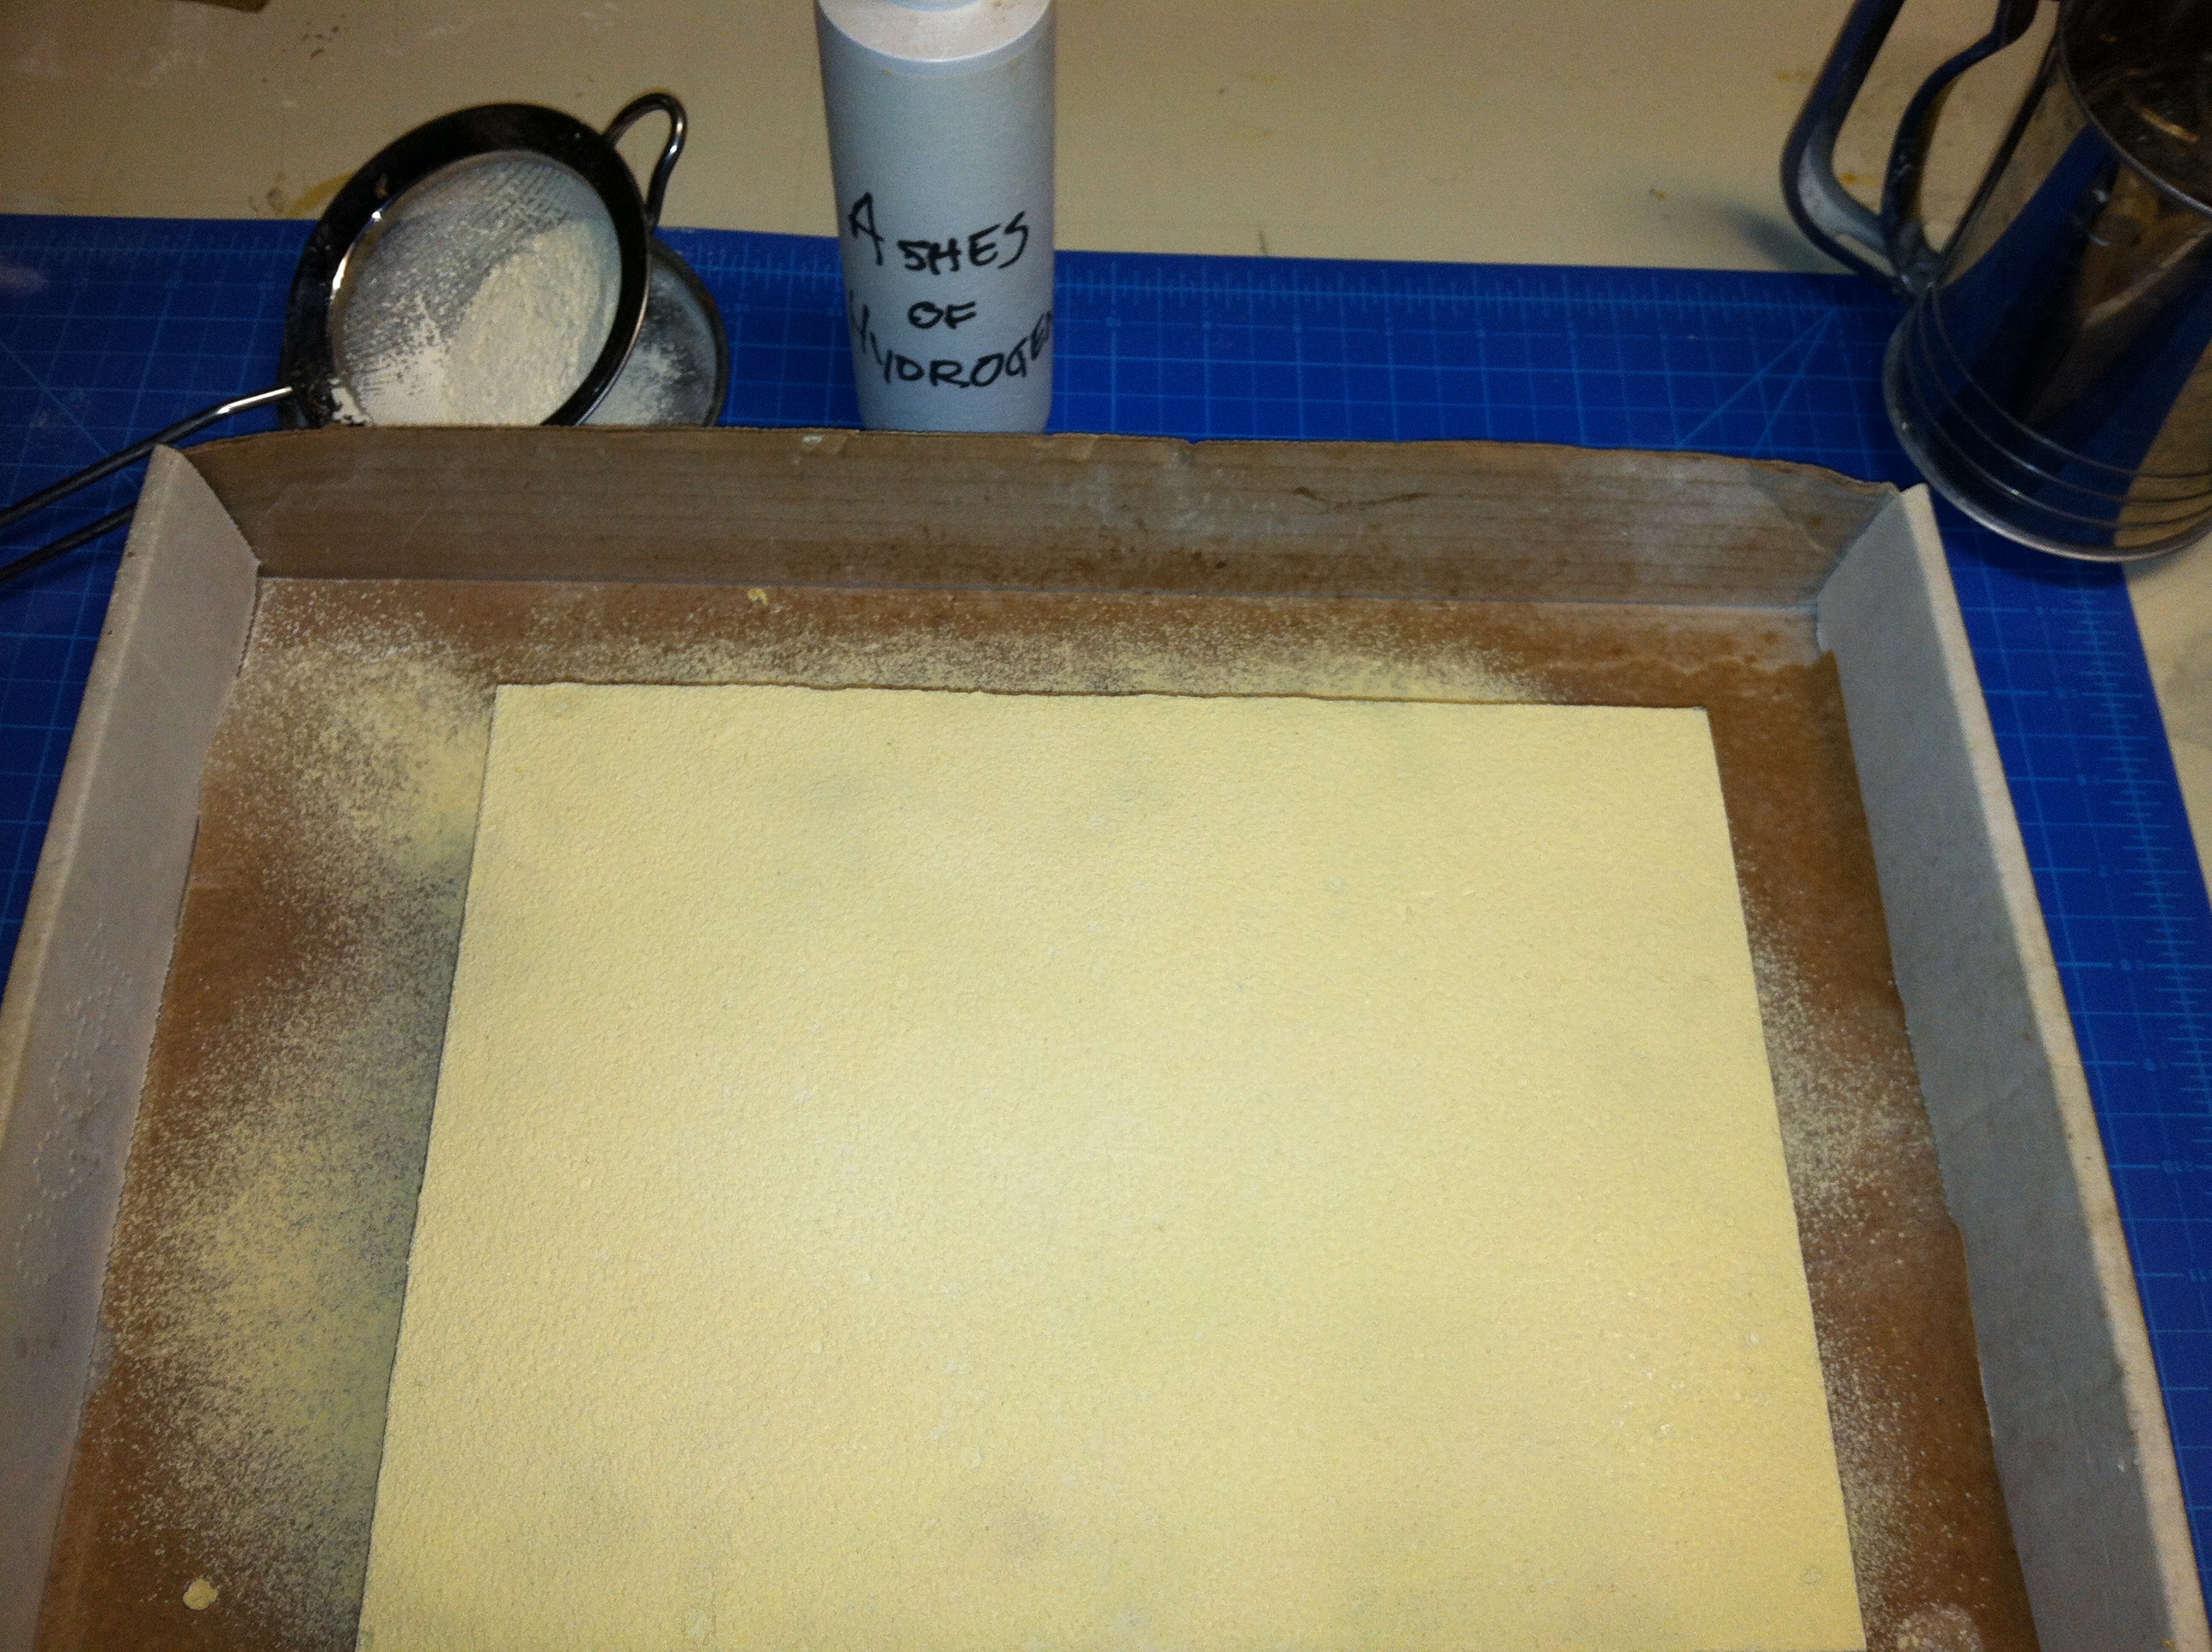
Next, use the sifter to cover it with a coat of dry water putty. Cover the powder with a paper towel and gently roll it to press the putty into the glue.
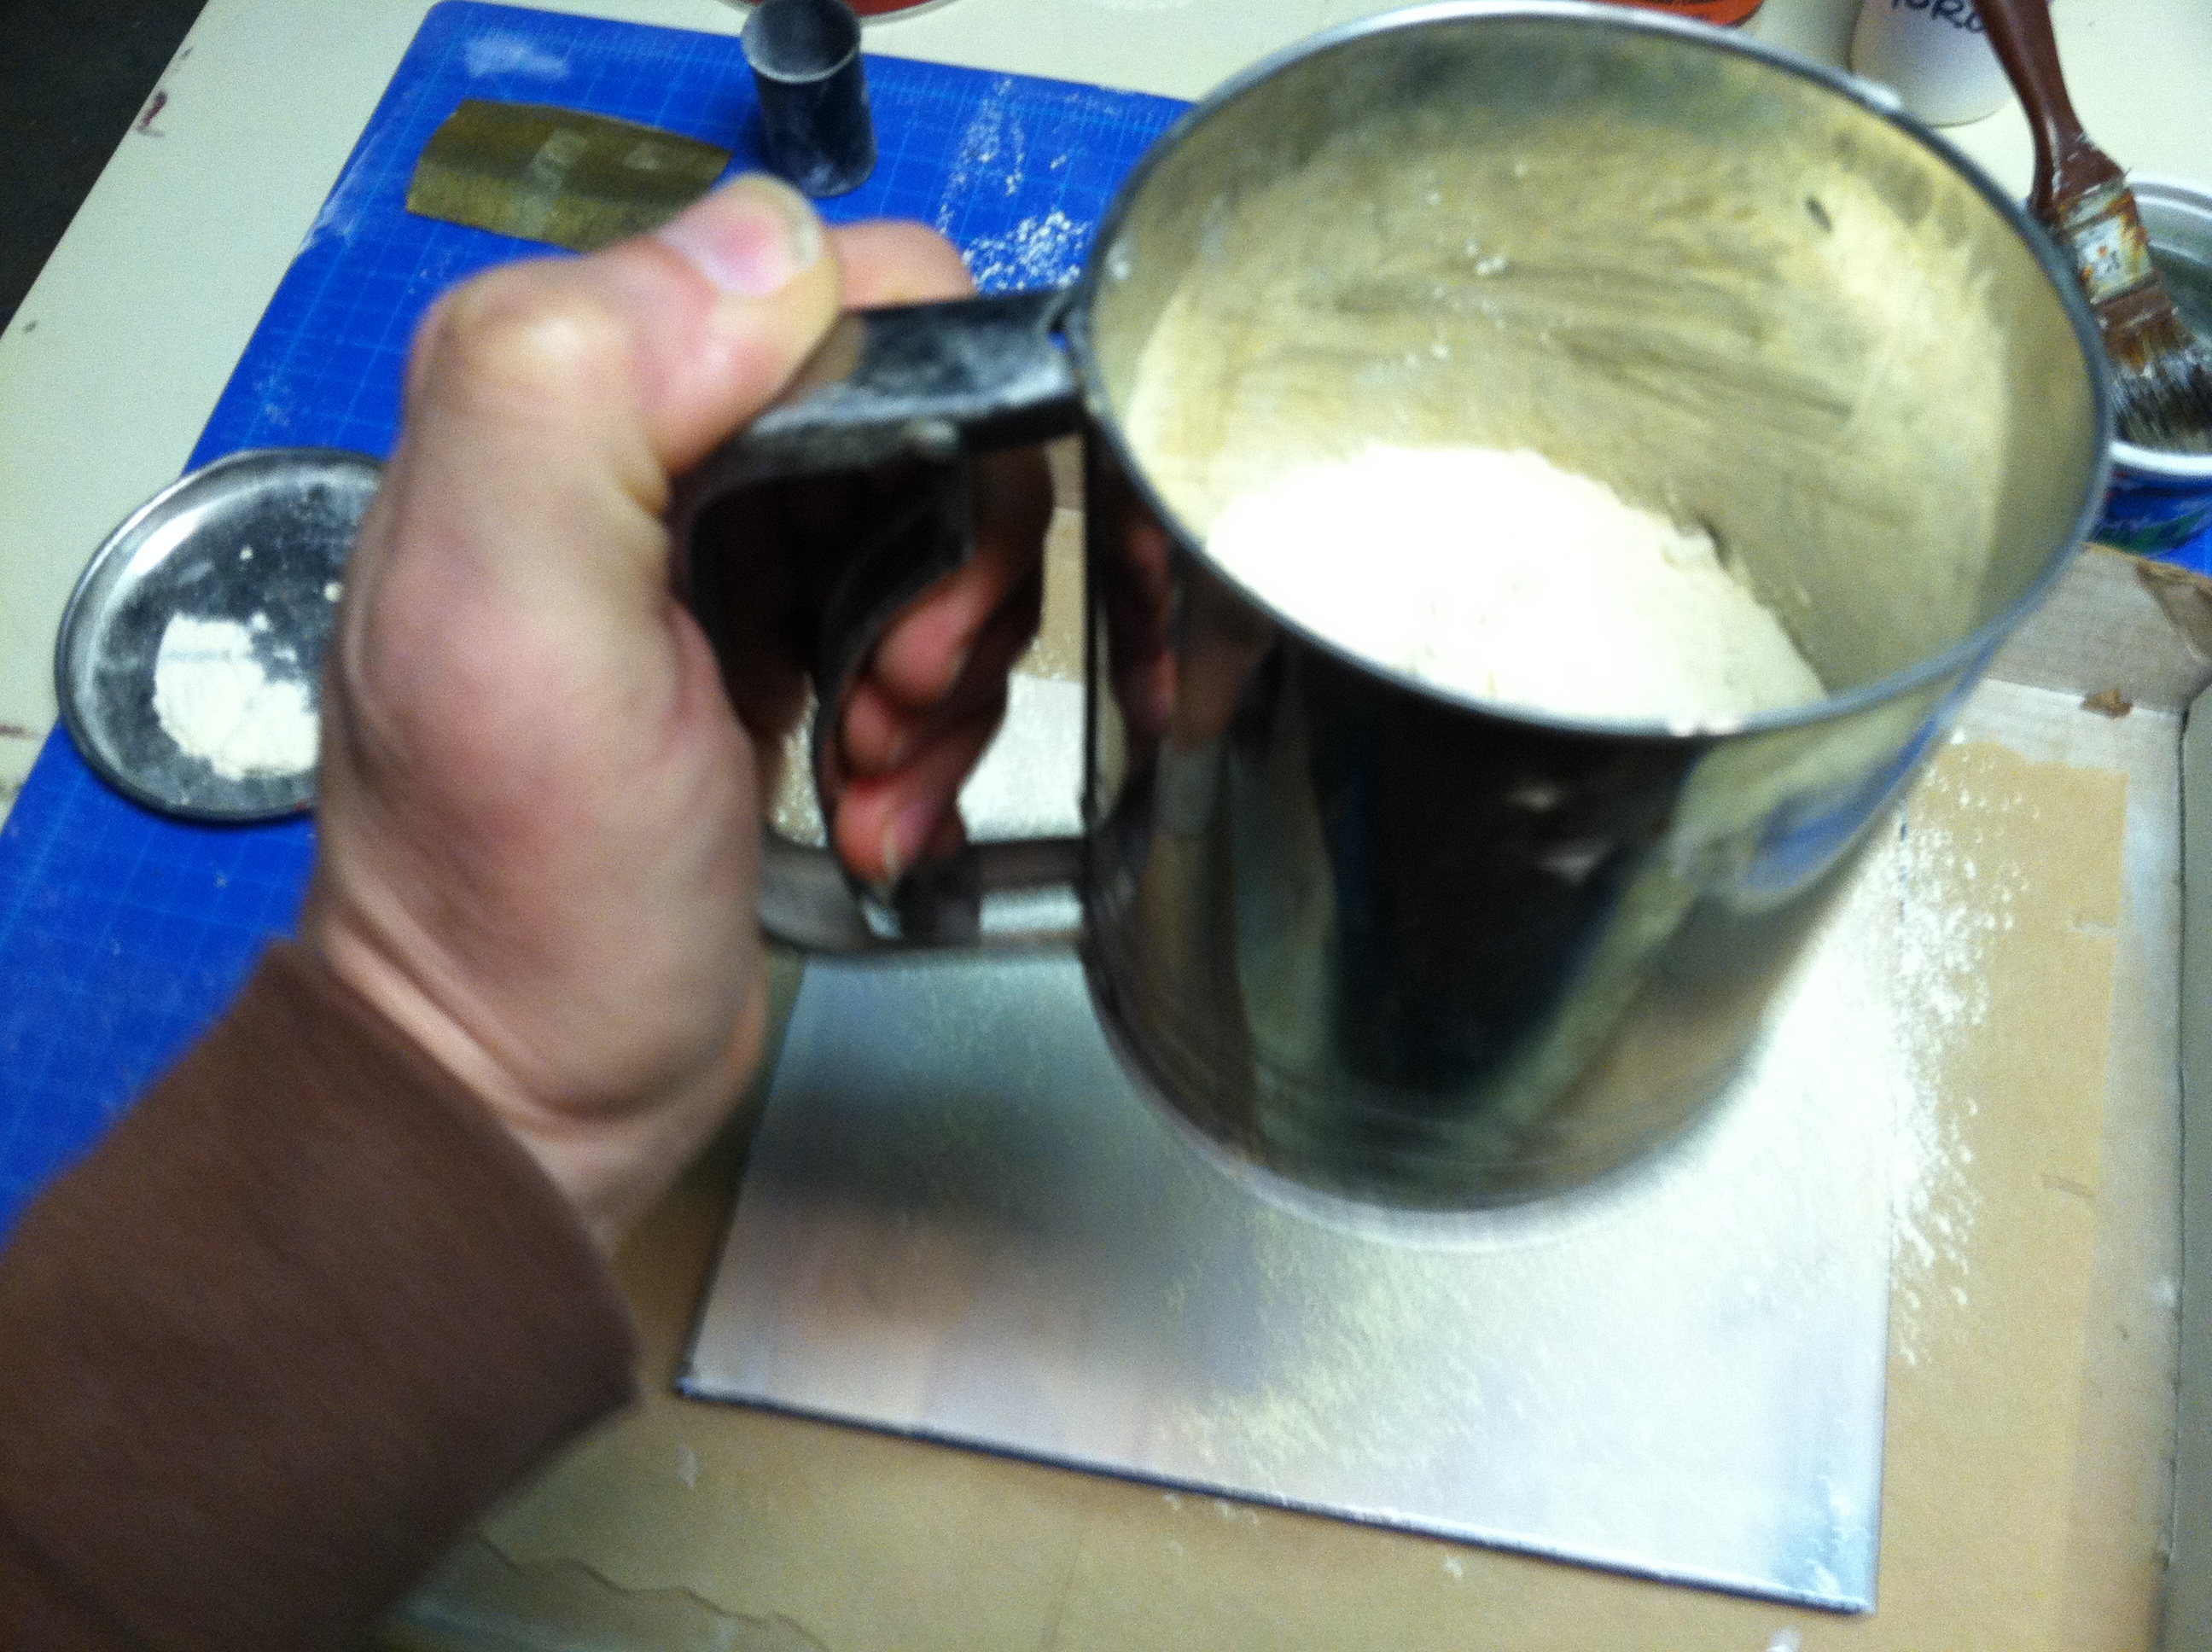

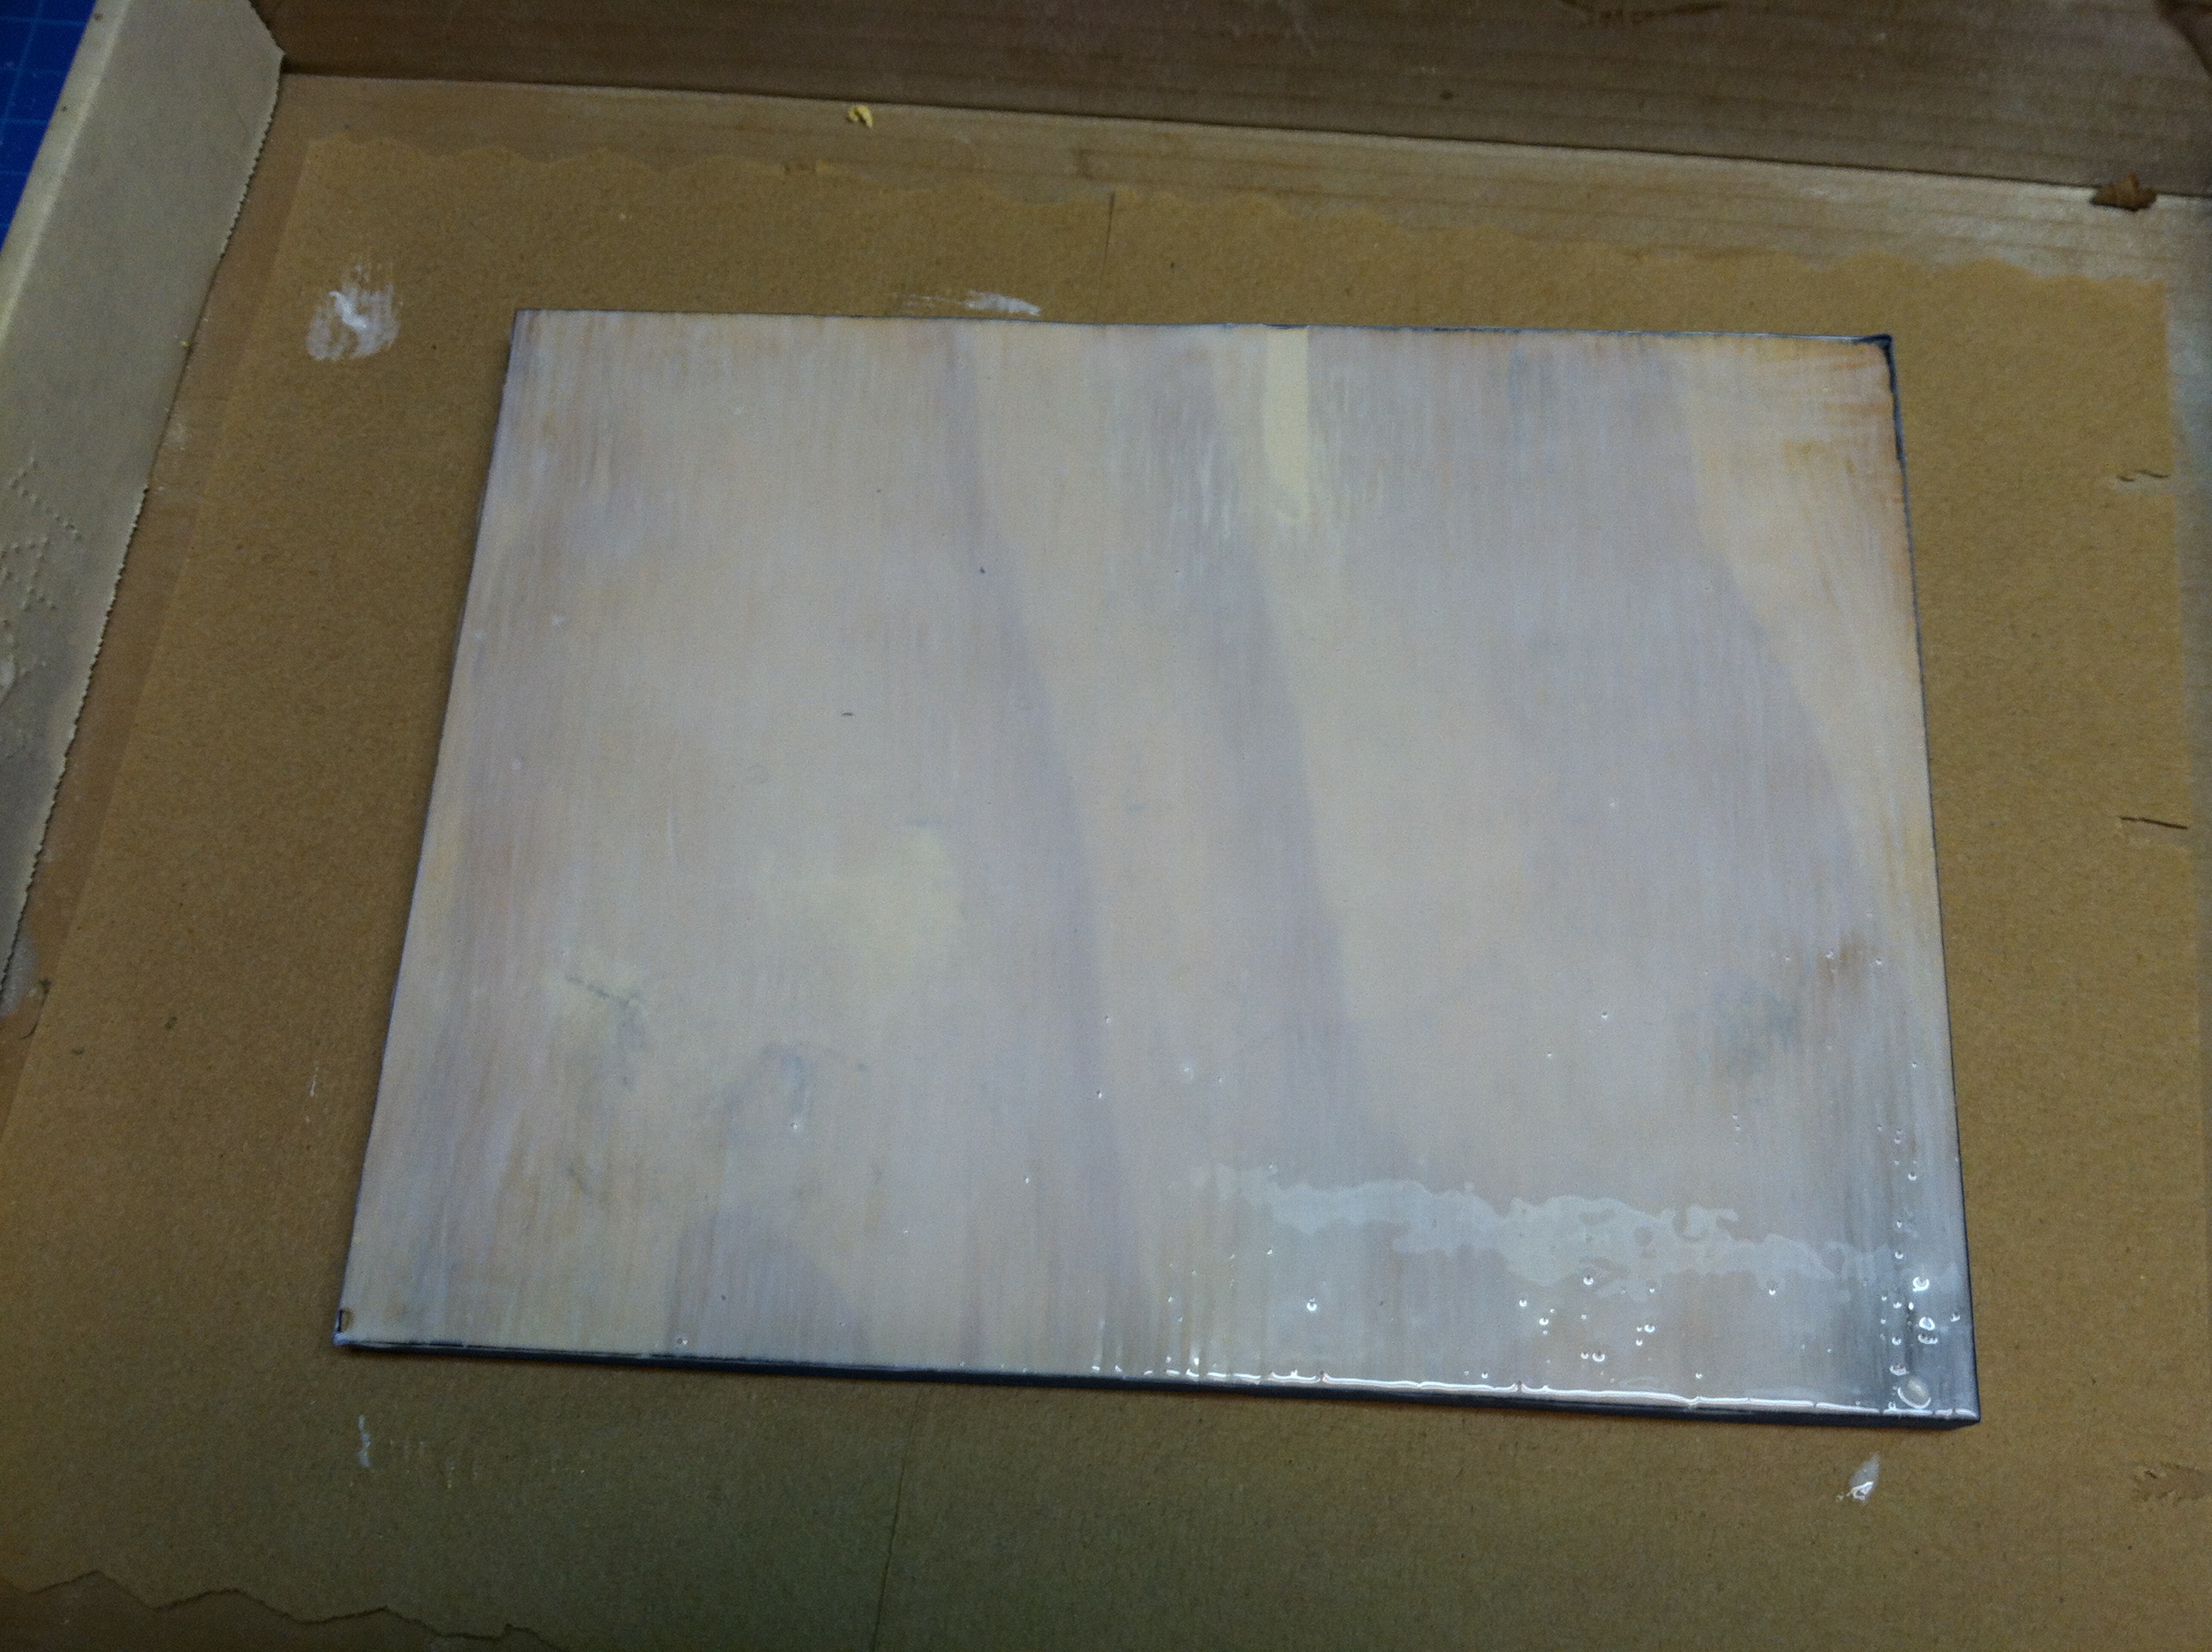
Let the glue set up. There will like be glue dripped over the edge of the wood (on the blue tape). Check this for dryness. I typically just leave this overnight. Then brush away excess putty. You will be left with a thin layer of putty glued to the board which serves as a sort of primer for building up additional putty layers.
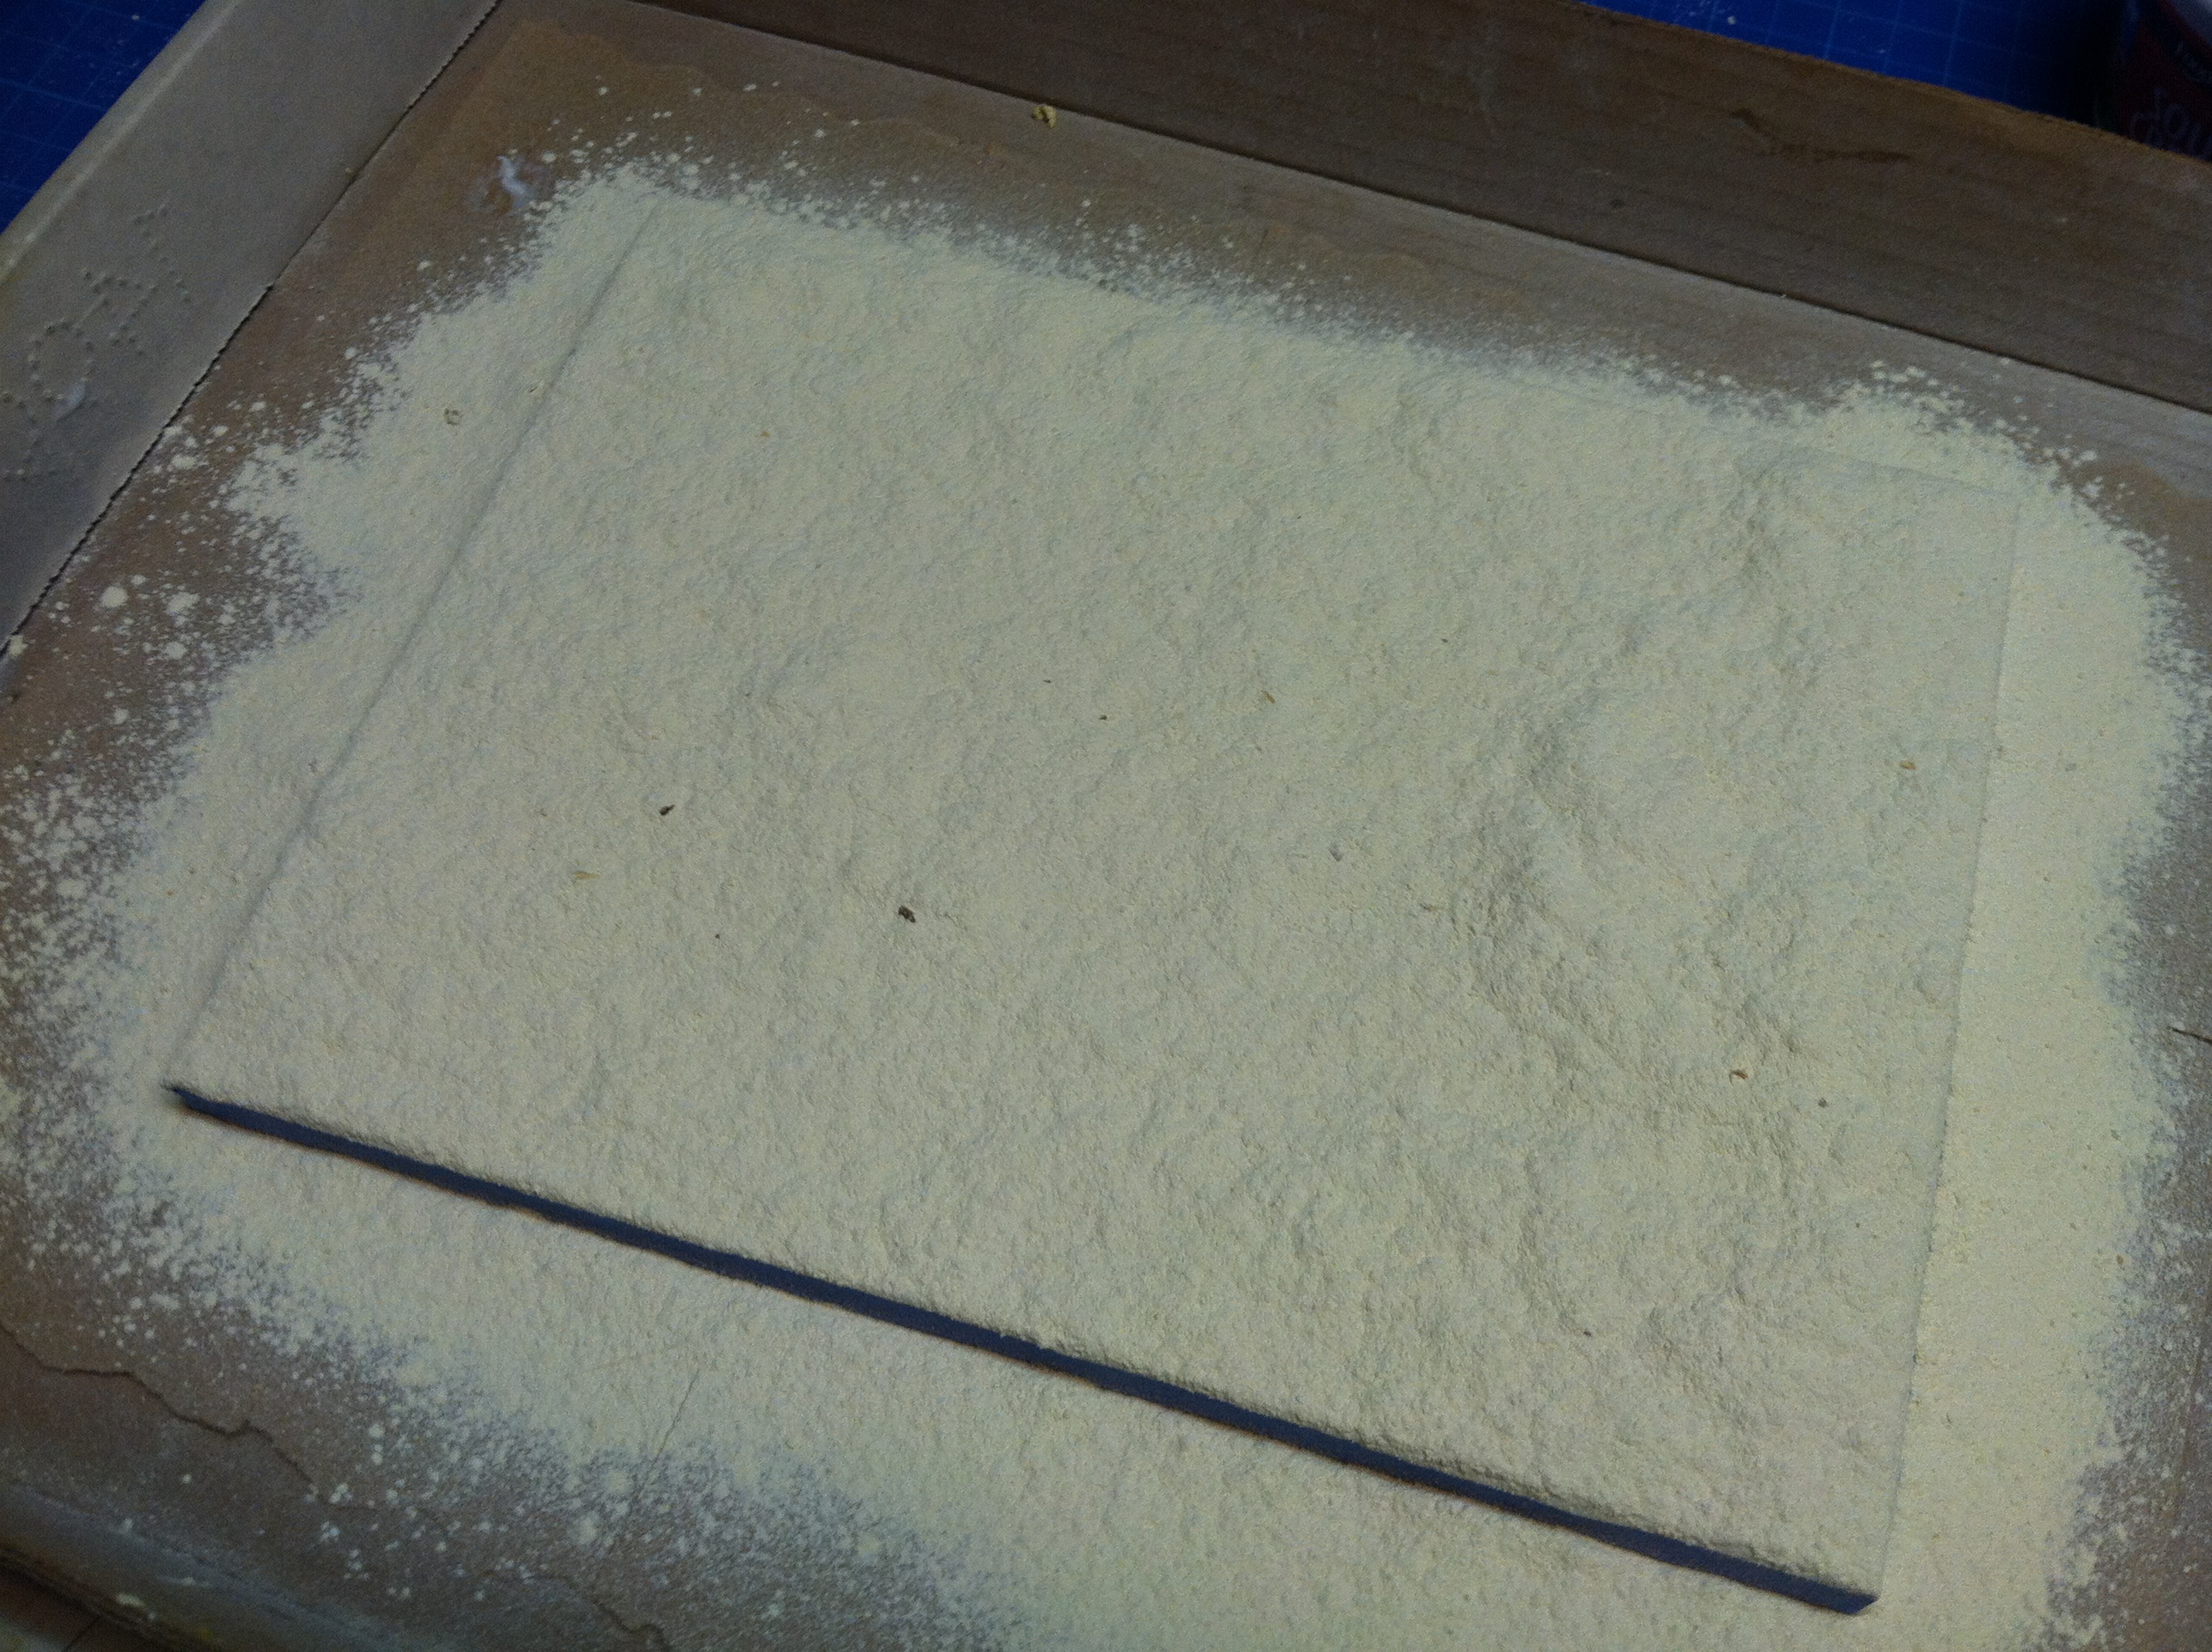
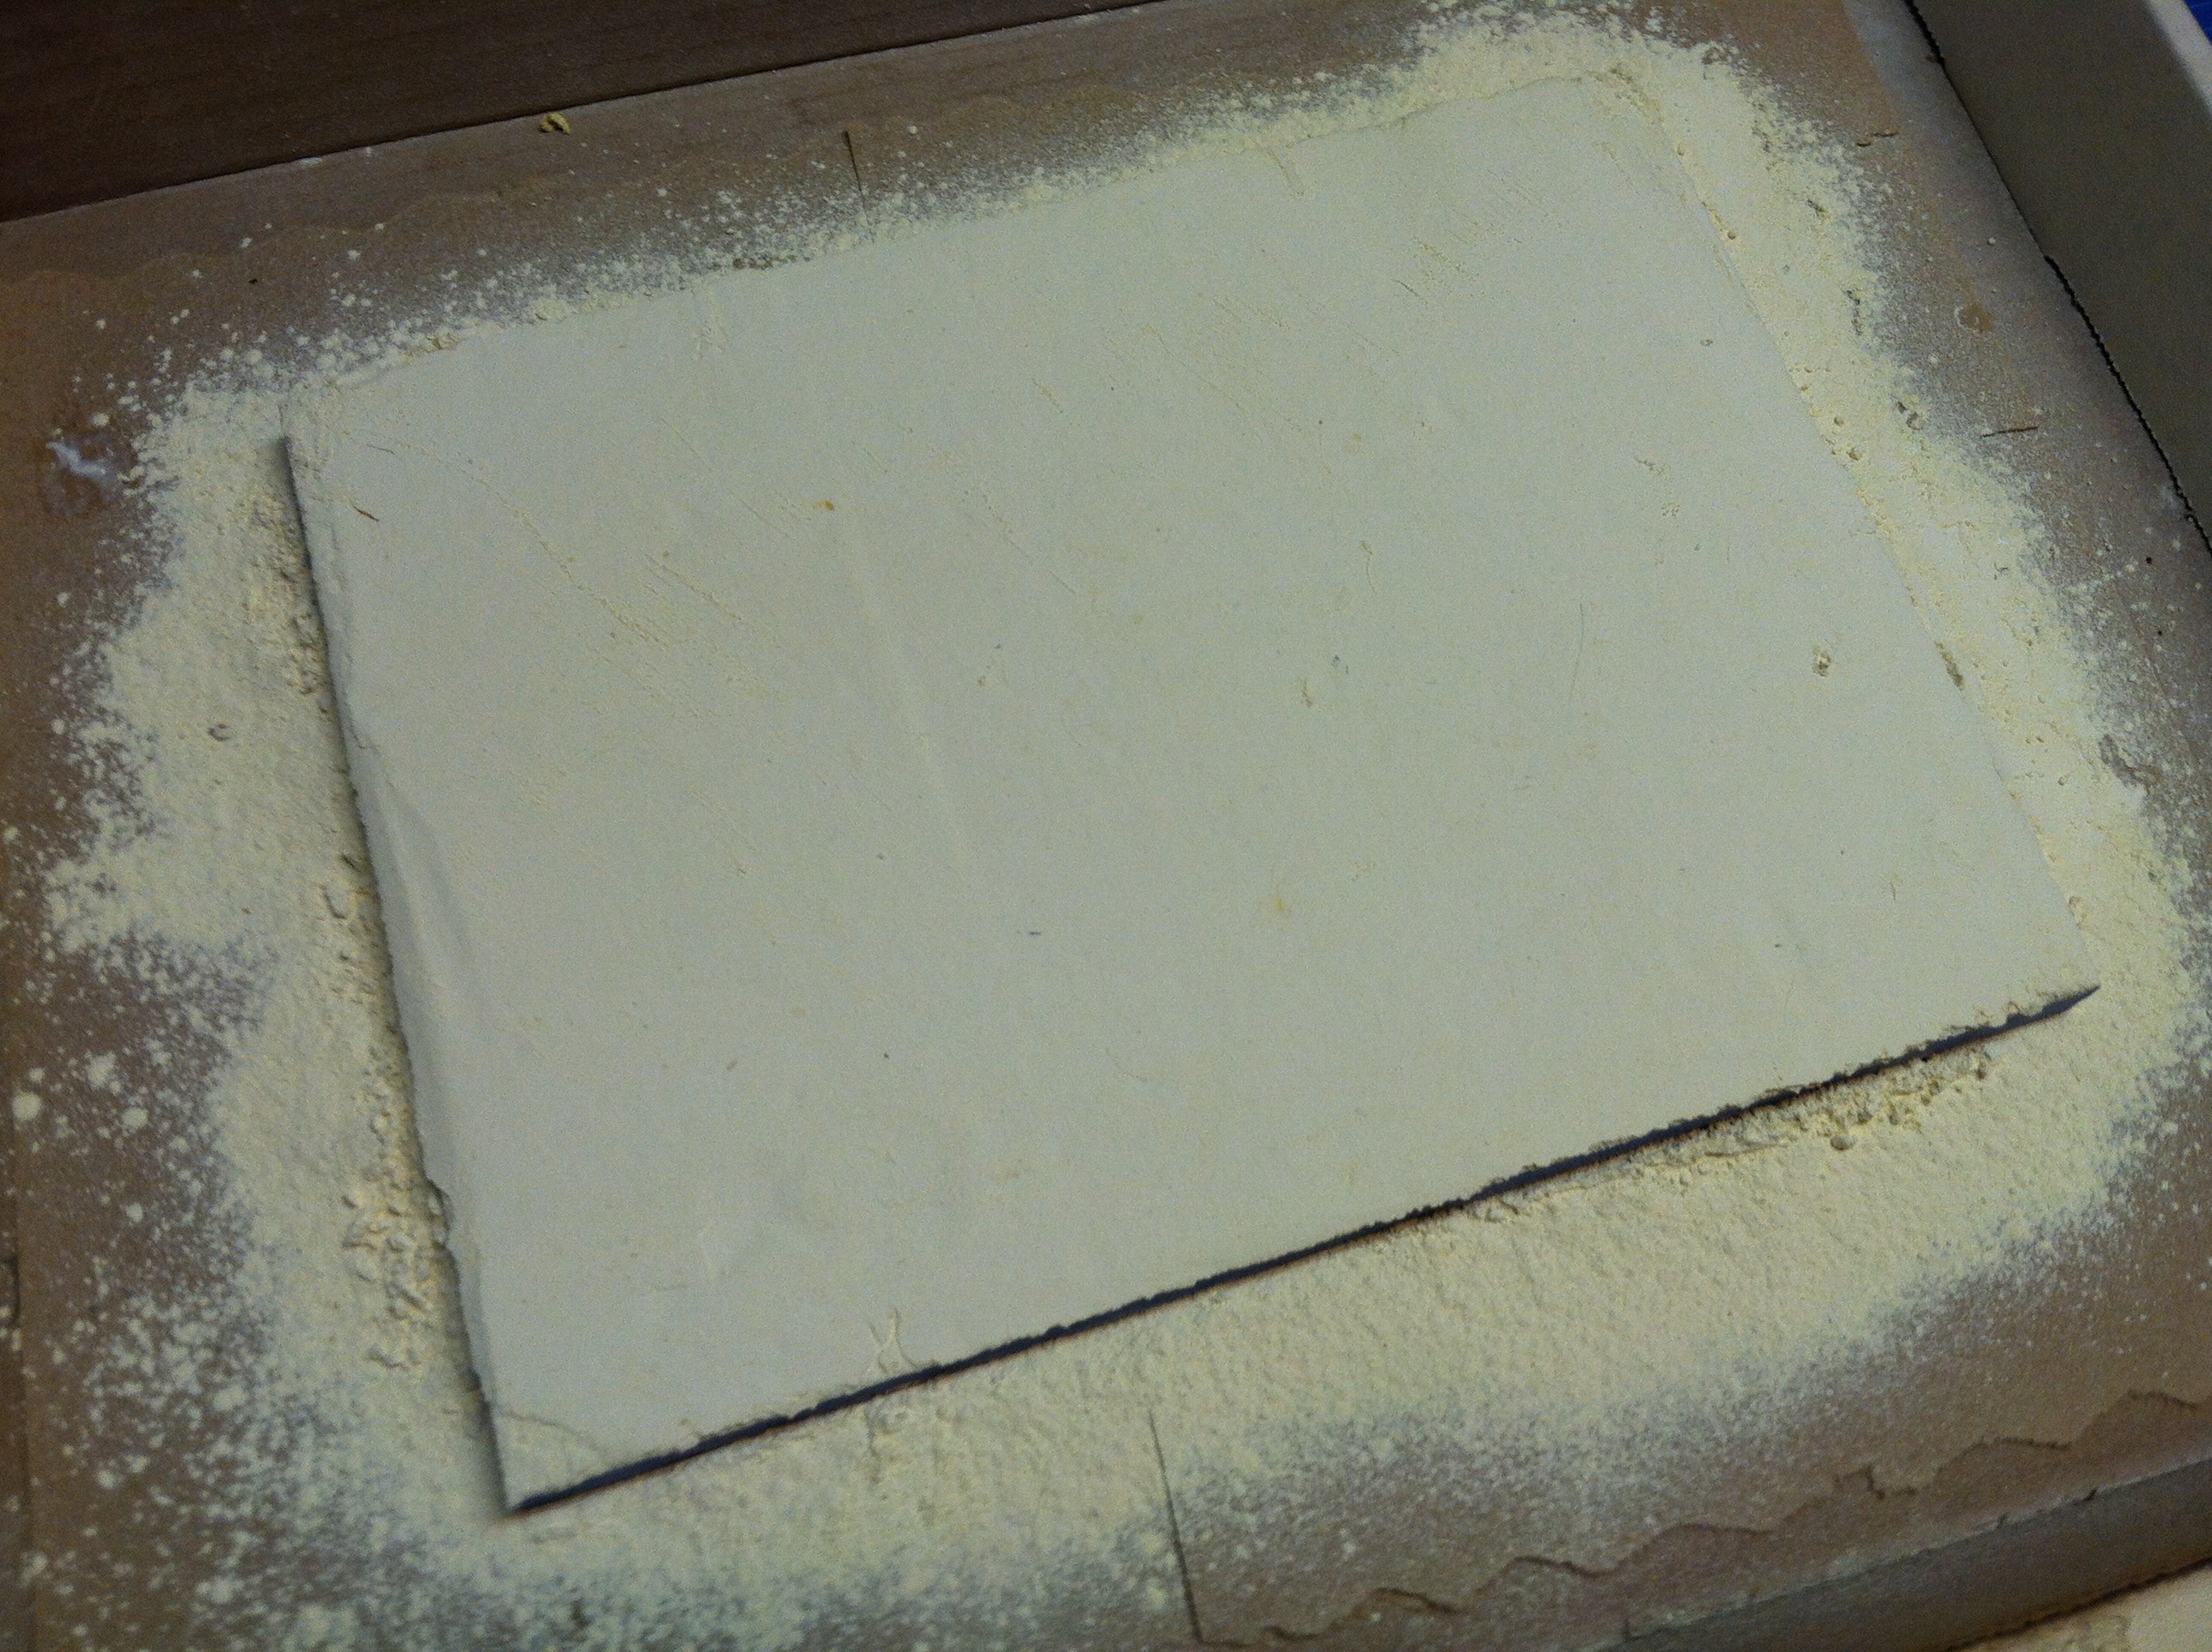
If all you need is a flat surface, now dampen the surface with the water sprayer and sift on a thin layer of putty. Spray water on top until the surface takes on a distinct yellowish tone. You should not see water pooling in the putty. Let the putty dry. You'll have a good base for flat sand, grass, or similar surfaces.
Need concrete or asphalt? Before water-spraying this coat use the paper towel and roller procedure to compact the surface.
This is where the fun begins and the step-by-step ends. Is the ground dry and sandy? Wet and muddy? Rocky or not? Is there water?
Dry / sandy surface
This is the simplest surface type to make. Load up the
sifter with dry water putty. Spray over the base coat with water or acrylic
spray, then sift some putty all over the base. You can repeat the wet-and-sift
layers a few time if you want. If you see that the top coat of putty getting wet
spots, sift some more putty over those. When everything�s dry, tilt, tap, and
brush away excess putty. Apply a sealer coat of acrylic before painting.
Wet / muddy surface
Make up some thick, goopy putty, spread it over the prepared
base, and go play in the mud. Use blunt modeling tools, brushes, and sponges to
shape the mud. Adding tracks to the mud will add to the realism. Dust a thin
layer of dry putty over the surface if you want a gritty look.
Rocky Surfaces
Wind-sculpted rocky outcrops? Scattered river boulders? Rocky scree? You can do
them all with water putty and of course, some practice.
Boulders � break up florist foam into chunks and roll them around between your hands to smooth the edges. Stick a toothpick into the foam and dip into some thickish water putty. Set aside to dry. When nearly dry, remove the toothpick and clean up the surface. You can sculpt into the surface at this point too. When the putty�s fully dry paint the boulders.
Scree � spread putty onto plastic wrap and let dry. Then break it up into chunks for rough, angular rock pieces. If you break it up while not fully dry and roll the chunks around you can get small rocks, cobbles, and gravel.
Outcrops � build up and sculpt a foam base into the shape of your outcrop. Pain some thick putty over the surface and let it nearly dry. It will be solid but still feel cold to the touch; you should be able to dig a fingernail into it. Use sculpting tools and wire brushes to etch and shape the putty surface.
Making tracks
Whether footprints, wheel tracks, or
some other type of track, adding them will add to the realism of your base. Keep
in mind the type of ground you�re making. Sand tends to fill in, soft moist
ground can show clear detail in shallow impressions, mud can show soft detail in
deep impressions.
If you�re planning way ahead and making the base while your
subject is still under construction or unpainted you can use the things feet to
make tracks. I�ll often make a resin casting of the foot or wheel before
construction and use the casting for track making. This keeps the model part
clean.
Water
There are a number of clear materials that work for standing water � hot-melt plastic, clear resins, epoxies. Find what works best for your use.
The Model Citizen's "Sprue U" pages are �2000 Roger Sorensen
page URL: http://employees.csbsju.edu/rsorensen/modelcitizen/sprue_u/.htm
last updated
12 November, 2012