|

Saladin Class Destroyer
Hermes Class Scout
Scratch/Bash
Franz Joseph
Designs
Star Trek Technical Manual
|
 |
Stated scale: |
1/1000 |
 
|
Actual scale: |
unverified |

|
Overall length: |
|
Material(s): |
styrene / resin |
Number of parts: |
|
Stand included? |
|
Decals included? |
|
My Source: |
|
Cost (w/o s&h): |
|

Working on the PNT
Dreadnought conversion kit got me all bugged up to make the rest of the
Franz Joseph cut'n'paste starships from the old ST Tech Manual. The Destroyer,
Scout, and Transport are simple enough to scratch'n'bash using Polar Lights TOS
1/1000 Enterprise kits. I began by parting out the pieces from three of Polar's E kits.
The details for each build are below but there are a number of things common to
both builds, and to the Dreadnought and the four
Enterprises.
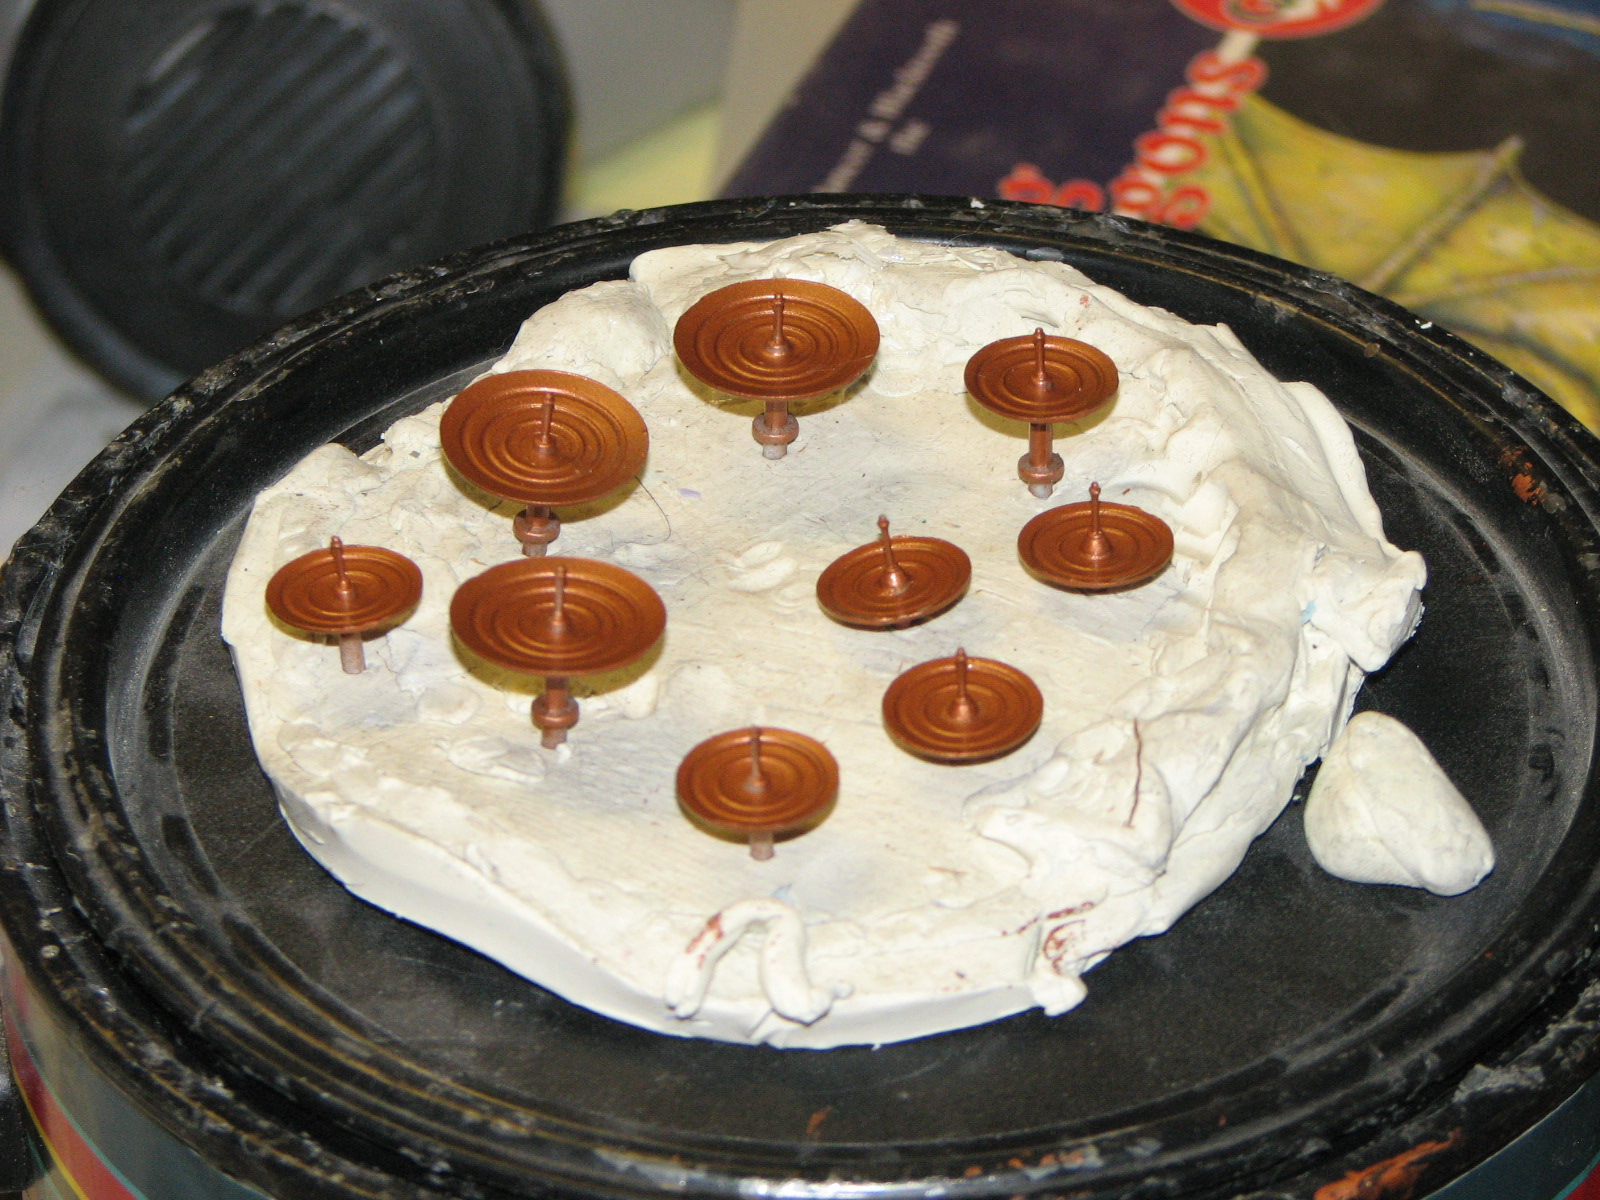
such as deflector dishes and deflector armatures...
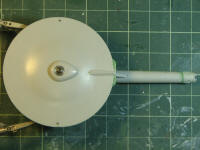
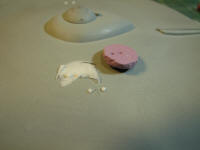
No, it's not a small pizza... 9 dishes painted 1:1 Testors copper and Model
Master leather enamel. 3 of the small dishes are for the destroyer, scout, and
transport, 4 for the Enterprises (3 large, 1 small), two small for the
Dreadnought. And one dish to rule them all, one dish to find them, one di...
oops, nevermind.
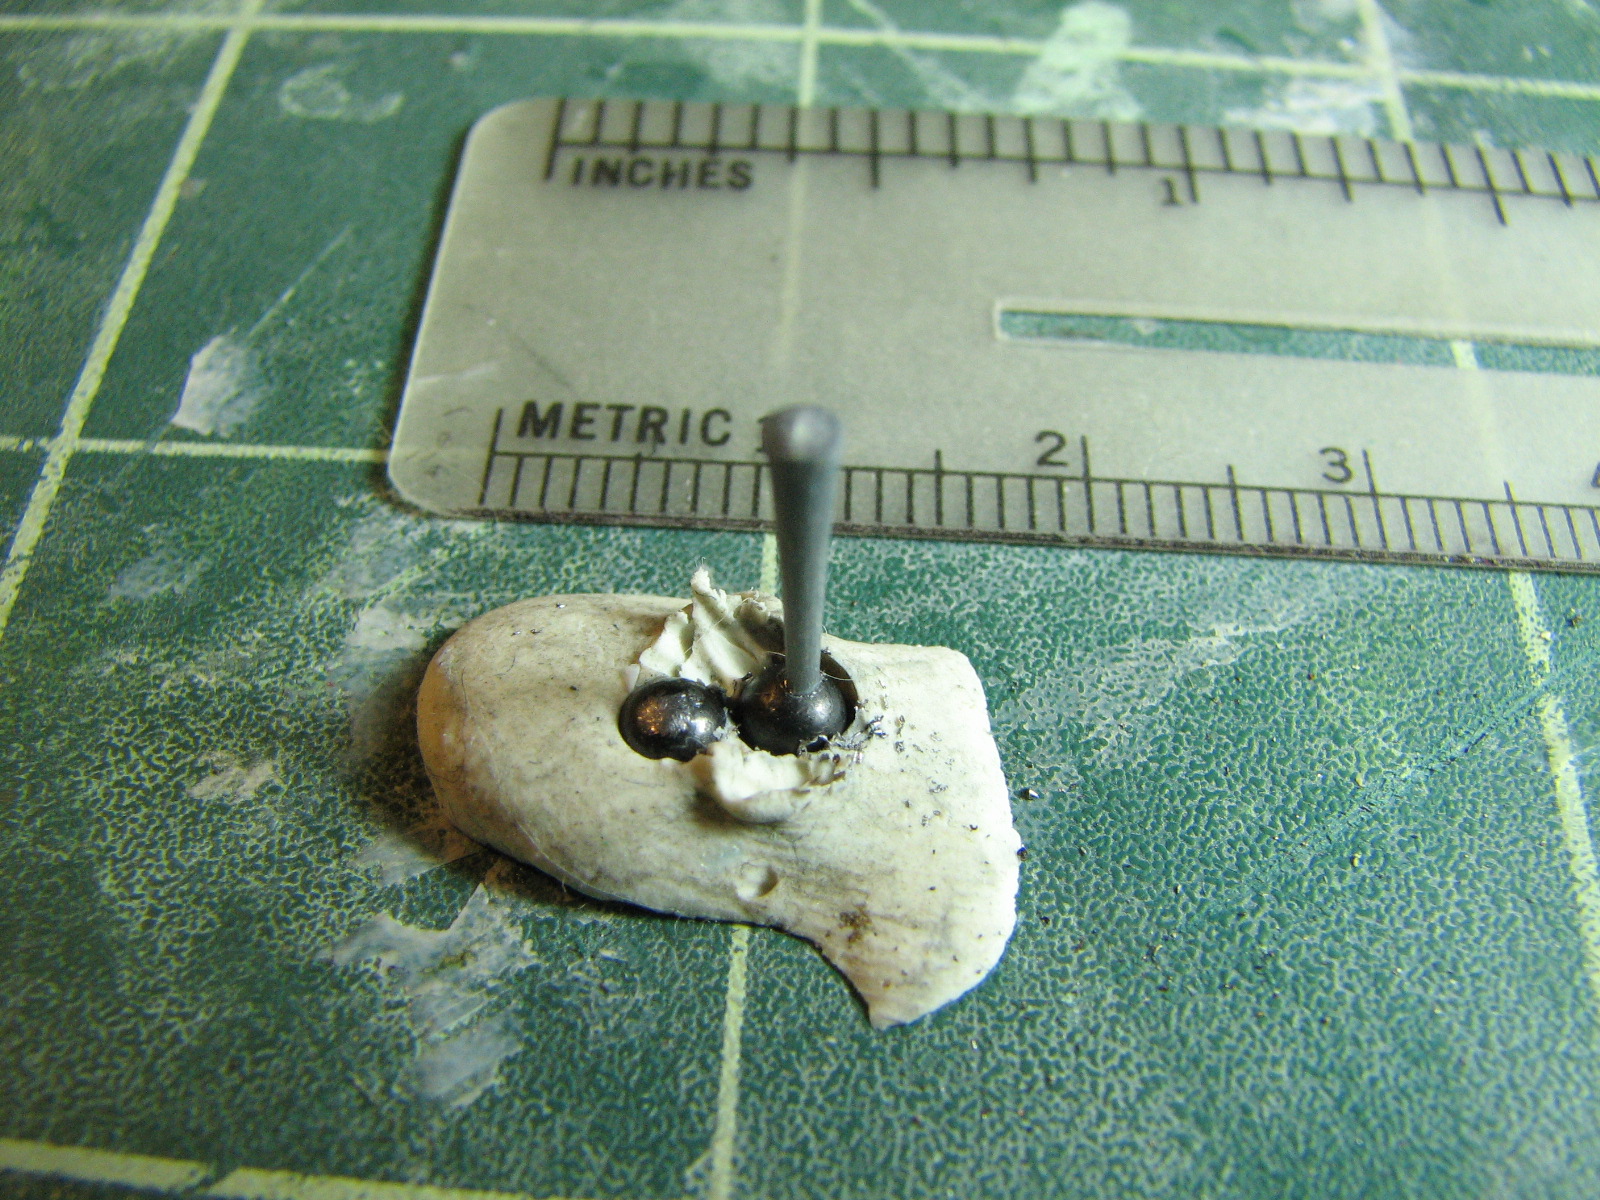
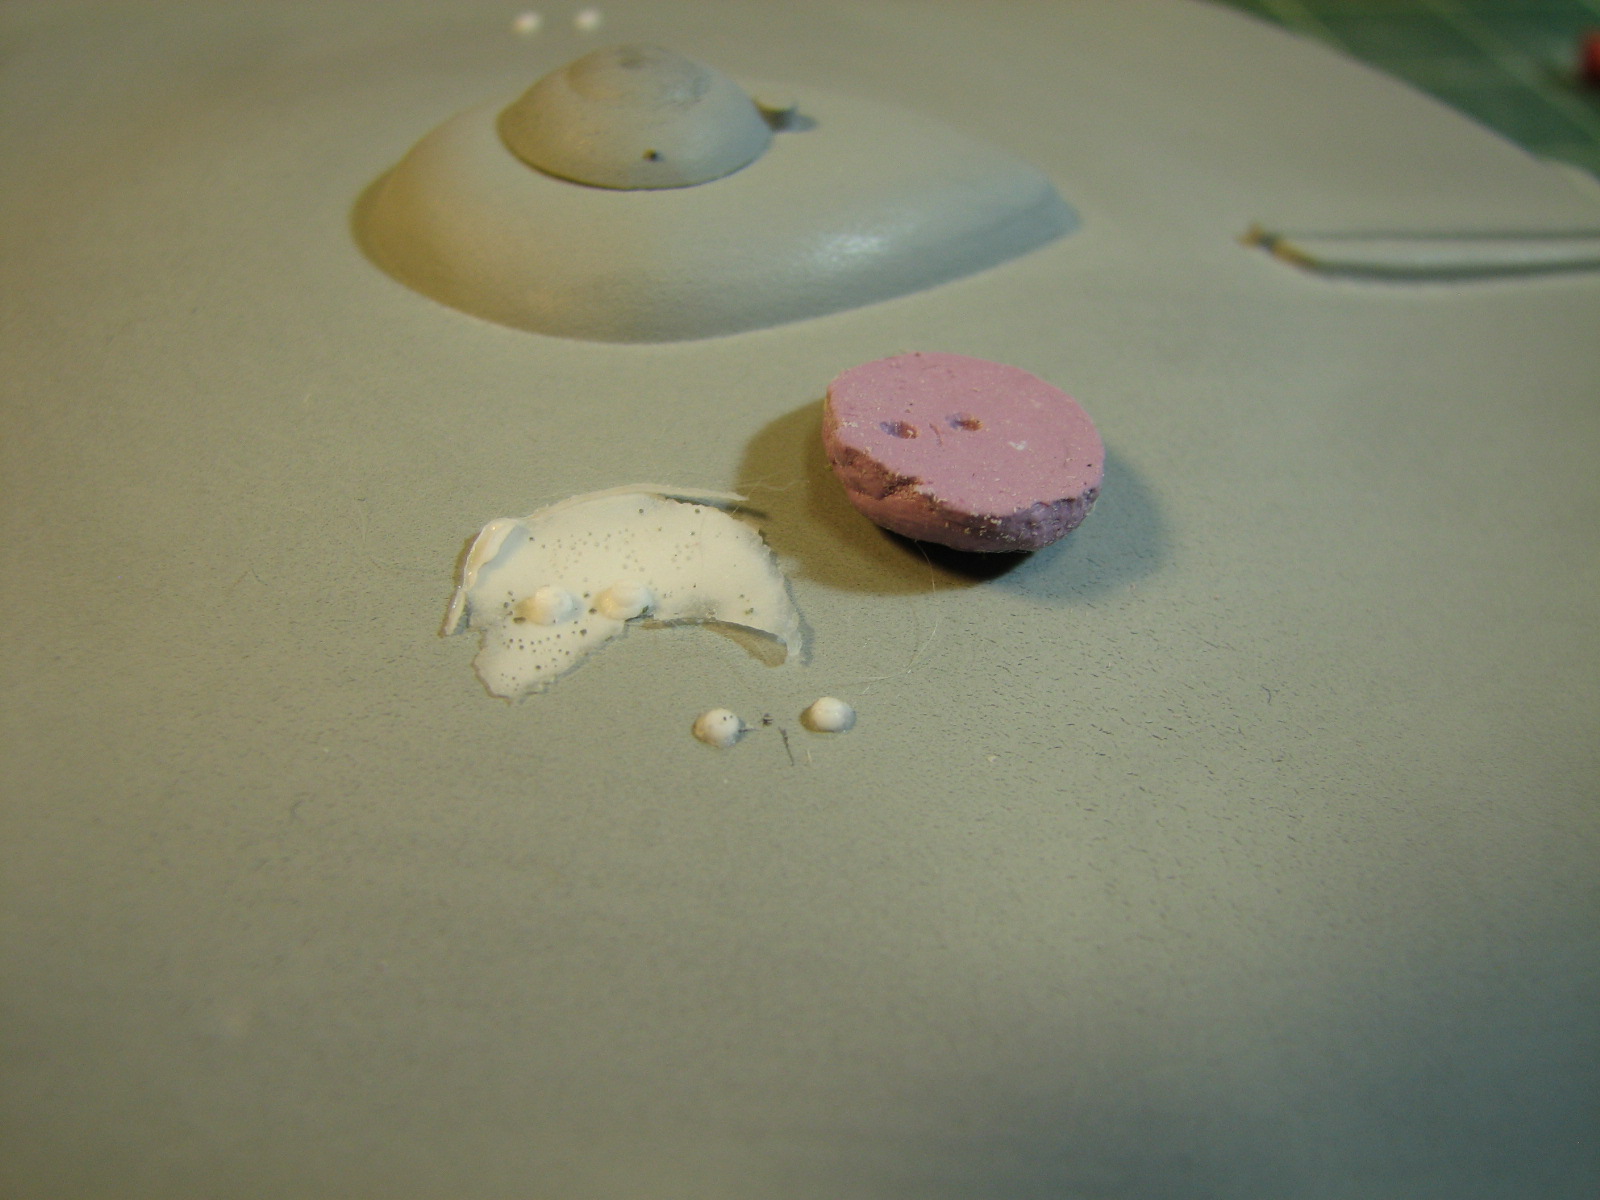
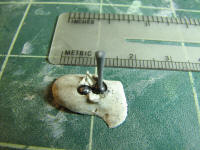
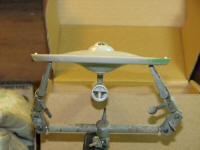
The armature mount is a bit of heat-stretched styrene
sprue and 0.1" lead shot. I set the shot in clay and drilled a small divot into
it, then superglued the styrene to it. This will be the master for an RTV mold
to make castings.

And on the matter of names and numbers...
Destroyer = U.S.S. Fletcher, NCC-1445, named after the WW-II destroyer
class
Scout = U.S.S. Peddicord, NCC-825, named after the officer-in-charge of the US
Navy's new Scouts and Raider School in 1942.
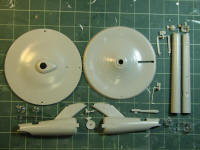 |
Parts for each ship from the Polar Lights kit are:
- Parts for 1 production
saucer
- Dorsal neck cut away from the 2' hull
- Small deflector dish & spike
- Parts for 1 production warp nacelle.
Parts to be scratchbuilt are the
deflector dish armature. Destroyer will also require some phaser turrets.
|
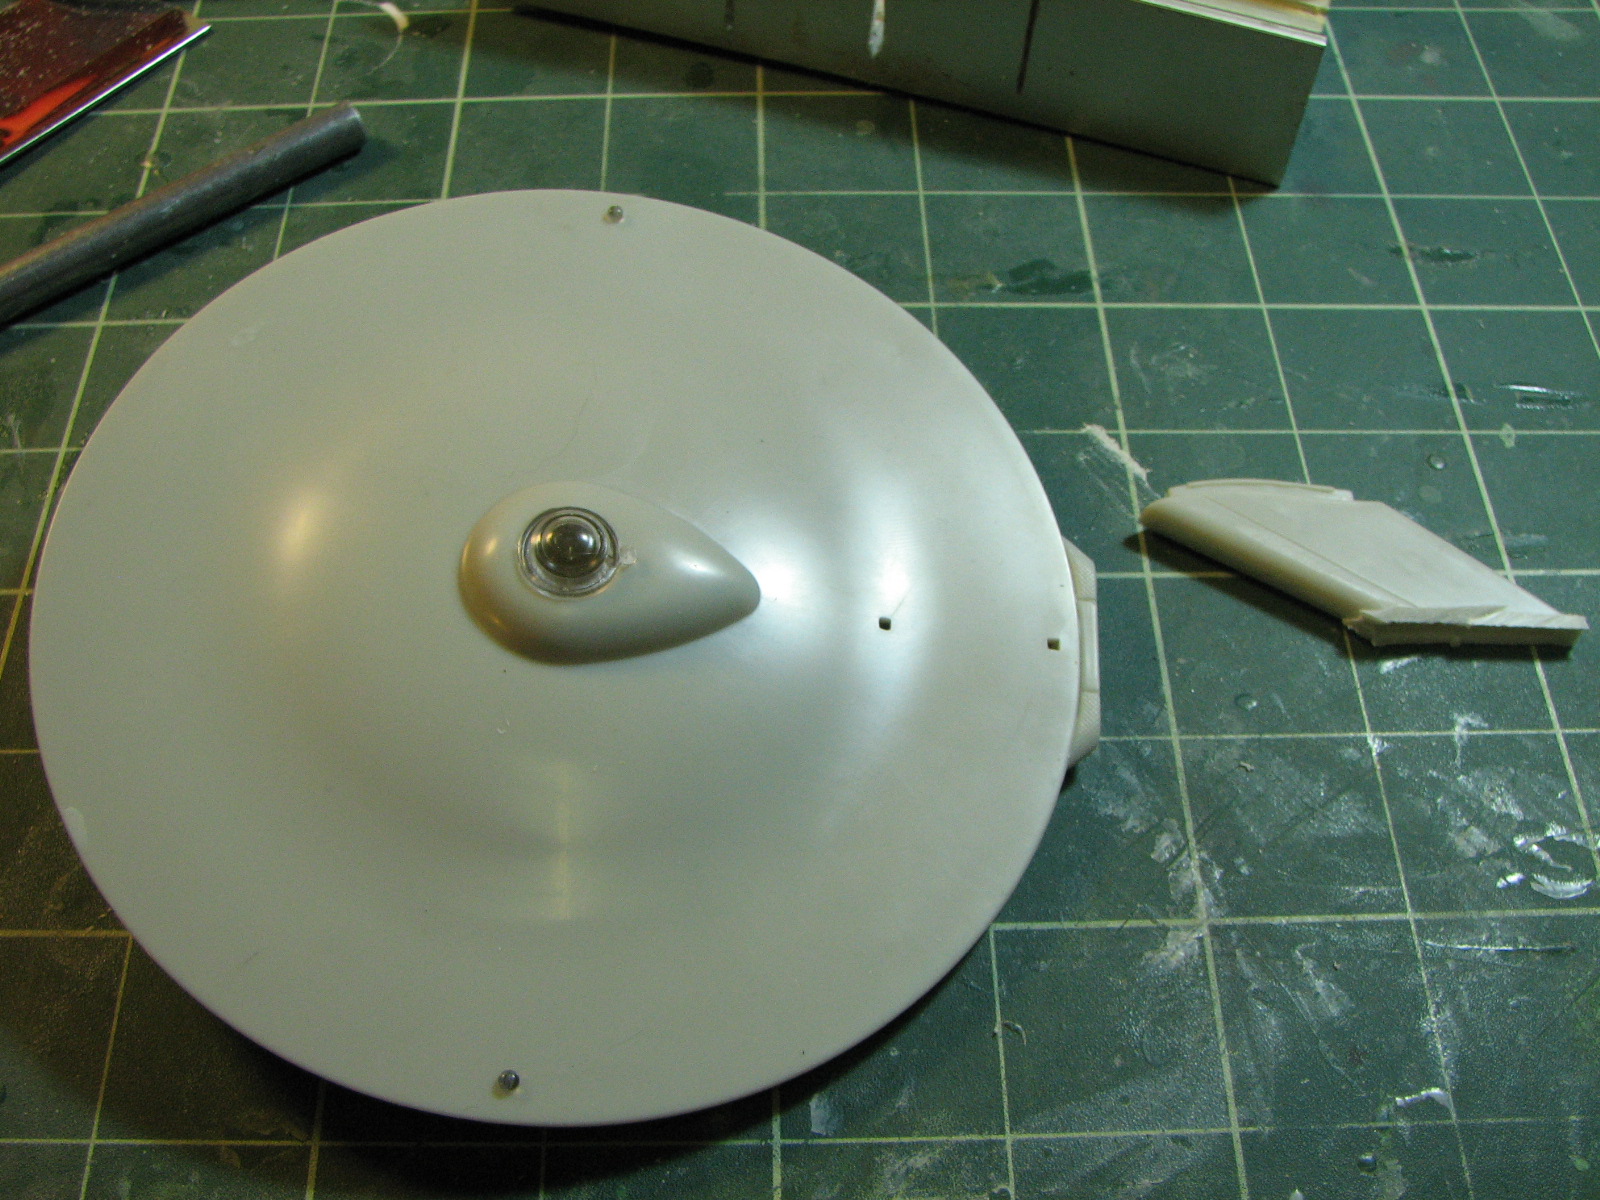
The only difference between these two builds will be the
extra phasers on the Destroyer. I assembled the saucers with no modifications. Using a
keyhole saw, I cut away the 2' hull from the connecting dorsal neck, then glued
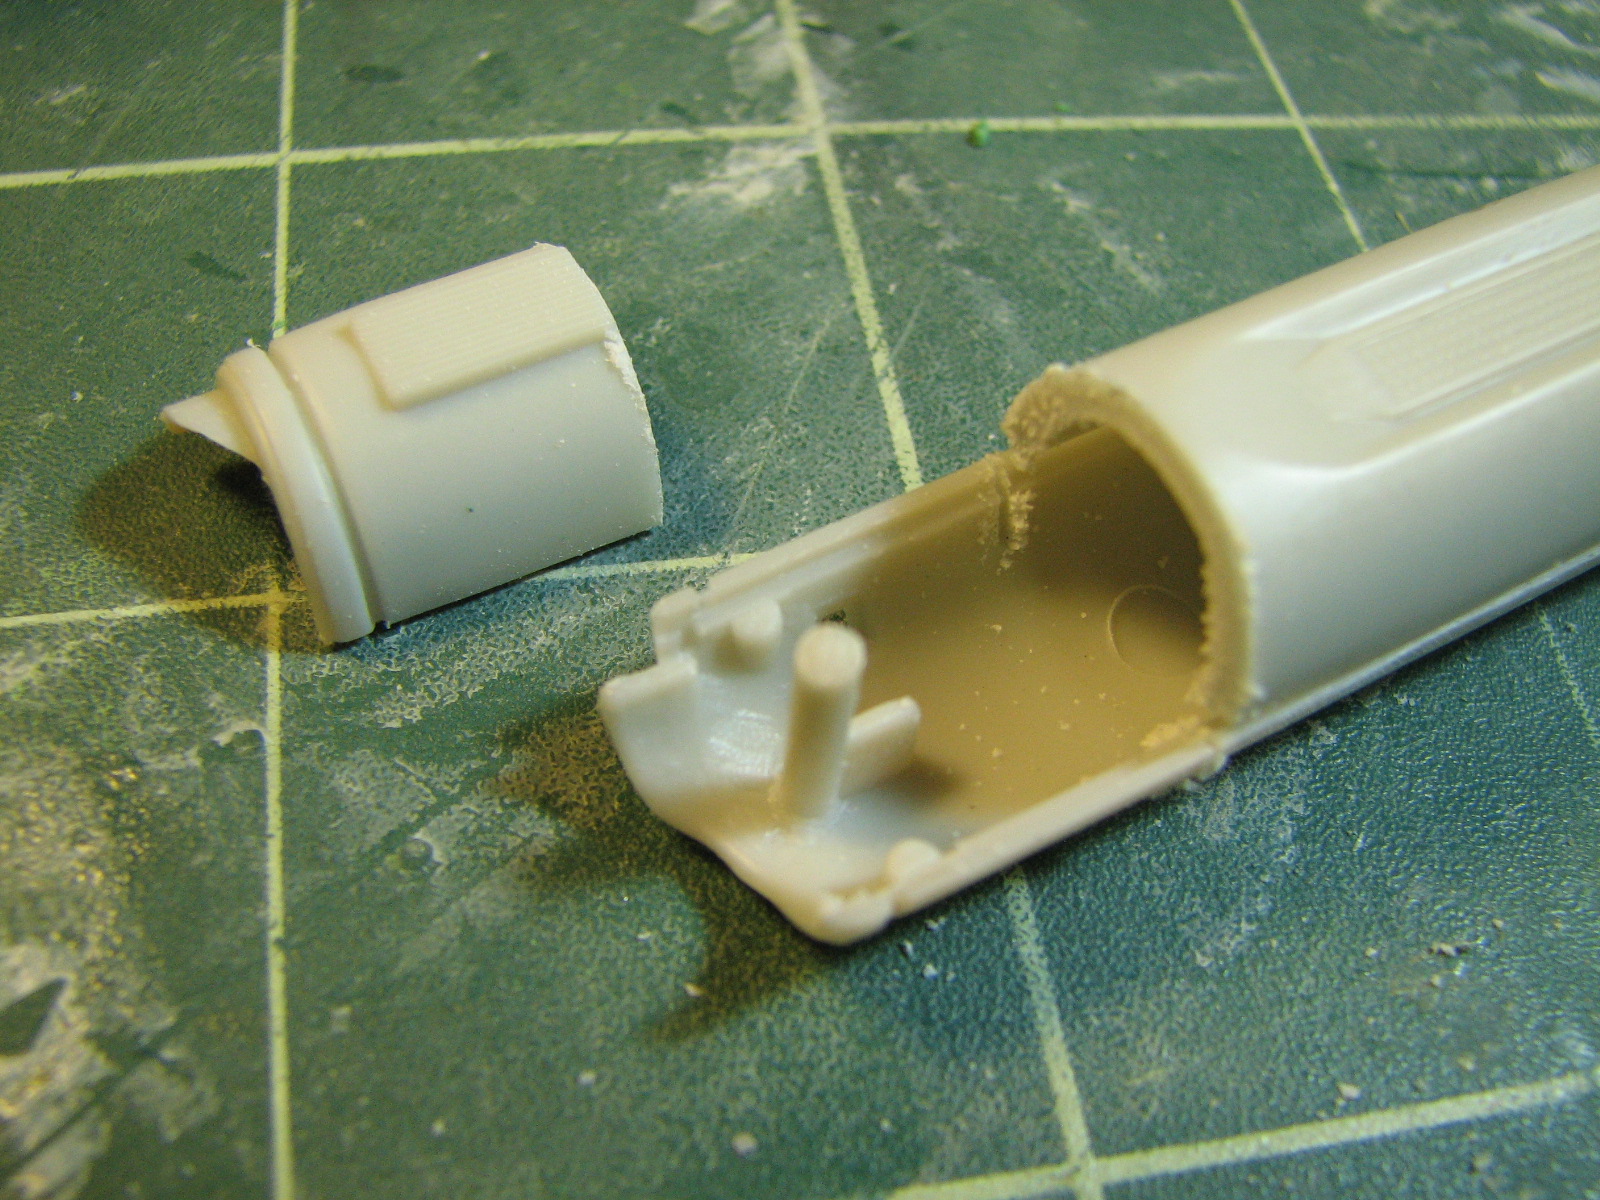
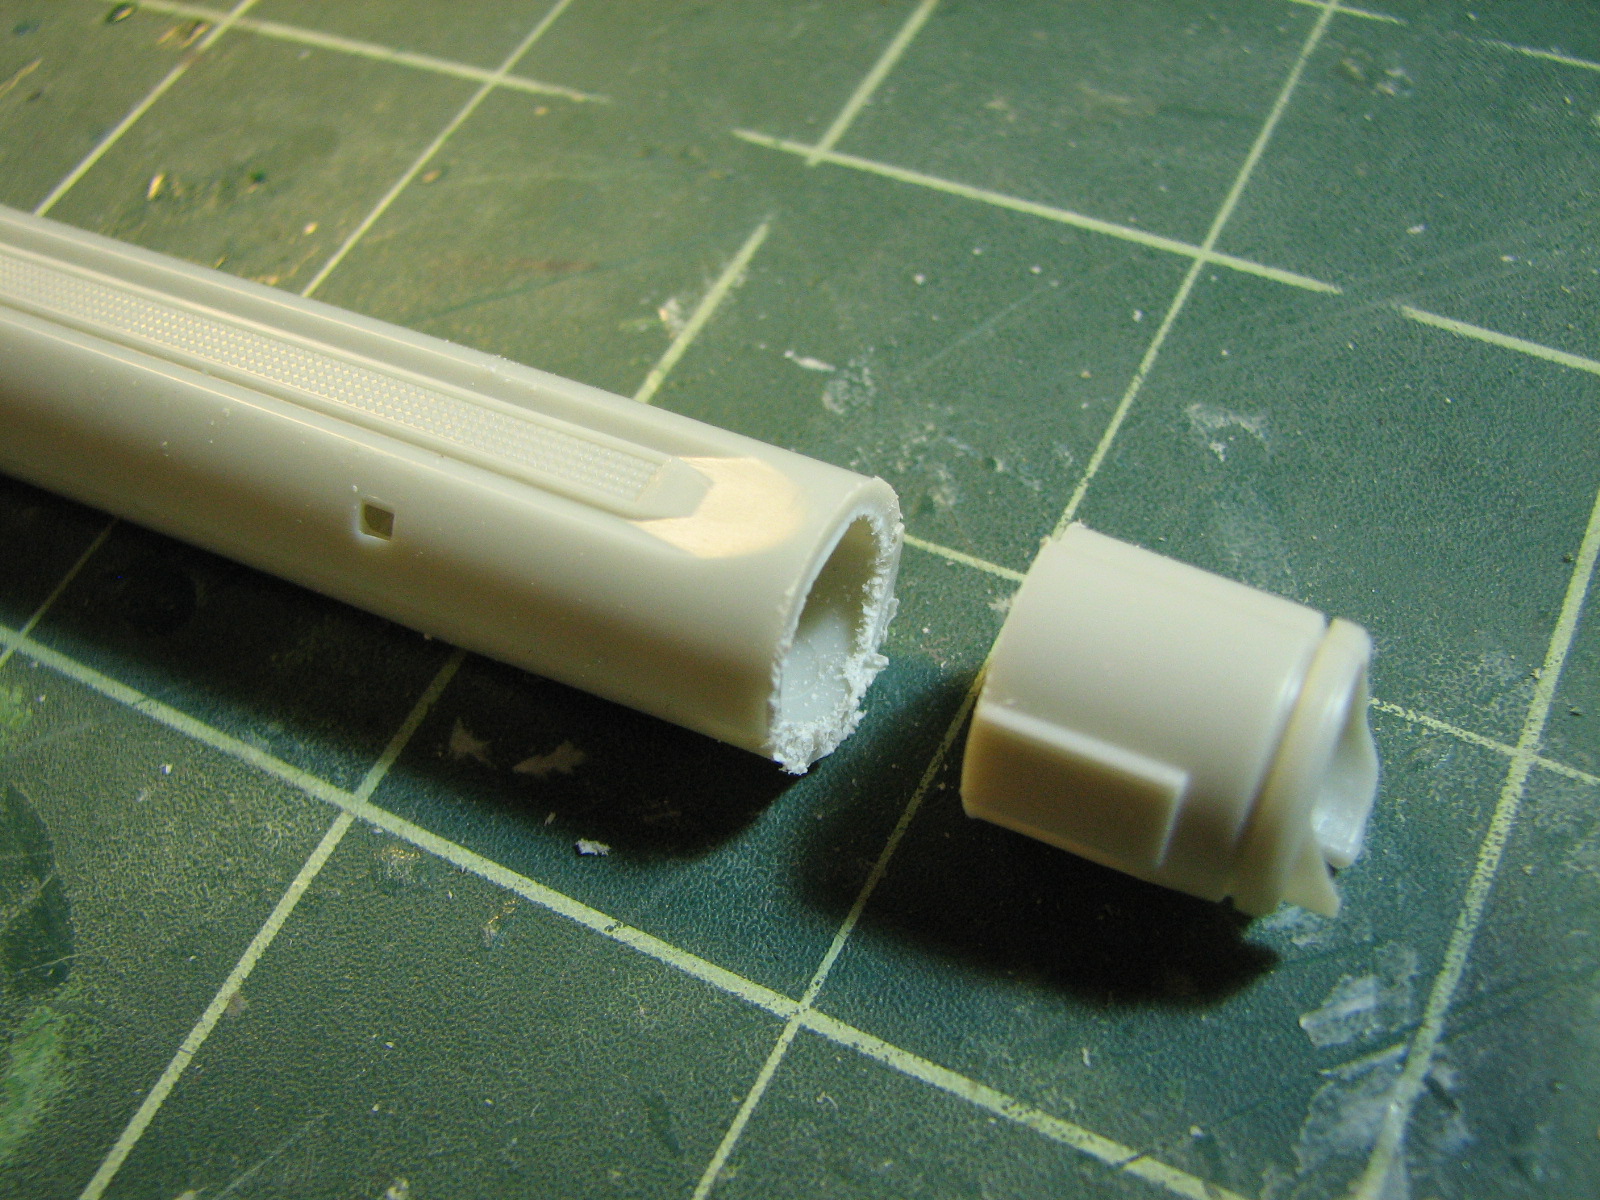
the neck halves together. The aft section of the nacelle has to be rotated 90� to allow the warp grid to
be on the keelside of the project.

I laid the nacelle halves down in a miter box to make the
cut true then used the cut side to mark the cut location for the other nacelle
half. This is best done to each half separately so that the cut
doesn't slant. With the fore and aft nacelle halves glued together I positioned
the rotated end piece in place and cemented it on.


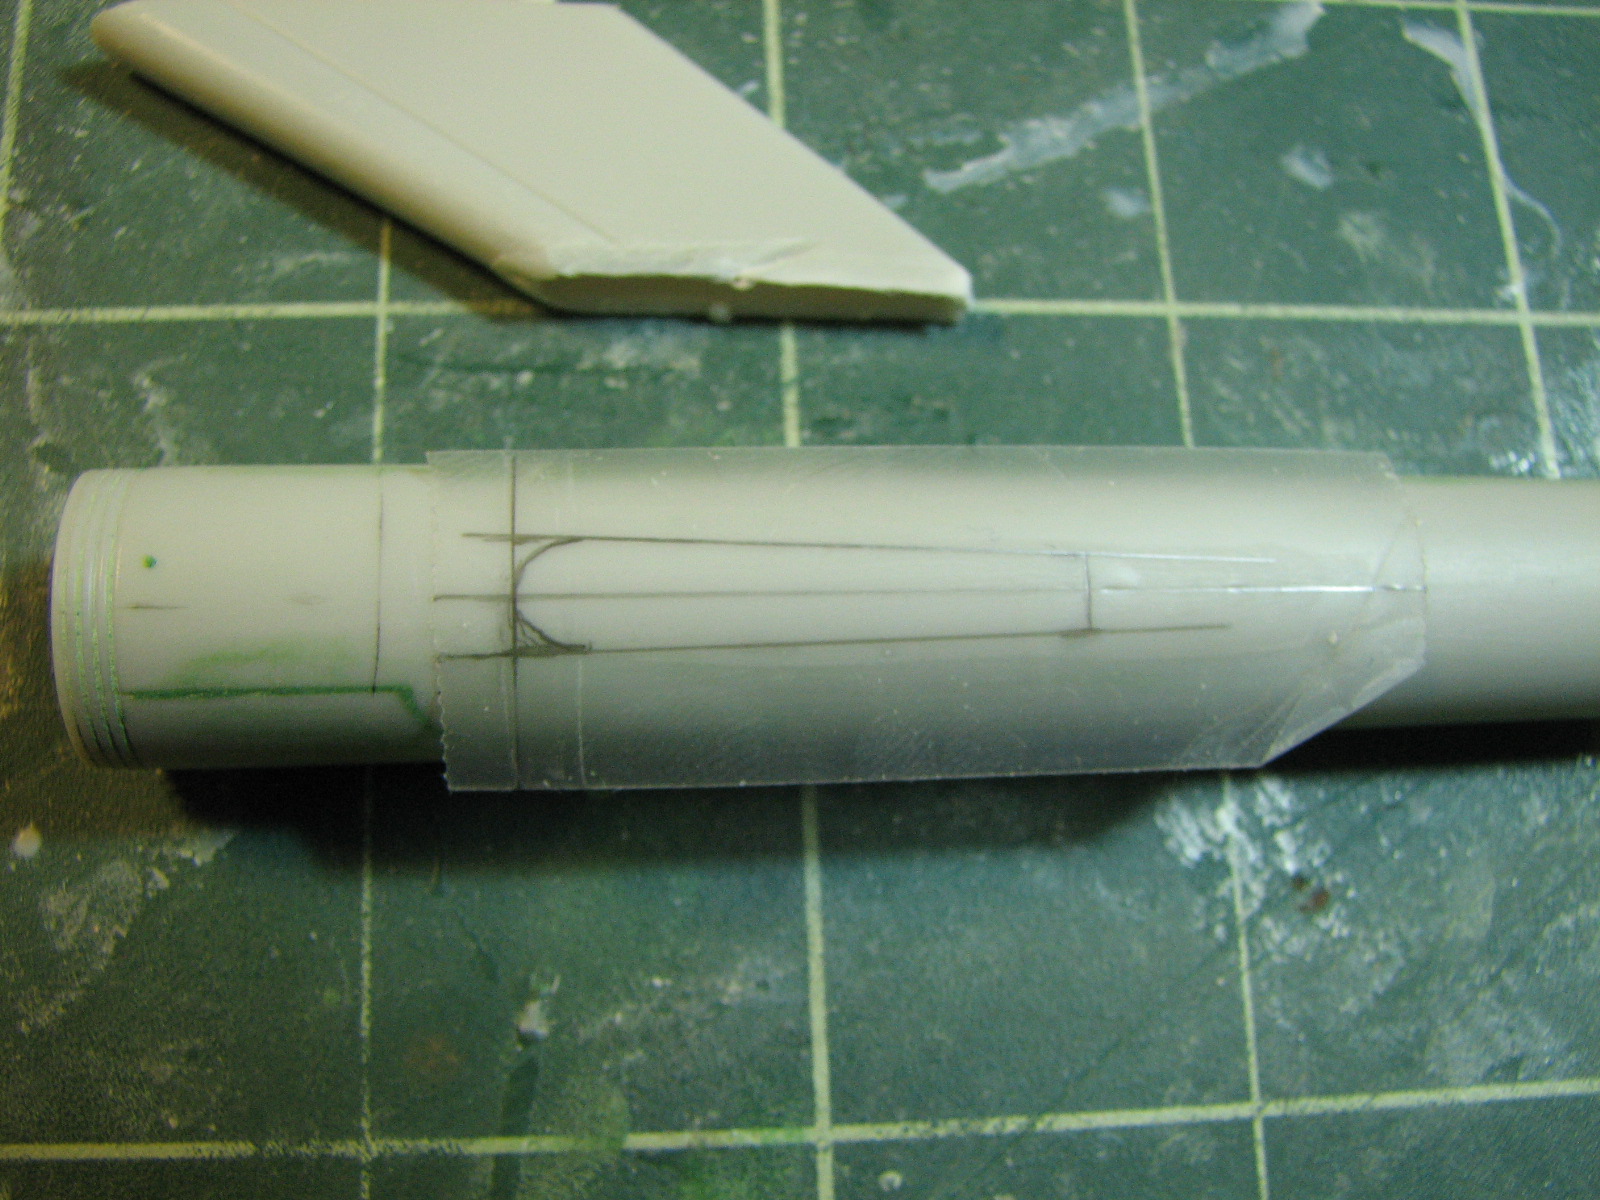
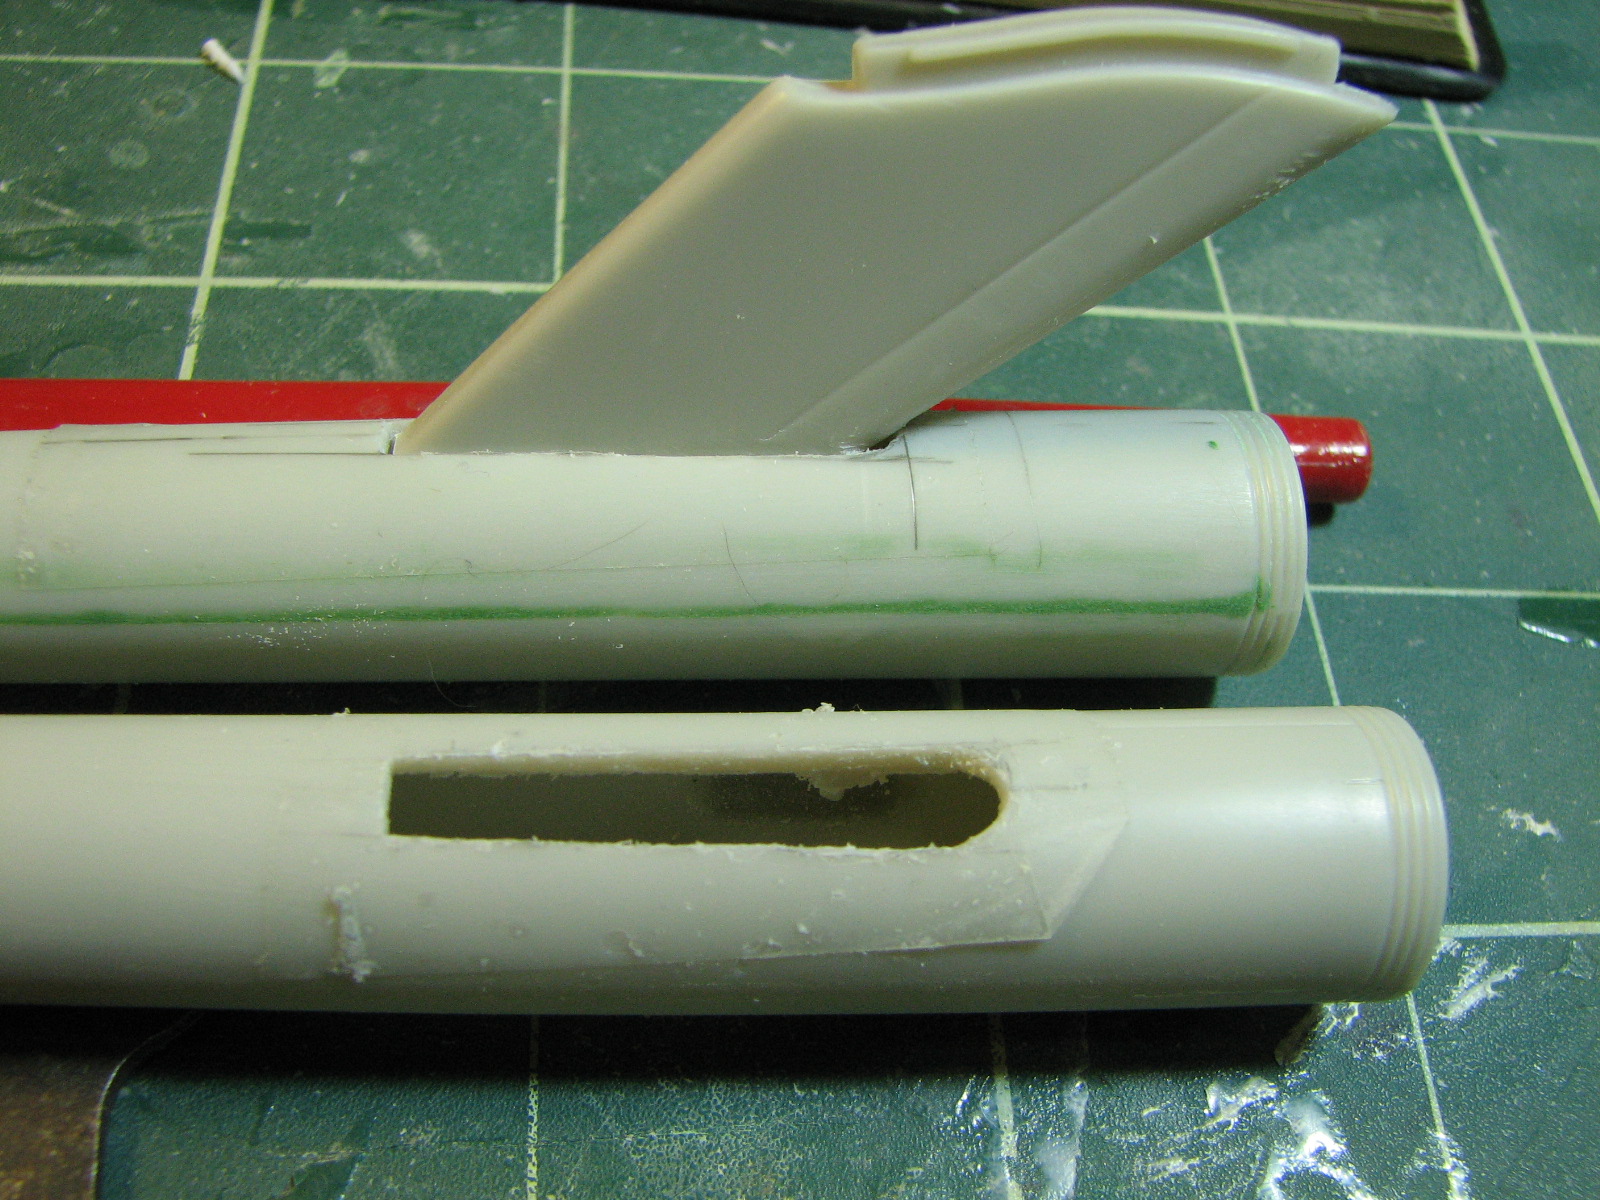
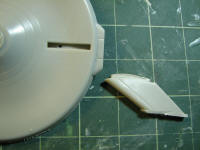
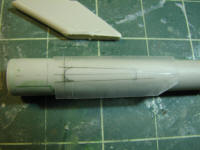
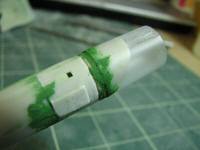
1/16/2011 - Next up - mark & cut the location of the
dorsal neck attachment. I first marked a centerline down the top side of the
nacelle. I measured and drew the neck outline on a piece of tape then laid the
tape over the marked centerline. Next I cut the opening with a Dremel tool
fitted with a cutting wheel and filed it to final shape.
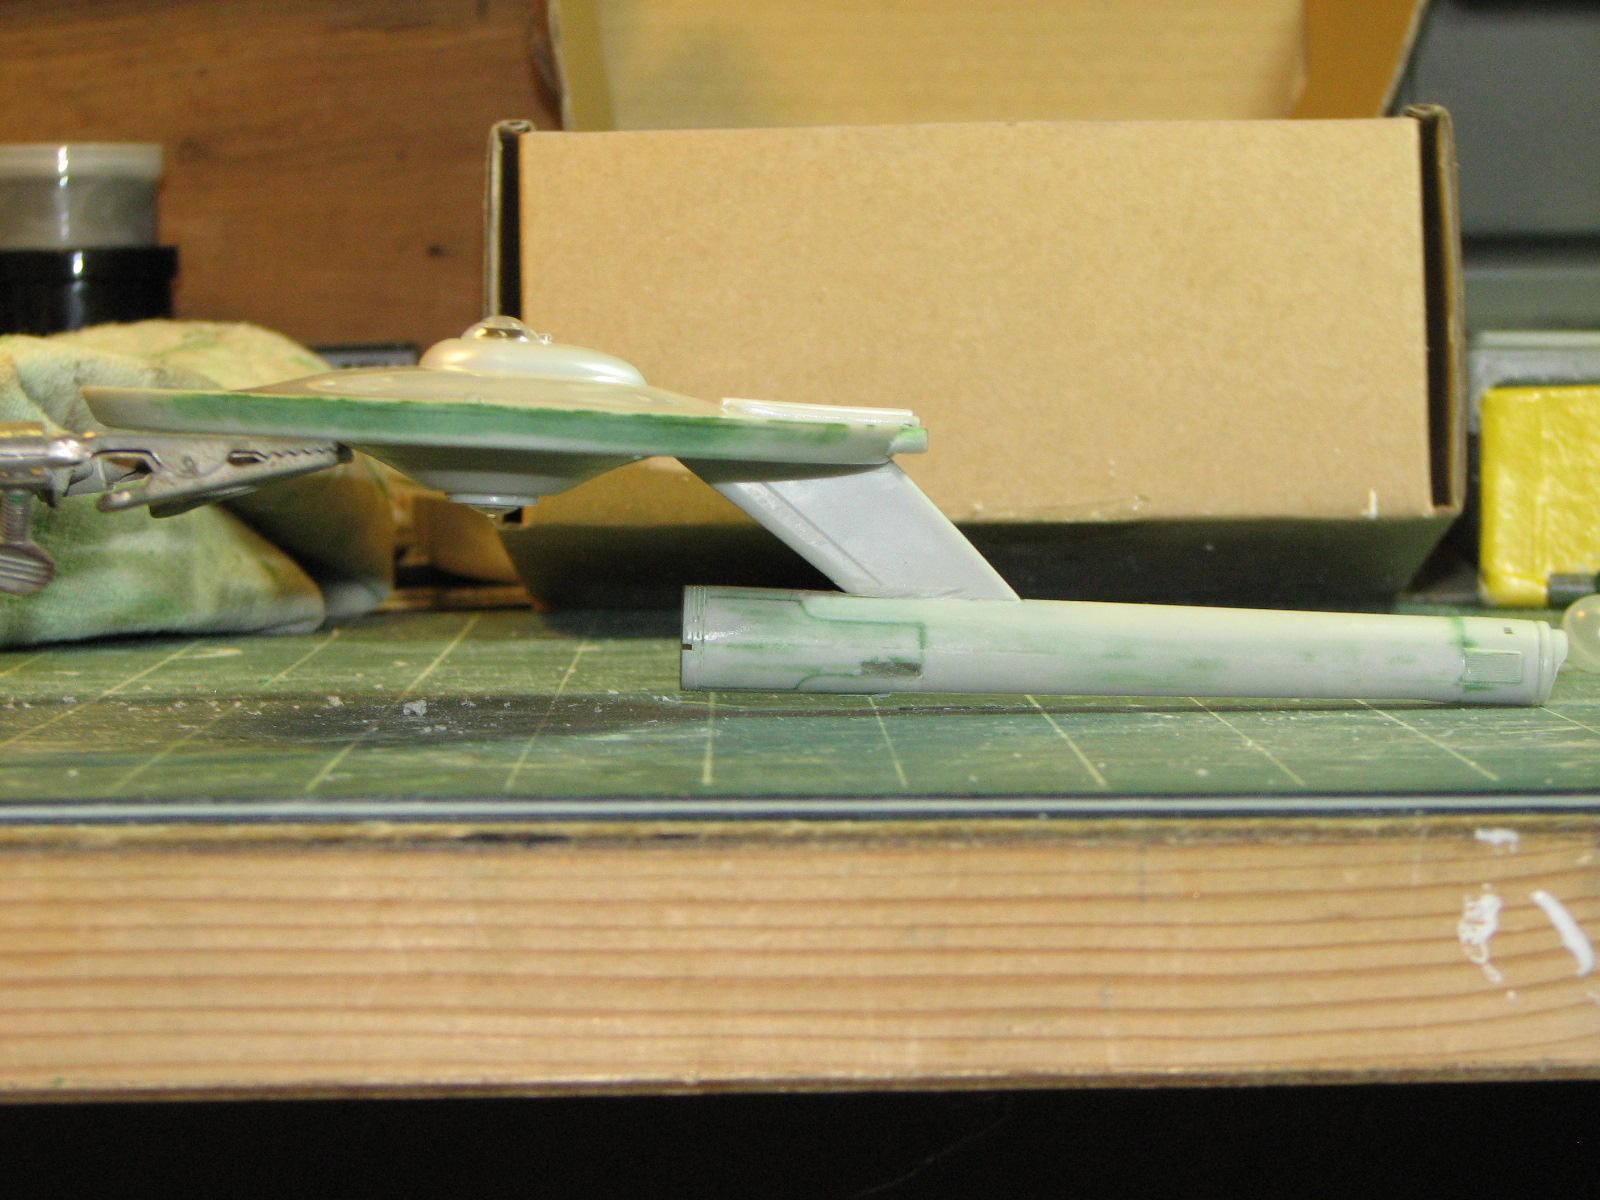
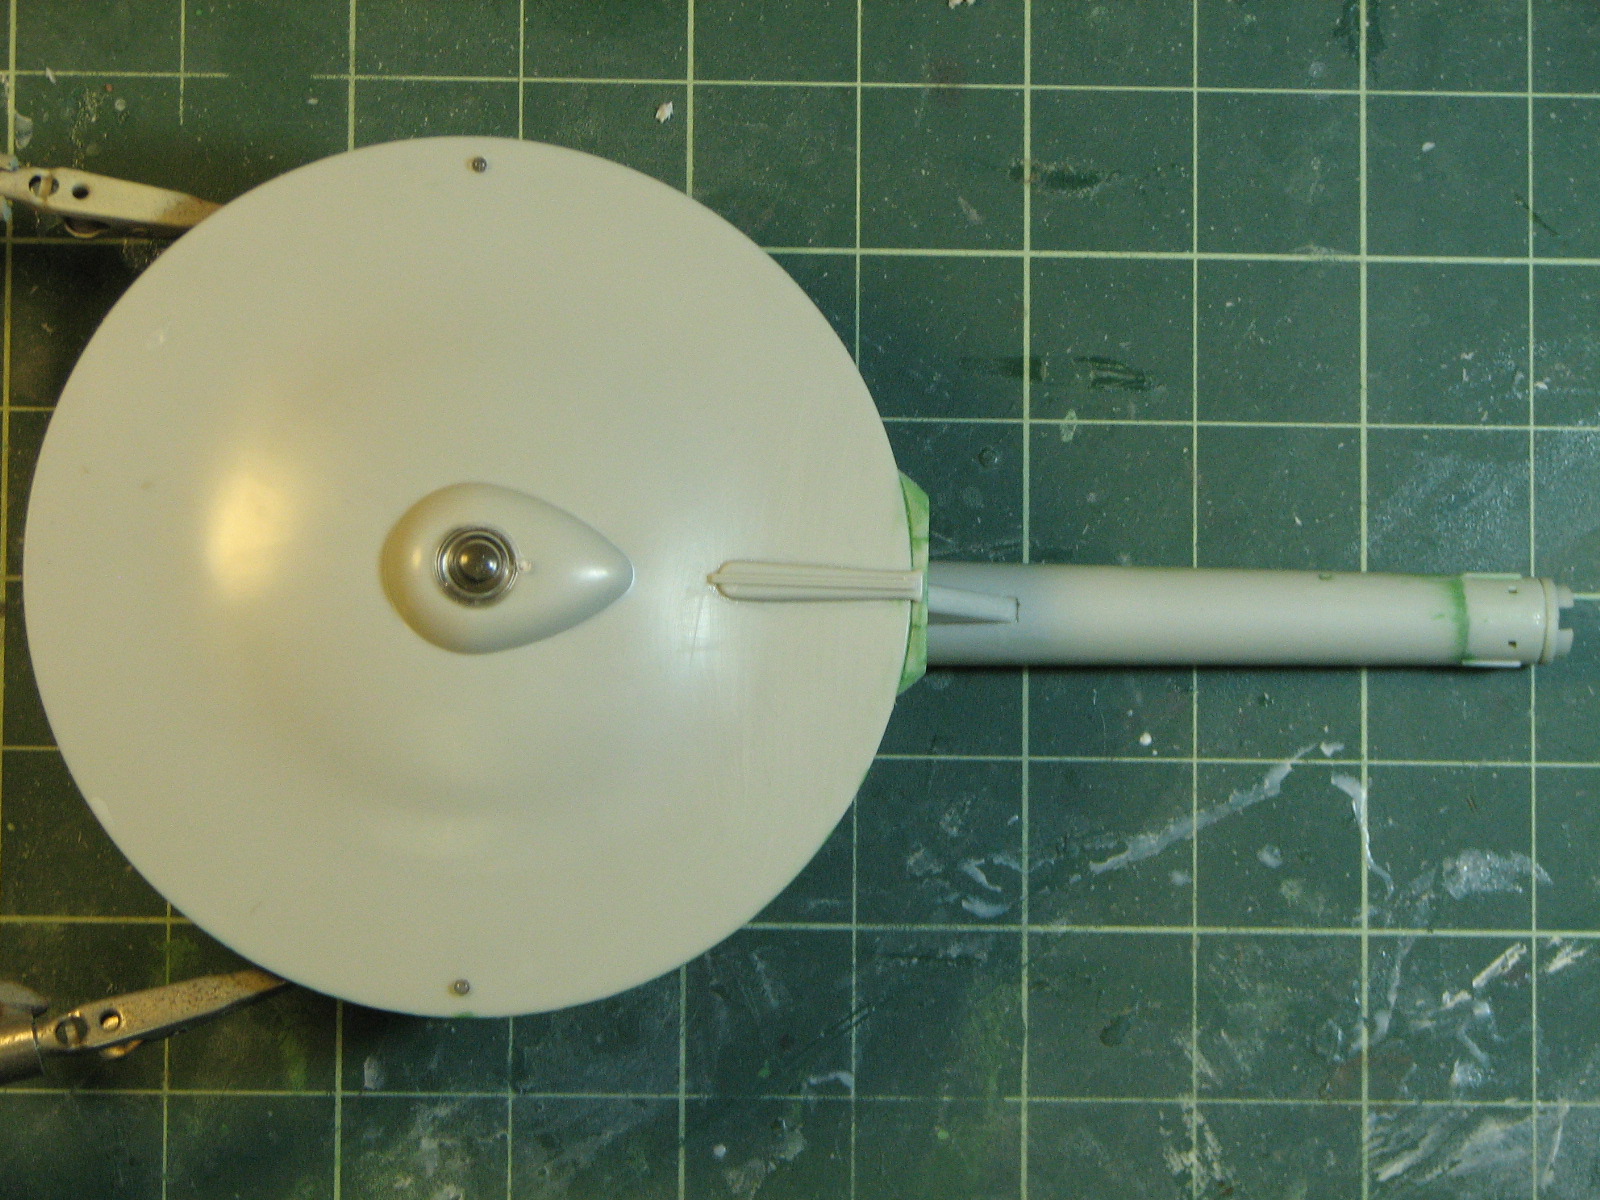
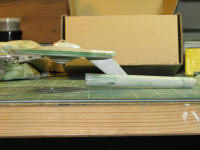
I attached the neck to the saucer, checking to be sure it
fit square to the saucer. Then I aligned and glued the nacelle to the neck and
tweaked its positioning and set the model aside to dry.
A couple other notes - I filled the old nacelle attachment
hole and front intercooler holes with epoxy putty. The aft intercooler holes
will serve to locate the intercoolers. I puttied over the engraved nacelle &
neck panel lines since they're way to big to be correct detail.

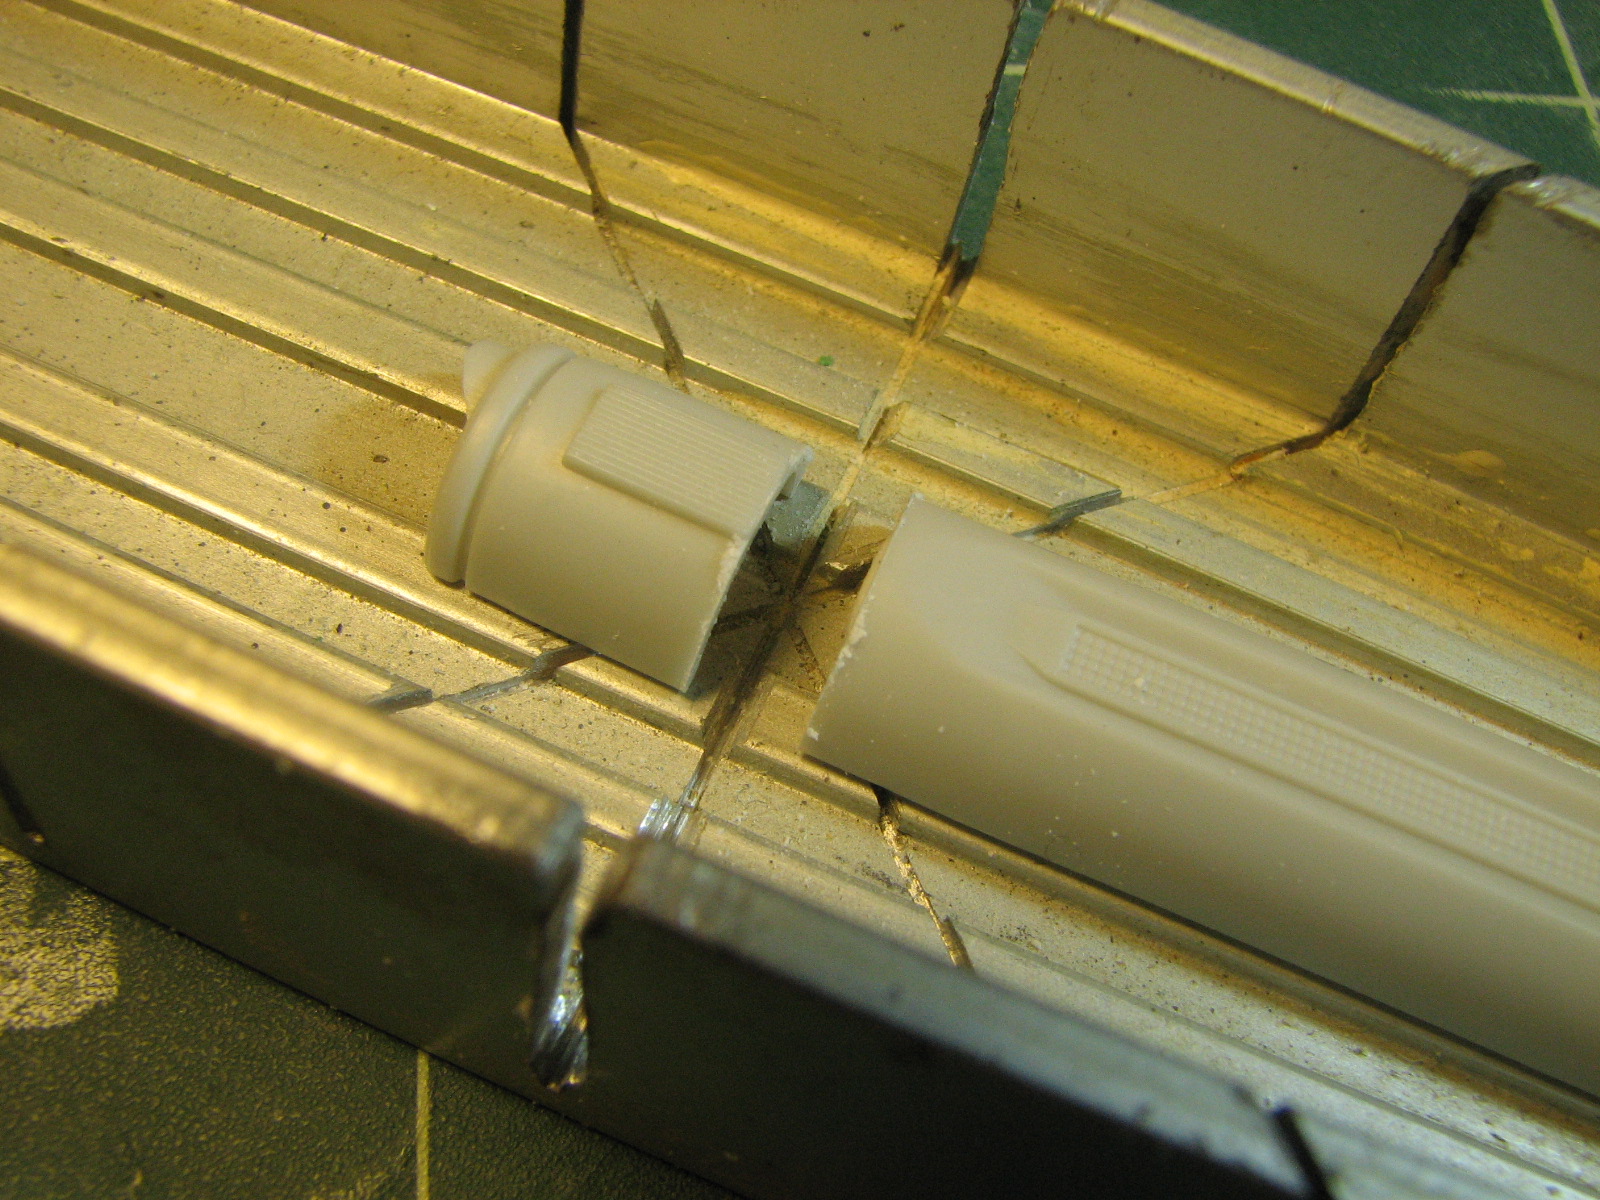
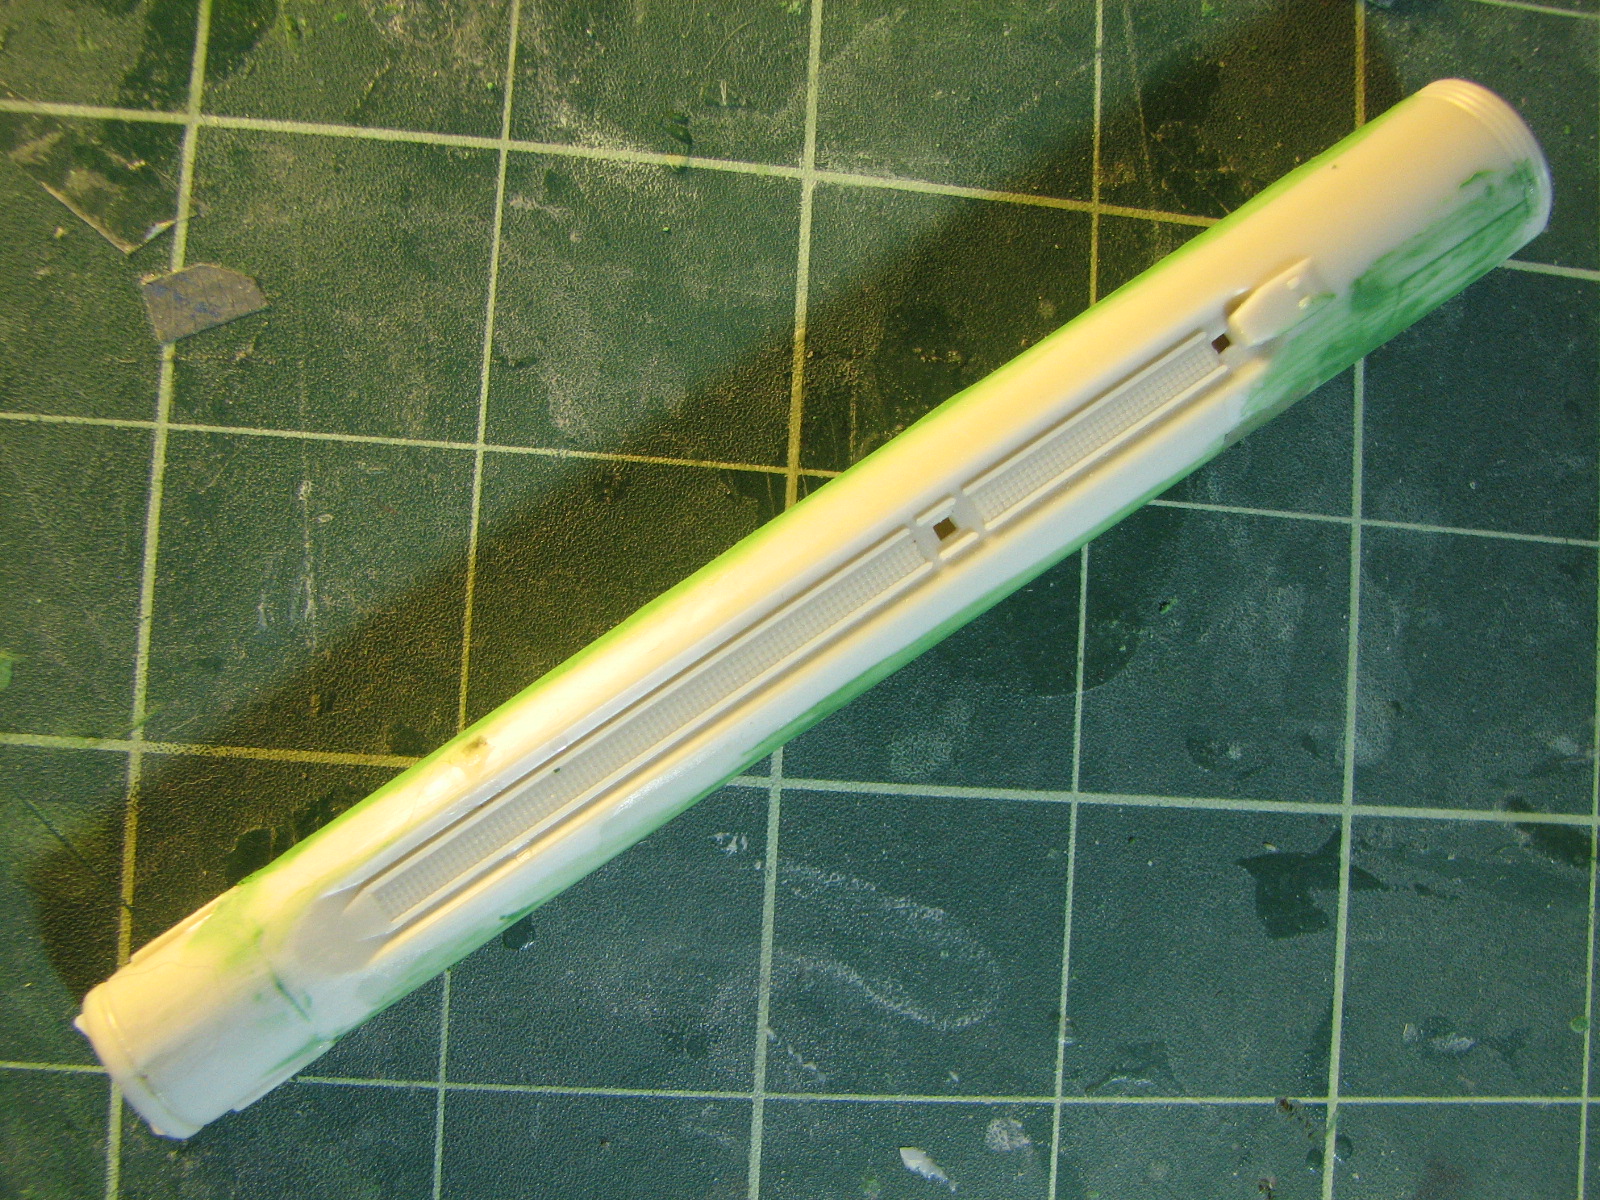
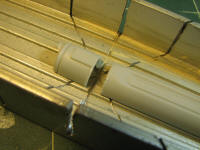
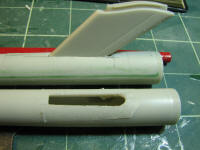
2/7/2011 - puttying, sanding, and filing has been going on
this for a while - and finally de-gapping the seam between the nacelle and the
end-cap. The band of tape protects the end cap ribbing while filling the gap.
This problem is present on all copies of this kit.
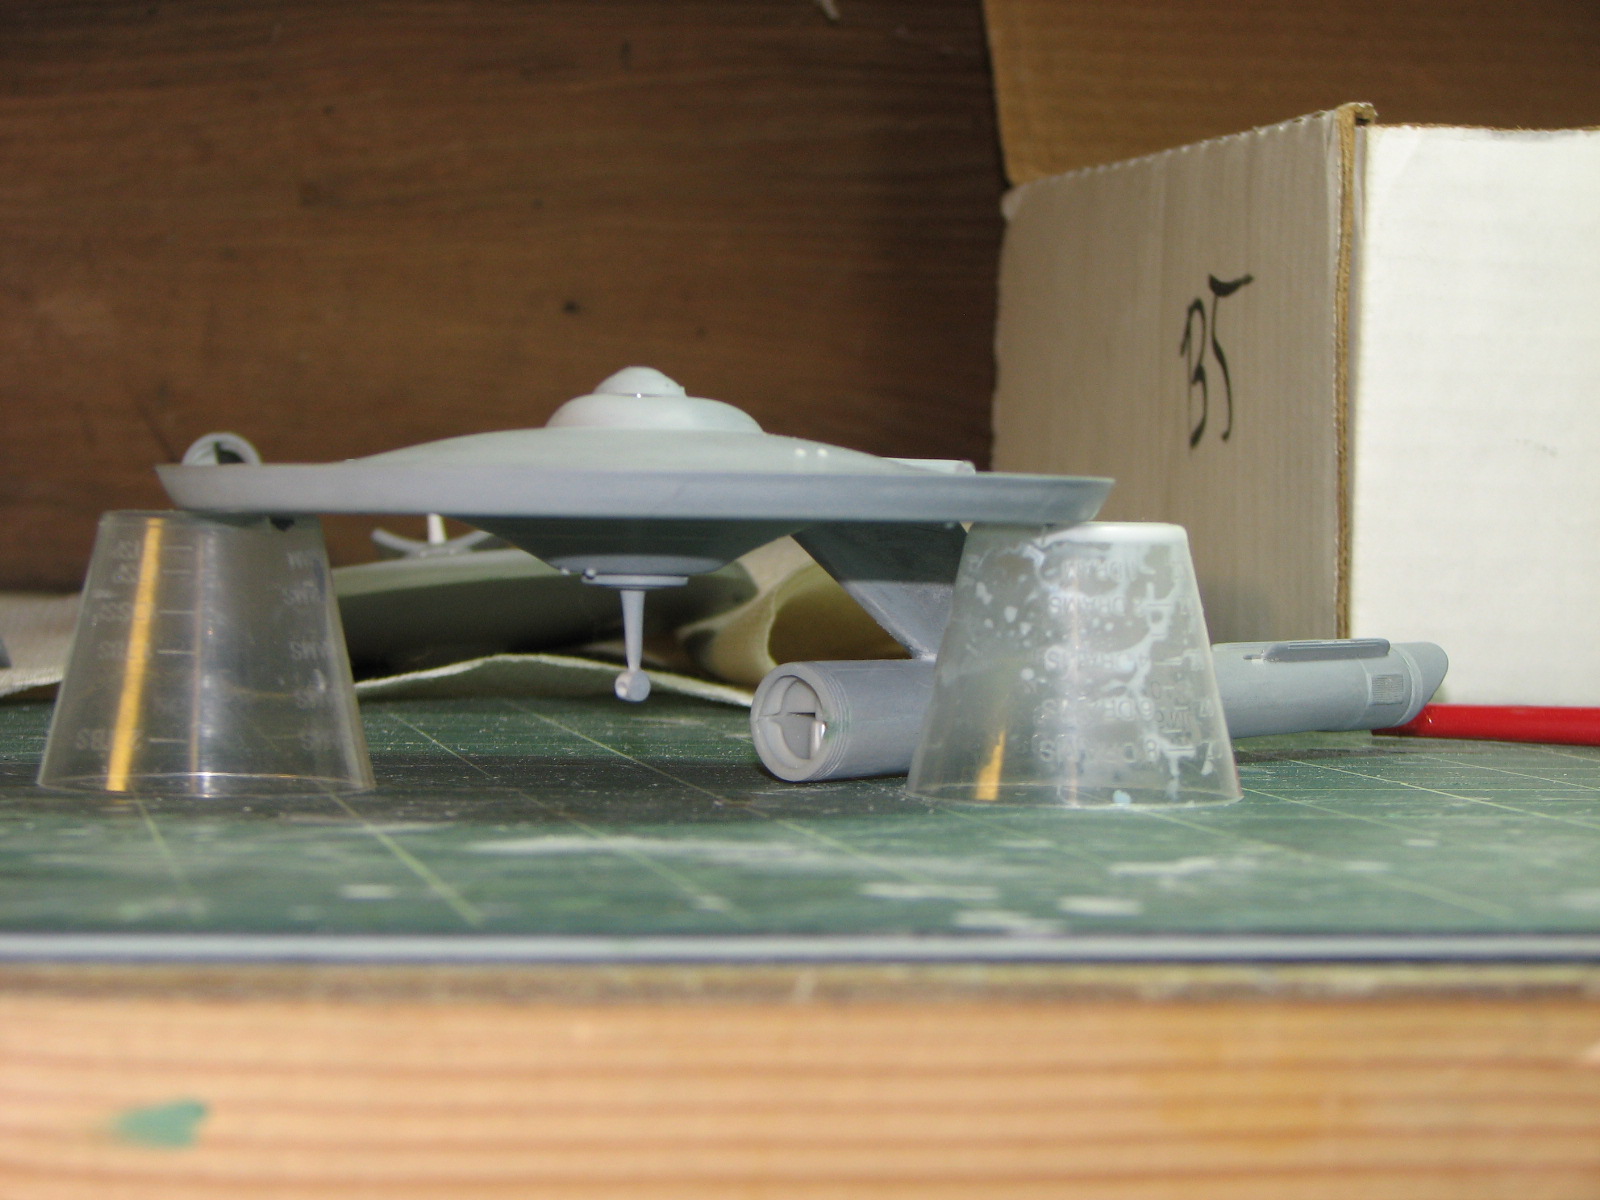
2/14/2011 - After lots more sanding, puttying,
re-puttying, and dealing with a gravitic mine impact that broke a nacelle off,
these finally got ready for primer.
2/15/2011 - After installing the deflector armatures,
these went to priming. They have coats of automotive gray on them now. The whole
project is here.
3/1/2011 - One final detail to finally distinguish the
Destroyer from the Scout are the ships phaser blisters.
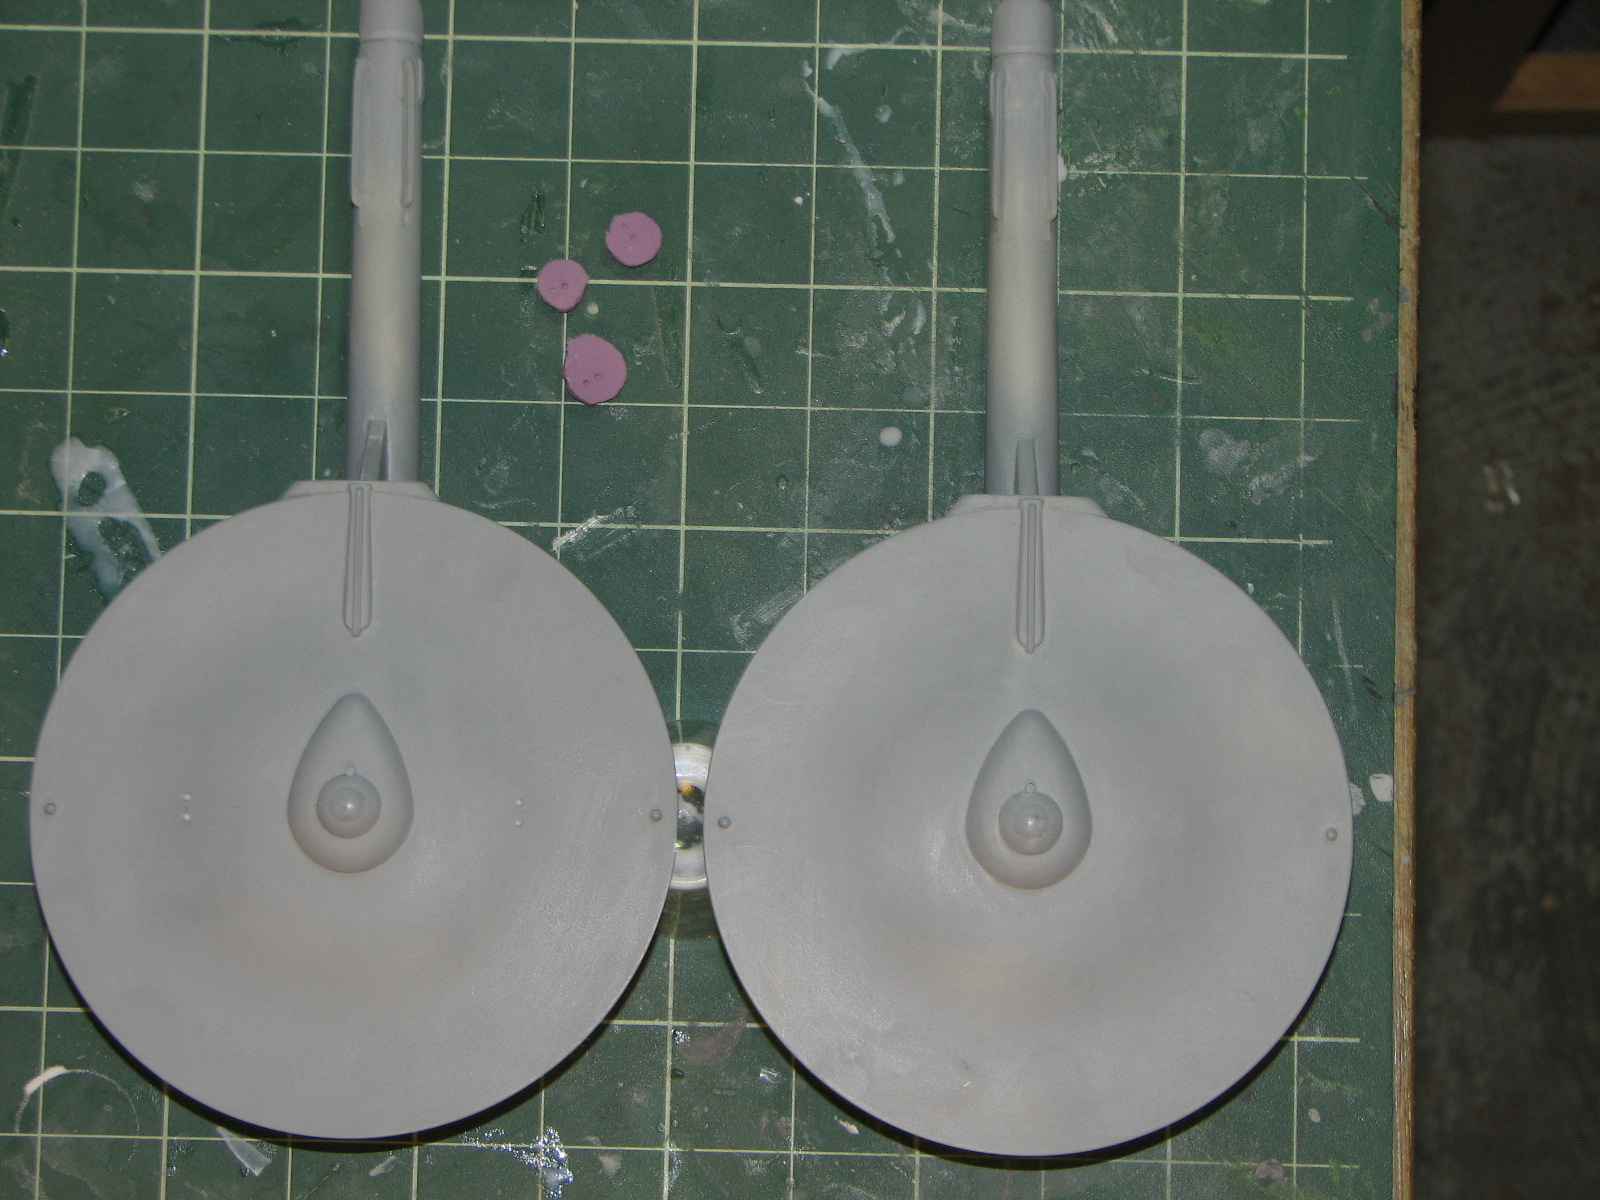
I had pulled some small RTV putty molds off the
Dreadnought's phasers. I made resin casts of these then broke and sanded away
the flash, leaving just the blisters. I measured for their positions and
superglued them into place on the ships.
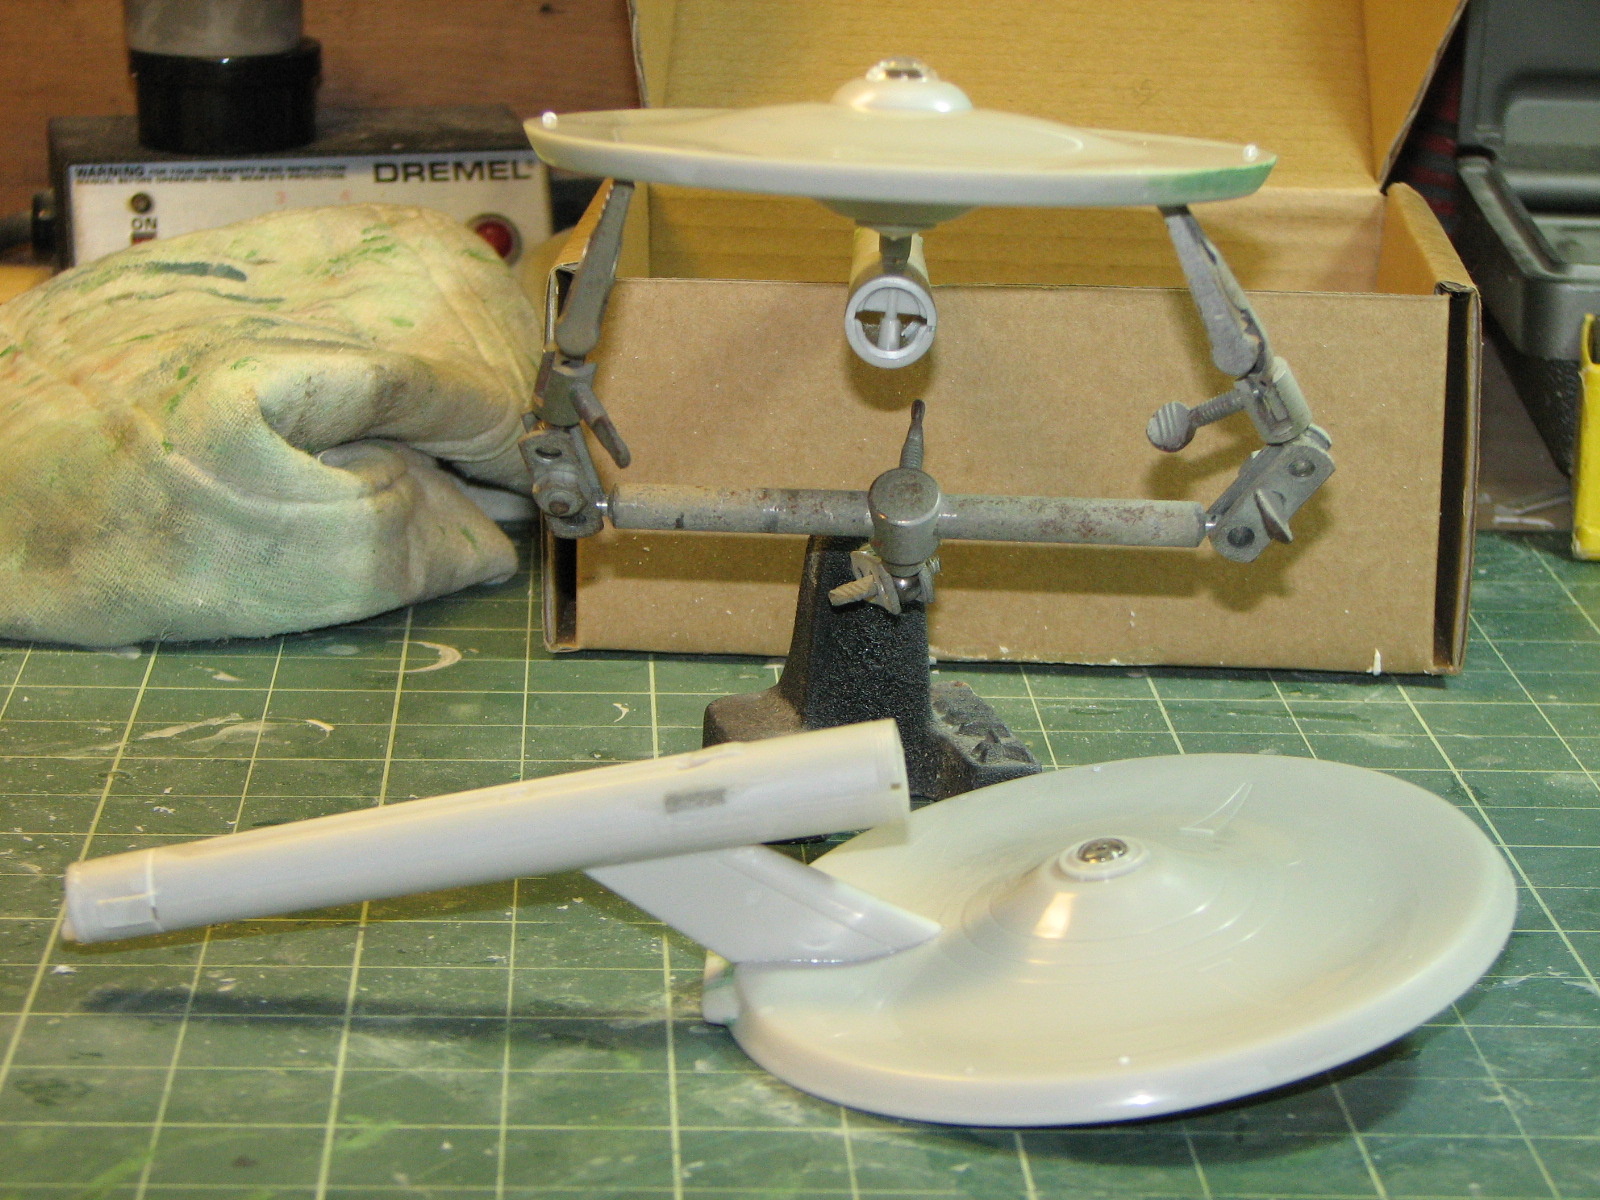
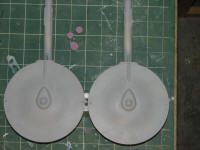
Finally I can say: Destroyer on the left, Scout on the
right. The Destroyer has 6 blisters, two pairs topside, one pair below. The
Scout just has one pair below.

On to painting, which is on the whole project page here.