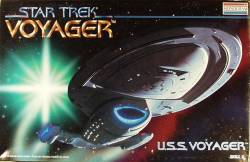
U.S.S. Voyager
Monogram
ST:Voyager
Stated scale:
unstated
![]()
![]()
![]()
![]()
![]()
Actual scale:
1/677

Overall length:
Material(s):
styrene
Number of parts:
Stand included?
yes
Decals included?
yes
My Source:
local shop
Cost (w/o s&h):
|
U.S.S. Voyager
Monogram
|
|
||
|
Stated scale: |
unstated |
|
|
|
Actual scale: |
1/677 |
|
|
|
Overall length: |
|||
|
Material(s): |
styrene |
||
|
Number of parts: |
|||
|
Stand included? |
yes |
||
|
Decals included? |
yes |
||
|
My Source: |
local shop |
||
|
Cost (w/o s&h): |
|||

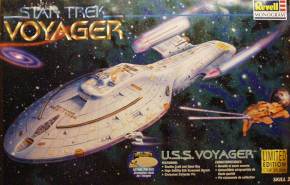
There's also the later-issue as Revell-Monogram's Voyager - same kit as above, but with the deflector cowling molded in clear plastic instead of opaque gray, a much more extensive decal sheet, reference photos on the instructions... all good improvements. Too bad they didn't fix the tooling problems in the model itself.
8/10/2012 - Where to begin...? Oh, how about a good coat of black paint on the insides of parts, since I plan to light this. Or maybe...
Long, long time ago...
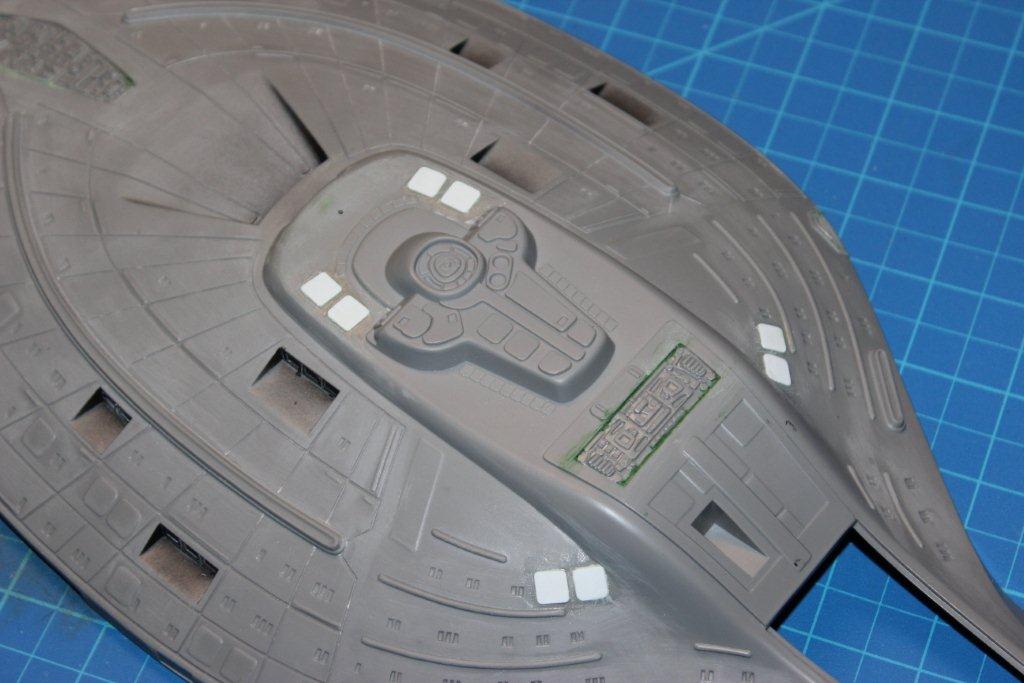
I began work on this in the Monogram box days, shortly after the kit was issued, by filling those awful gashes on the 2' hull bottom - supposedly they're deflector grid lines but the draft angle on the mold made them into gashes instead. This area of the kit would've benefitted from being at least a 3-part secondary hull, preferably 4. I filled the worst of the gashes with stretched styrene sprue. I also starting giving the whole hull grid lines a smoothing. It's as if there was just the slightest lip at the edges of the grid lines. So, I gave the whole kit a file-and-sand job to remove those edges. Finally, I'd begun drilling out the windows and impulse engines for eventual lighting. When the Revell-Monogram re-issue came along I grabbed it, hearing rumors, in those days when the internet was young, that the kit had undergone some needed fixing. Well, the fix (singular!) came down to changing the deflector cowling to clear plastic. The emitter panel was changed to opaque gray as well.
Sigh.... and I shelved the kit.
Which bring us back to 8/10/2012. Being the glutton for punishment Trek junkie I am I decided, having just finished re-watching all of DS9, to re-watch Voyager. Well, at least I can let it be video wallpaper while I work on the Voyager kit. So, when I'm watching Voyager, I'll work on the kit. Sixteen episodes later... (yes, 'twas a day-long season 1 marathon session)
| value for C1 | 47 | �F |
| R1 | 39913 | Ω |
| R2 | 4094 | Ω |
But the big event was installing nacelle warp lighting. I used a 4" blue CCF for each nacelle. mounted to cradles made from 0.1" styrene and hot-glued the tubes and leads in place.
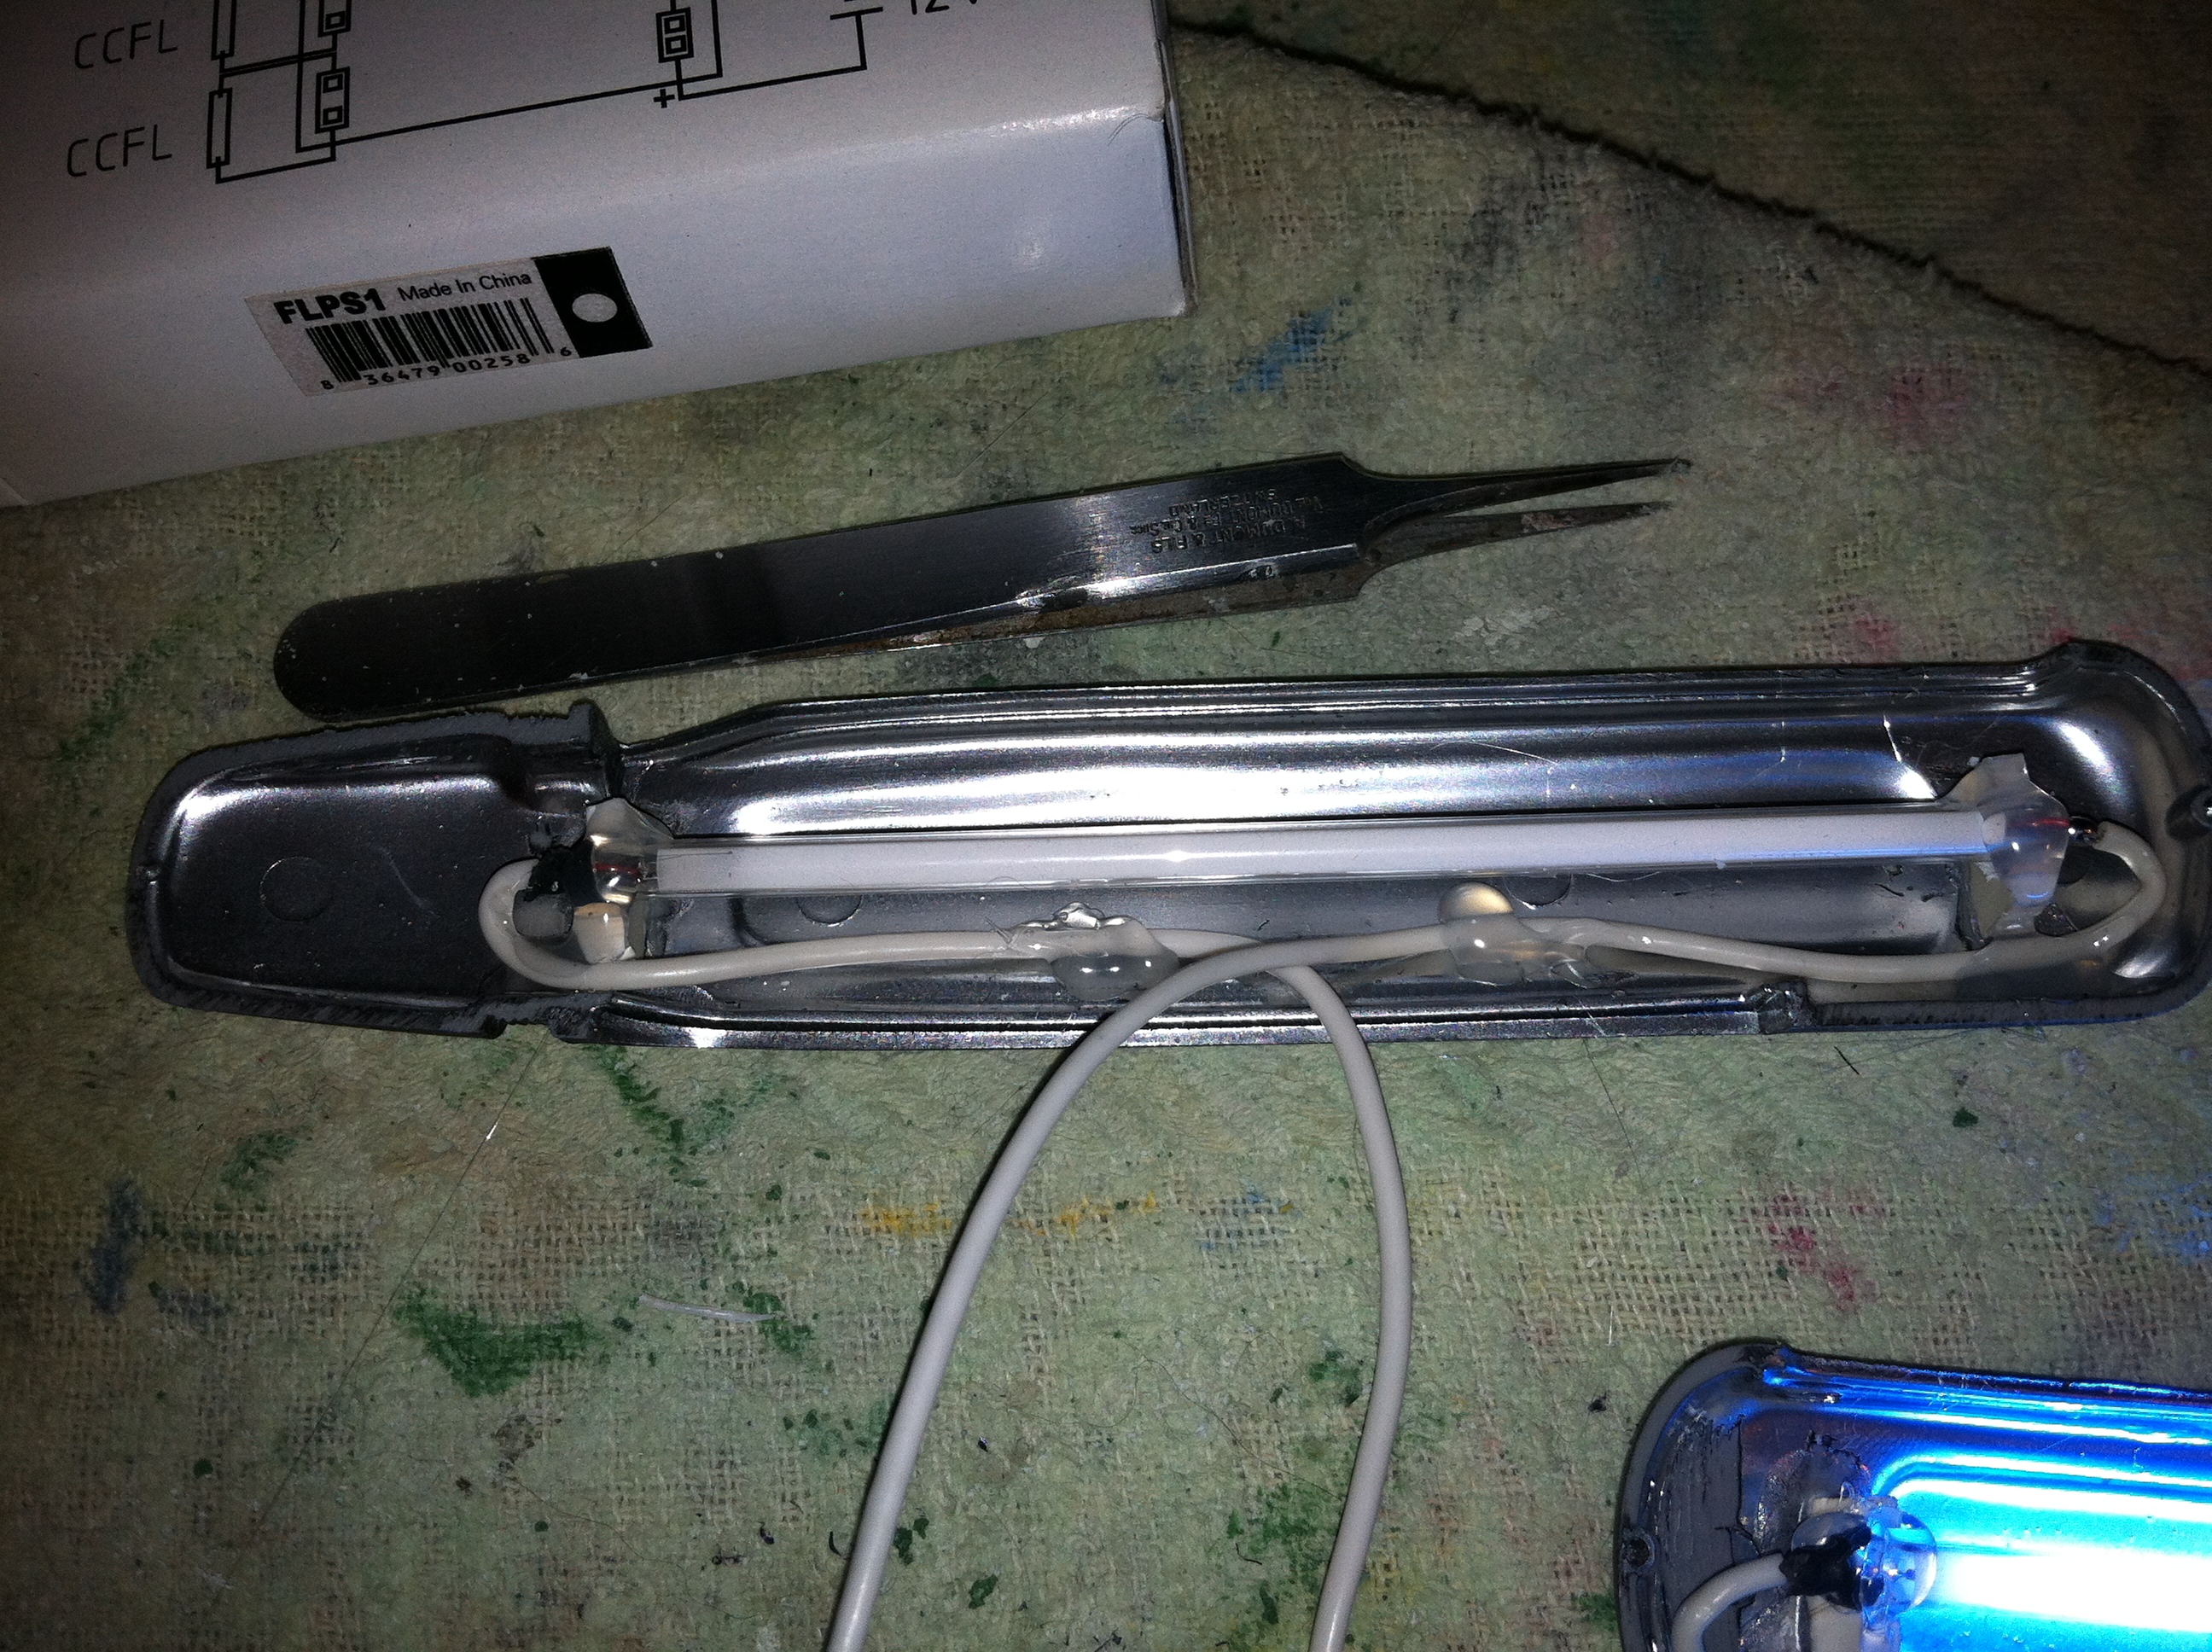
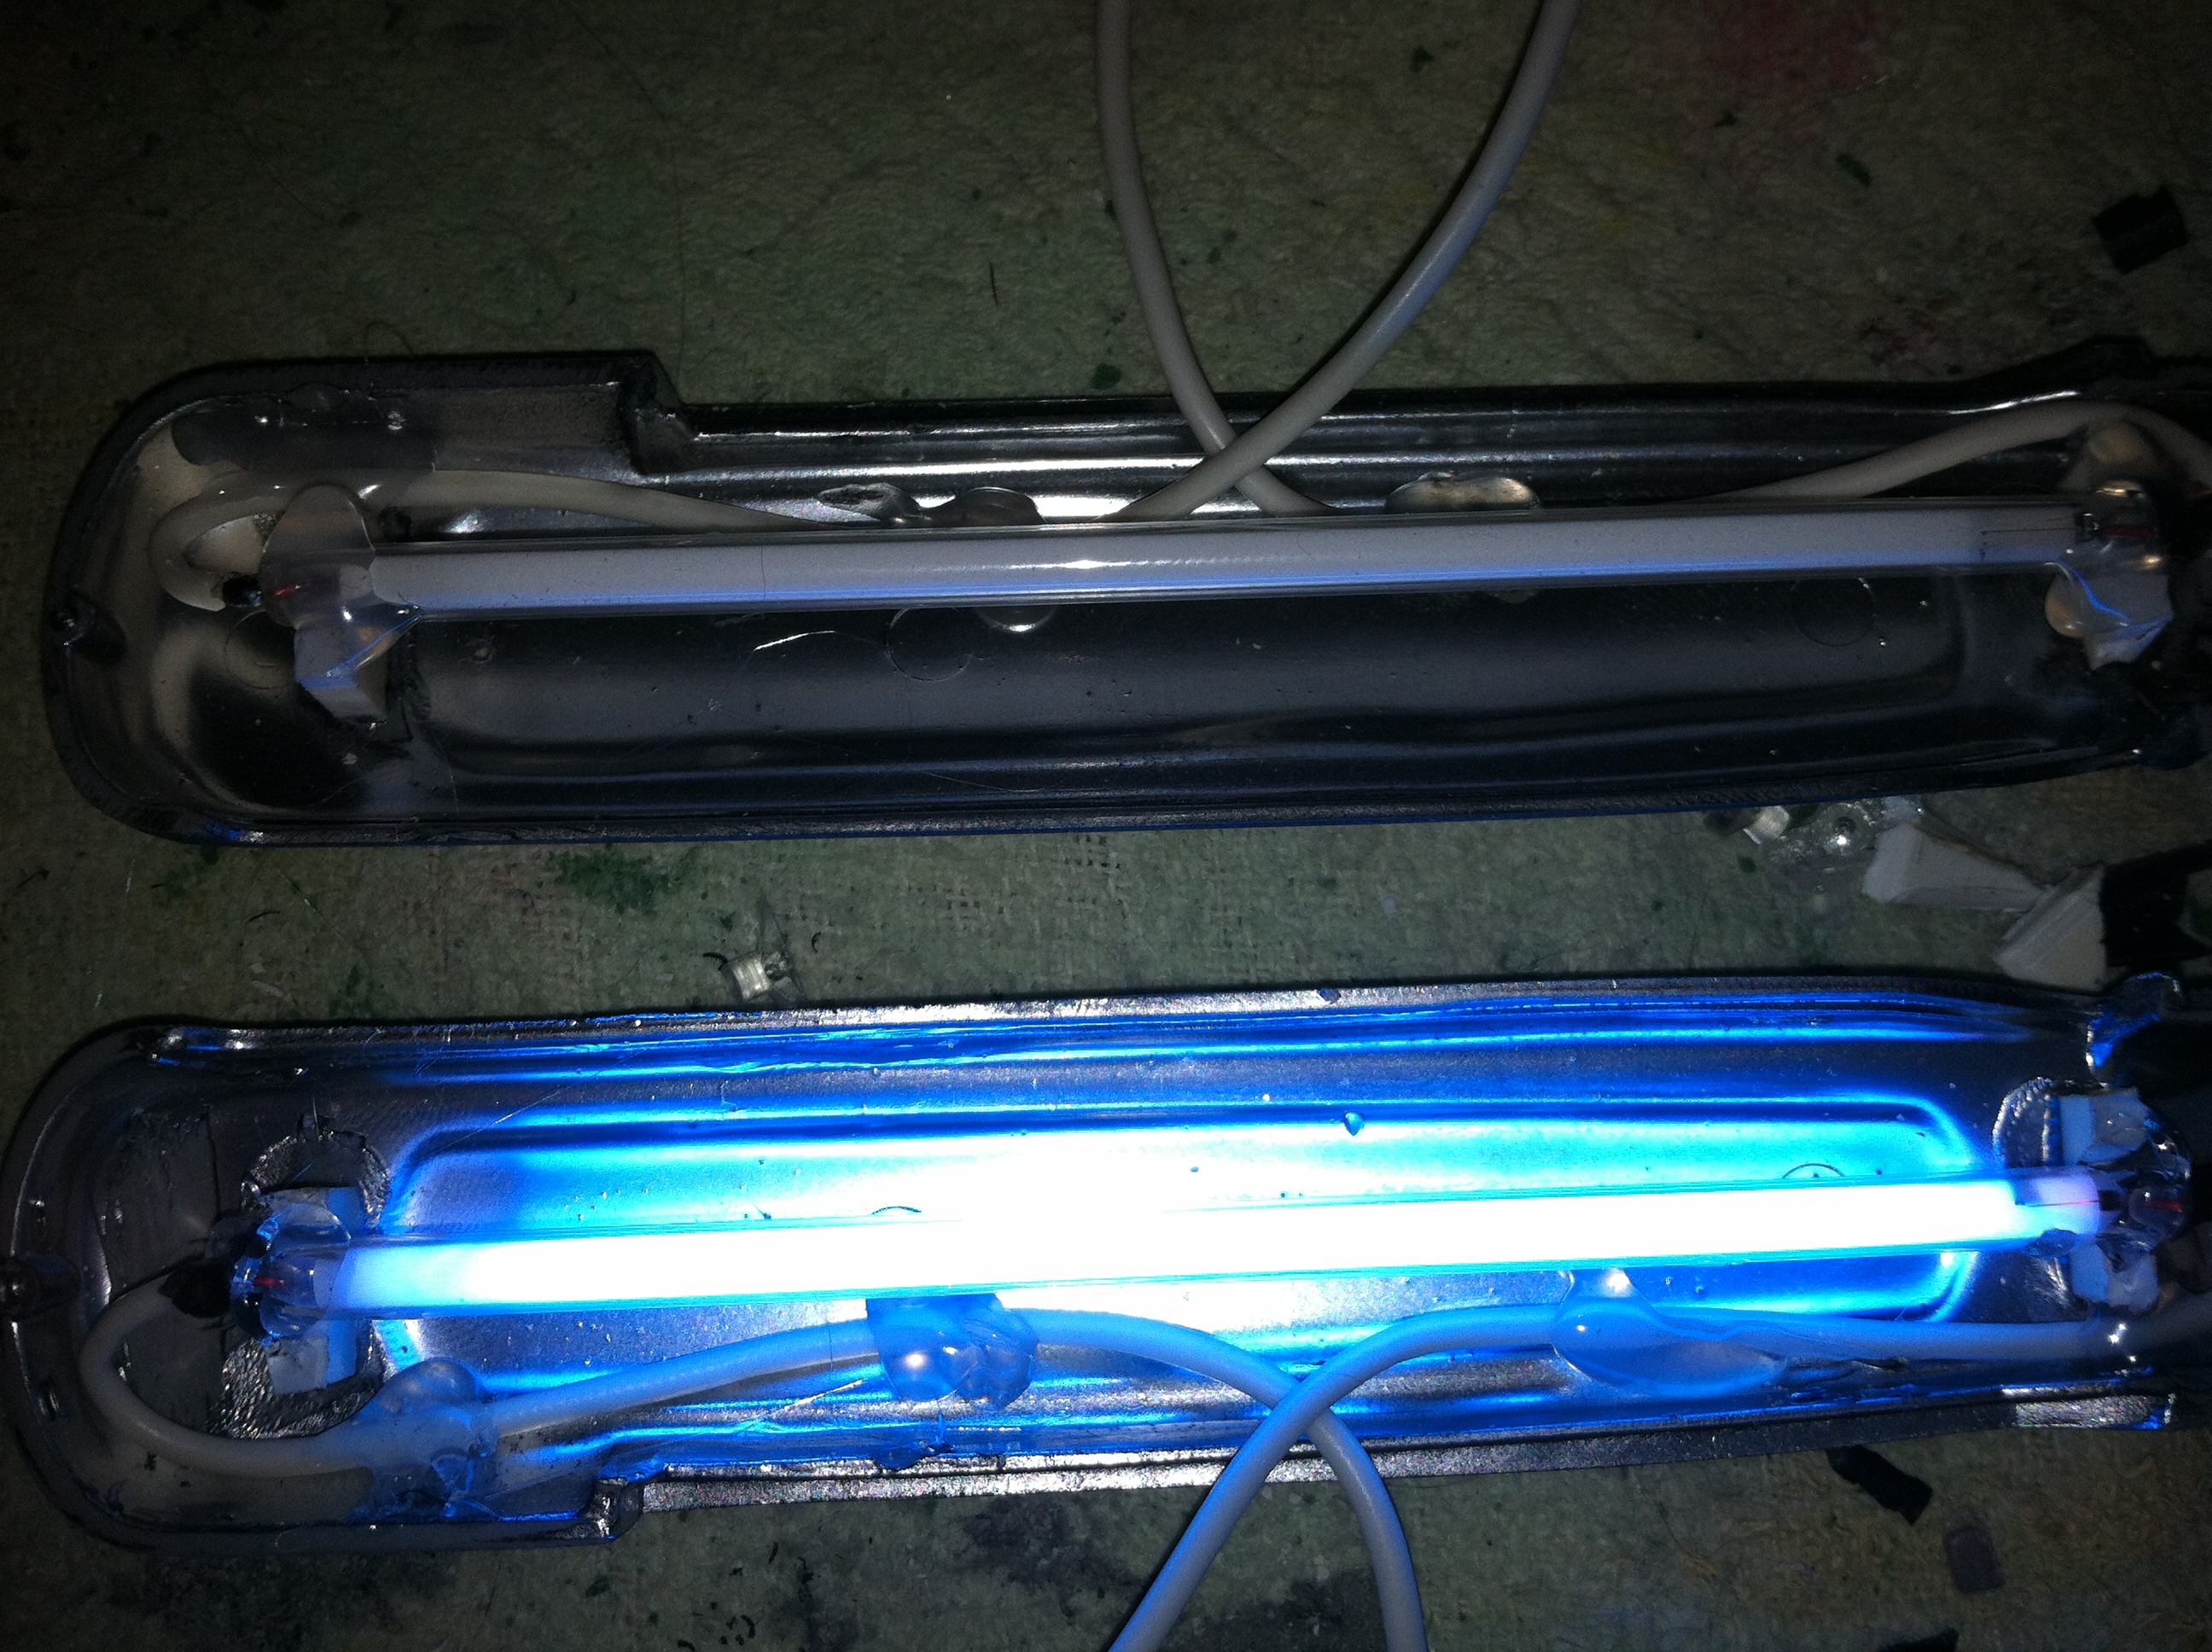
Sooo.... "cold-cathode" isn't that cold. Those tubes get hot enough to melt the hot glue. But the glue holding down the leads should be able to keep the tubes in place. I ran the leads out through the opening where the nacelle pylon / impulse engine wing will attach.
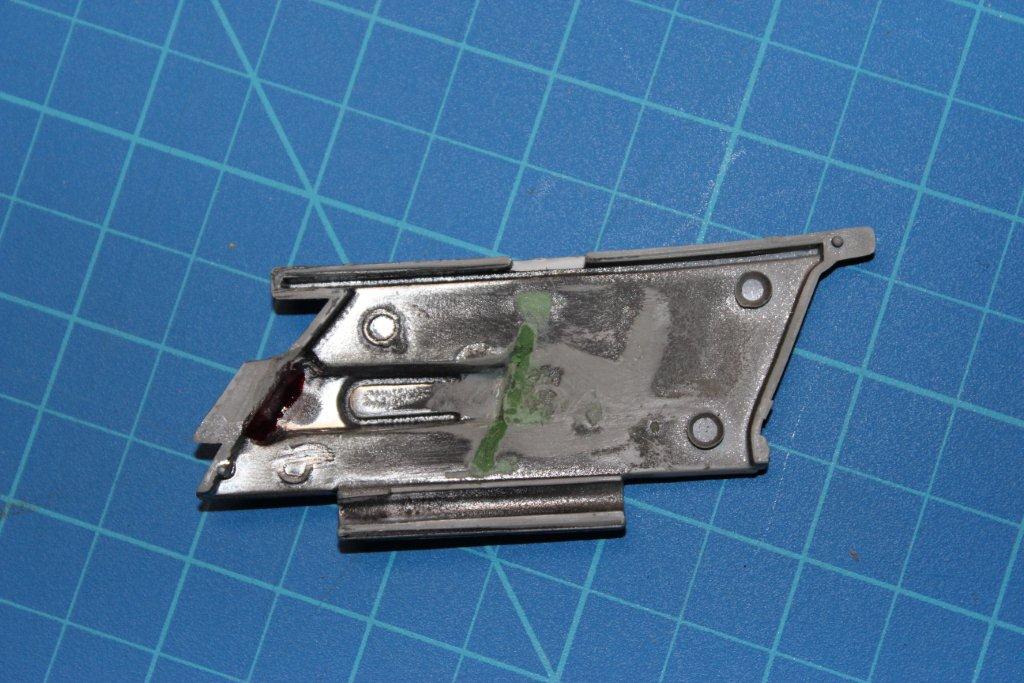
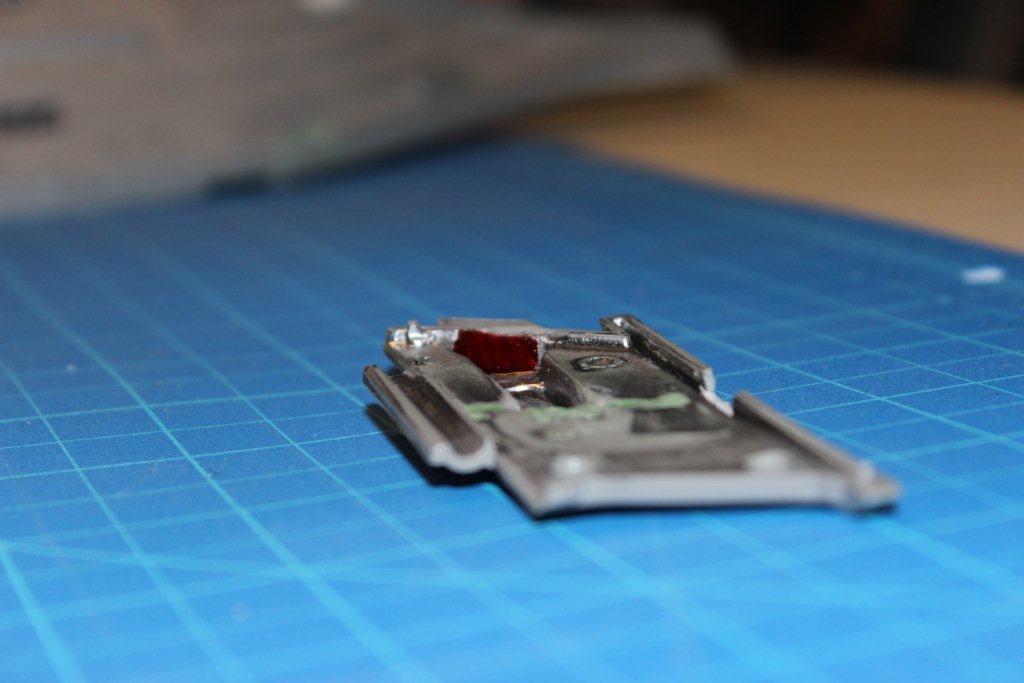
Cleaned out the insides of the impulse engines and added frosted plastic panels painted transparent red. These will be backlit by a red LED.
10/8/2012 - Had another weekend-slog through working on this kit (which brought me through The Year of Hell episodes. Working on this kit, I sympathize). At this point I have the 2' hull assembled and the keel seam cleaned up pretty well. All those keel details would've sure benefitted from being plant-on pieces, added after the hull halves were together. I assembled the hangar - not that the hangar wall will be visible, but just to make sure the hangar door panel is installed at the proper angle.
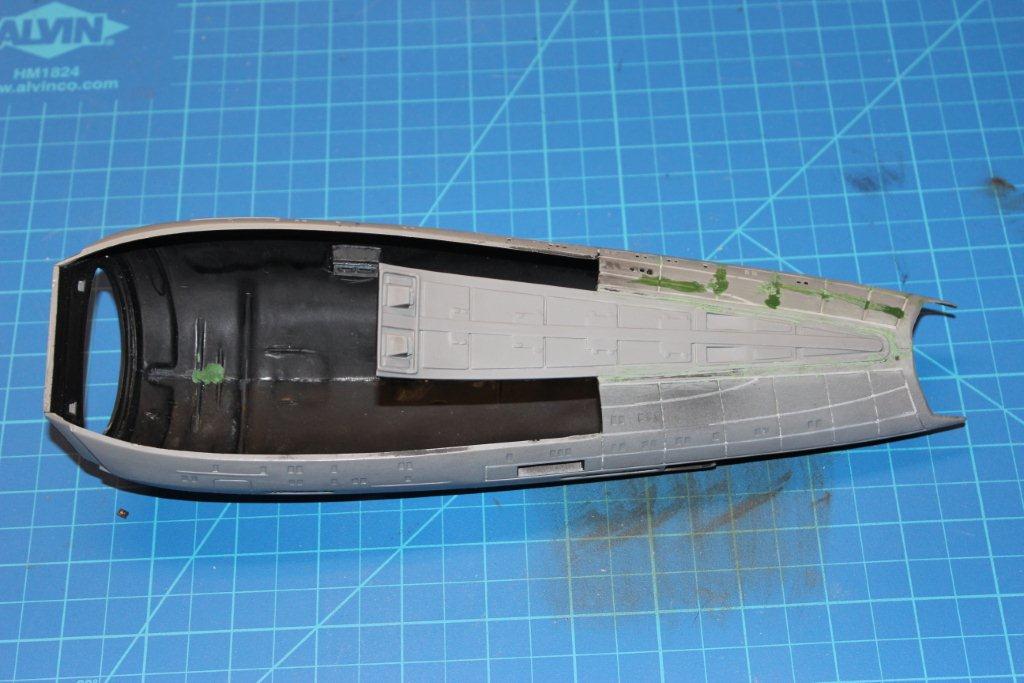
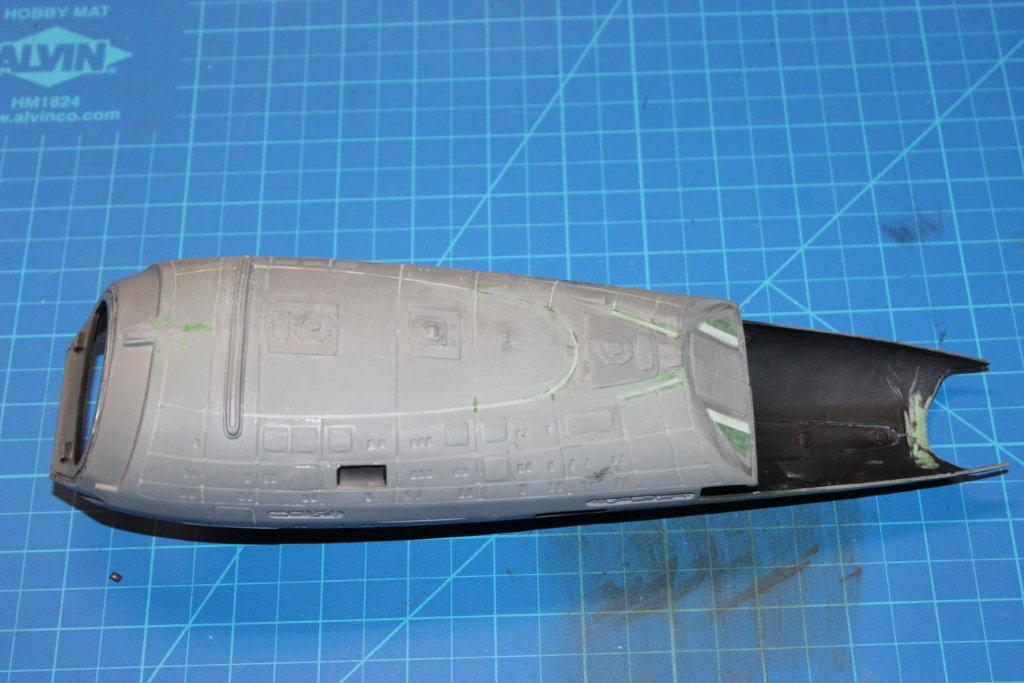
I added 8 escape pod hatches where needed, cut from .01" sheet styrene. I added more styrene to the inboard edges of some panels aft under the 2' hull. Again, the draft angle prevented proper molding of these edges. I cannibalized a clear window piece (part #) from a spare kit to use for the missing aft fantail windows.
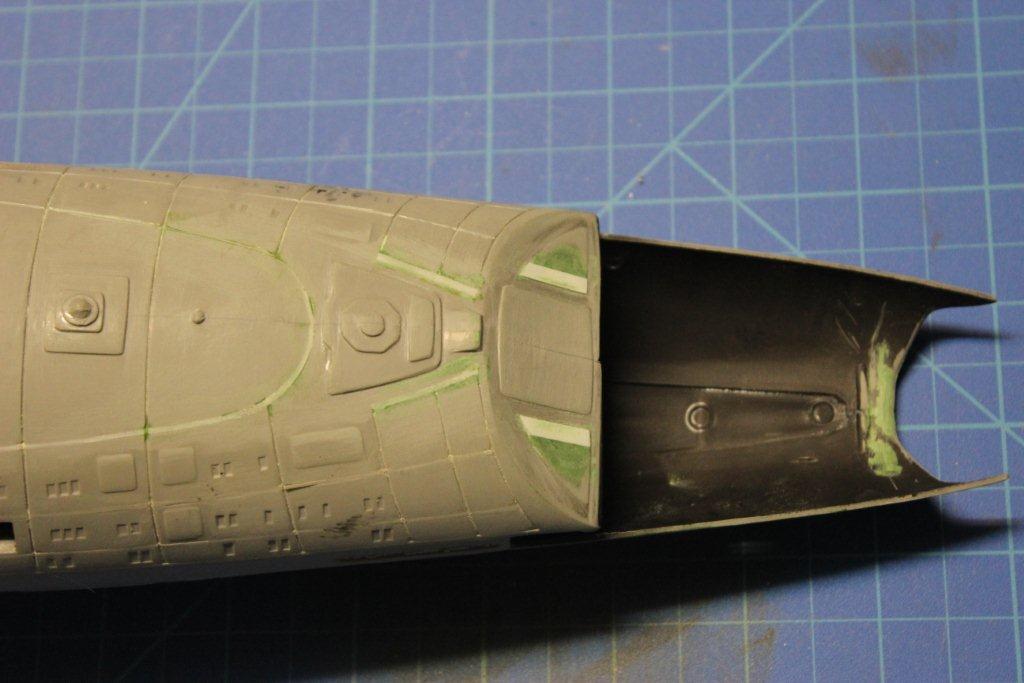

I cut out and replaced the upper front of the impulse engines with a clear panel. I noticed I will also have to work on the housing of the aux deflector since there's some lighting behind that.
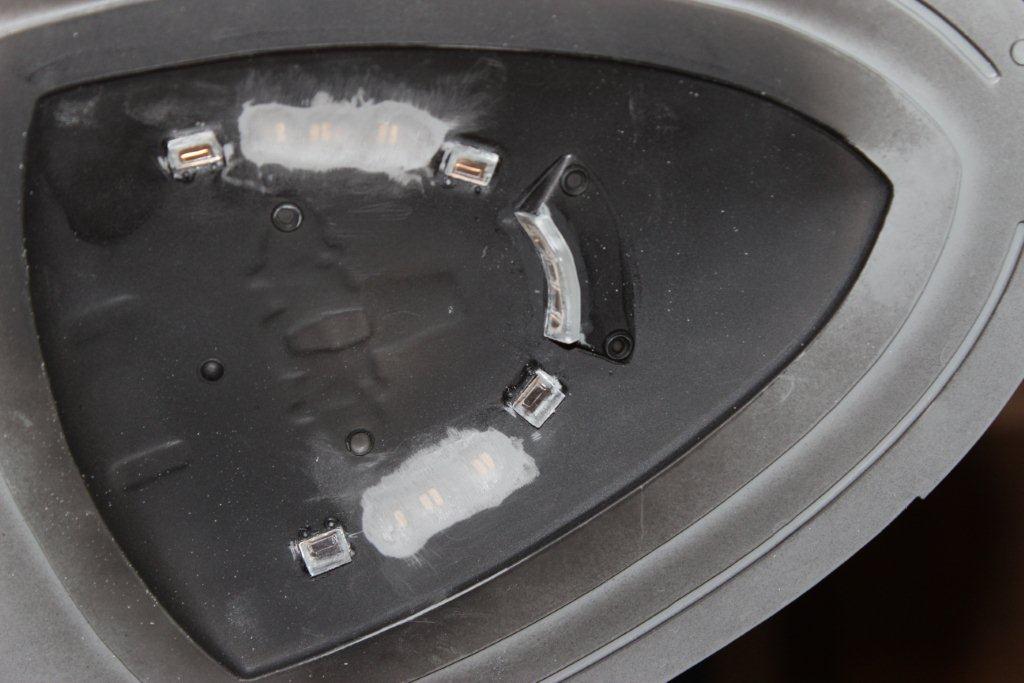
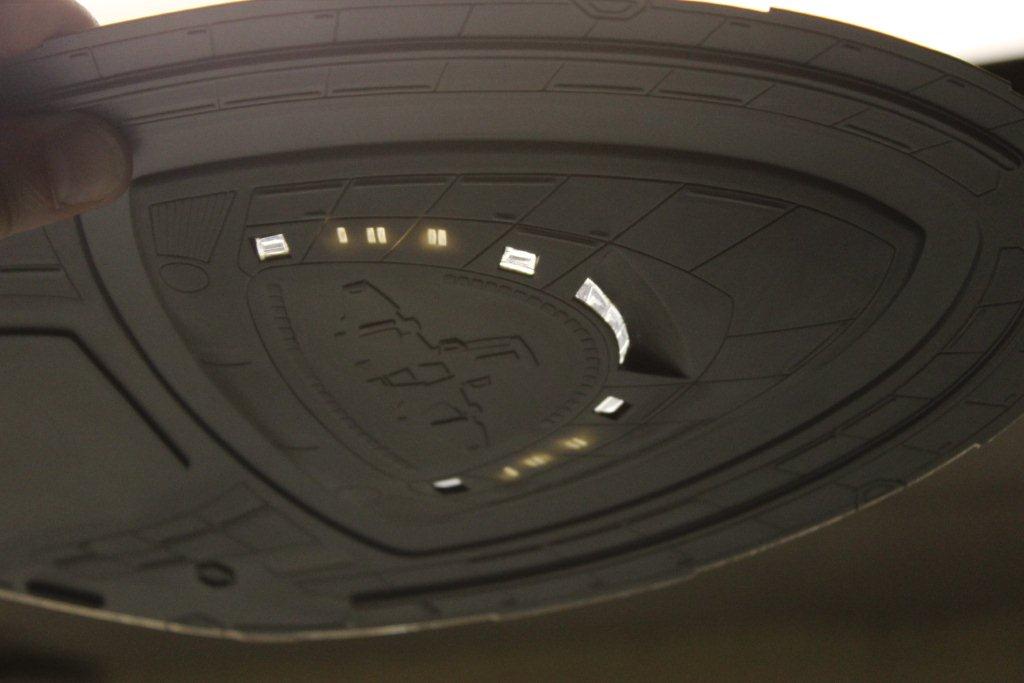
Trying an experiment to simplify lighting the windows - thinning the plastic behind them from the inside to a translucent thickness using a Dremel sanding drum. Seems to work. Beats the heck out of drilling and shaping openings to be filled in with clear chips.