|

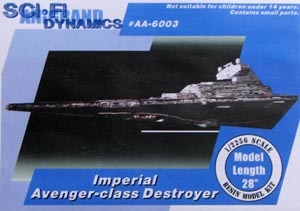
Imperial Star Destroyer
Anigrand
SW Episodes V-VI
|
 |
|
Stated scale:
|
1/2256
|
     |
|
Actual scale:
|
unverified
|

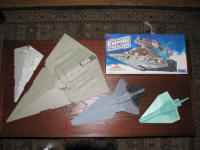
The Star Destroyer trio in 1/2256,
and the Imperial's old MPC "mini-me."
Rebublic SD |
Clone Troop Ship
|
Overall length: |
39"
|
| Material(s): |
resin, PE brass |
| Number of parts: |
50+ |
| Stand included? |
no |
| Decals included? |
no |
| My Source: |
Anigrand |
| Cost (w/o s&h):
| |

Big kit. Insane detail. Gonna have to clear my
schedule for the next decade.
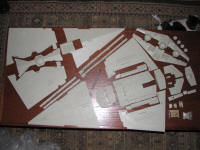
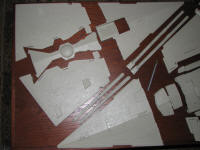
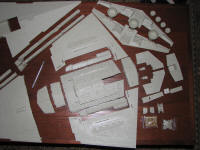
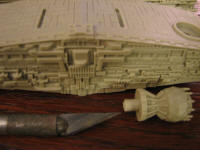
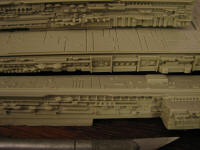 Let's get out the pin vise and micro drill bits.
 And even an Imperial Lambda-class shuttle in resin and PE brass.
1/13/2010 - Sat back with a DVD on and started nibbling
away at the resin stubs.
11/14/2010 - After some major cleaning and de-cluttering
in the basement, there I had it: all the stuff cleared off my workroom's island.
Time to lay out something big on it. But I started small, with assembly of the
command tower. I assembled the two sides and three inset panels using superglue
and then banded it up while the CA set.
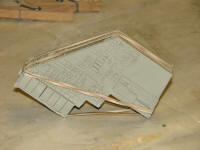
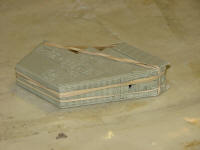
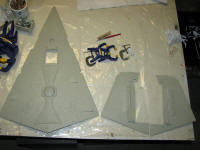
I think the first step on the 4-panel underside of the
main hull should be assembling the two aft left/right panels with the center
"reactor core" (RC) panel. This will hold the L/R panels together at the right
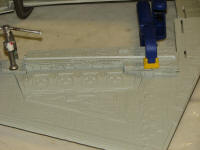
angle to join them to the forward panel. I clamped the
RC panel onto the left aft panel and dripped CA into the inside of the joins, so
it wouldn't be dribbling around on the outside surface.
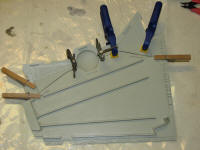
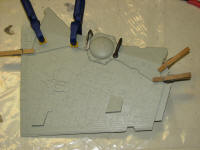
11/18/2010 - Sub-assembly continues, with attaching the
right aft panel and nose panel of the belly. More superglue, more clamping. I
leave all these assemblies clamped up overnight.
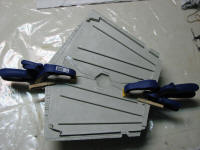
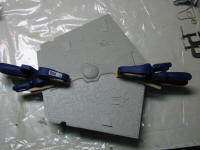
Attaching the belly nose piece - same deal, superglue,
clamps, overnight set...
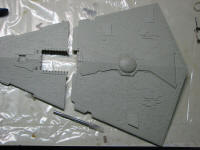
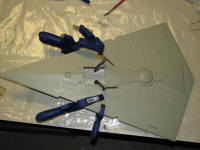
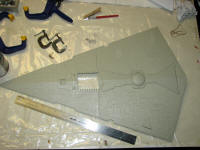
Moving topside, I attached the first tier of the
superstructure to the L/R aft topside panels.
