|

Colonial One
Fantastic Plastic
Battlestar Galactica
Parts & Decals |
 |
|
Stated scale:
|
1/350
|
  
|
|
Actual scale:
|
unverified
|


|
|
Overall length:
|
~9"
|
|
Material(s):
|
resin
|
|
Number of parts:
|
19
|
|
Stand included?
|
no
|
|
Decals included?
|
yes, partial
|
|
My Source:
|
Starship Modeler
|
|
Cost (w/o s&h):
|
US$ 80
|

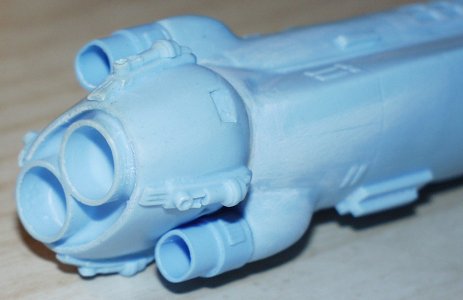
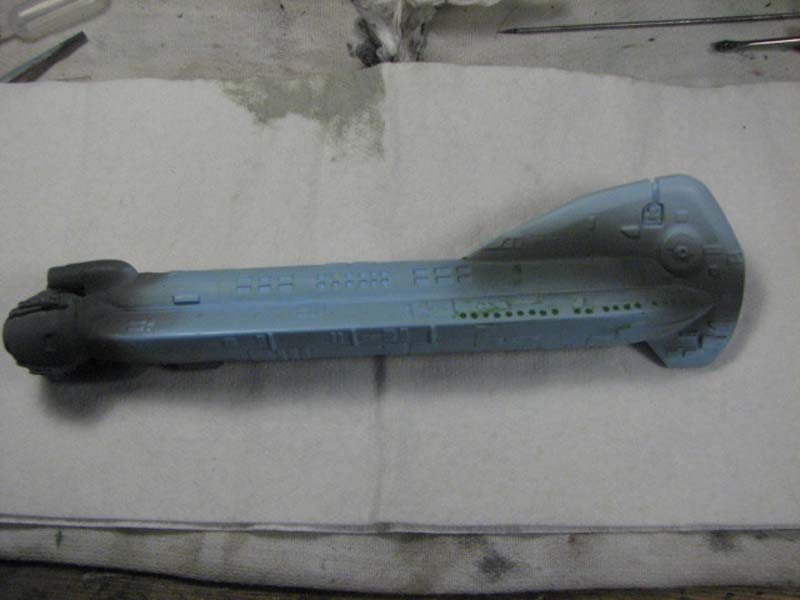
For all you cross-universe fans, here's a Colonial One
model in the same scale as the big-box Polar Lights
NX-01 and
refit Enterprise
kits. For color & detail references, I'm using the very nice Zoic ortho
renderings, which were posted at the (sadly) now-defunct Starship Builder
website.
The decal sheet for this could have benefitted from having more gold striping
for bordering the sail's cobalt blue areas. Also the small "pegasoid" Intersun
logos for the lower nose sides are missing.
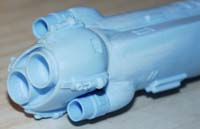
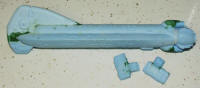
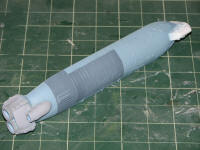
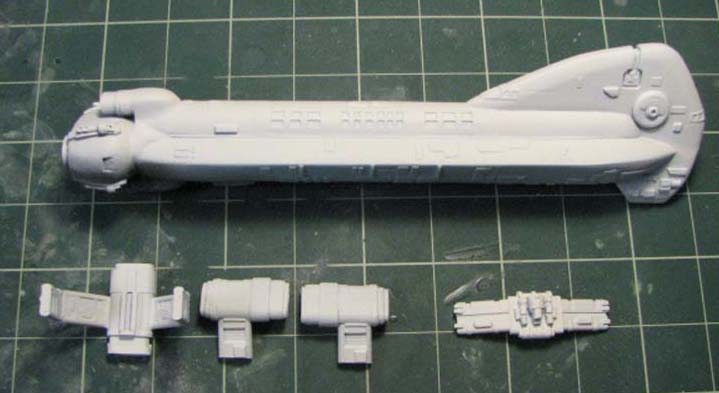
2/10/07 - After cleaning up the pour stubs and resin flash
on the pieces, I began assembly with the flight deck sail and engines. I drilled
1/16" holes in the sail and body for alignment pins. Ditto the engine piece. I
assembled these pieces using 8-minute epoxy putty.
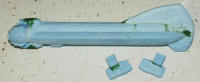
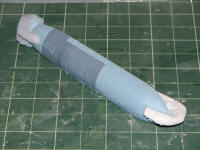
2/20/07 - I cleaned up the areas where putty had oozed out
during assembly using Xacto knife, files and 200-grit sandpaper.
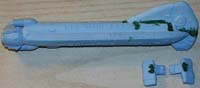
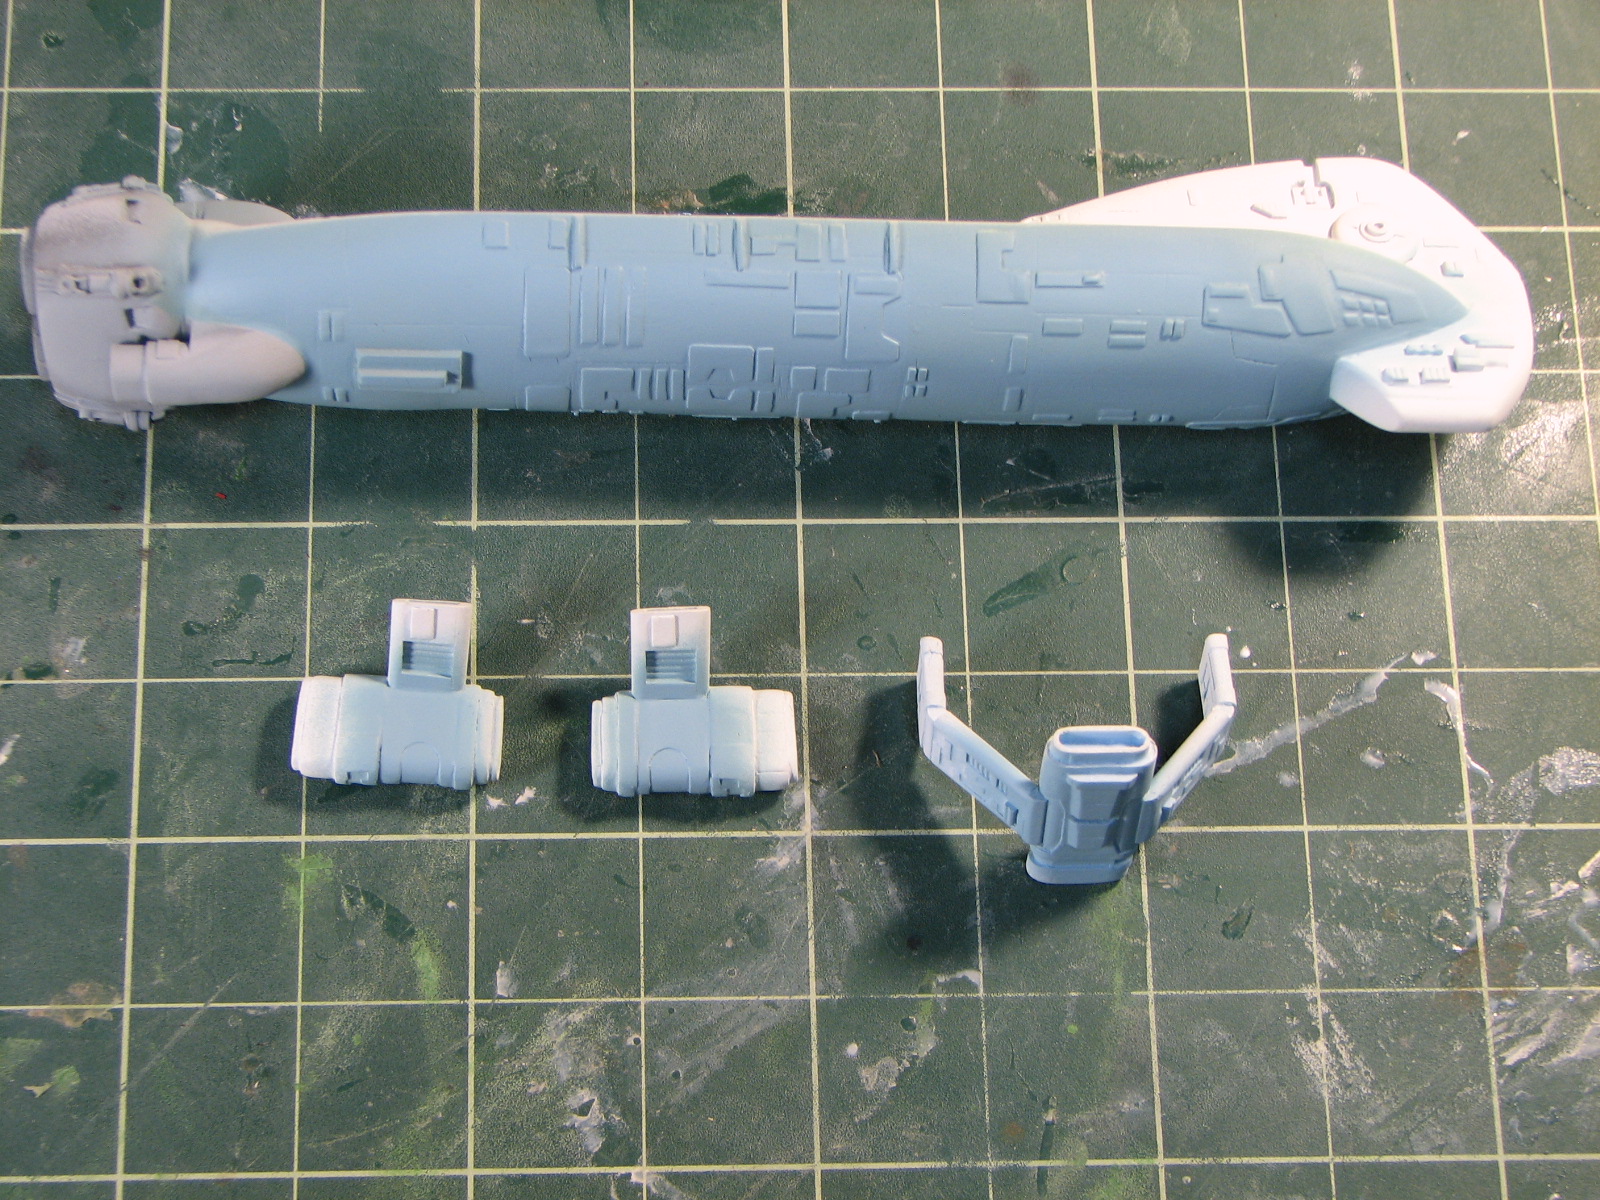
3/3/07 - Putty putty putty. Also used CA to attach the small body struts to the upper "roll bar" thrusters
and puttied same. Attached the
secondary drive engines above/below the main engine module.
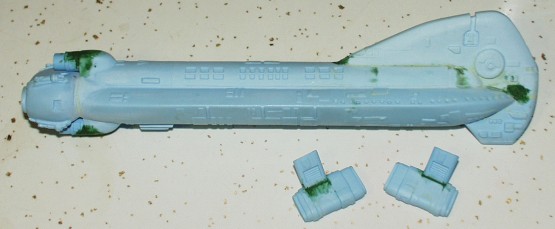
3/14/07 - Sand sand sand. File file file. Putty putty putty.
|
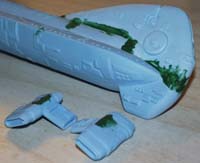
Green Putty--Grutty Peen.
Grampitutty--Morning
Pridsummer--Groarning Utty!
Discovery.........Oh.
Putty?.......Armpit?
Armpit.......Putty.
Not even a particularly nice shade of green. |
 |
|
Azgoths of Kria
(as channelled by Douglas Adams, The Hitchhikers Guide to the
Galaxy) |
 |
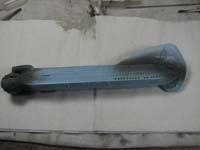
11/19/07 - Sand sand sand. And, oh yeah, let's putty over those deep-drilled
ports along the edges of the fuselage.
9/15/09 - Spray Spray Spray. Let's see how smooth the putty
and sanding got. Is this ready for primetime?
I'm leaving off the rollbar until
after I've painted the engine area. |
 |
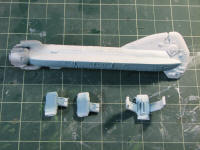
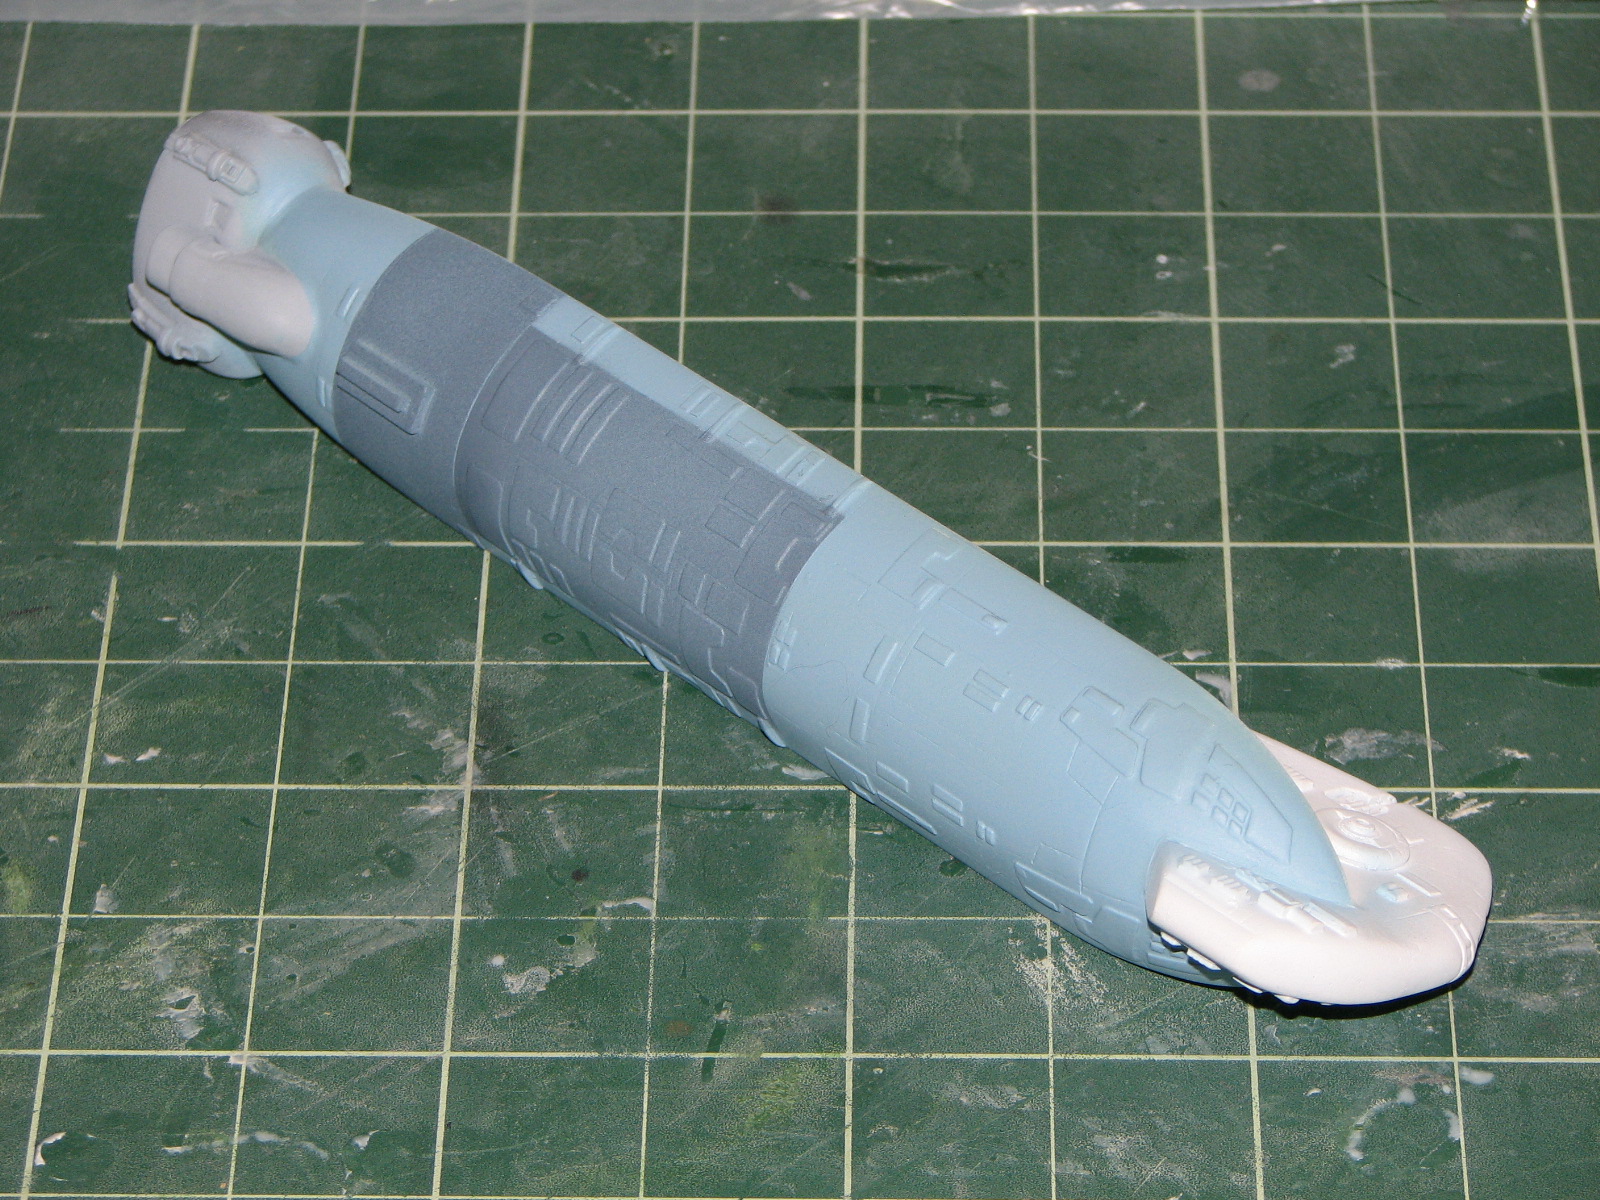
9/16/09 - Indeed, it's ready for priming. And how about just using white
primer? Then if it needs no further clean-up this is a first coat of
paint. |
|
| 9/17 - Did a quick patch test of air superiority blue
for the overall hull belly color - it'll work. Intermediate blue works
for the highlight color. |
|
9/18 - Another white coat, and some
light ghost gray on the secondary engines. |
|
BTW, if you can't find it, here's a reasonably
close match to air superiority (AS) blue - at least I had a color chip for that (FS 35450) in the
fed standard notebook. Air Superiority Blue mix: 3 parts MM light ghost gray, 2 parts Testor's Flat Blue, 2
parts MM flat white.
5/25/2010 - And I finally got around to painting the belly
of the beast. Once the AS blue coat had dried I masked off the cargo hatch and
airbrushed intermediate blue. I did a lighter coat on the area that will be
under the engine assembly.


