One of the downsides of resin kits is that often the parts' surfaces are made to mate flush to each other. This is fine if the mating surface area is large relative to the height the part stands off that surface. But parts such as large fins could easily be broken away from a model. With a little work, you can add pins to the parts to make a more stable connection.
The example shown here is the Starship Modeler Ferengi "Pod of Acquisition." I'm adding pins to attach the two lateral fins to the front of the shuttle.
 |
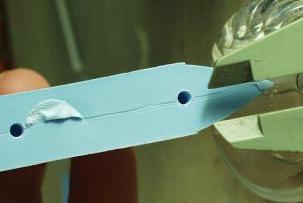
First, drill two holes into each fin. In this
case, I used a 1/8" Dremel tool bit to a 1/4" depth. Depending of the
size / shape of the parts, you should alter the number, size, and depth
of the holes. Note also, the letter "B" written on the piece, to ensure that the part gets glued to correct side of the fuselage. |
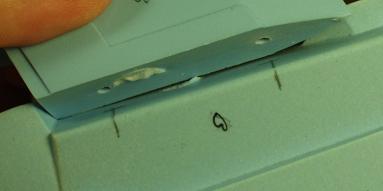 |
Hold the drill fin near its final position, mark
the fuselage to show the location of the drilled holes. And yes, gotta clean up that pour stub on the fin. |
|
|
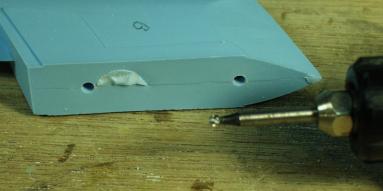
Measure the distance from the fin's edge to the midpoint of the drilled hole... |
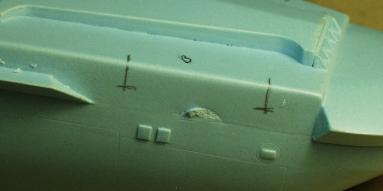 |
...and transfer that measurement to the fuselage.
A crosshair marks the center of the matching pin-hole on the fuselage. Hmm.. another pour stub. |
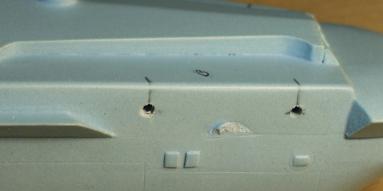 |
Drill matching holes on the fuselage. Again, I used a 1/8" Dremel tool bit to a 1/4" depth. |
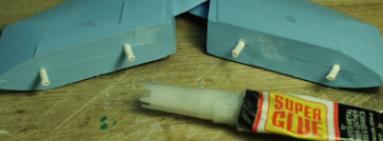 |
The pins are 1/8" plastic tube, which give the
pins a bit of play when assembling. You can also use plastic or metal
rod. Use superglue or epoxy to cement the pins in place. And yes, got those pour stubs got cleaned off. |
|
|
|
|
|
The Model Citizen's "Sprue U" pages are �2000 Roger Sorensen
page URL: http://employees.csbsju.edu/rsorensen/modelcitizen/sprue_u/.htm
last updated 04 December, 2007